How to Repair your Relays

Forum rules
All advice given here is advice from persons using these forums,these opinions are not of the websites owners,and must be used at own discretion.
nwdatsuns does not verify the accuracy of given advice

This section is for informational How to's
Including, how to on datsuns, general technical, fabrication, electrical etc. Not limited to those, but for real information.
The how to make eggs and sammiches should go under General Discussion, as those topics aren't indexed for searches.
Post Reply
User avatar
KlassicMotion
Posts: 39
Joined: Fri Sep 06, 2013 10:00 pm

How to Repair your Relays

#1

Post by KlassicMotion » Sun Nov 10, 2013 9:13 pm

Try this first, before throwing that old relay away!!! Or do this to your relays anyways to get get better current flow out of them:

You can do the same to switches too, like your headlight or wiper switch. They don't use contact points, but they have connections that get oxidized and dirty.

If your not confident to do this, contact me, you pay shipping, and I will do it for free.

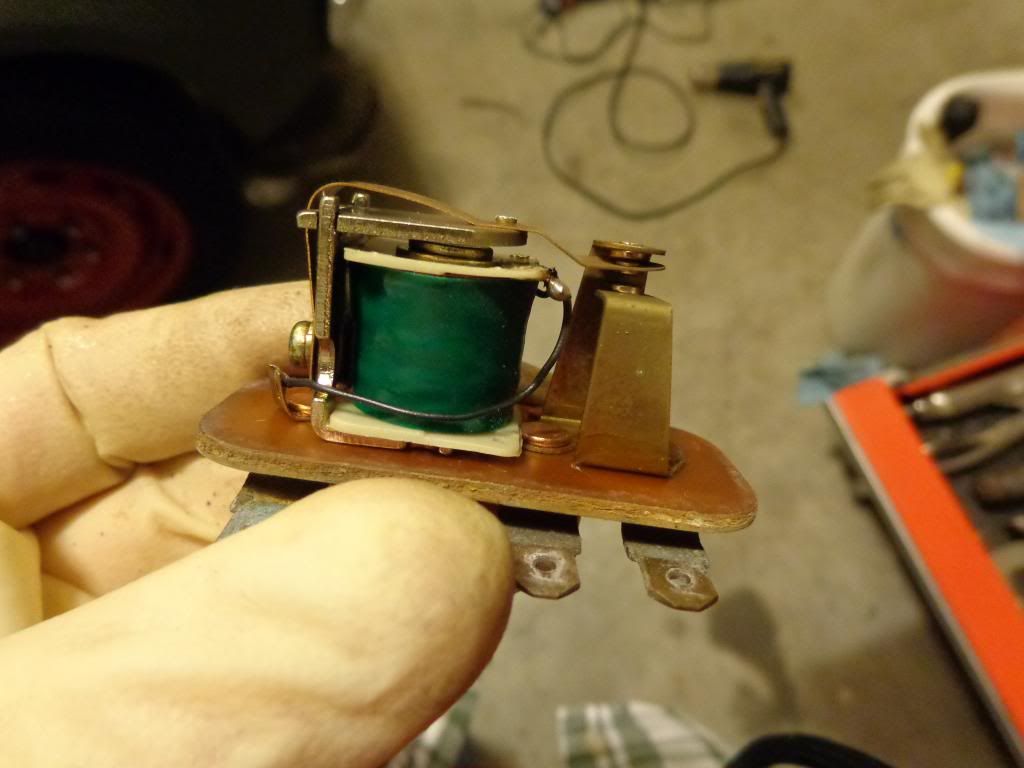
Clean the contact points on your factory relays (headlights, horn, voltage regulator, etc) it's just like the contact points in your distributor. The points get burnt, dirty, and oxidation accumulates on the copper ground straps. Doing this will usually will bring a dead relay back to life.

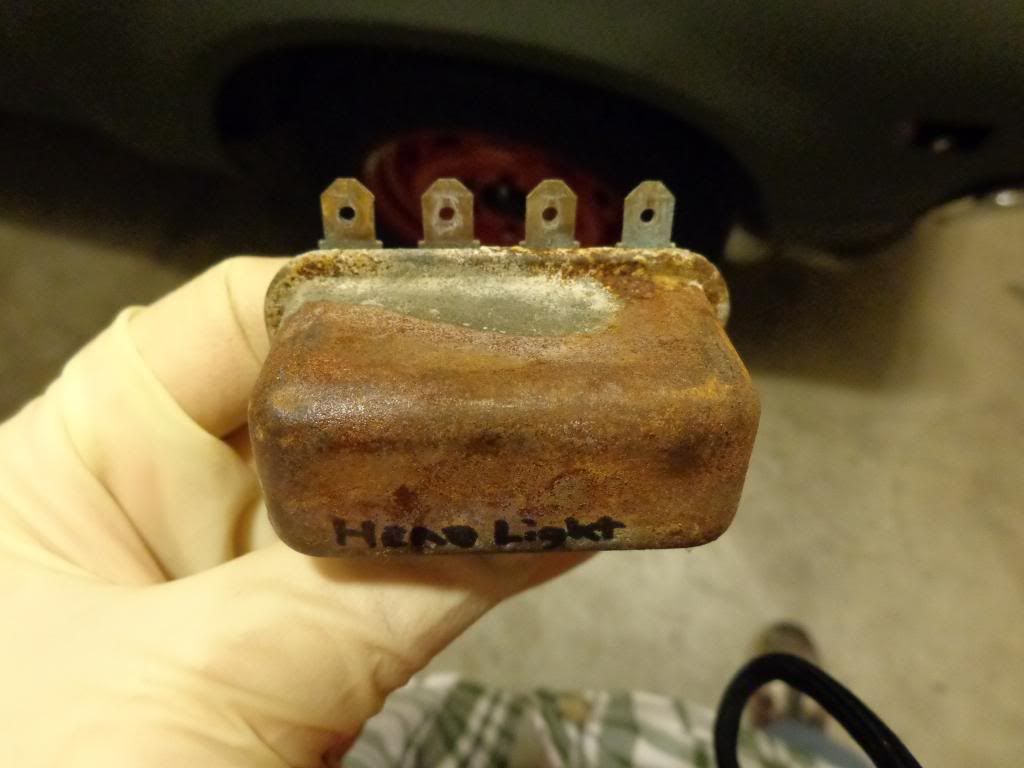
Here's the headlight relay from my 620; I did the same to the relays on my 510. The 510 high-beams wouldn't work; I did this and they worked again.
Image


Bend the 4 tabs holding the metal cover on, and separate the bottom from the cover:
Image


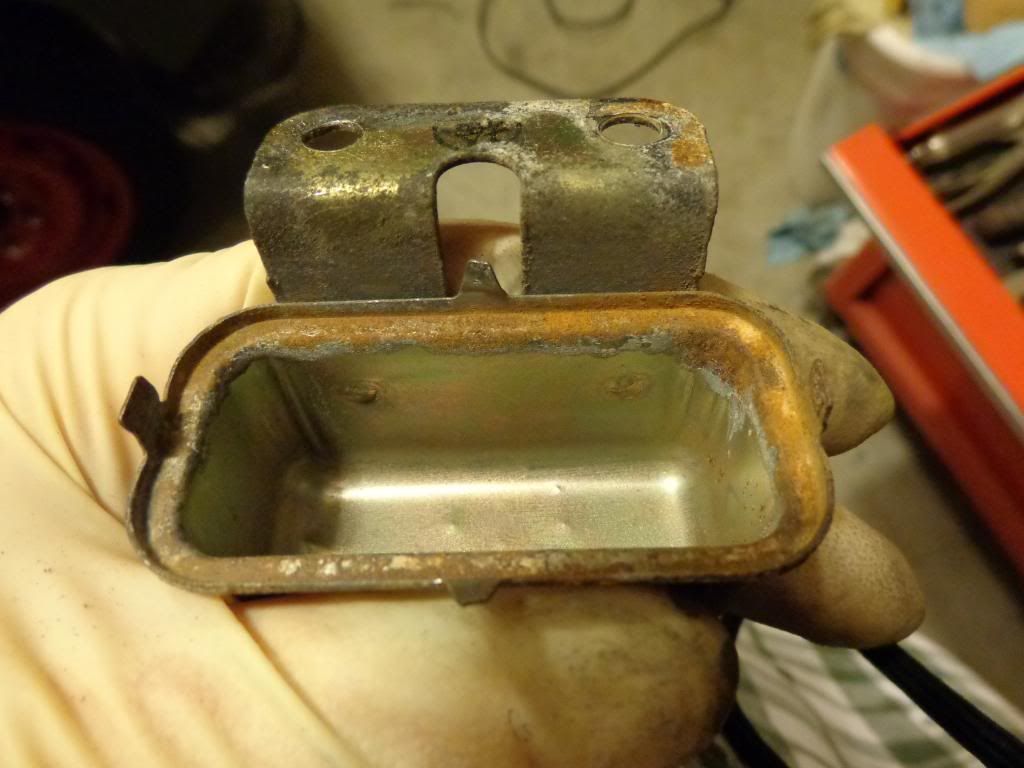
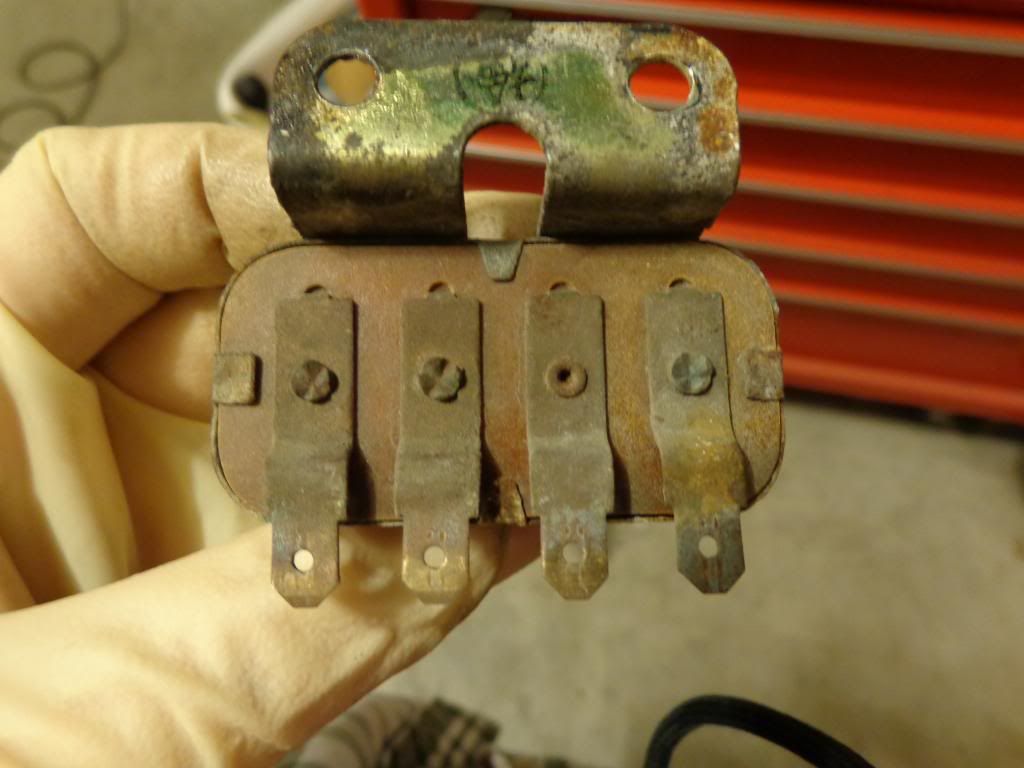
Cover off:

Image


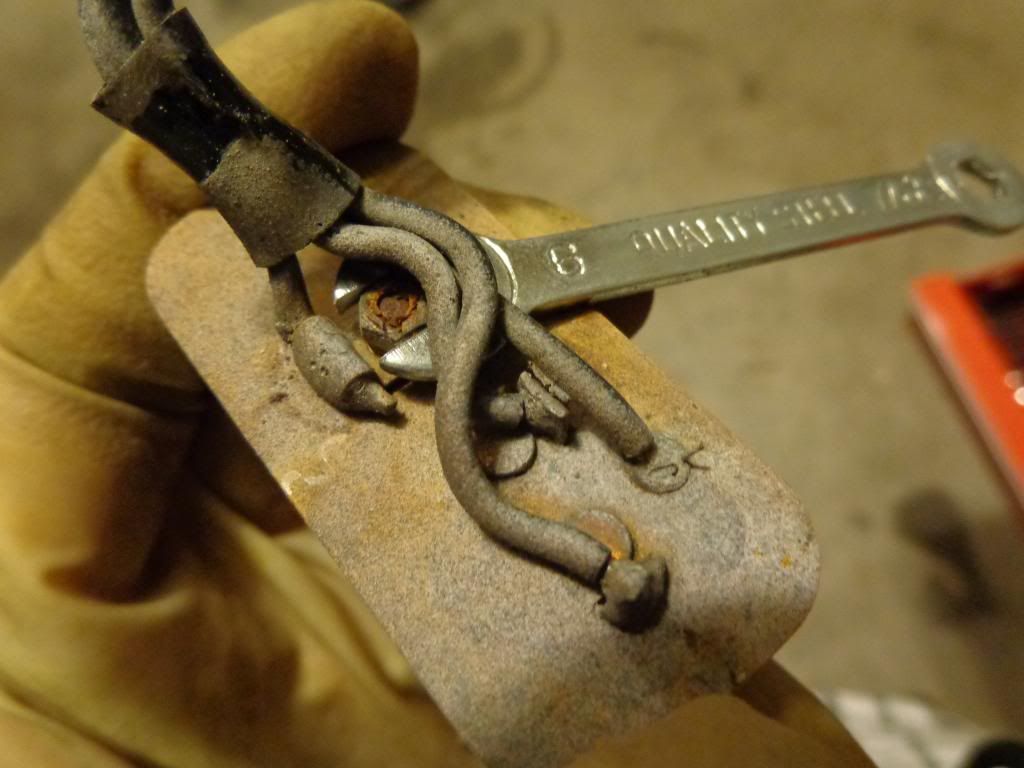
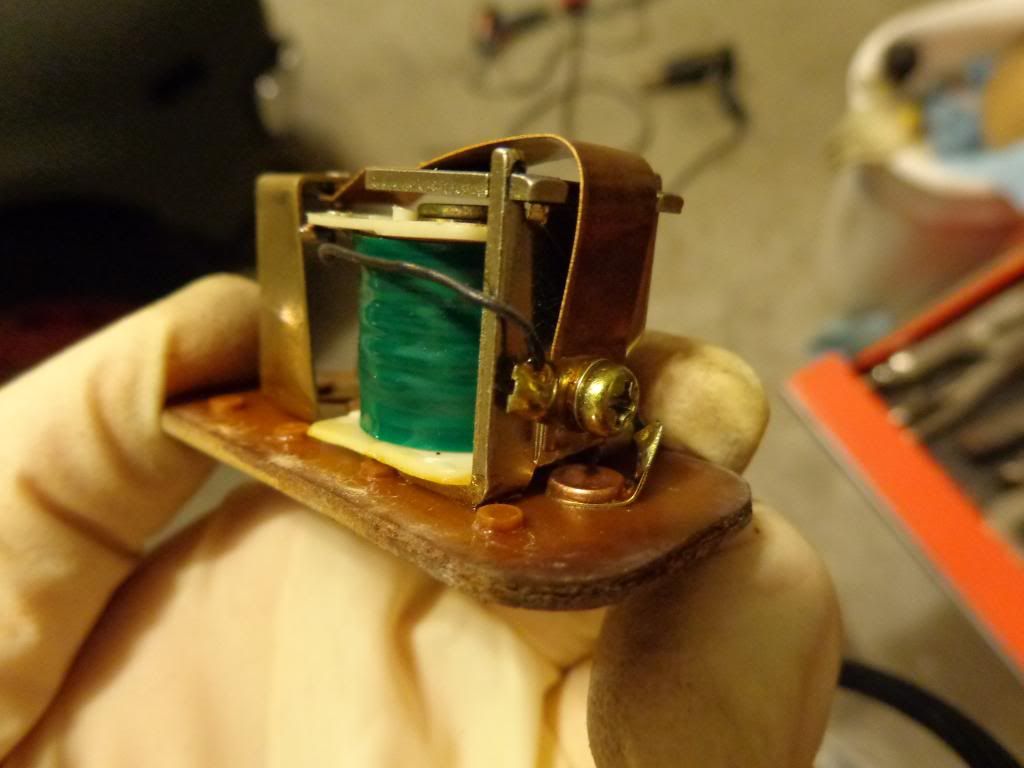
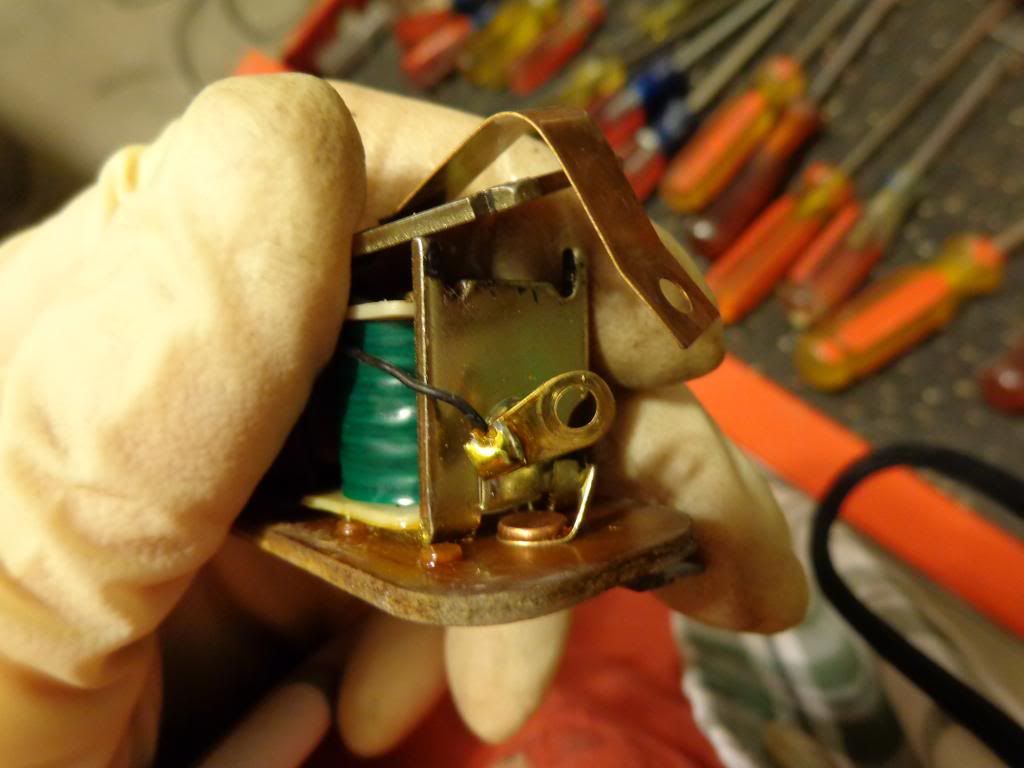
Remove the screw holding the copper plate on, so you can clean the copper surface. Brass wire brush, or 0000 steel wool works well.

**Pictured are two versions of the screw/nut holding the copper plate on. ***Be careful not to break the wires... Yes they can be re-soldered if they break.
Image
Image

OR

Image

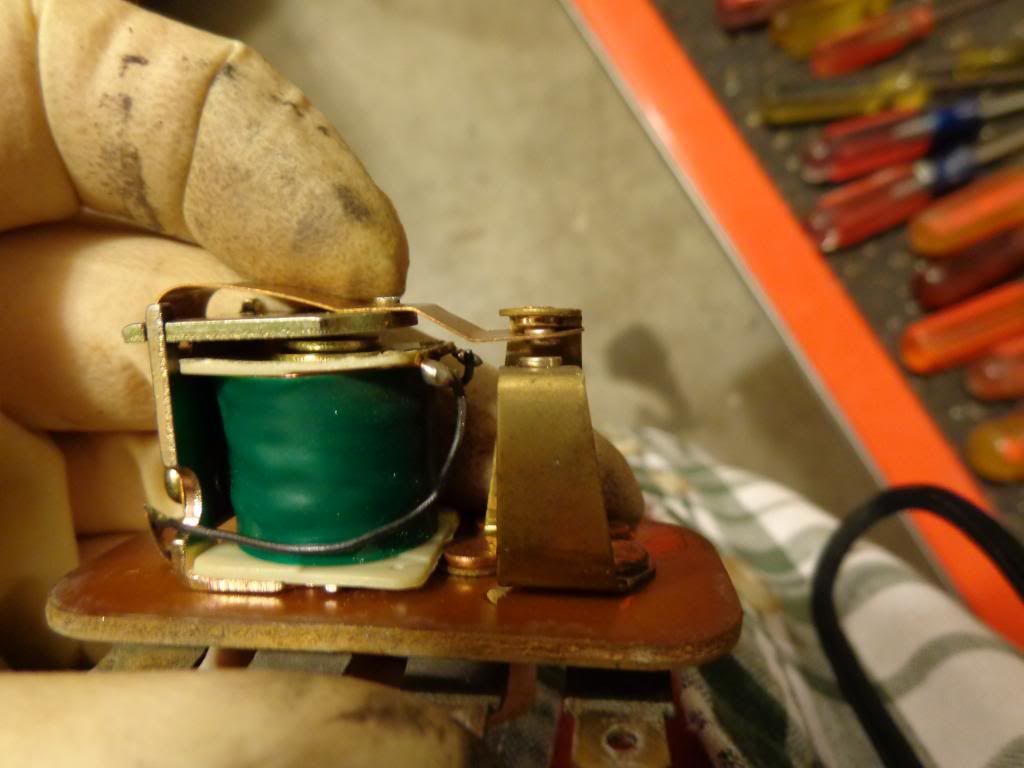
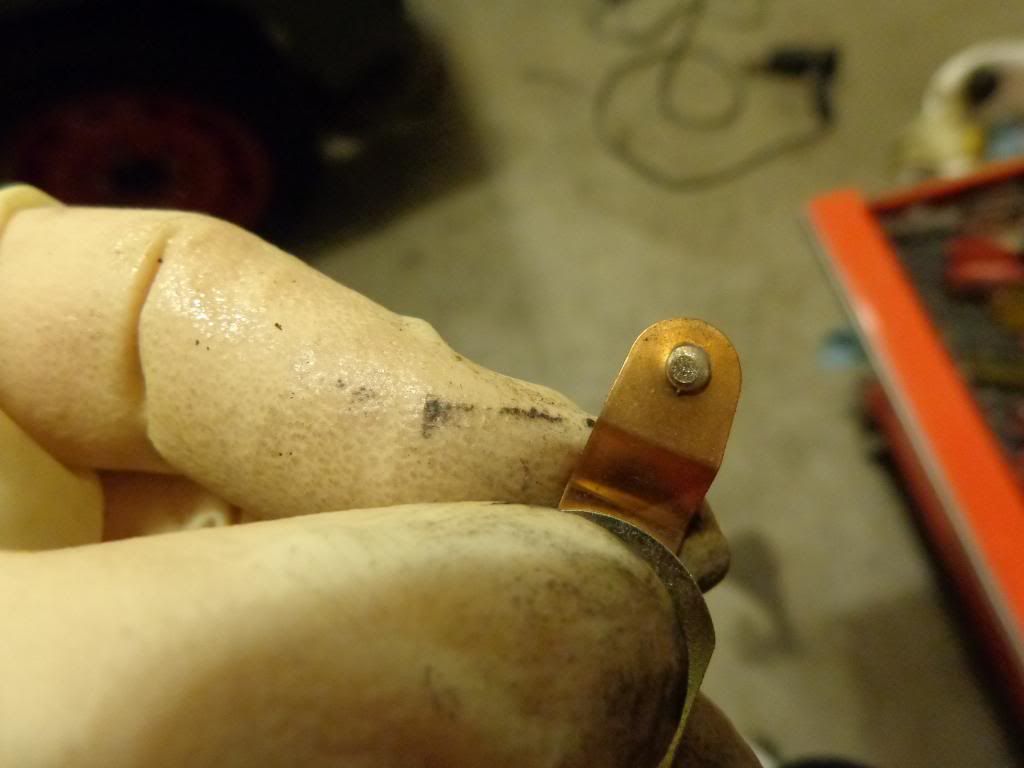
Contact Points: Use Emory cloth to clean/smooth them (Local parts store usually has Emory cloth in the sheet, or roll)
Image
Image

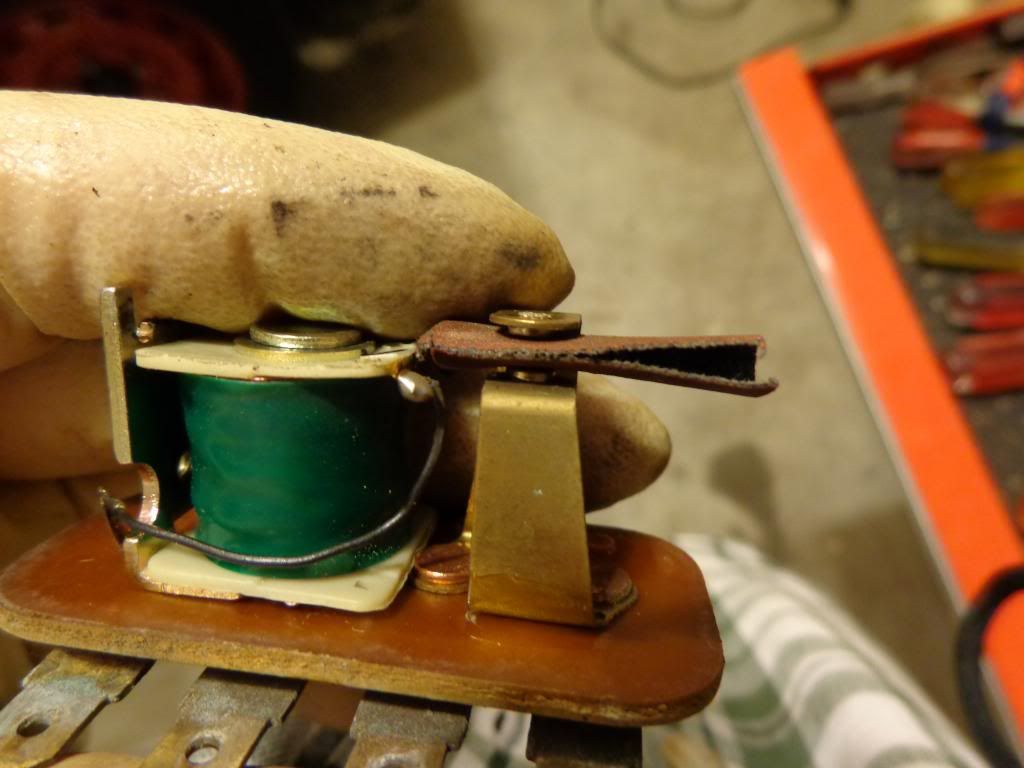
Cleaning the points with Emory cloth. Make sure to spray the points and other connections with some "Electronics Cleaner" when finished, to remove any sanding dust.
Image


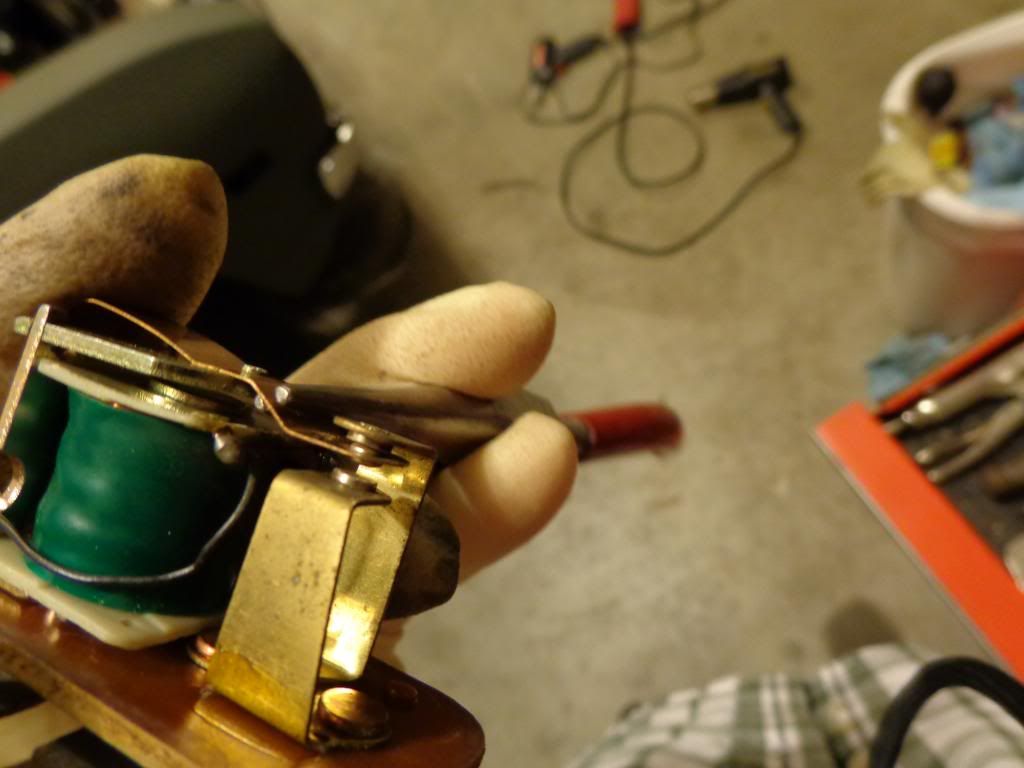
I used some needle nose pliers to tweak the points a bit so they made better contact:
Image


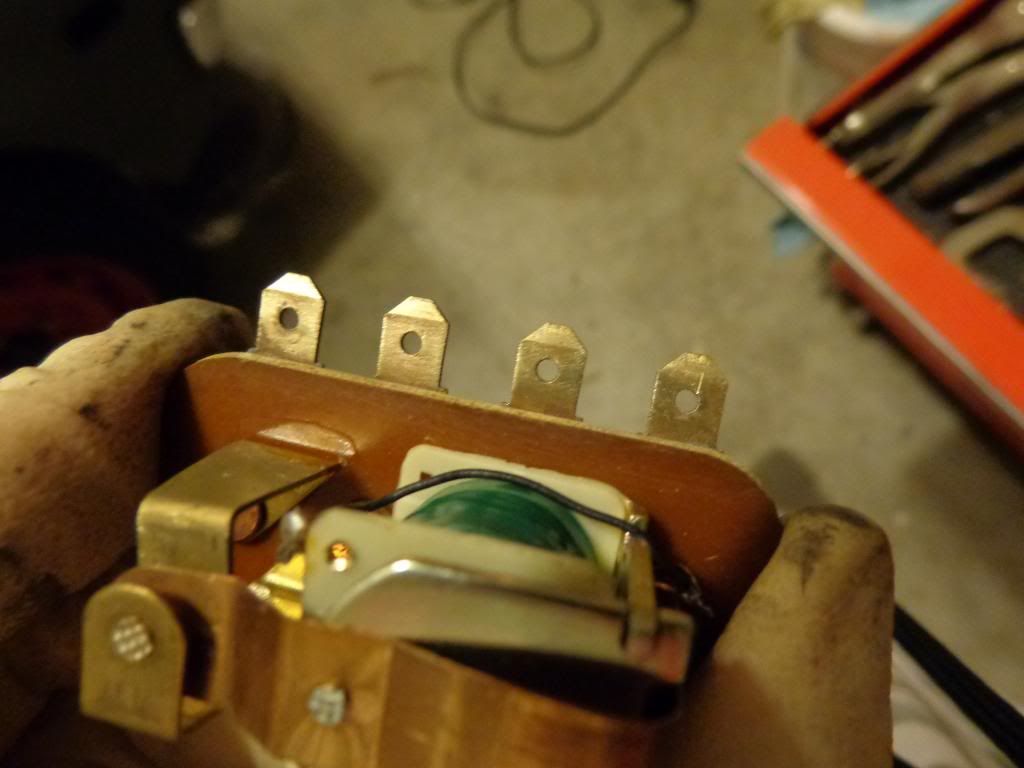
Don't forget the connector terminals:
Image


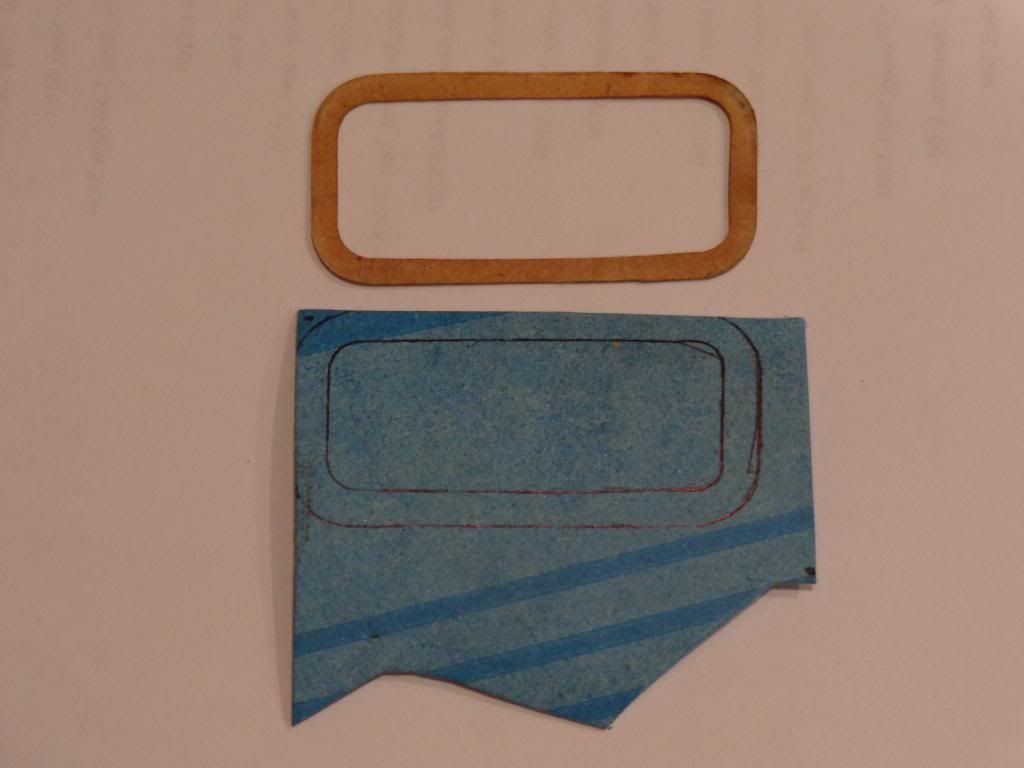
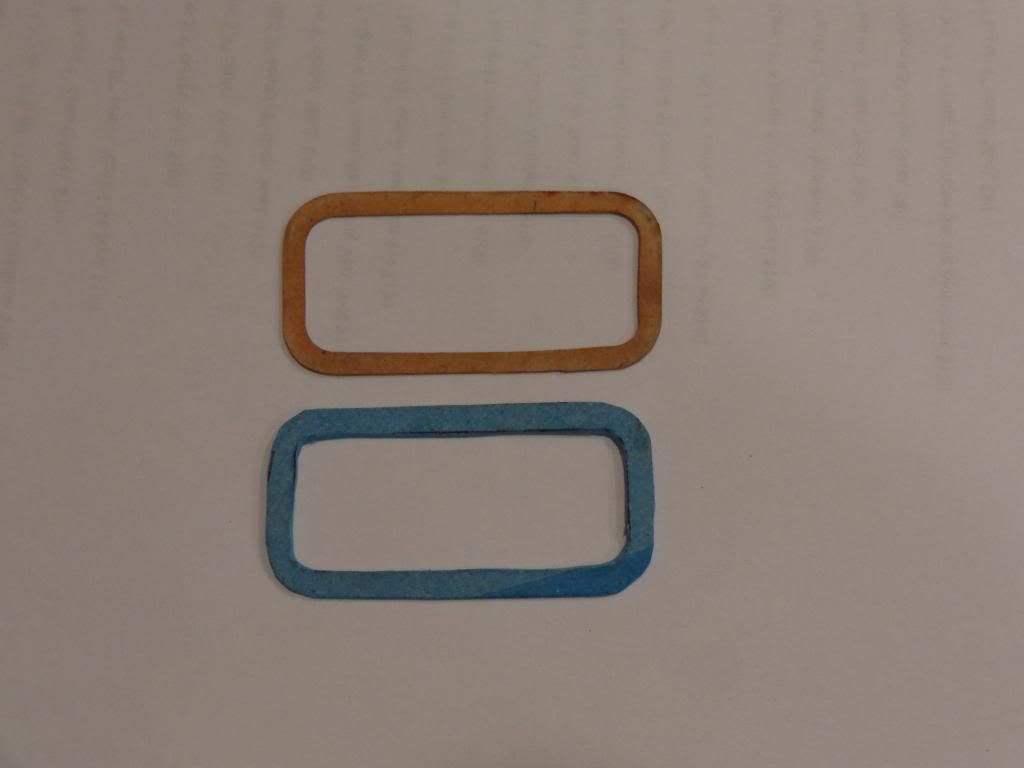
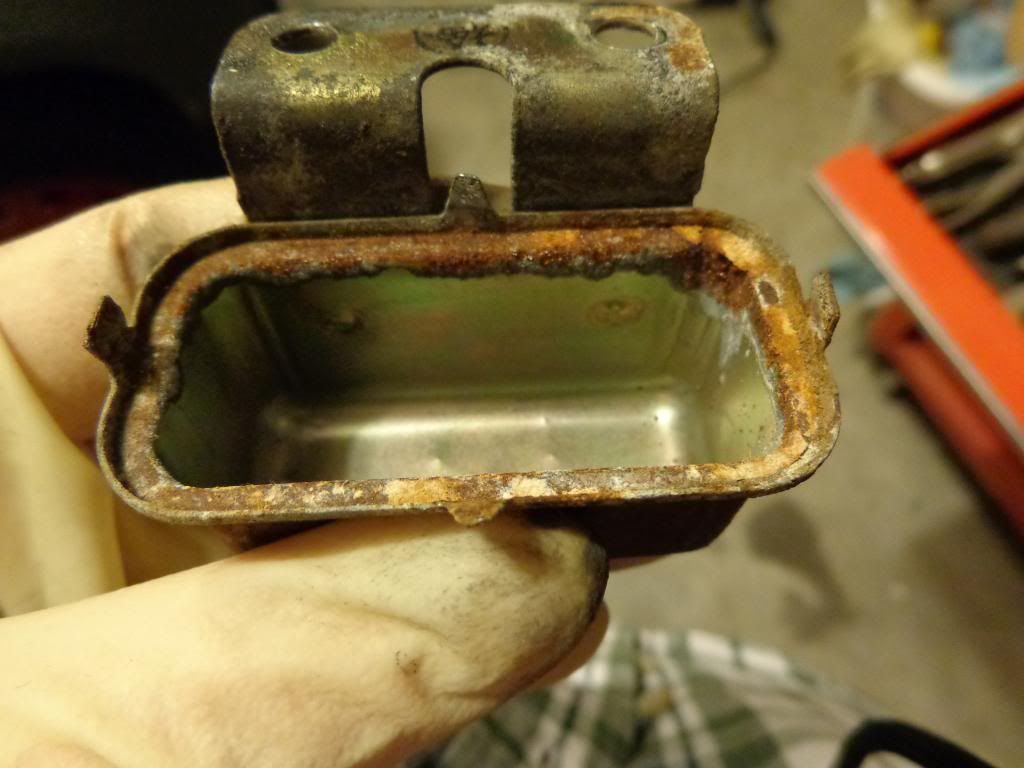
I quickly cleaned the cover and made a new gasket for it:
Image
Image
Image
Image


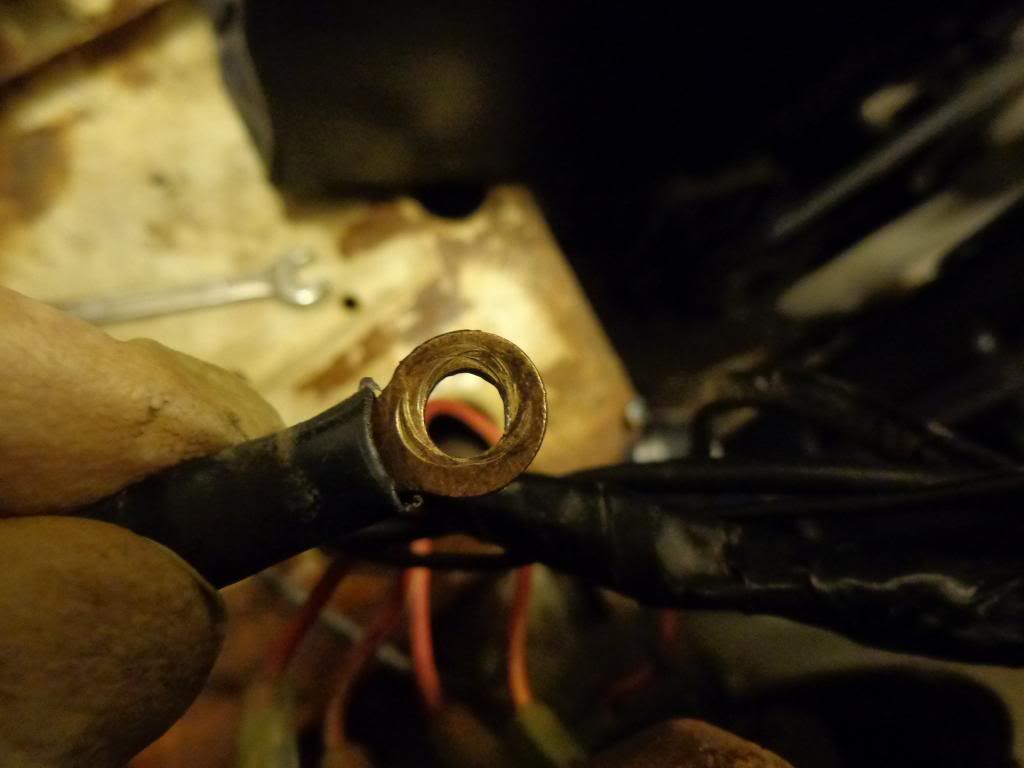
Don't forget to clean any and all terminals, especially the forgotten ground terminals. This includes making sure the screw holding the terminal on, and the surface the terminal touches has clean bare metal touching all contact surfaces. Cover the connection with dielectric grease to keep moisture and corrosion out of the connection.
Image

User avatar
Taterhead
Posts: 2465
Joined: Thu Jul 11, 2013 4:18 am
Cars: '71 510 - Mine
'72 510 - Sons
Location: Central Alabama
Has thanked: 1320 times
Been thanked: 222 times

Re: How to Repair your Relays

#2

Post by Taterhead » Mon Nov 11, 2013 6:08 am

Great write-up. I'm sure I'll be using this in the future.

User avatar
510freak
Global Moderator
Posts: 9706
Joined: Wed Jun 26, 2013 6:44 pm
Title: DJ Jazzy Lou
Cars: Boo no 510 lol
Location: Van Isle
Has thanked: 6 times
Been thanked: 7 times
Contact:

Re: How to Repair your Relays

#3

Post by 510freak » Mon Nov 11, 2013 7:10 am

For sure great write up,Well done
Taterhead » Tue Dec 08, 2015 6:35 am wrote:[quote="Taterhead » Mon Dec 07, 2015 2:41 pm


Sorry, I was channeling my inner flatcat.

MicroMachinery
Posts: 418
Joined: Thu Jun 27, 2013 4:57 pm

Re: How to Repair your Relays

#4

Post by MicroMachinery » Mon Nov 11, 2013 10:22 pm

Good on you. Thanks for the contribution.

User avatar
DRIVEN
Posts: 7646
Joined: Thu Jun 27, 2013 7:05 pm
Location: I've been everywhere
Has thanked: 1179 times
Been thanked: 1153 times

Re: How to Repair your Relays

#5

Post by DRIVEN » Thu Nov 21, 2013 7:42 pm

Nicely documented.
When the only tool you have is a hammer every problem starts to look like a hippy.

User avatar
KlassicMotion
Posts: 39
Joined: Fri Sep 06, 2013 10:00 pm

Re: How to Repair your Relays

#6

Post by KlassicMotion » Sat Nov 23, 2013 1:58 am

I see in DQ, Vol 7 issue 3, Jason Gray's article on repairing the headlight relay states; that if all else fails, the 280zx headlight relay will work on the 510. The part number is: 25230-N4300.

Post Reply