Projects from THE COMPOUND!
- DRIVEN
- Posts: 7696
- Joined: Thu Jun 27, 2013 7:05 pm
- Location: I've been everywhere
- Has thanked: 1204 times
- Been thanked: 1180 times
Re: Projects from THE COMPOUND!
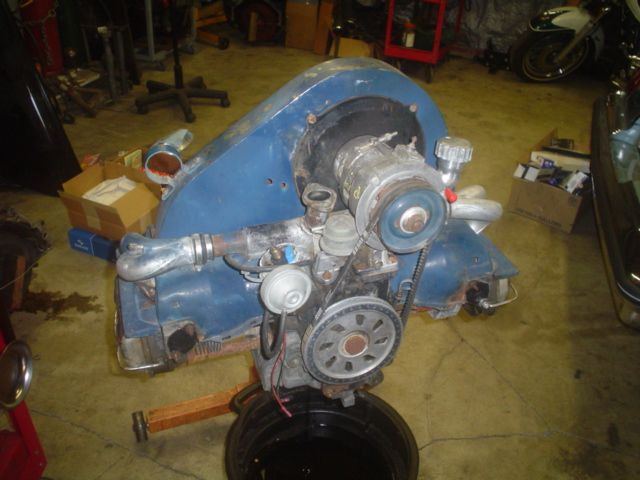
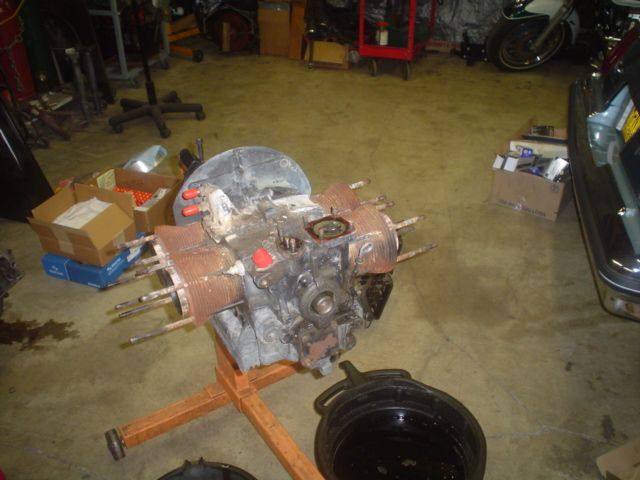
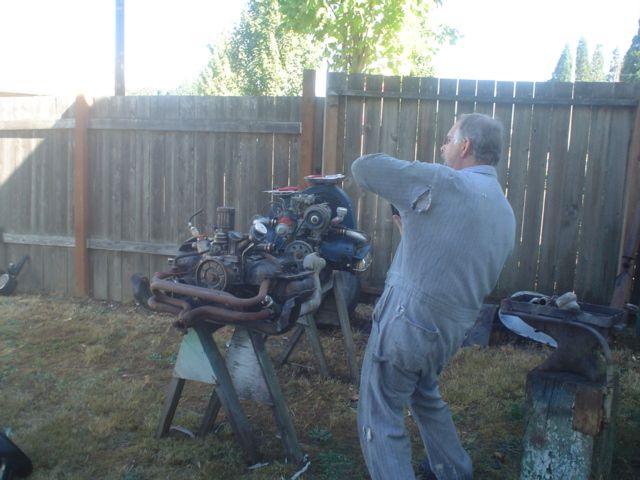
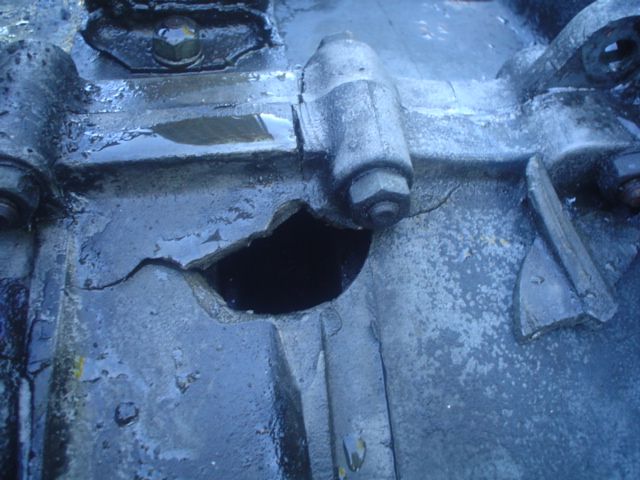
My dad came over today to work for a couple hours. Started tearing the the stuck engine apart so we could clean and transplant the tins to the new engine. Once we got the doghouse off we found the reason it wouldn't turn. A shot of my dad getting a shot of our discovery:
Also found 4 petrified mice on the left head. Made a shopping list and called it quits. More in a couple days.
When the only tool you have is a hammer every problem starts to look like a hippy.
- DRIVEN
- Posts: 7696
- Joined: Thu Jun 27, 2013 7:05 pm
- Location: I've been everywhere
- Has thanked: 1204 times
- Been thanked: 1180 times
Re: Projects from THE COMPOUND!
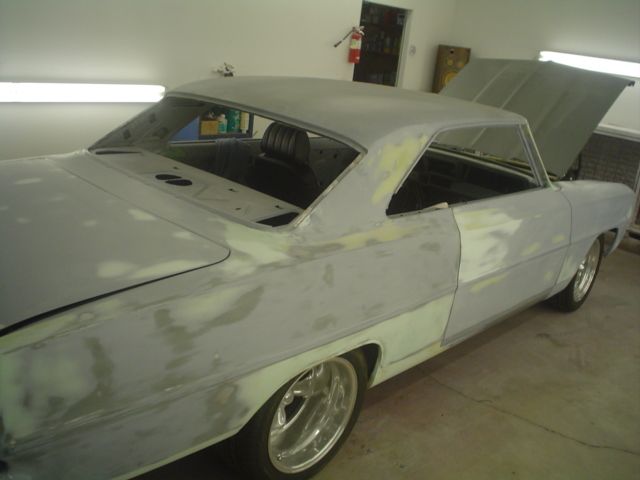
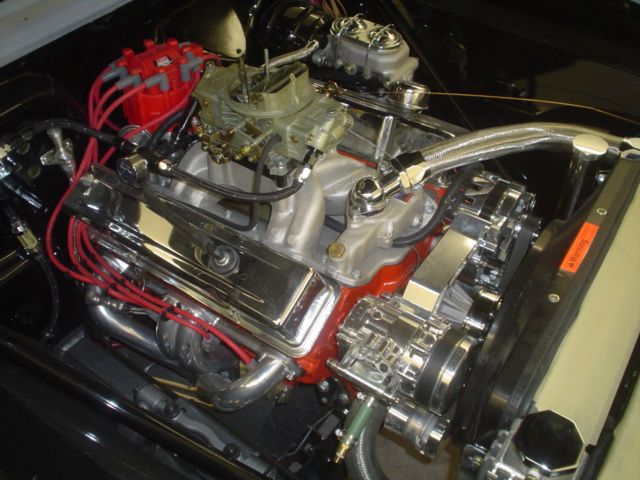
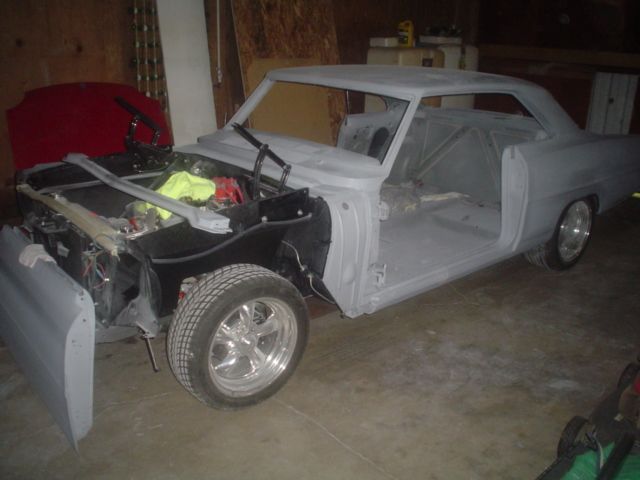
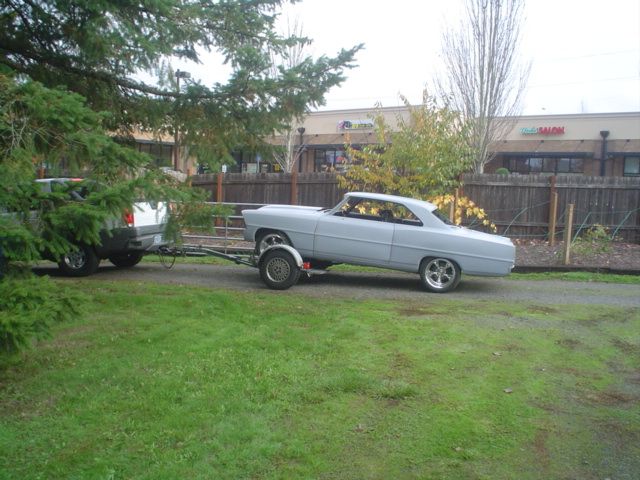
New project showed up yesterday. The owner of this '67 Nova is on a couple lonnng waiting lists to get a "$10,000 paint job" -- whatever that really means. My brother agreed to do the body work and consider painting it. It's a pretty nice start and he clearly has a bigger budget than any of my builds. Looks like a 350 with a 4L80 and a narrow Moser 12bolt. Sounds good!
When the only tool you have is a hammer every problem starts to look like a hippy.
- DRIVEN
- Posts: 7696
- Joined: Thu Jun 27, 2013 7:05 pm
- Location: I've been everywhere
- Has thanked: 1204 times
- Been thanked: 1180 times
Re: Projects from THE COMPOUND!
Nova update. He's about 30 hours into the bodywork and planning to get it in primer tonight. He said he hopes to have it blocked out in 12-15 more hours.
I don't have any jobs scheduled for today so I'll probably work on the hippie house.
When the only tool you have is a hammer every problem starts to look like a hippy.
- DRIVEN
- Posts: 7696
- Joined: Thu Jun 27, 2013 7:05 pm
- Location: I've been everywhere
- Has thanked: 1204 times
- Been thanked: 1180 times
Re: Projects from THE COMPOUND!
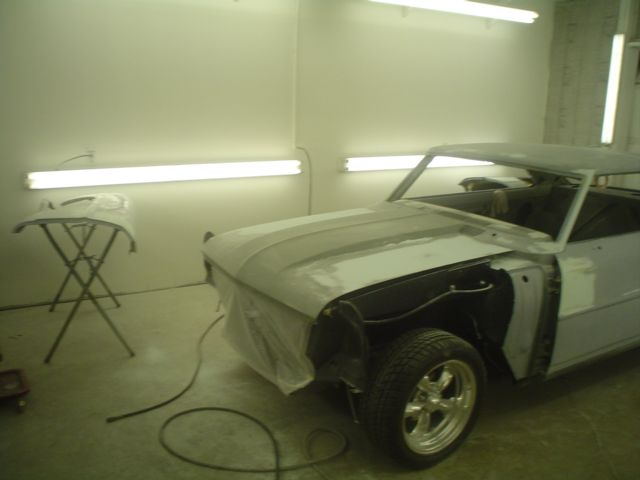
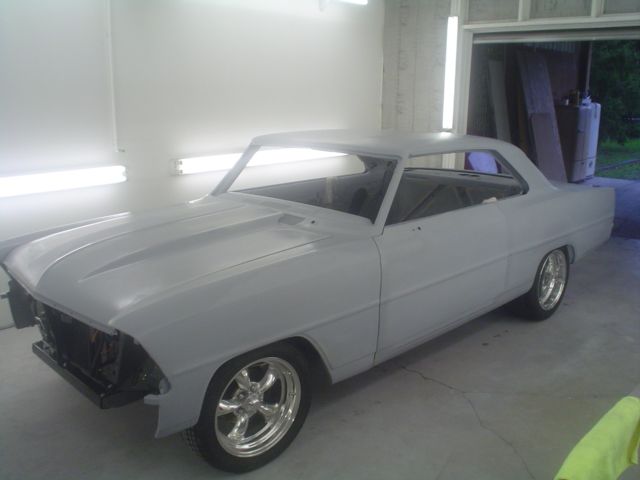
Nova's in primer:
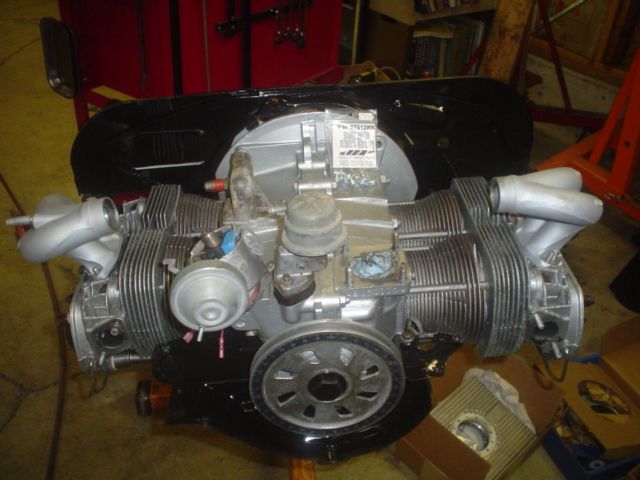
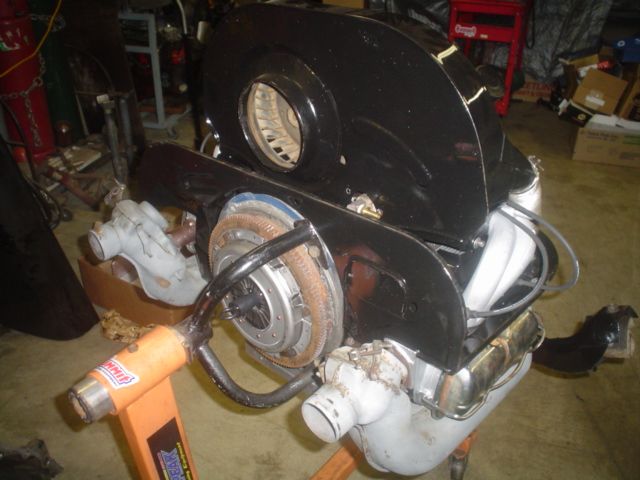
VW engine has been torn down for a check-over, reseal, repaint, reassembly. Hoping to have it buttoned up today:
When the only tool you have is a hammer every problem starts to look like a hippy.
- DRIVEN
- Posts: 7696
- Joined: Thu Jun 27, 2013 7:05 pm
- Location: I've been everywhere
- Has thanked: 1204 times
- Been thanked: 1180 times
Re: Projects from THE COMPOUND!
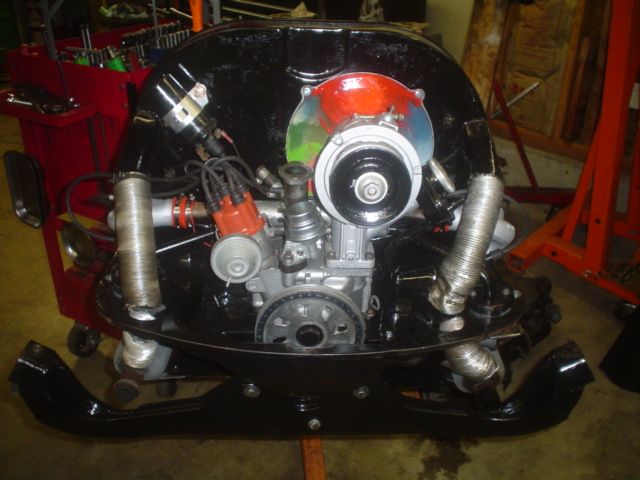
Devoted a few more hours to the bus yesterday. Got the engine mostly done. The carb still needs to be rebuilt but the parts spent the night in the dip tank. We also have to swap the alternator stand. The one that's on it now is for a generator. It was looking pretty bland so I gave it a tie-dye treatment on the alternator backing plate. Hippies love tie-dye.
New clutch:
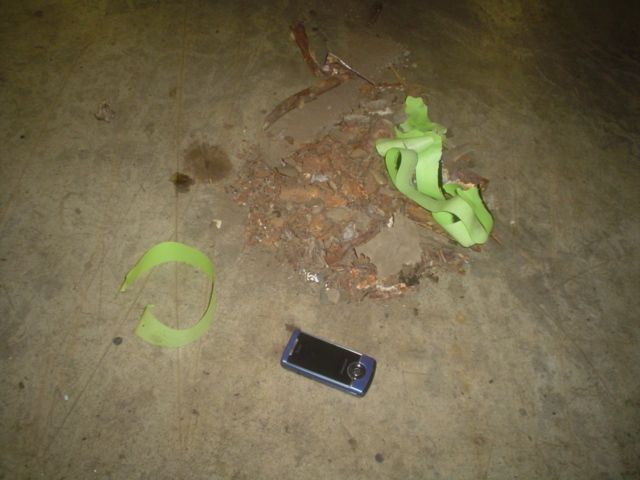
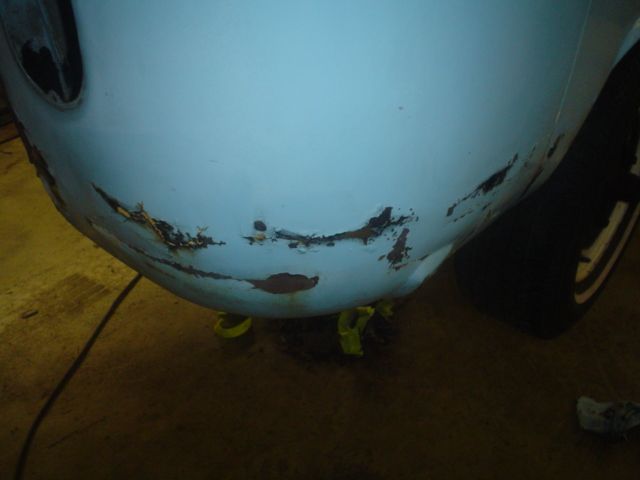
My brother came by to address the battery tray. This is what happens when you do hack repairs. Unfortunately the only real rust on the car was completely avoidable and self inflicted. The tray had been "repaired" at least 3 times causing lots of places to collect debris. This is the pile that came out from behind it. Cell phone for perspective:
The outside:
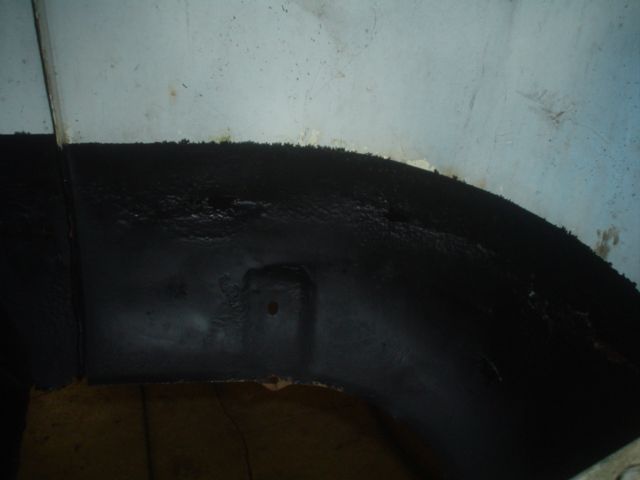
Inside. Old tray COMPLETELY removed, metal cleaned and treated with POR15. The new tray will get glued in with AutoMix today.
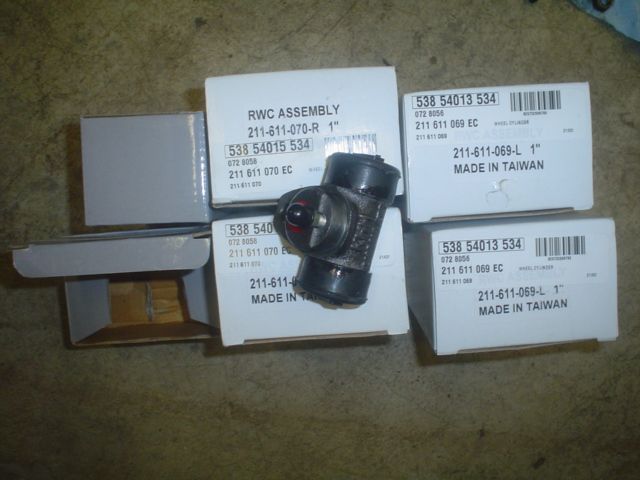
I'll be working on brakes today. New wheel cylinders (yes, 6 of them) and good used master:
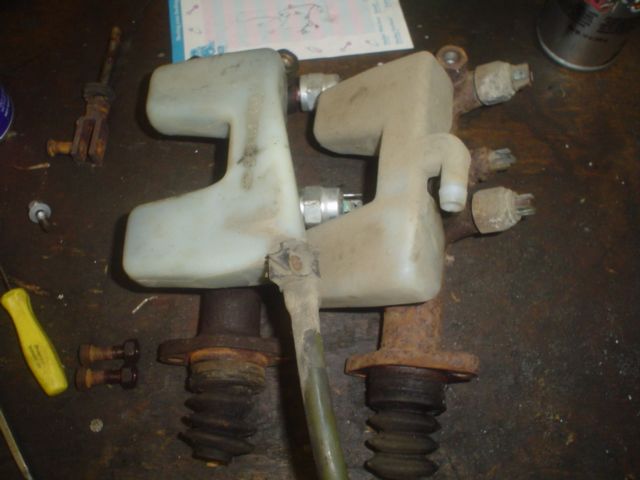
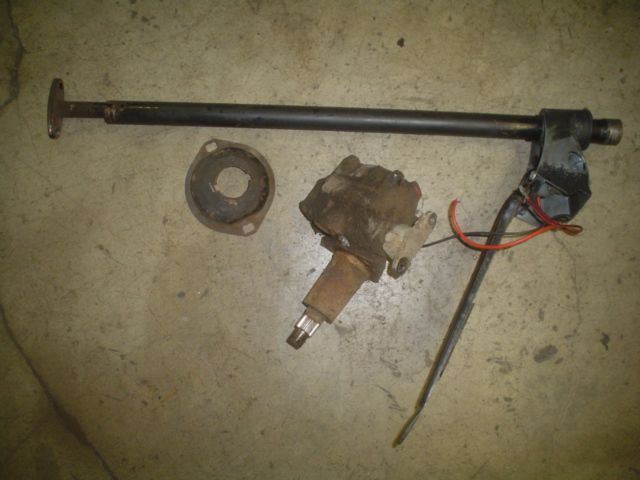
Our dad will be working on the steering. The box was reeeally worn out and the column was loose and missing some parts. He found a guy parting out another '68 and picked up some parts from him. The master cylinder pictured above, this column, and a box (the one in the photo is actually the old one):
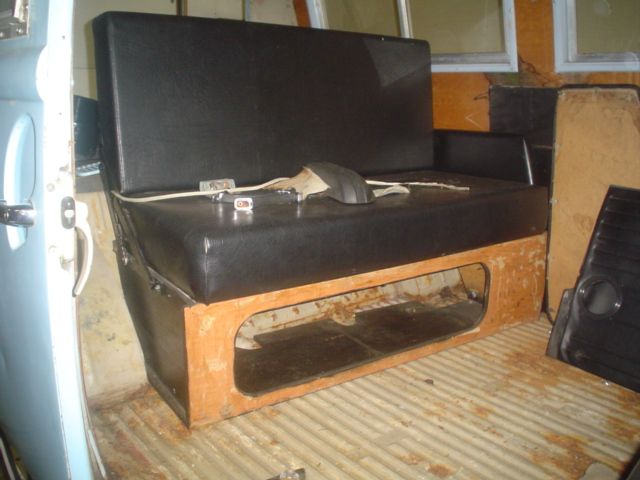
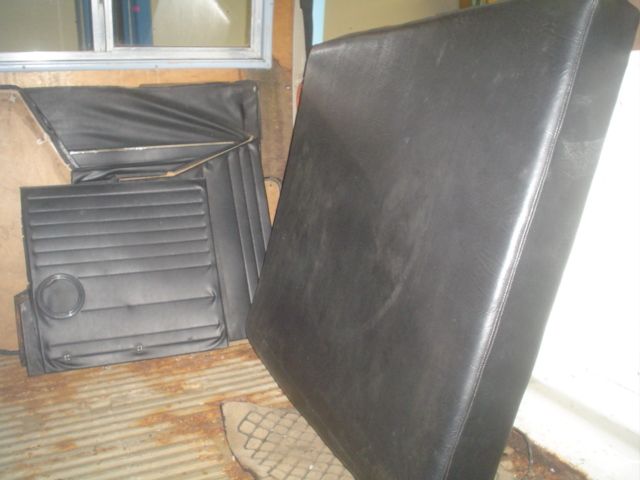
The best part of his find was the Z-bed rear seat with fresh upholstery, rear mattress pad, door panels and some deluxe interior pieces.
When the only tool you have is a hammer every problem starts to look like a hippy.
- DRIVEN
- Posts: 7696
- Joined: Thu Jun 27, 2013 7:05 pm
- Location: I've been everywhere
- Has thanked: 1204 times
- Been thanked: 1180 times
Re: Projects from THE COMPOUND!
The Nova is back outside of the booth for now. It's been primed, blocked and then reprimed and reblocked. He now has the hood, trunk, fenders and doors inside the booth and is doing the second blocking after the second prime. It'll be ready to either leave or prep for the interior paint this weekend depending on what agreement they come to. The owners REALLY want my brother to shoot the car but he's not too excited about it. We'll see what happens.
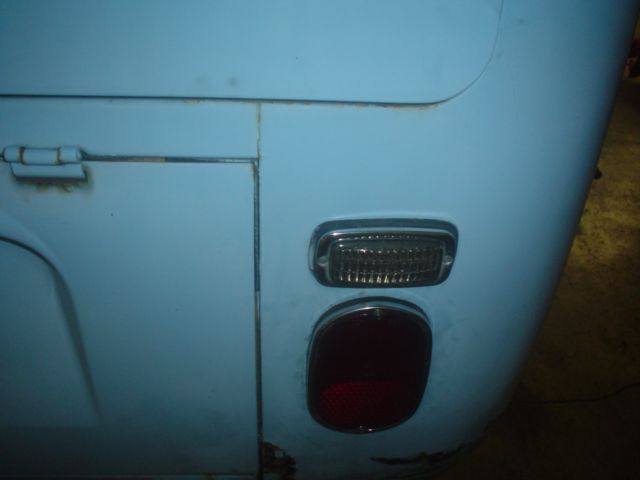
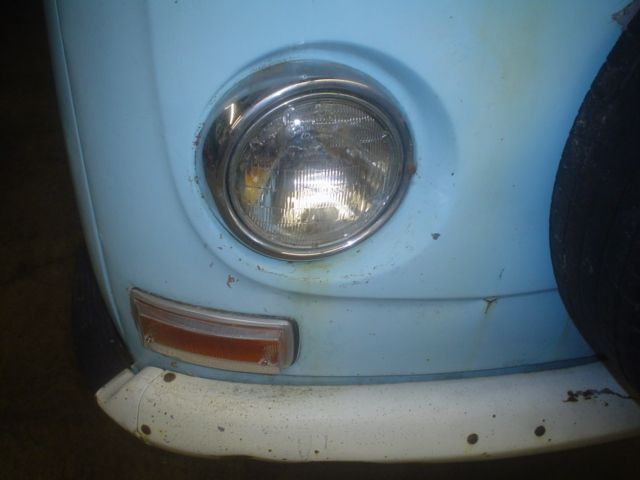
I had hoped I was done with the bus but no such luck. We started into the punch list and found tons of stuff wrong. Ended up replacing some light housings that were too corroded/damaged/broken to repair. Also replaced the front signal lenses.
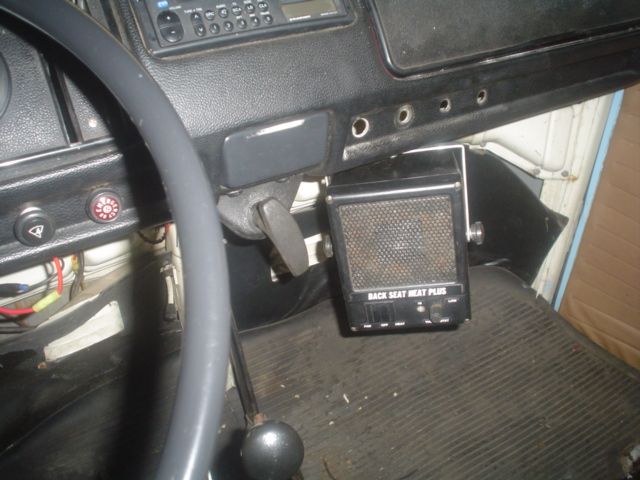
The left headlight assembly was on the right side and the right was on the left so the bulbs wouldn't seat correctly. The backup light wiring had been cut out and needed to be replaced. Almost all the dash lights were bad. The horn wiring was shorted out. The license plate bulb socket was sloppy. The oil pressure wiring had a break inside the main harness. The alternator wouldn't charge because the indicator bulb was burnt out. The turn signals wouldn't work because the relay was dangling under the dash and needs to be grounded by the mounting screw. The dimmer switch is stuck on low beam. Once the lighting was all done we added an under dash heater.
Then we turned our attention on getting it to run better (stronger). I was having very little luck tuning the carb and ended up replacing it with the spare. It didn't make it any faster but at least I could fine tune the idle. It was still pretty inconsistent though. It would run okay for a while then just start running horribly. I swapped in the spare distributor too just to see if it changed anything. A little better but not quite. Did a compression test and found #2 is a bit weaker than the rest but not enough to explain the erratic behavior. I finally found that #3 plug wire was intermittently going open. I'm kind of embarrassed that it took me so long to figure out such a simple problem. New wire -- all better. Runs great now, but still pretty gutless.
When the only tool you have is a hammer every problem starts to look like a hippy.
- DRIVEN
- Posts: 7696
- Joined: Thu Jun 27, 2013 7:05 pm
- Location: I've been everywhere
- Has thanked: 1204 times
- Been thanked: 1180 times
Re: Projects from THE COMPOUND!
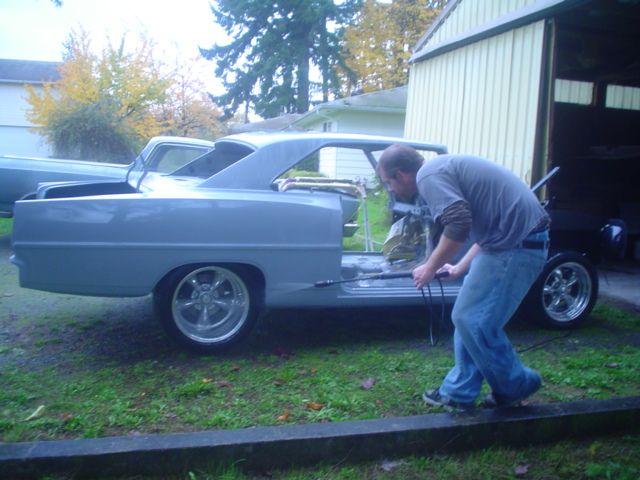
Pressure washing after the final blocking:
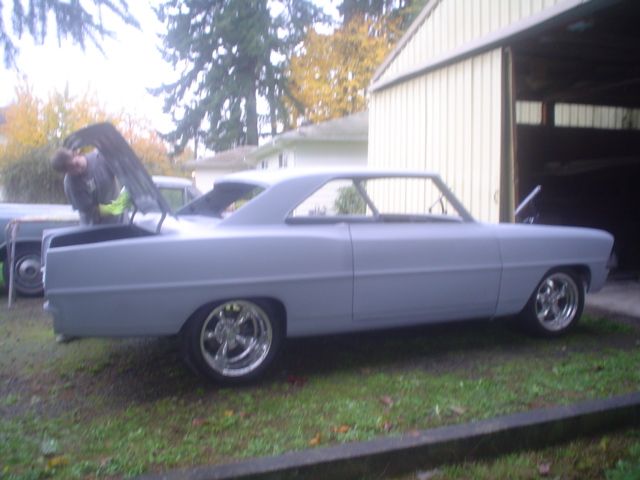
Fenders, doors and decklid back on:
Hood back on and waiting to be picked up and taken to the painter:
He had estimated the job at 40hrs and probably has over 60 in it at this point. It's also taken 2 weeks longer than projected. Part of it was just life getting busy and the rest was attention to detail. The hood was a HUGE pain in the ass and he still isn't completely pleased with the results. The metal is thinner gauge than a stock hood and seems to be temperature sensitive. Plus the owner had sat on the edges in an effort to match the fender profile. It's really not noticeable unless you are sitting in the driver's seat and looking for flaws. "Normal" people would never see it. The rest of the car came out beautifully.
When the only tool you have is a hammer every problem starts to look like a hippy.
- DRIVEN
- Posts: 7696
- Joined: Thu Jun 27, 2013 7:05 pm
- Location: I've been everywhere
- Has thanked: 1204 times
- Been thanked: 1180 times
Re: Projects from THE COMPOUND!
Hope you're enjoying the thread. It's a pretty useful tool for me to keep a timeline on all the simultaneous projects. I have to admit that I go back through it myself frequently to refresh my memory on certain things. Dear diary... .
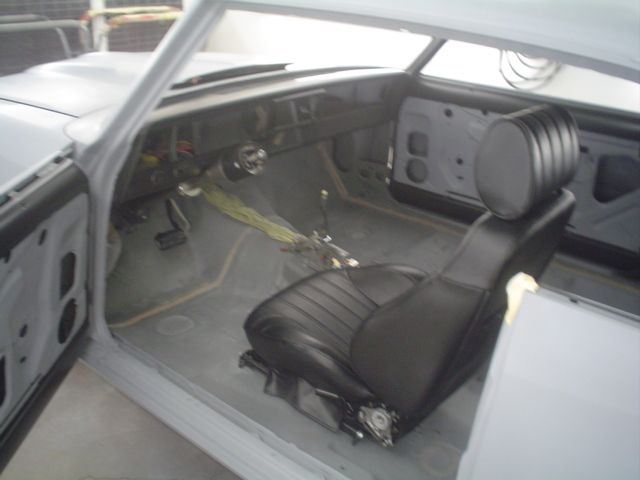
The Nova would be all apart if my brother was actually doing the painting. We hung it back together for 2 reasons; so that the customer can see that it's actually straight enough for paint, and so that it can be transported easier. It will definately need to come apart again to paint it correctly. He wants the interior shot in a semi-flat charcoal-ish single stage but the jambs and exterior painted an Audi blue. Should be a pretty combination. They'e slated to come by today and meet with my brother. Either he'll get paid and the car leaves today or he'll get paid then paint the interior and get paid some more when it leaves. He's pretty burnt out on this car so I doubt he can be convinced to do the interior paint.
When the only tool you have is a hammer every problem starts to look like a hippy.
- DRIVEN
- Posts: 7696
- Joined: Thu Jun 27, 2013 7:05 pm
- Location: I've been everywhere
- Has thanked: 1204 times
- Been thanked: 1180 times
Re: Projects from THE COMPOUND!
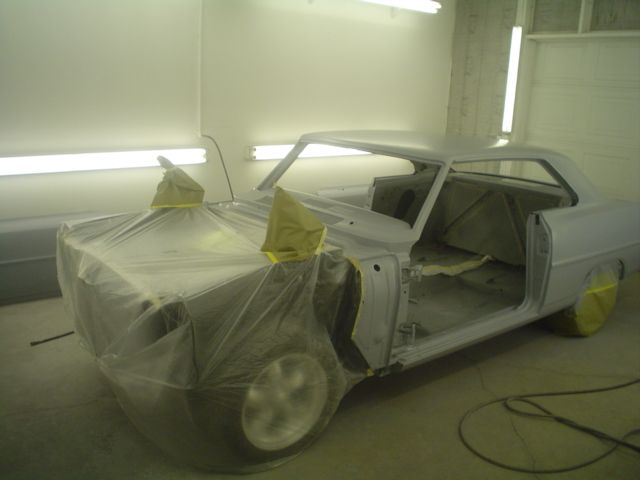
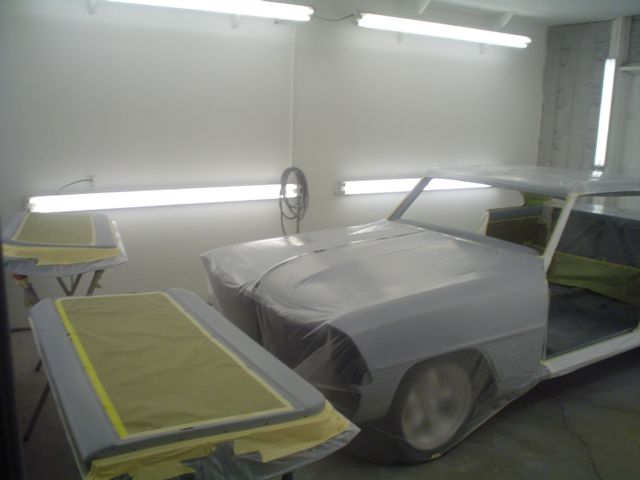
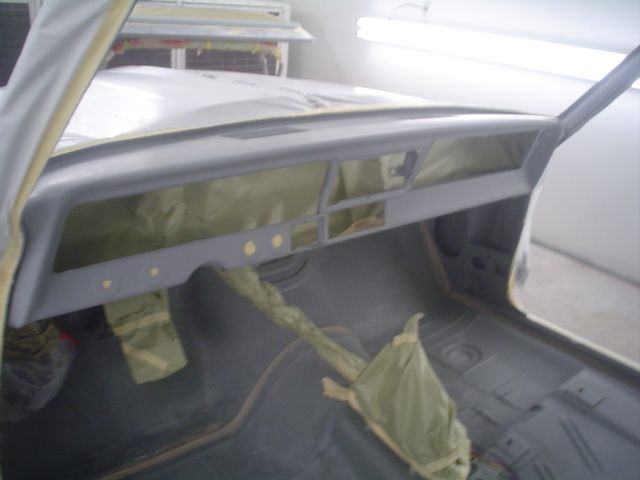
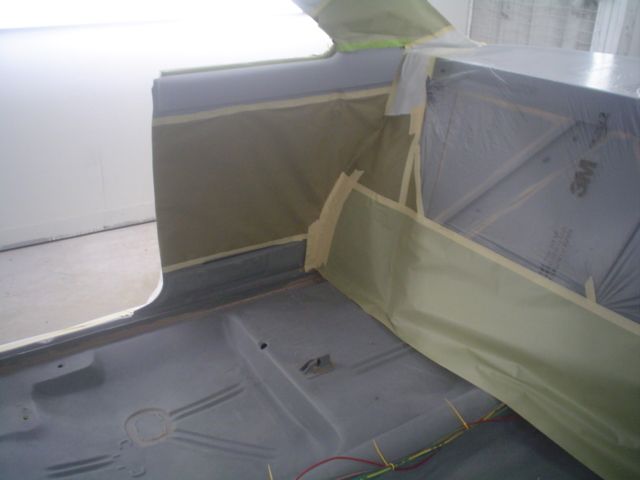
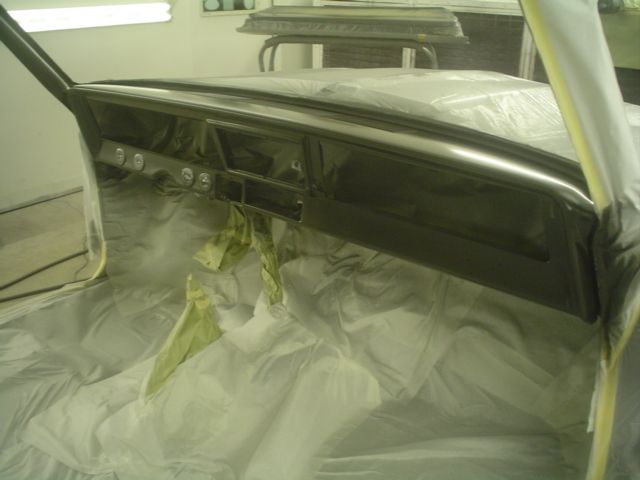
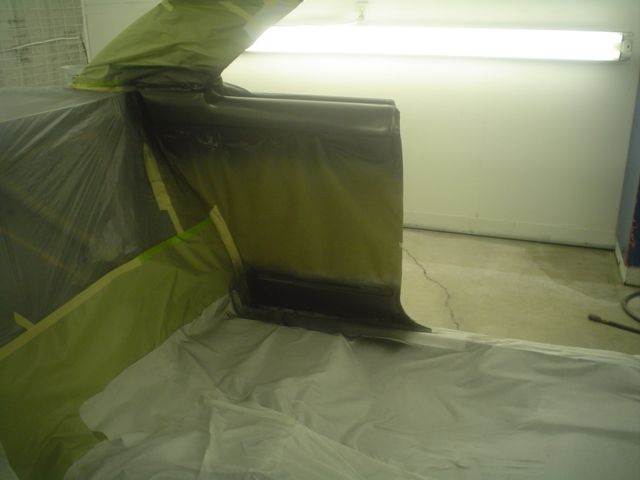
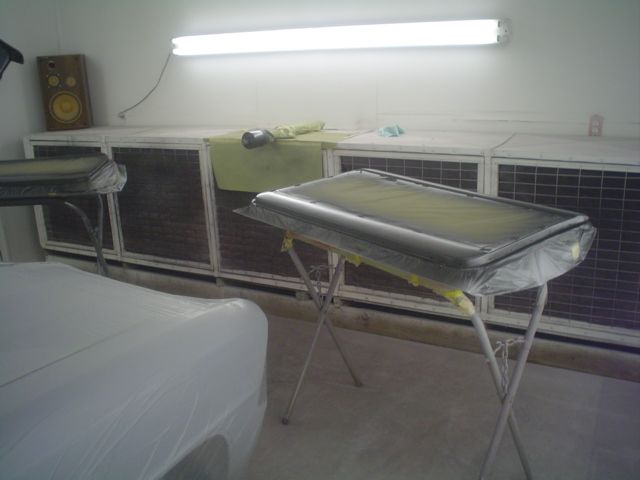
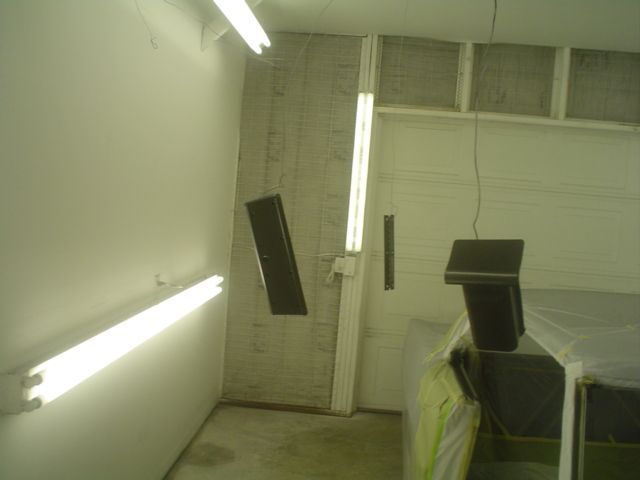
Aw geez! Looks like he's as much of a greedy whore as me. I guess there WAS enough cash to convince him to shoot the interior. He spent a couple hours cleaning the booth and then a few more hours pulling the doors back off and wrapping the entire car.
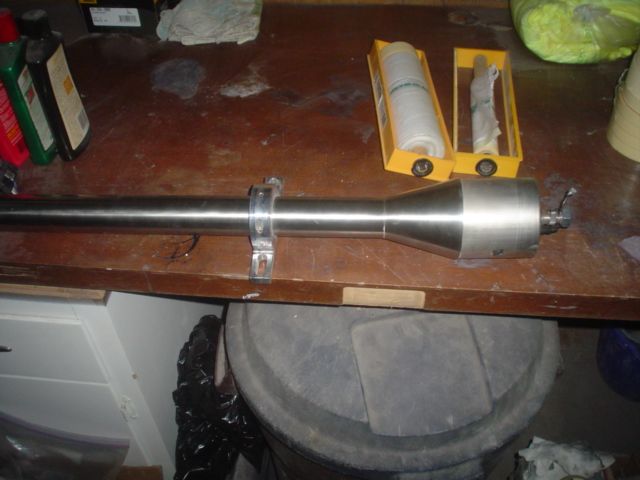
They also have a brushed finish Flaming River column that they wanted painted. After some discussion they all decided it might look better to just color match the top portion and steering wheel adapter.
Like I mentioned earlier, he's using a customer supplied semi flat single stage. That means that if there are any flaws (like a run or some dirt) the entire panel will need to be reprepped and resprayed. It can't be blended and it can't be buffed. No pressure.
On the bus project: The tires that came with it were pretty poor. They were at least 20 years old and nowhere near being round anymore. I came up with a nice set of studded whitewalls. My dad cleaned, scuffed and painted the wheels then I mounted them up at the shop. Totally spaced on grabbing the camera. The bus is now 15 miles away at his house while he's working on the interior. I'll try to get some update pics next time I'm over there.
When the only tool you have is a hammer every problem starts to look like a hippy.
- DRIVEN
- Posts: 7696
- Joined: Thu Jun 27, 2013 7:05 pm
- Location: I've been everywhere
- Has thanked: 1204 times
- Been thanked: 1180 times
Re: Projects from THE COMPOUND!
Paint!
Looked pretty good to me. We'll see how it looks in the light of day when my brother comes by after work.
When the only tool you have is a hammer every problem starts to look like a hippy.
- DRIVEN
- Posts: 7696
- Joined: Thu Jun 27, 2013 7:05 pm
- Location: I've been everywhere
- Has thanked: 1204 times
- Been thanked: 1180 times
Re: Projects from THE COMPOUND!
Done.
And gone.
And gone.
When the only tool you have is a hammer every problem starts to look like a hippy.
- DRIVEN
- Posts: 7696
- Joined: Thu Jun 27, 2013 7:05 pm
- Location: I've been everywhere
- Has thanked: 1204 times
- Been thanked: 1180 times
Re: Projects from THE COMPOUND!
So, that's about 1/2 my project thread to date. I'll continue in the next day or 2. Thanks for looking.
When the only tool you have is a hammer every problem starts to look like a hippy.
- DRIVEN
- Posts: 7696
- Joined: Thu Jun 27, 2013 7:05 pm
- Location: I've been everywhere
- Has thanked: 1204 times
- Been thanked: 1180 times
Re: Projects from THE COMPOUND!
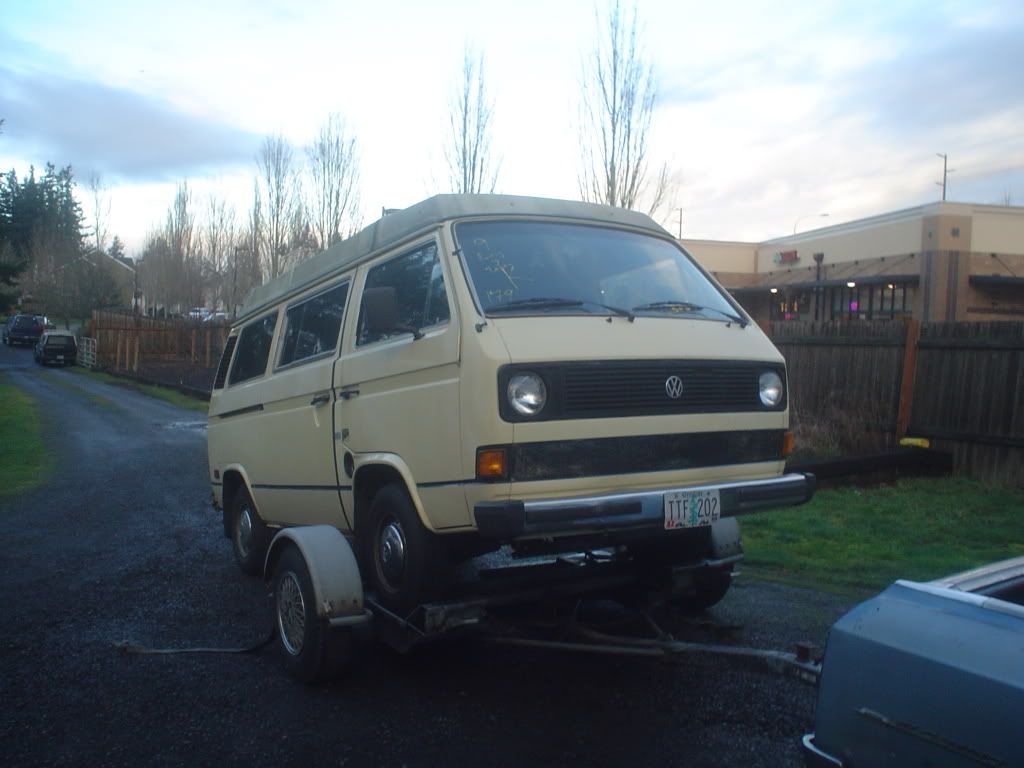
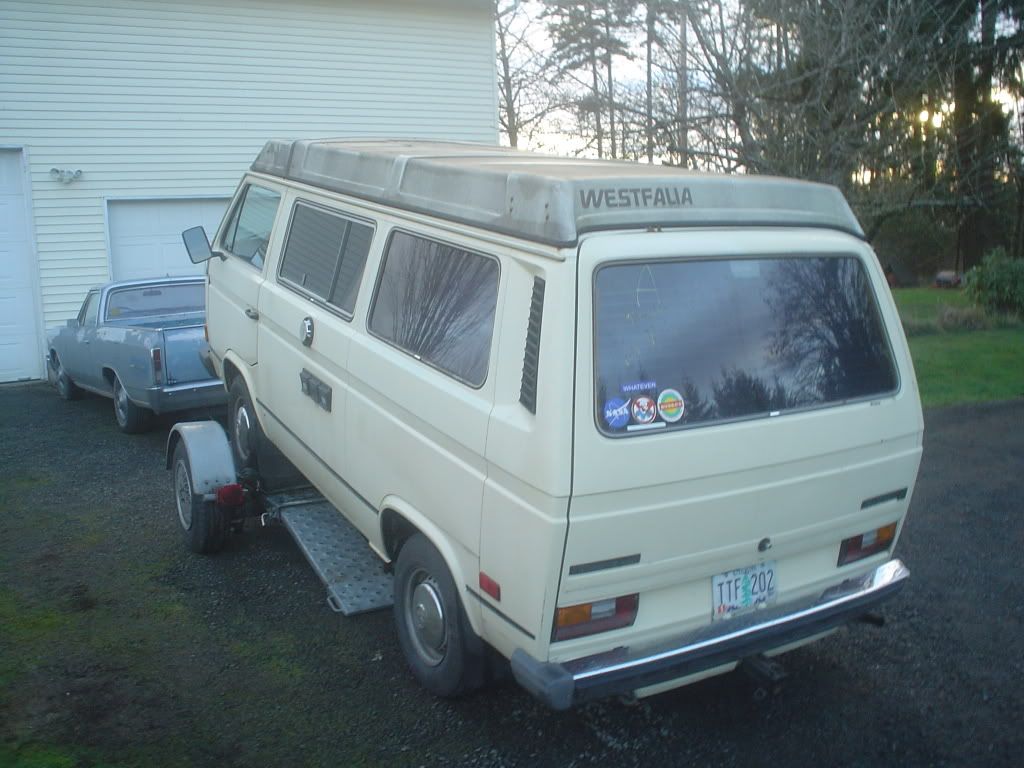
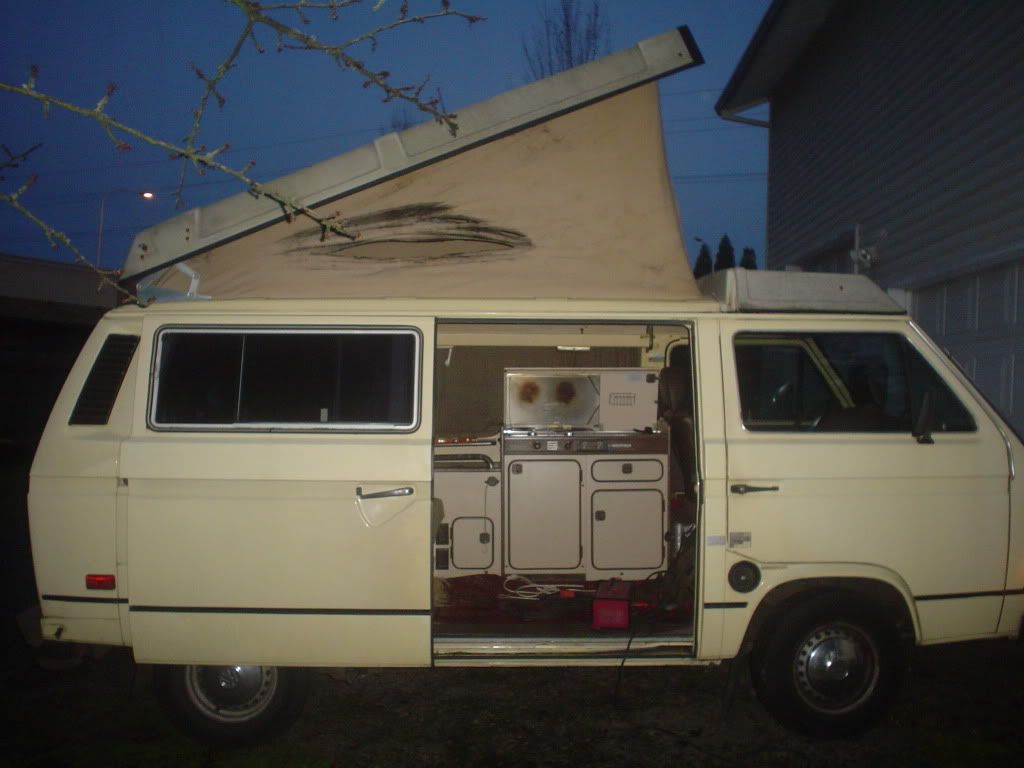
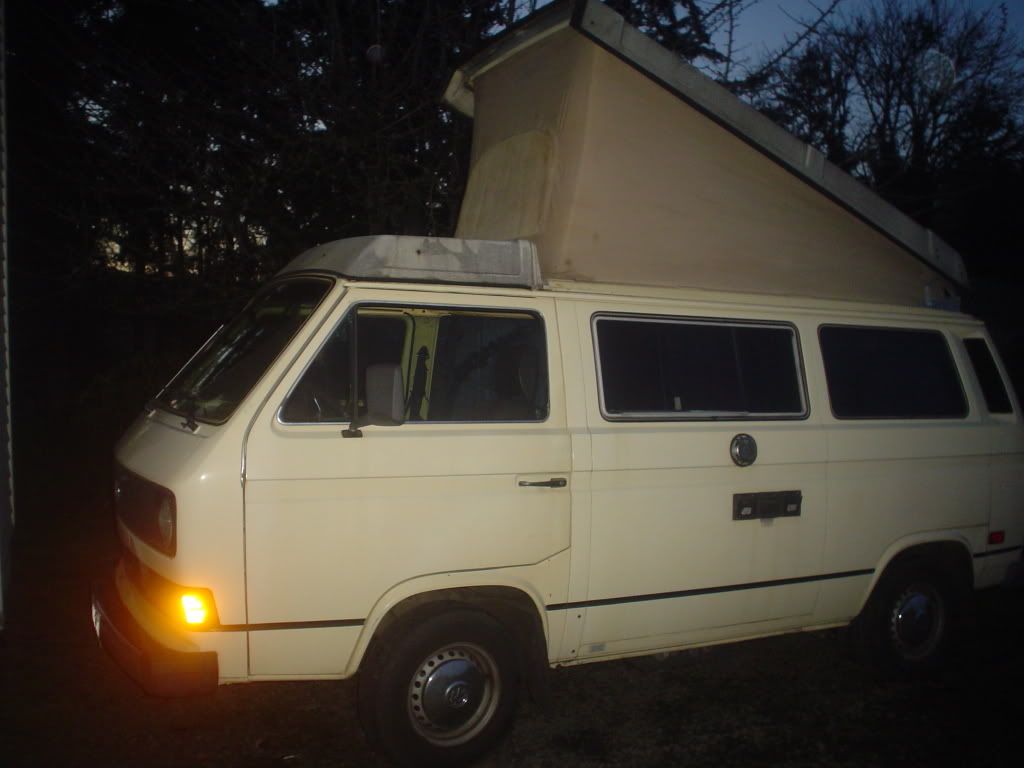
Oh boy. Look what followed me home from the auction today. This one's an '82 Westfalia. Drove it on the dolly so I know it will run. Time to clean it up and see what else is wrong with it. I'll get some interior shots when it's a little brighter outside.
When the only tool you have is a hammer every problem starts to look like a hippy.
- DRIVEN
- Posts: 7696
- Joined: Thu Jun 27, 2013 7:05 pm
- Location: I've been everywhere
- Has thanked: 1204 times
- Been thanked: 1180 times
Re: Projects from THE COMPOUND!
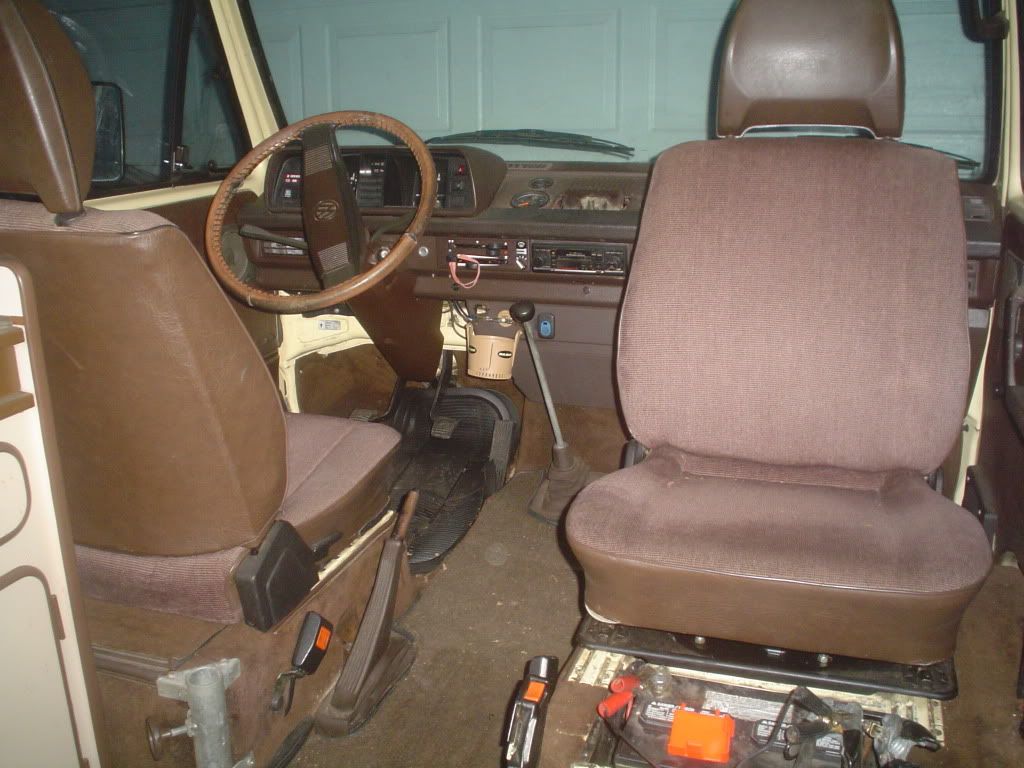
The price was pretty right and they sell for more than they should. I should be able to double or triple my money. Basically, I'm a big fat whore. Forgot to get the interior pics until it was dark again. This is the best I could do. Excuse the mess. I haven't done any cleaning yet and it needs it badly. Anyway, it has the spin-roto seat and 2nd table mount...
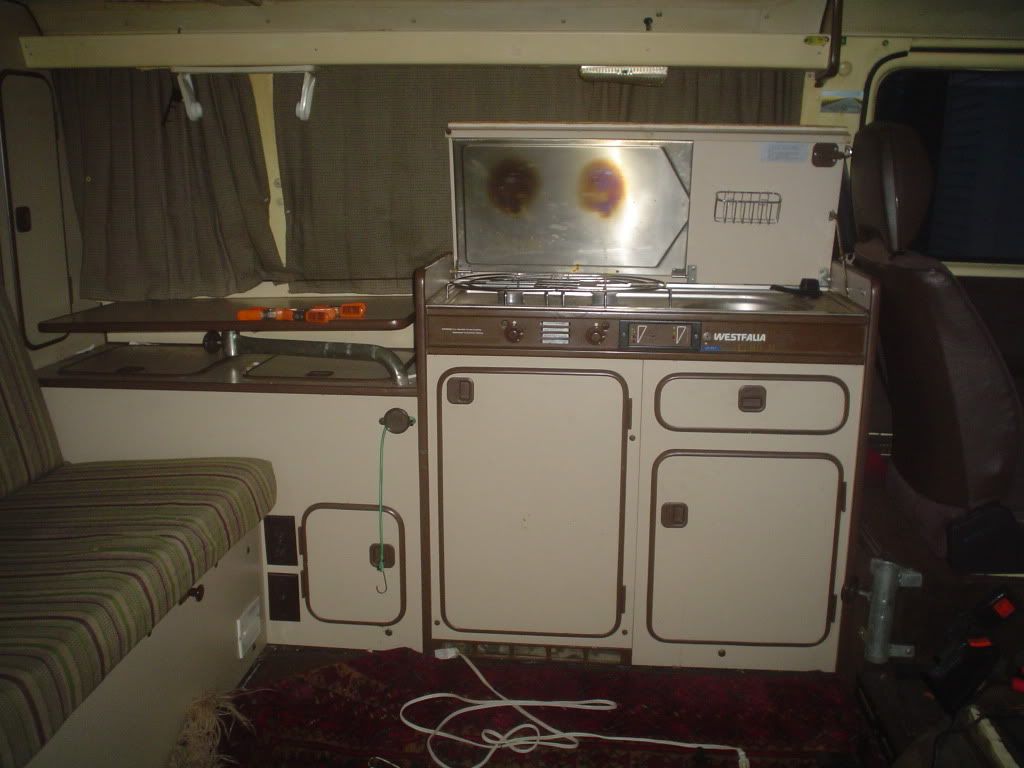
full kitchen with stove, sink and fridge...
bed in the back...
and the double bed upstairs. The top is good on 2 sides but got rotted on the passenger side from being improperly closed.
One of my customers from Croatia came by today and was drooling all over it. He said the rug in it is handmade and probably worth $300-$400. Bonus!
When the only tool you have is a hammer every problem starts to look like a hippy.
- DRIVEN
- Posts: 7696
- Joined: Thu Jun 27, 2013 7:05 pm
- Location: I've been everywhere
- Has thanked: 1204 times
- Been thanked: 1180 times
Re: Projects from THE COMPOUND!
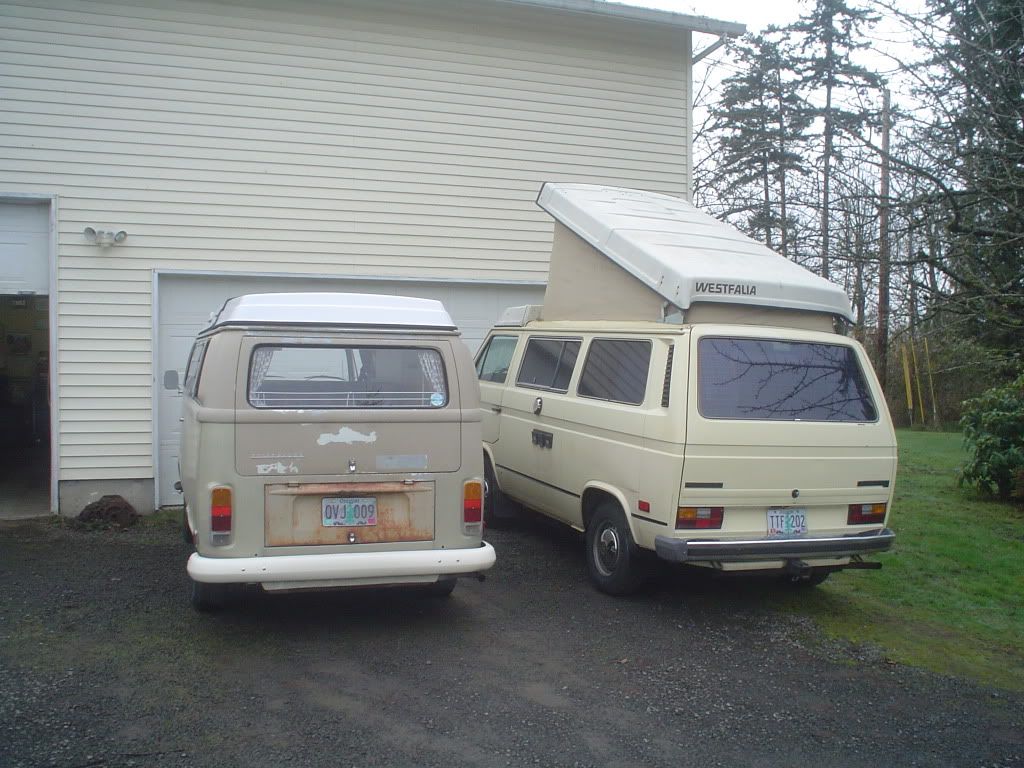
My brother's bus is back for some tuning and an alternator swap. I pressure washed the '82 and started cleaning the inside. Also took a trip to the wrecking yard for a window regulator.
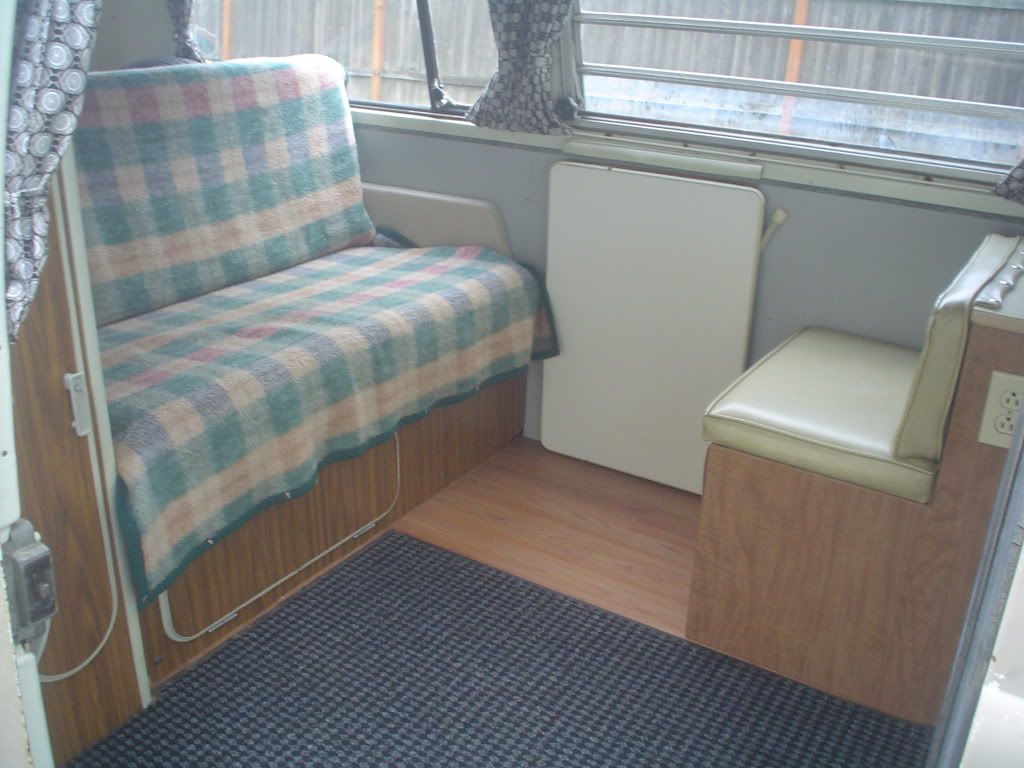
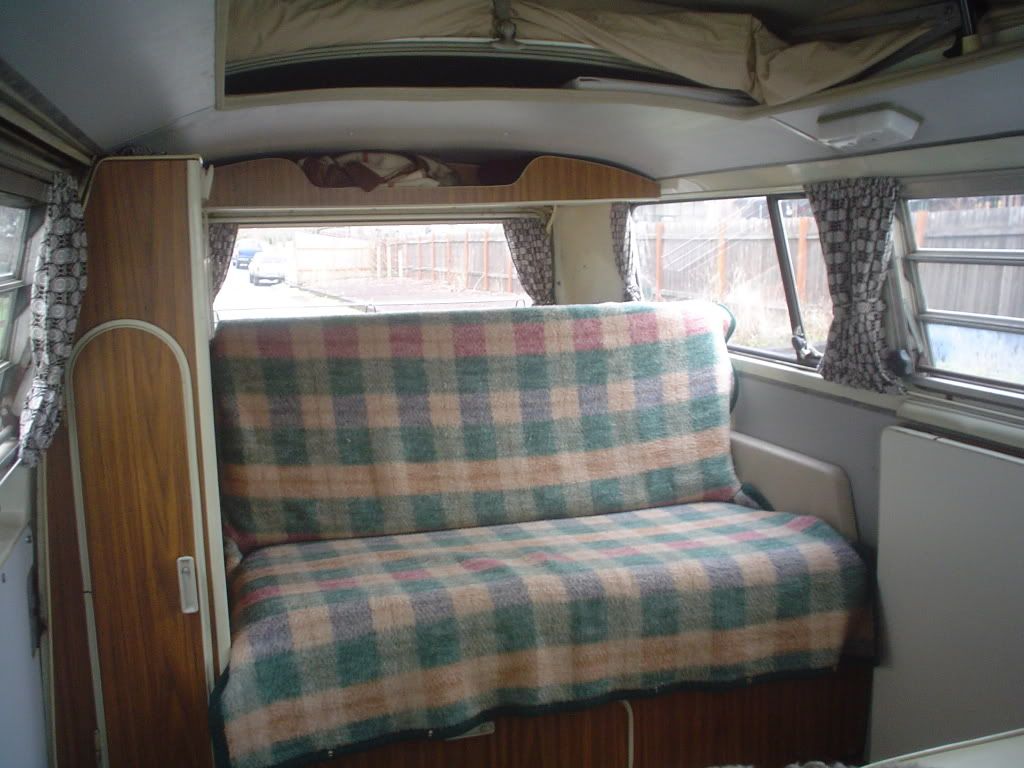
I realized that I never got any interior shots of his bus. This is the inside of the '72:
When the only tool you have is a hammer every problem starts to look like a hippy.
- DRIVEN
- Posts: 7696
- Joined: Thu Jun 27, 2013 7:05 pm
- Location: I've been everywhere
- Has thanked: 1204 times
- Been thanked: 1180 times
Re: Projects from THE COMPOUND!
The more I go over it the more obvious it is that it was someone's baby. I suspect the previous (neglectful) owner didn't have it very long. In fact, we're pretty sure this was being advertized on CL a few weeks ago by a seller who got it impounded for driving without insurance. They wanted a buyer who would go to the impound yard and pay the fines then an additional $1000 to the seller. I guess they had no takers.
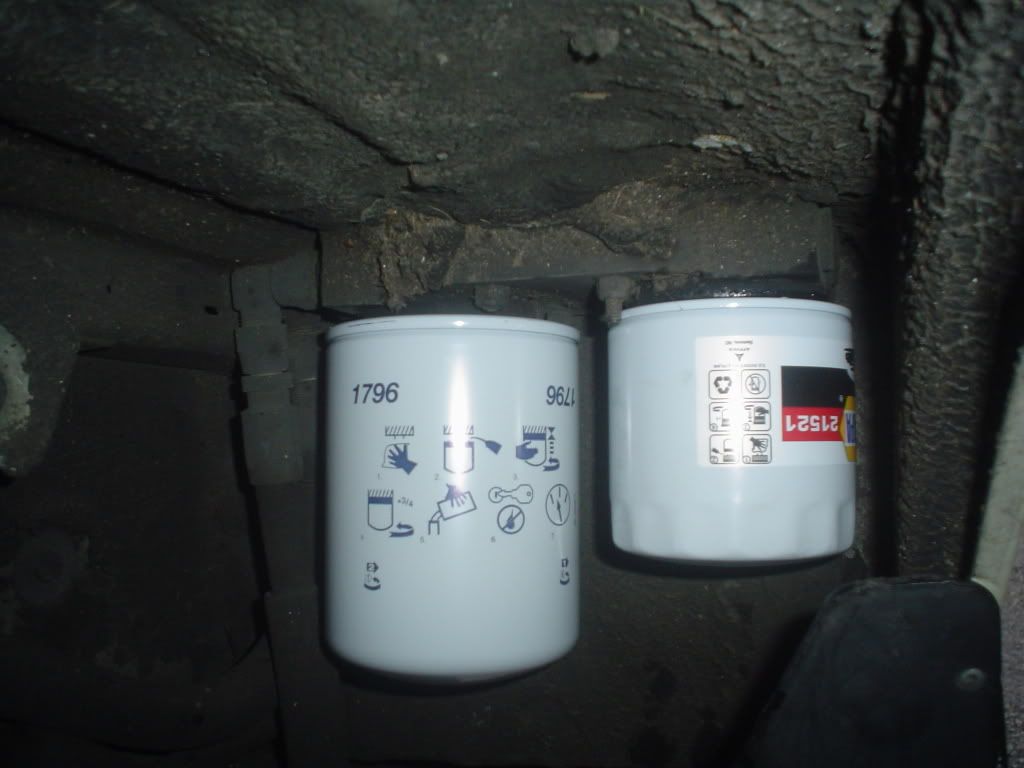
Some of the things I've noticed are recently replaced heads, probably 10-20K ago judging by the grime. Starter looks really new. There are higher-end Bilsteins all around as well as aftermarket front and rear sway bars. Even the tires have great tread and are the appropriate LTs rather than passenger tires that many people skimp on. It also has a dual stage remote oil filter. It looks like the set that Amsoil sells for about $300.
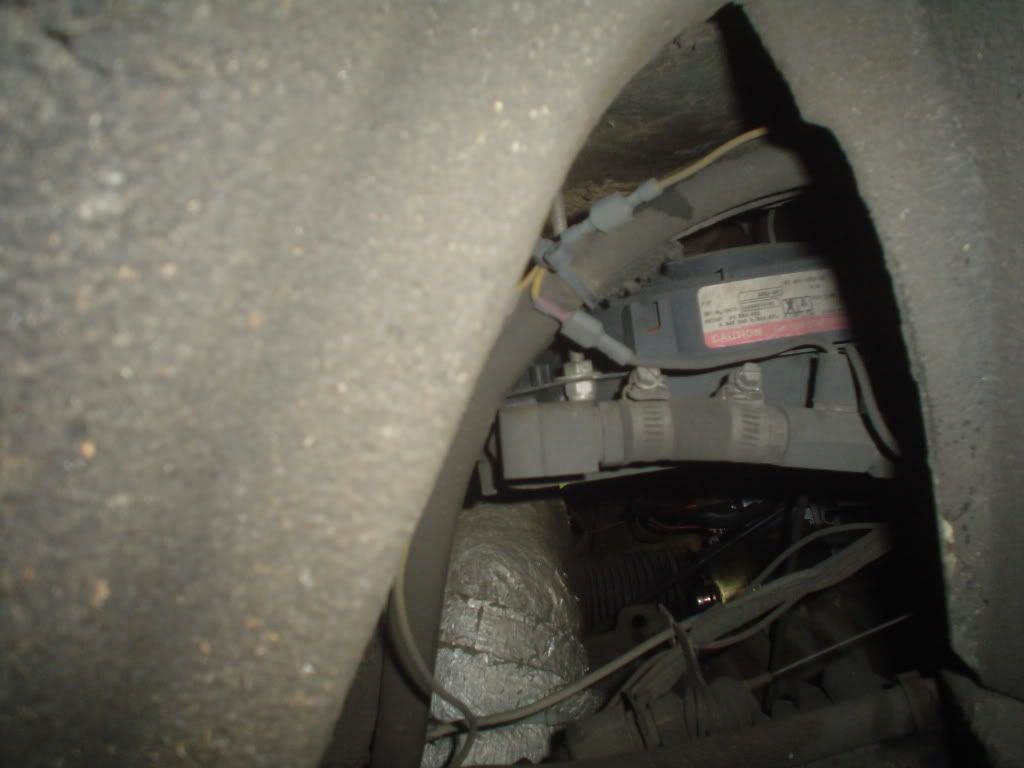
There's a thermostatic bypass and a really nice plate style cooler with an electric fan.
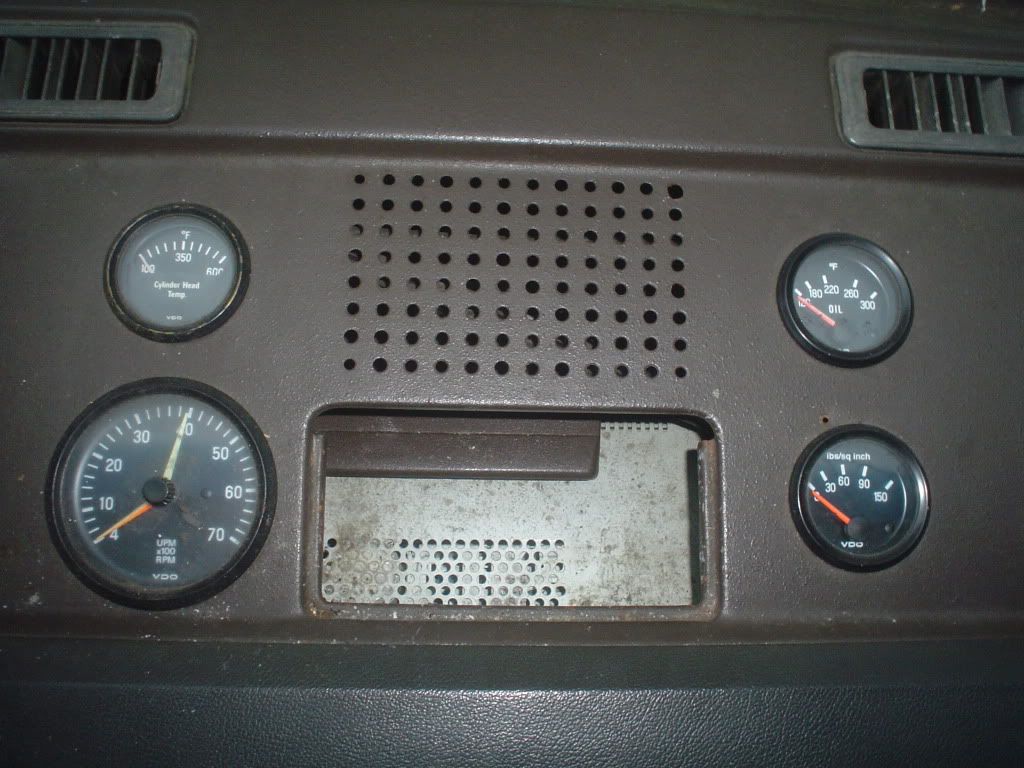
Something that I would definitely want if I was driving one of these is this nice gauge set. Tach, cylinder head temp, oil pressure and oil temp. They all work great too. Very useful upgrade.
I haven't driven it out of the neighborhood yet but it runs really well and I think it'll make a nice driver for the next owner.
When the only tool you have is a hammer every problem starts to look like a hippy.
- DRIVEN
- Posts: 7696
- Joined: Thu Jun 27, 2013 7:05 pm
- Location: I've been everywhere
- Has thanked: 1204 times
- Been thanked: 1180 times
Re: Projects from THE COMPOUND!
My dad has been puttering along with his '68 for the last couple months. Here's a couple update pics I took yesterday. Compare these to the photos a few pages back and you can really appreciate all the work he's done.
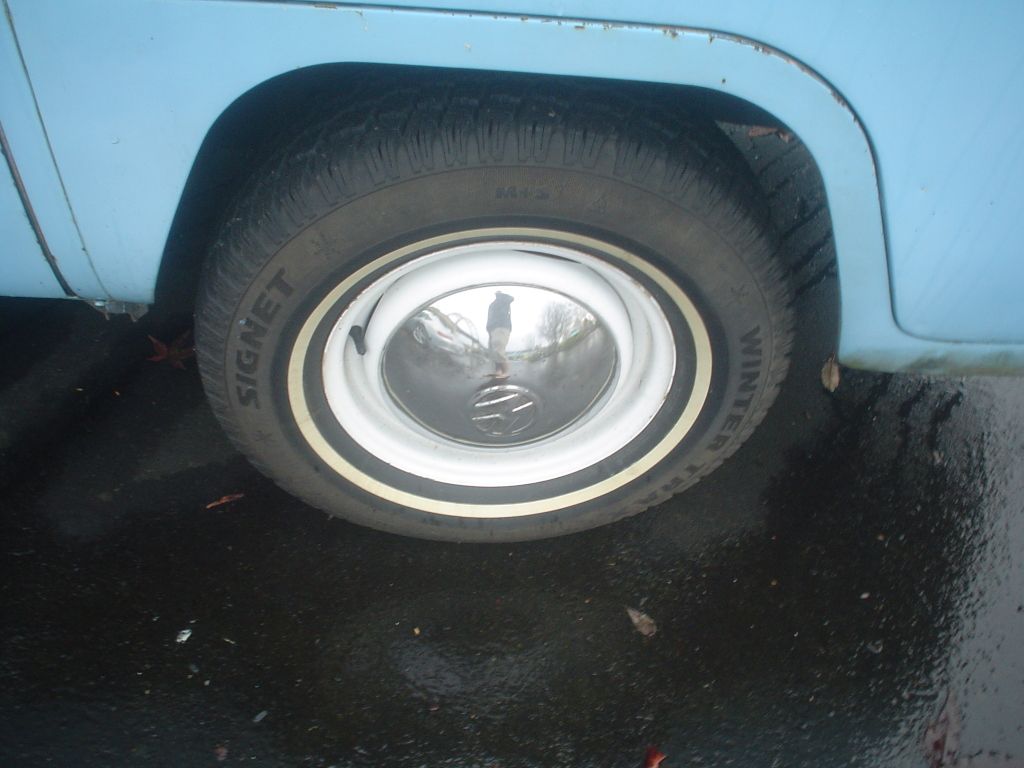
Repainted wheels with proper LT rated winter tires:
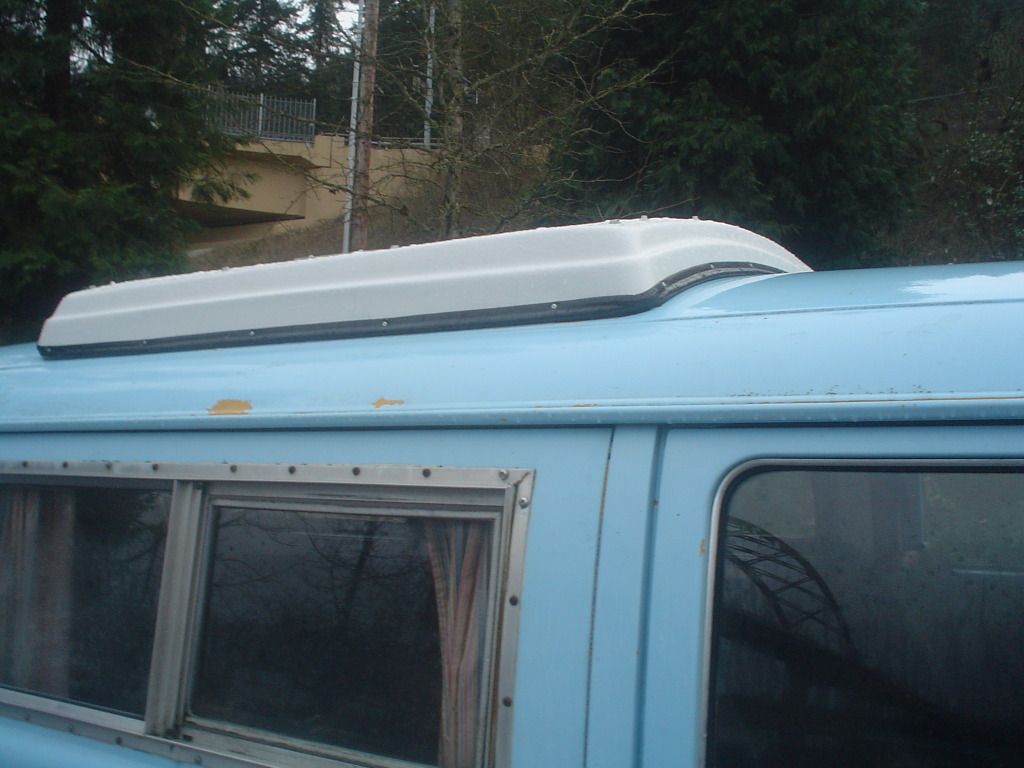
The restored/repainted top. I didn't open it because it was raining and I didn't want to get the new canvas wet.
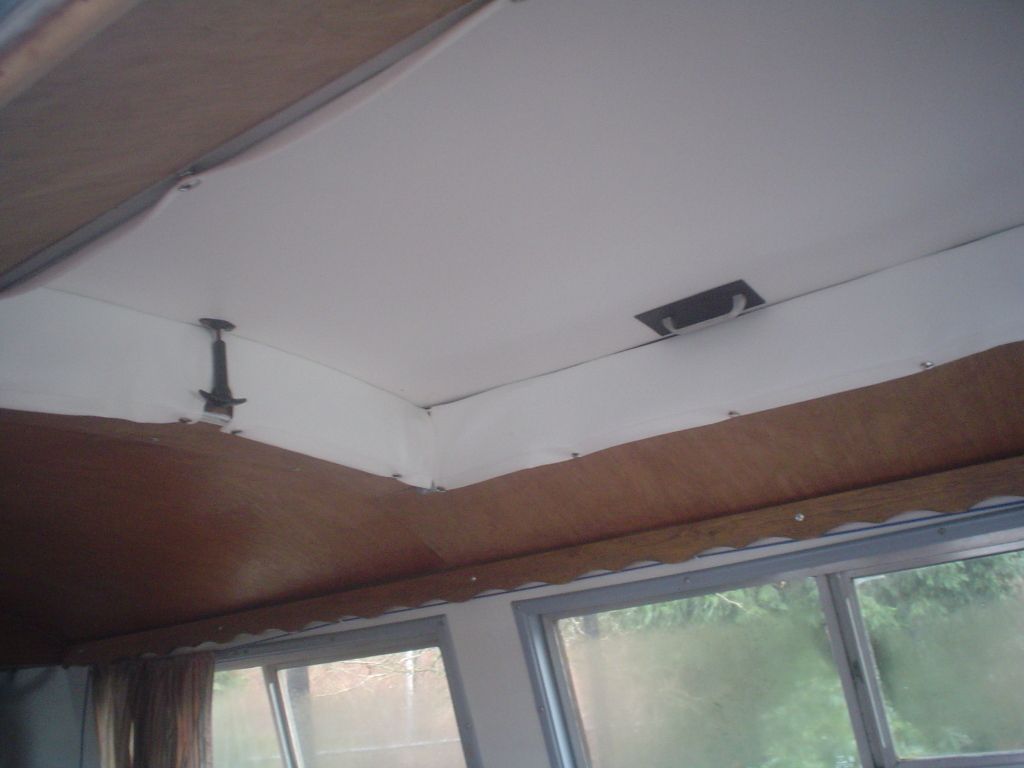
The inside of the top. He also made some nice vinyl skirts that snap over the canvas when it's closed. You can see the wood interior panels that he stripped and refinished. Also in the lower left you can see the curtains he added. They're actually the originals from my brother's '72. They match the blue perfectly.
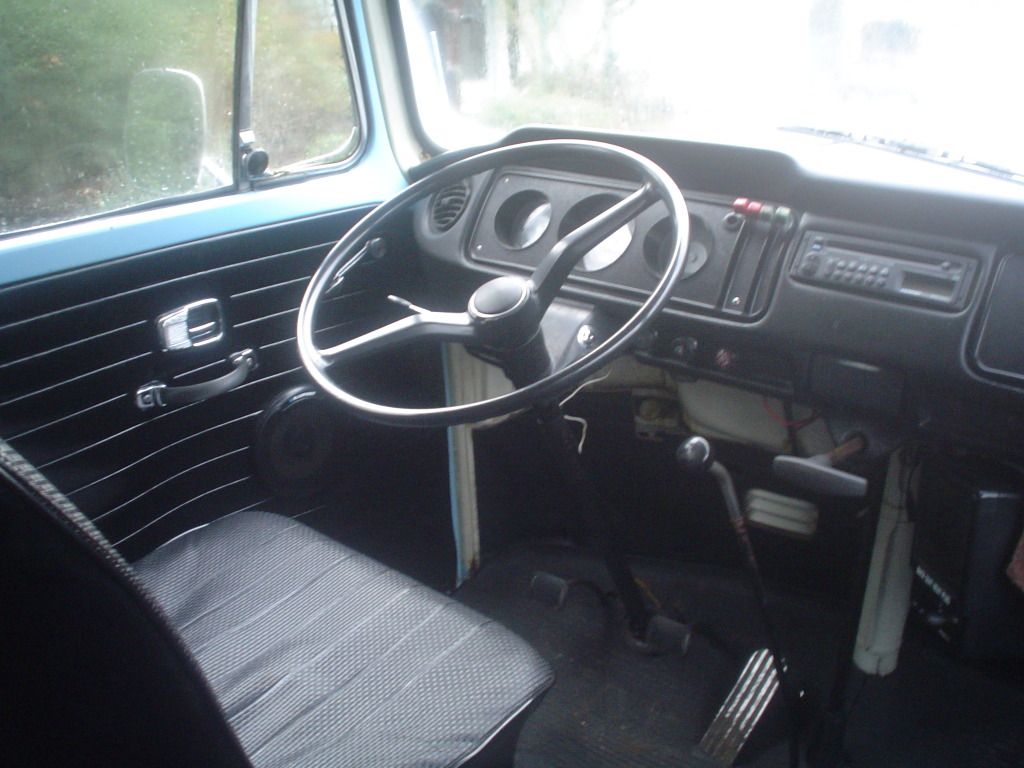
Color change and cleanup of the door panels and seats:
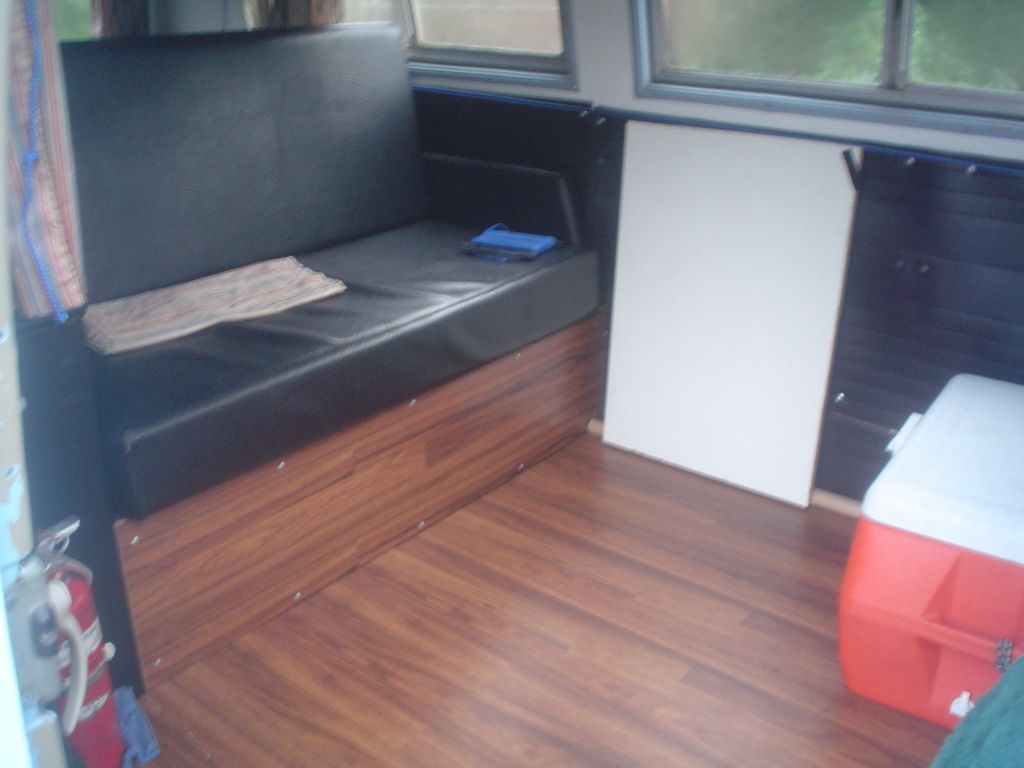
He found a correct Zbed rear seat that had been freshly recovered on CL. Since there was a gap on the passenger side from the missing cabinet, he built a small storage box and covered it in matching black vinyl. The table may or may not be changed. And lastly you can see the laminate floor and repainted wall panels. What's not visible is all the insulation and sound deadening he added.
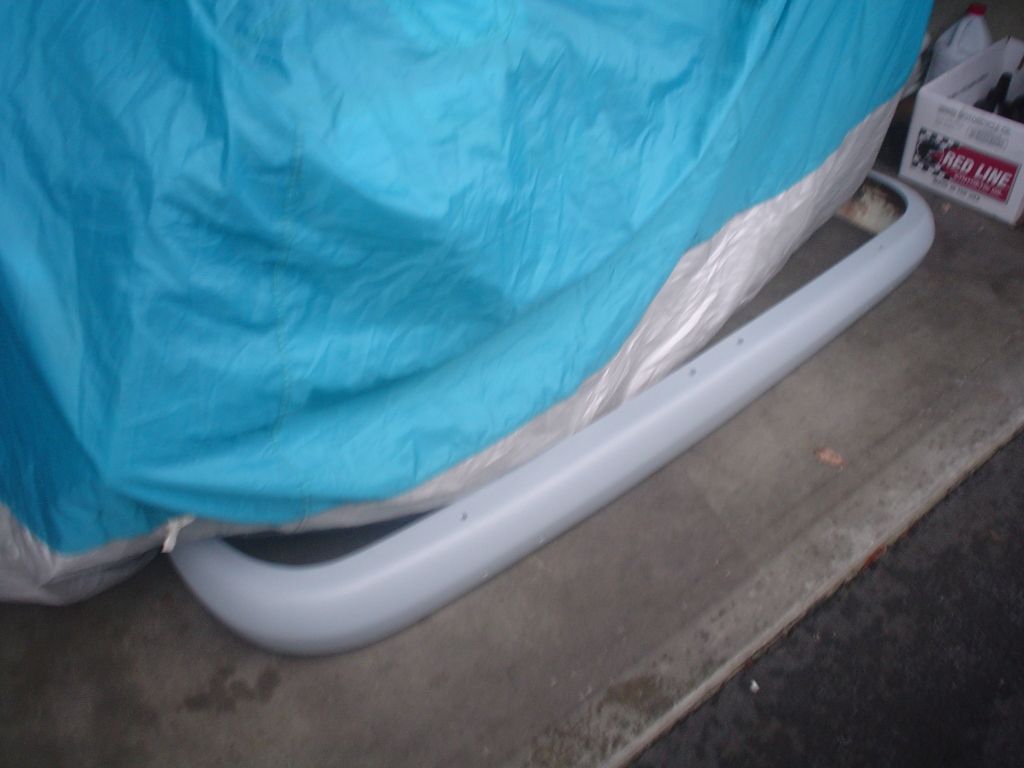
The rear bumper has been straightened and primed. My brother is working on the front bumper today and when it's done, they'll both painted white. Once they're installed it'll be ready to sell.
When the only tool you have is a hammer every problem starts to look like a hippy.
- DRIVEN
- Posts: 7696
- Joined: Thu Jun 27, 2013 7:05 pm
- Location: I've been everywhere
- Has thanked: 1204 times
- Been thanked: 1180 times
Re: Projects from THE COMPOUND!
...And some Vanagon updates. Nothing dramatic. Just been doing some cleaning and taking care of little things.
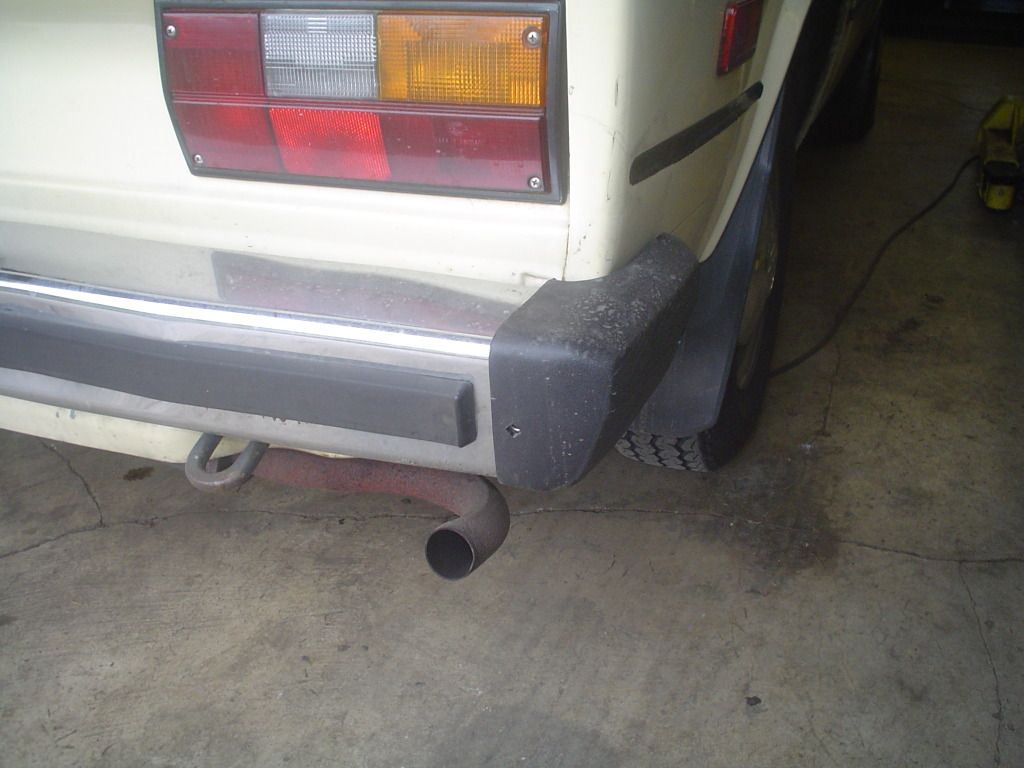
Straightened the rear bumper and replaced the missing end.
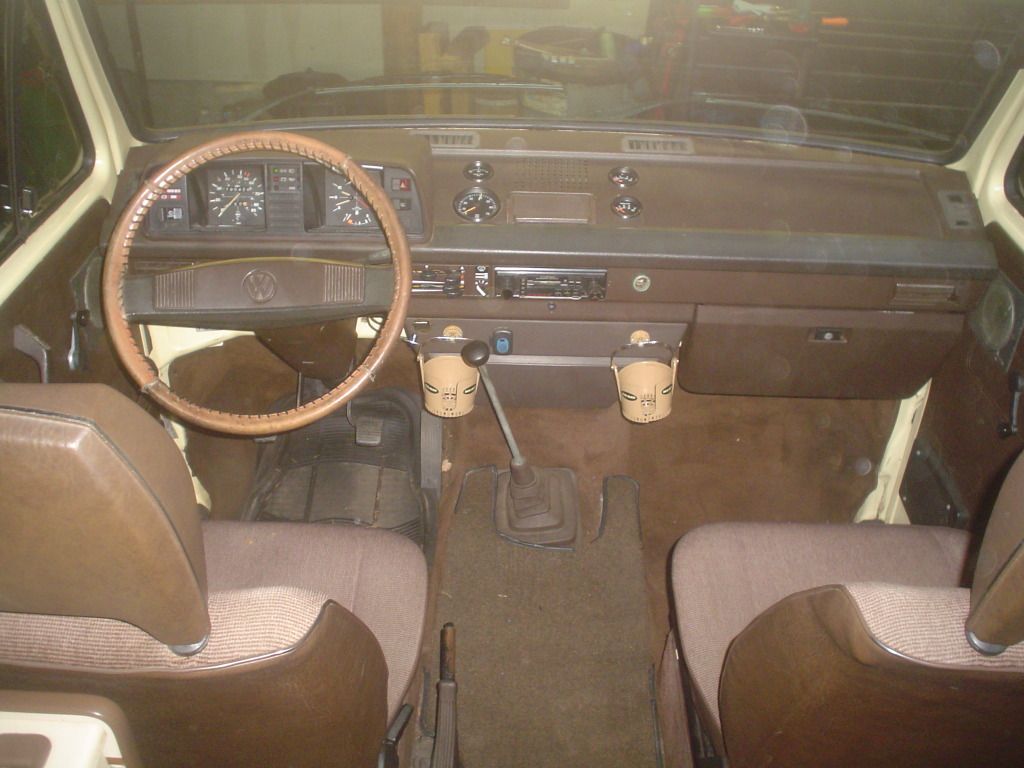
Replaced the missing ashtray and cleaned up the dash. Also reattached the speedo cable and replaced the defective brake switches behind the dash. The main battery that it came with was weak so I bought a new one. Then I revived the old one and used it for the house battery that was missing. There's a battery box below/behind each front seat.
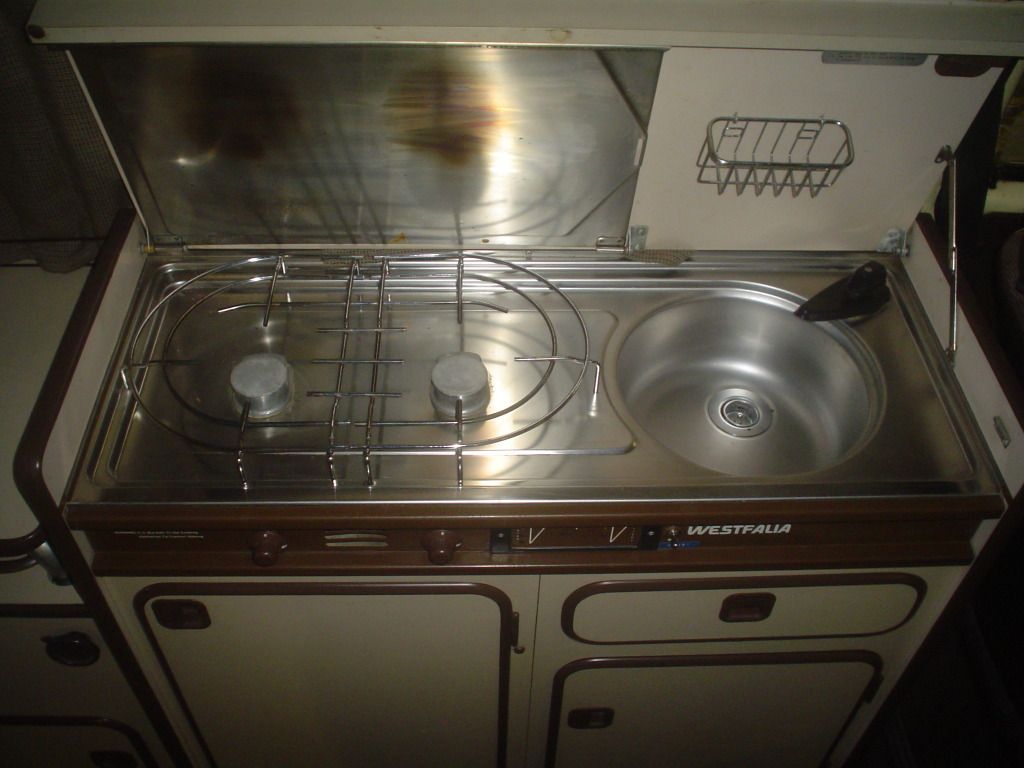
Cleaned up the kitchen unit and did some testing. The stove works great. The sink works on shore water but not house water. I think the pump is dead but it really doesn't matter since I don't have a key to remove the water tank filler cap anyway. The fridge works using the house battery or shore power. It gets cold enough to make ice in the back! Haven't tried it on propane yet.
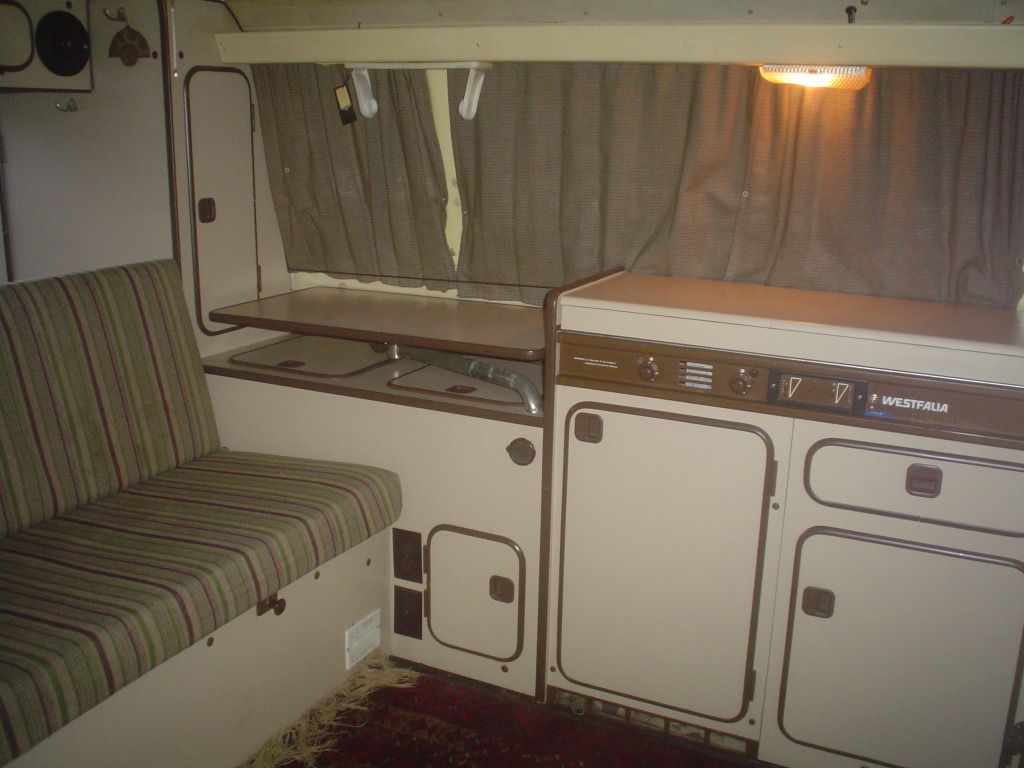
Cleaned a couple stains on the cushions and washed the curtains. The smoker smell is 95% gone now.
The upper bunk needed no cleaning but in case you guys are curious, this is how it looks folded out.
I didn't take a picture of the ceiling when I got it but let me assure you it was gross. It was covered from front to back with black, green and white mold. The inside is finished with a fuzzy texture that kind of resembles velour -- referred to as flocking. Everyone on Samba (VW forum) recommended Tilex. It took a couple bottles but the results were well worth the effort. Apparently it's a common problem in wet climates or when storing the top when it isn't dry. Here's the after shot:
I've been driving it for the last week and have almost 200 miles on it. It runs and drives great! It's no powerhouse but it keeps up with traffic. I ran it through DEQ and it failed miserably. It has euro-spec exhaust on it with no cat so it's no surprise, really. I need to get it on the analyzer at the shop and maybe weld a cat in. Funny thing is, it passed the visual inspection. The "professional" at the testing station had no clue what he was looking at :roll: . I've still got another week on the temp permit to get it worked out. Once my title shows up it's up for sale.
Straightened the rear bumper and replaced the missing end.
Replaced the missing ashtray and cleaned up the dash. Also reattached the speedo cable and replaced the defective brake switches behind the dash. The main battery that it came with was weak so I bought a new one. Then I revived the old one and used it for the house battery that was missing. There's a battery box below/behind each front seat.
Cleaned up the kitchen unit and did some testing. The stove works great. The sink works on shore water but not house water. I think the pump is dead but it really doesn't matter since I don't have a key to remove the water tank filler cap anyway. The fridge works using the house battery or shore power. It gets cold enough to make ice in the back! Haven't tried it on propane yet.
Cleaned a couple stains on the cushions and washed the curtains. The smoker smell is 95% gone now.
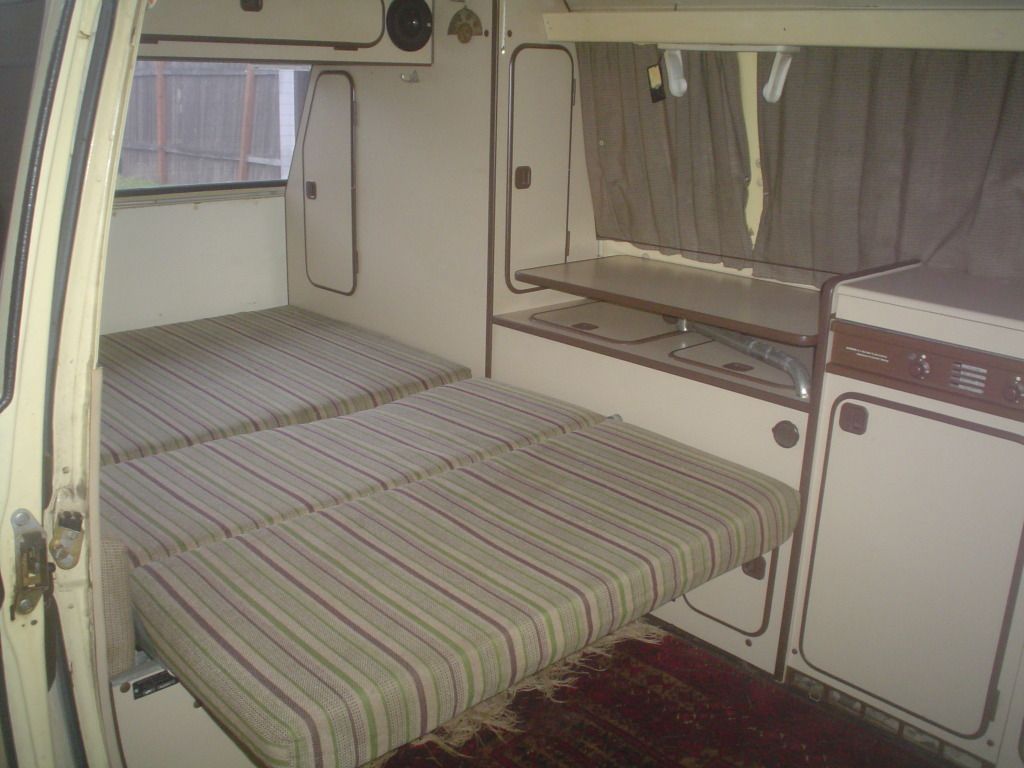
The upper bunk needed no cleaning but in case you guys are curious, this is how it looks folded out.
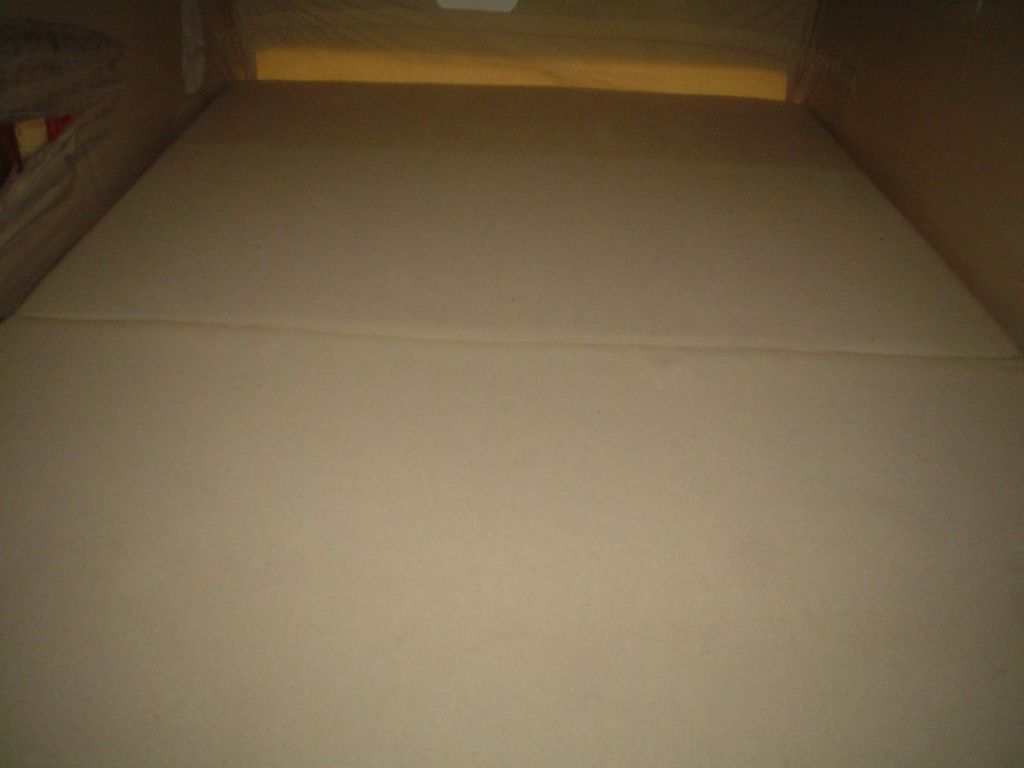
I didn't take a picture of the ceiling when I got it but let me assure you it was gross. It was covered from front to back with black, green and white mold. The inside is finished with a fuzzy texture that kind of resembles velour -- referred to as flocking. Everyone on Samba (VW forum) recommended Tilex. It took a couple bottles but the results were well worth the effort. Apparently it's a common problem in wet climates or when storing the top when it isn't dry. Here's the after shot:
I've been driving it for the last week and have almost 200 miles on it. It runs and drives great! It's no powerhouse but it keeps up with traffic. I ran it through DEQ and it failed miserably. It has euro-spec exhaust on it with no cat so it's no surprise, really. I need to get it on the analyzer at the shop and maybe weld a cat in. Funny thing is, it passed the visual inspection. The "professional" at the testing station had no clue what he was looking at :roll: . I've still got another week on the temp permit to get it worked out. Once my title shows up it's up for sale.
When the only tool you have is a hammer every problem starts to look like a hippy.
- DRIVEN
- Posts: 7696
- Joined: Thu Jun 27, 2013 7:05 pm
- Location: I've been everywhere
- Has thanked: 1204 times
- Been thanked: 1180 times
Re: Projects from THE COMPOUND!
So when I went to file my auction paperwork at the DMV to get a title for the Vanagon I found that it hadn't been registered in 5 years. That means a trip through DEQ. Air cooled VWs are not known for their low emissions and I've heard horror stories about how hard it can be to get one through. Add to that the fact that someone had replaced the US Federal exhaust with Euro-spec. That means I no longer have a cat or a place to put one. I ran it through just to get a baseline. The test is simple: they check to see that the cat is present and test your emissions at idle. The maximum HC allowed is 220ppm. I scored just under 4000 . Since most DEQ workers are not nearly as smart as they think they are, I passed the visual inspection for the cat. Maybe they thought the muffler or heat exchangers were it.
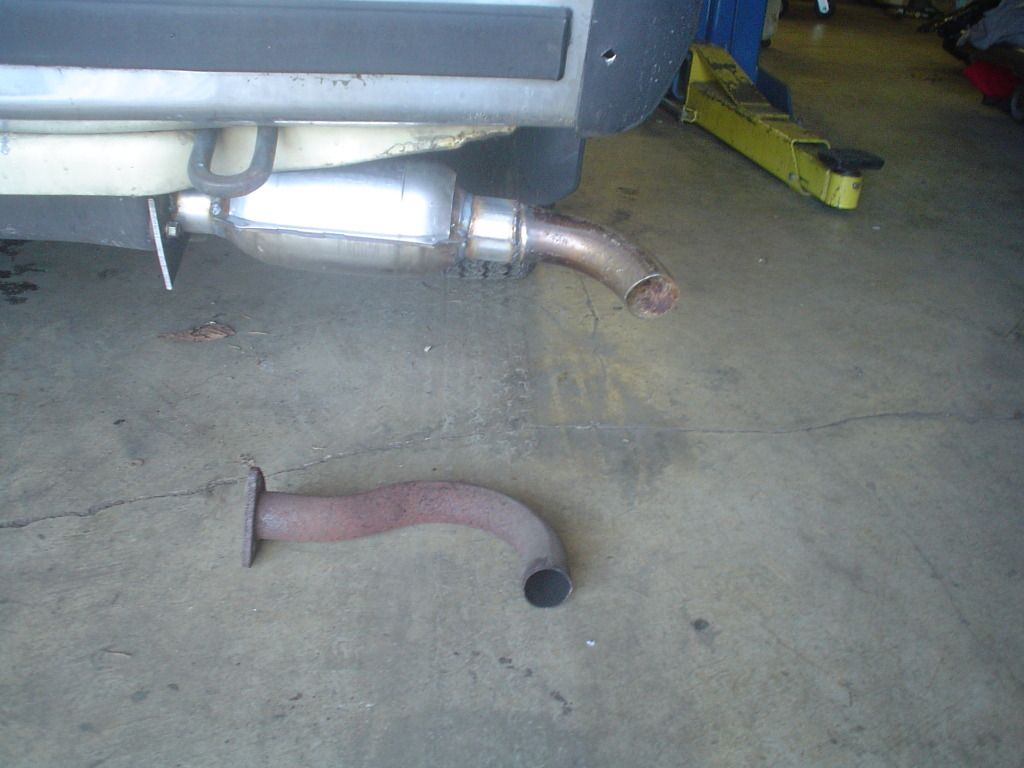
I took it down to the shop to use the 4-gas and was able to adjust the air flow meter and retard the timing enough to get it down to about 400ppm. Close but not quite there. I know what comes next seems stupid but I actually found the idea on a Porsche forum. Picked up a $70 universal cat, fabbed up a flange, removed the tailpipe from the muffler, welded on a cat and short turnout, done!
Ran back down to the testing station and tried again. I had my doubts that a cat would get hot enough to light off, being after the muffler, but had to give it a shot. I was rewarded with 0.00 CO and 64ppm HC readings. PASS! Now I can unbolt the cat (so it doesn't get stolen) and reset my timing. I'll get the tags tomorrow and the title should show up in the mail any day. The wallet gauge is running low so I really need to sell it.
When the only tool you have is a hammer every problem starts to look like a hippy.
- DRIVEN
- Posts: 7696
- Joined: Thu Jun 27, 2013 7:05 pm
- Location: I've been everywhere
- Has thanked: 1204 times
- Been thanked: 1180 times
Re: Projects from THE COMPOUND!
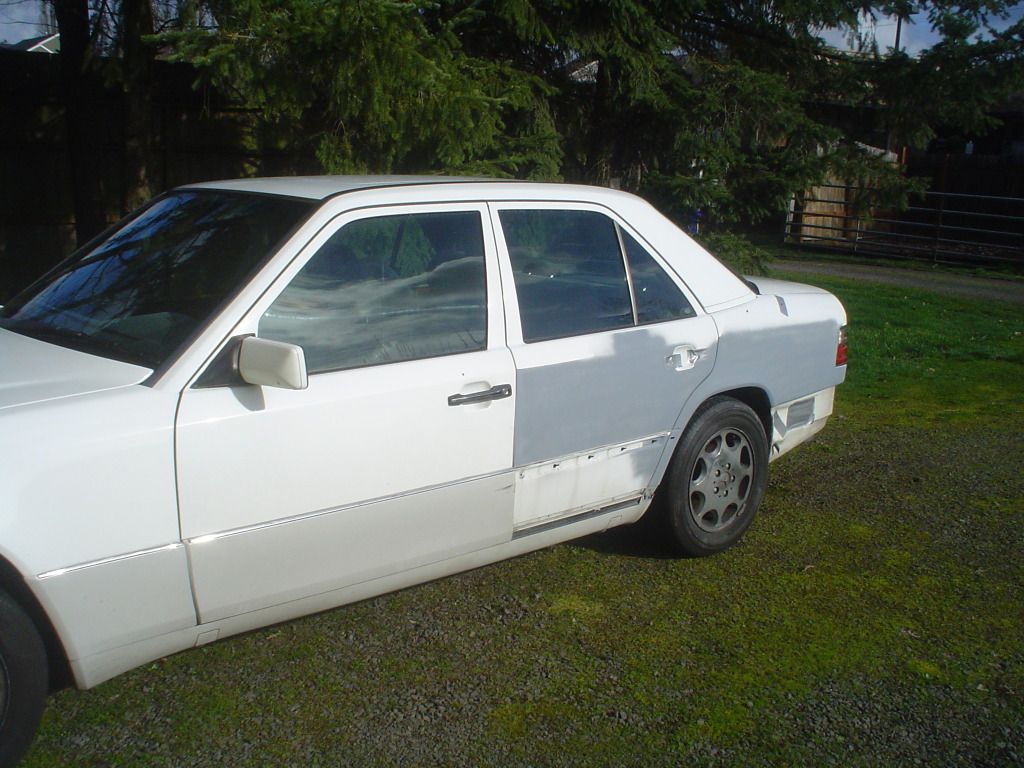
Some more euro-trash at the compound:
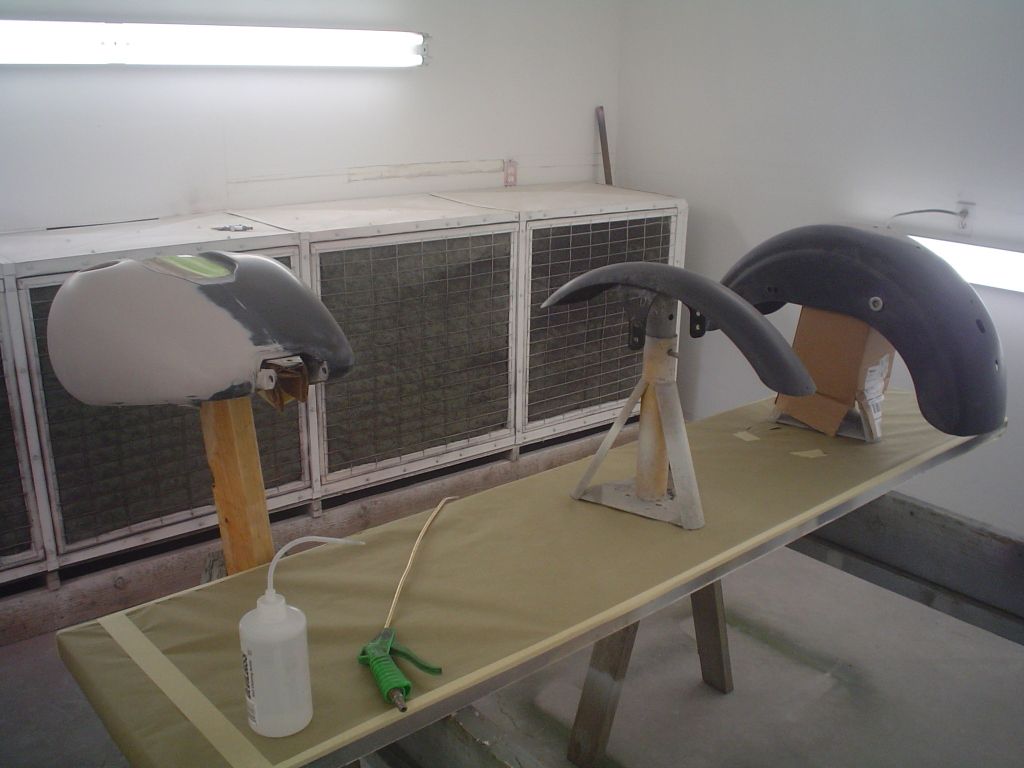
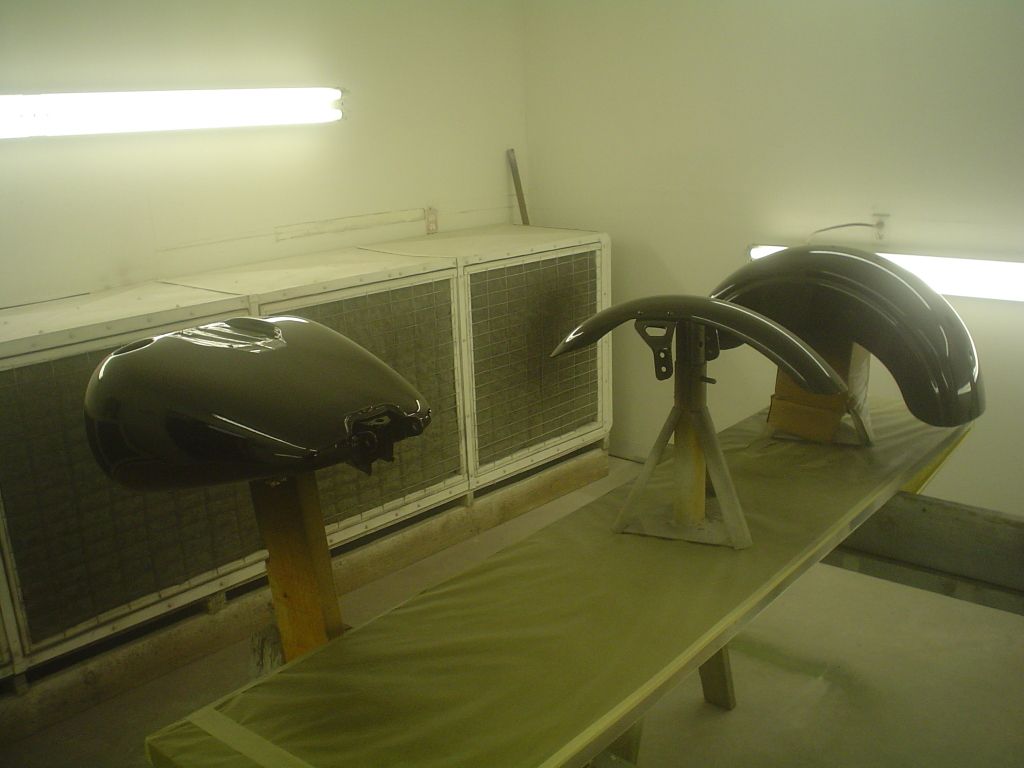
Harley FatBob getting gloss black in place of the original "denim" (flat black):
When the only tool you have is a hammer every problem starts to look like a hippy.