Page 23 of 31
Re: Projects from THE COMPOUND!
Posted: Mon Apr 18, 2016 8:05 pm
by 510freak
Re: Projects from THE COMPOUND!
Posted: Mon Apr 18, 2016 10:03 pm
by izzo
So the elky is getting redone eh?
Re: Projects from THE COMPOUND!
Posted: Tue Apr 19, 2016 4:49 am
by DRIVEN
Redone? Not really. Just getting some long overdue attention. Clock is ticking and there are certain projects that need to get handled before we move. No telling how long I might be without a shop and it's looking like my brother is losing his too. Not necessarily now or never -- just now or maybe a long, long time.
Re: Projects from THE COMPOUND!
Posted: Fri Apr 22, 2016 5:38 am
by DRIVEN
Re: Projects from THE COMPOUND!
Posted: Fri Apr 22, 2016 8:44 am
by yello620
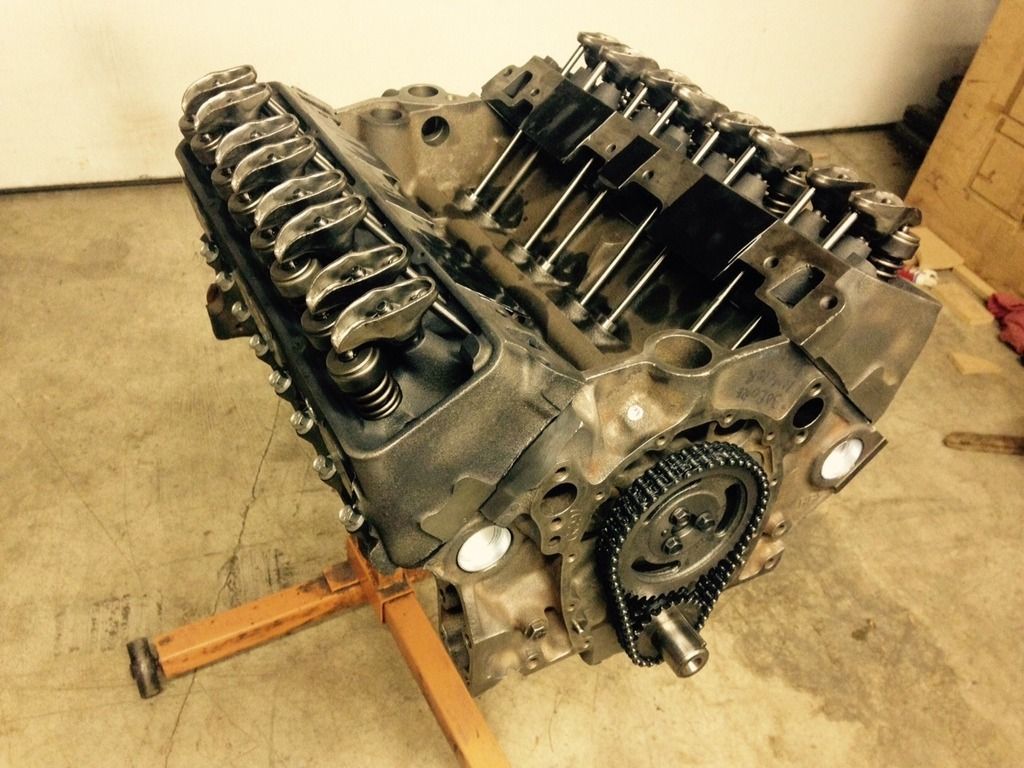
Those are fairly rare heads these days. No bolt hole camel hump heads. Those make good power, but you already know that.
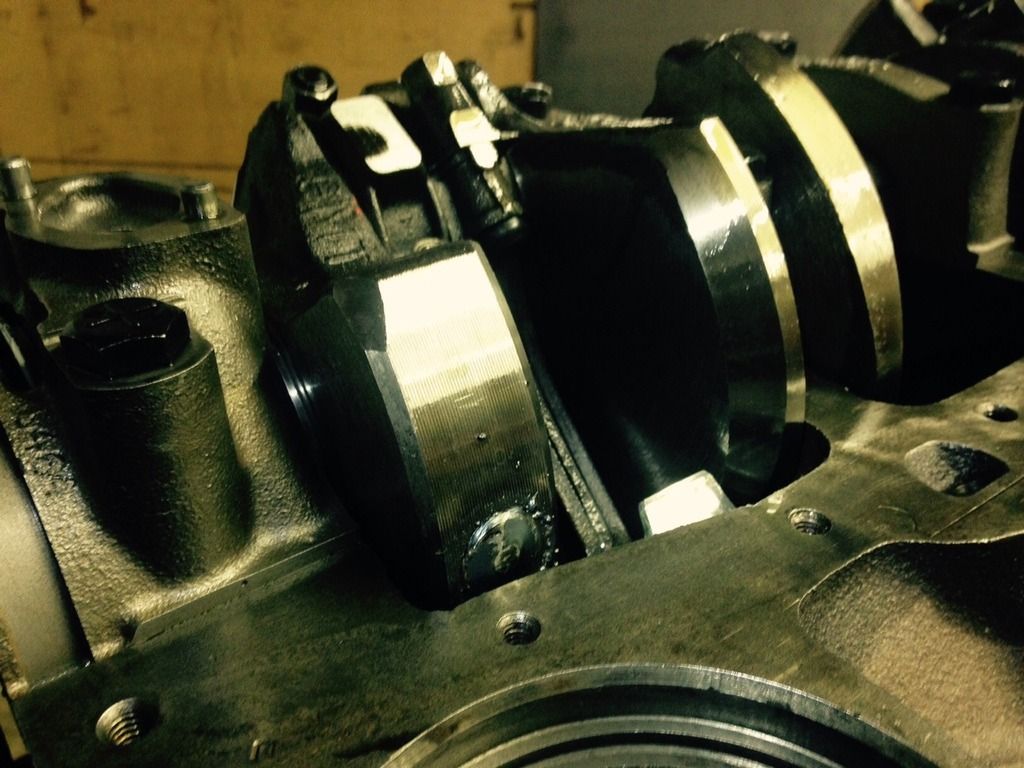
Is that a mess of weld splatter on the crank from balancing? If so, seems like the builder would want that cleaned up so none of that splatter got into his fresh build.
Re: Projects from THE COMPOUND!
Posted: Fri Apr 22, 2016 9:08 am
by wayno
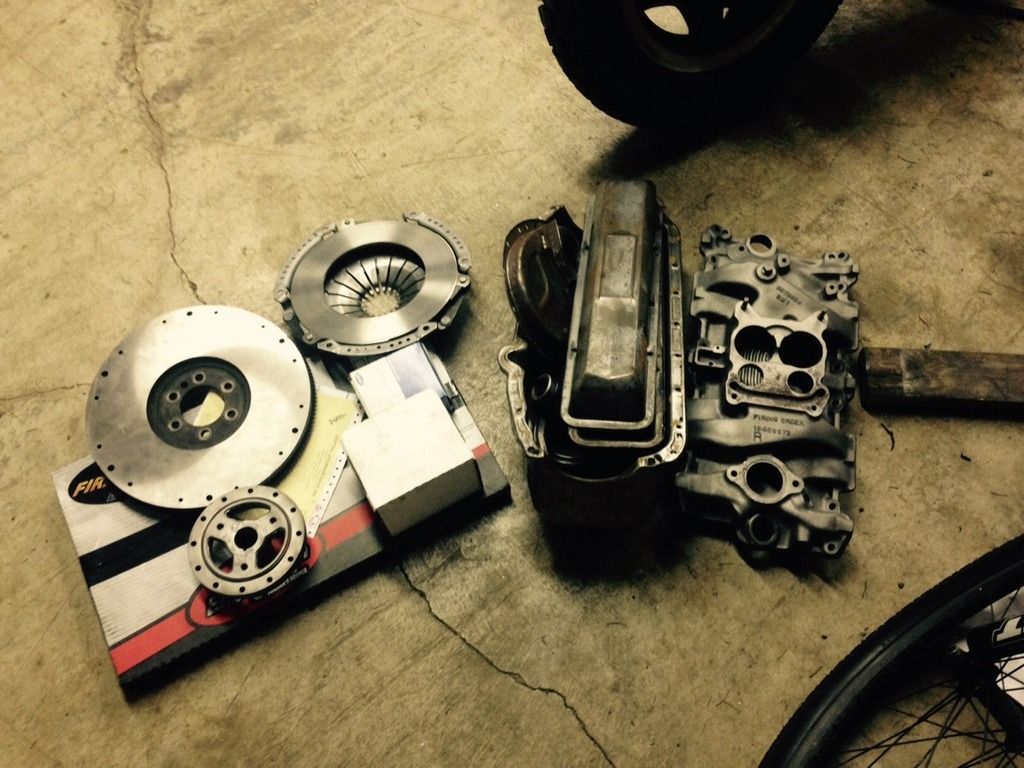
But there are better choices for intake manifolds than that one.
Re: Projects from THE COMPOUND!
Posted: Fri Apr 22, 2016 10:34 am
by Ni10
3 deuce intake ? 3 X the problem.
Rochester Q-jet's get a bad rap, I like them.
Re: Projects from THE COMPOUND!
Posted: Fri Apr 22, 2016 11:33 am
by DRIVEN
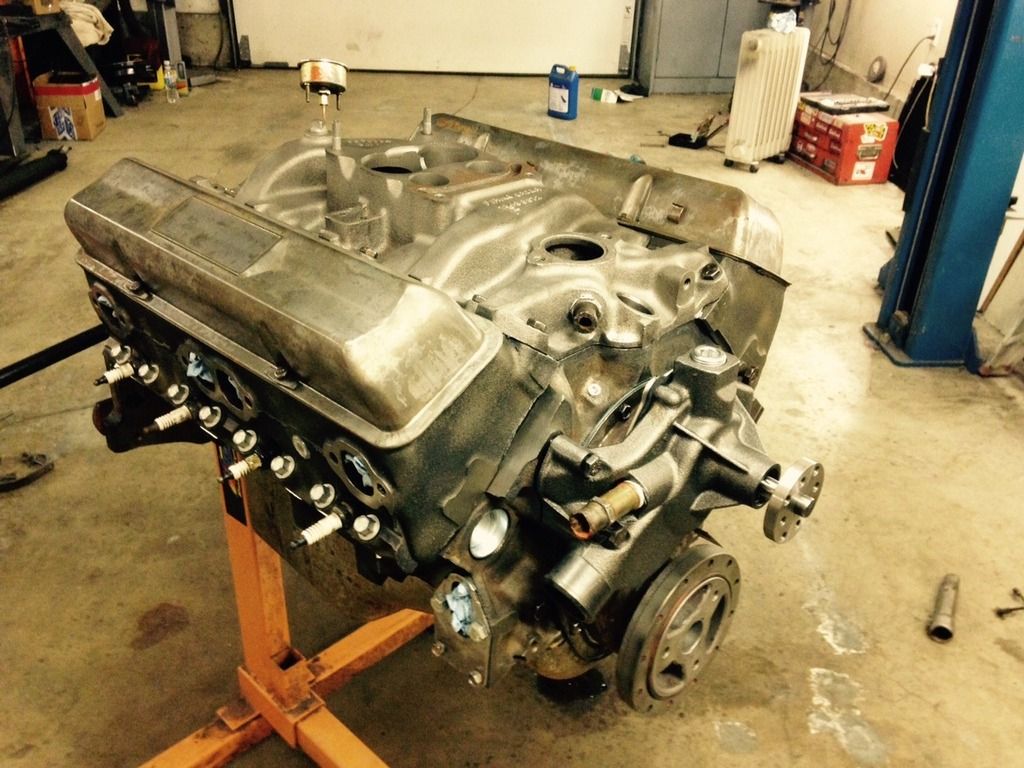
Yello; The heads were pretty desirable at one point -- until Vortecs came along. I thought the same thing about the spatter and tried to chip it off after I snapped the pic. It's not going anywhere. Should be fine.
Wayno; There are about 1000 better performance options. It'll be fine for a stock/resto rebuild. I've run this manifold before and honestly can't tell a difference between it and a Performer, which is probably the most popular "performance" upgrade manifold of all time. They feel exactly the same to me although a dyno might show a couple HP difference.
Ni10; I'm with you 110%. There are some situations where a Q-jet just can't be beat. The stock carb had been replaced by a Holley Economaster (google that POS) many years before it got to me. After over 10 years of searching I located the correct carb for this engine in someone's $10 pile at the swap meet last year. It's already been rebushed and rebuilt. Just need to set it on top when the engine is done.
They originally rated this engine at 275hp so it should be more than adequate for a cruiser. My dad's '68 has the same engine with a stock rebuild + balancing and is probably the smoothest SBC I've ever driven. I'm hoping for the same result.
Re: Projects from THE COMPOUND!
Posted: Fri Apr 22, 2016 2:27 pm
by wayno
I like the true "Torker" manifold myself, I had one on a built 350 when I was a kid, the engine was race built(at least 12/1 compression ratio), and the gas was gas that didn't spoil after sitting around in the tank a month.
Re: Projects from THE COMPOUND!
Posted: Fri Apr 22, 2016 4:21 pm
by DRIVEN
Funny you should mention that. I actually have one of those old Torkers hanging on the wall. I ran it on my Rambler briefly on a realllly tired 283. Now it's just for decoration.
Re: Projects from THE COMPOUND!
Posted: Fri Apr 22, 2016 4:38 pm
by DRIVEN
My dad is coming in to town this weekend and I'll be taking Monday off. We should make some noticeable progress on the El Camino. Pics when there's something to see.
Re: Projects from THE COMPOUND!
Posted: Tue Apr 26, 2016 6:24 am
by DRIVEN
Got quite a bit done Sunday and Monday. Started by giving it a heavy pressure washing then rolled it inside to cut out the glass and clean up the channels.
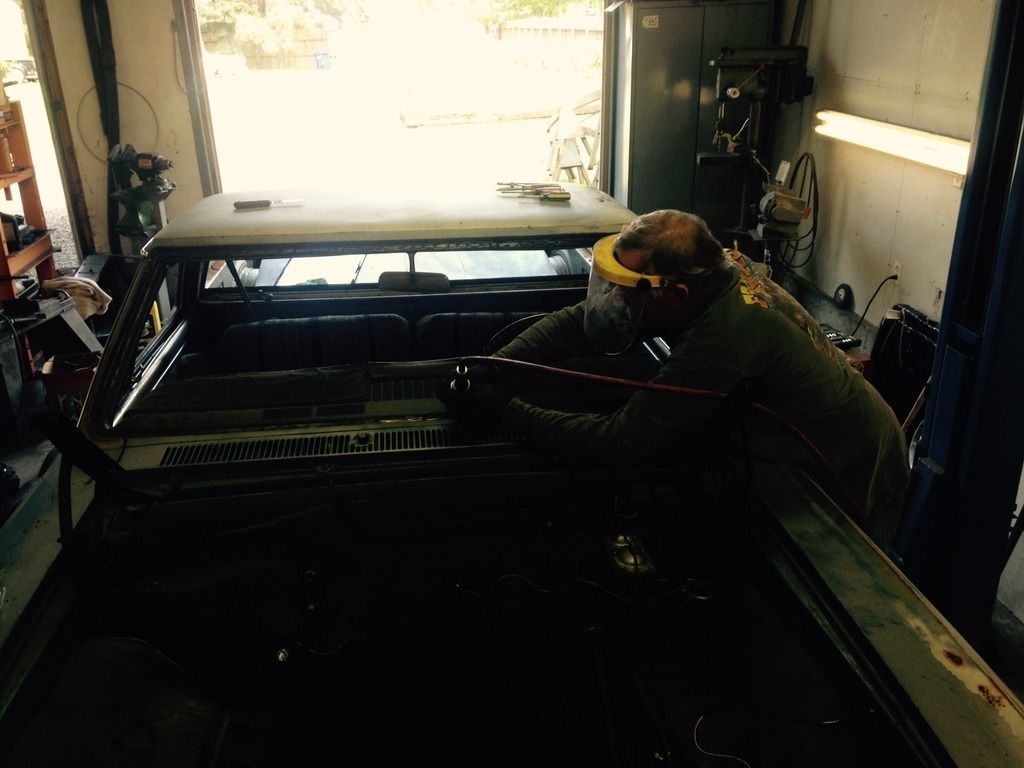
We were pleasantly surprised to see very little actual cancer. It's a common rust area on these and found only these small holes on the passenger side rear. Easy fix.
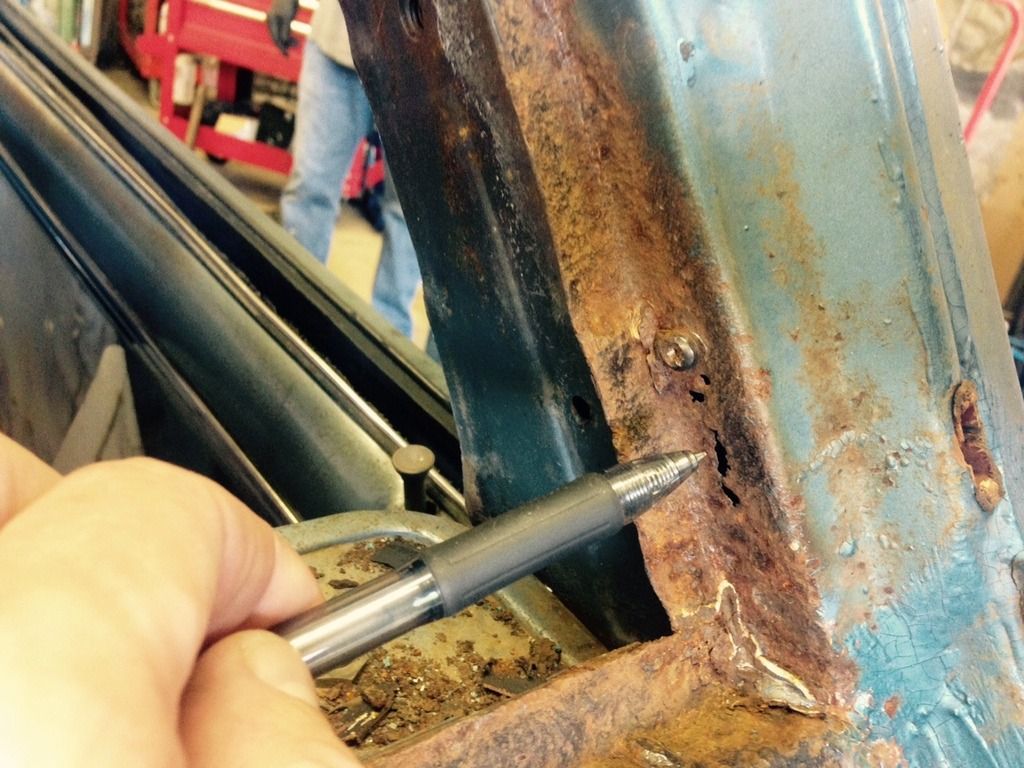
After it was all cleaned up the channels got a couple coats of POR-15.
At one time this car had an aftermarket AC system installed (long gone by the time I got it) and there were 3 holes cut in the firewall for the hoses and drain. There was also a 1" hole on the driver's side that I assume was for wiring or cables. I welded, filled, smoothed, and primed all of them. In addition to that, someone had installed a CB antenna in the roof that needed to be welded and filled.
The next step was to start scrubbing.
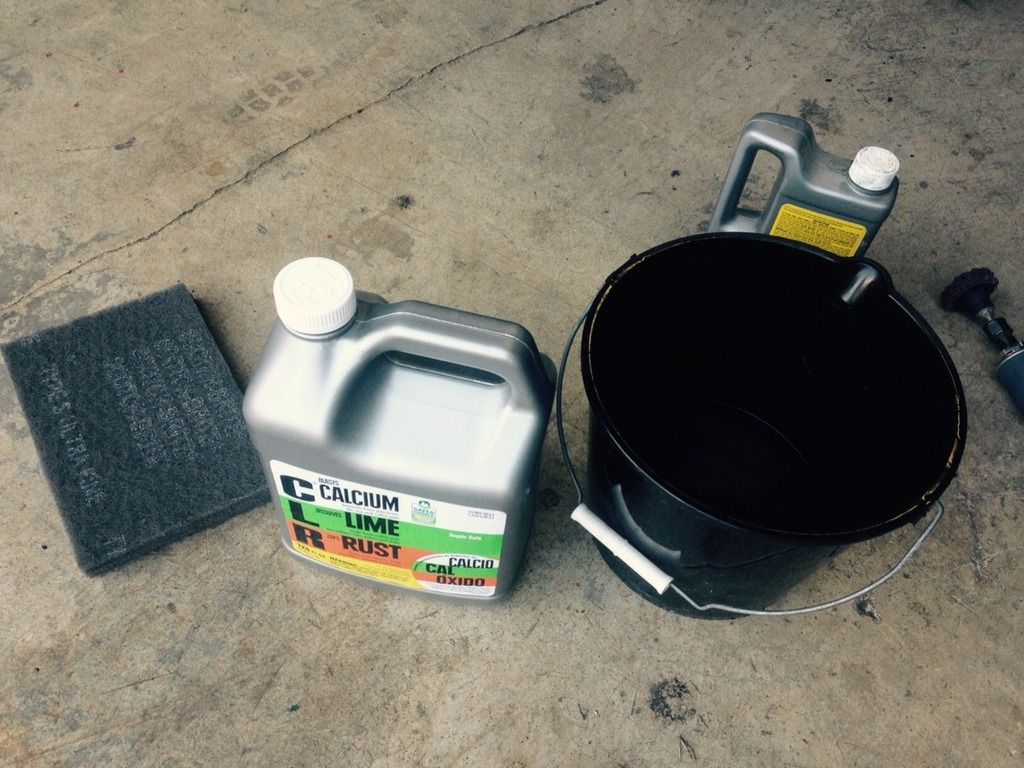
Lots of elbow power to get through the heavy oxidation down to the blue paint. The CLR also cut quite a bit of the surface rust where paint was worn through. Keep in mind, the whole point of this paint treatment is to showcase the history. With the exception of just a couple spots that need additional protection, I won't be hiding anything. A few pics for contrast/comparison.
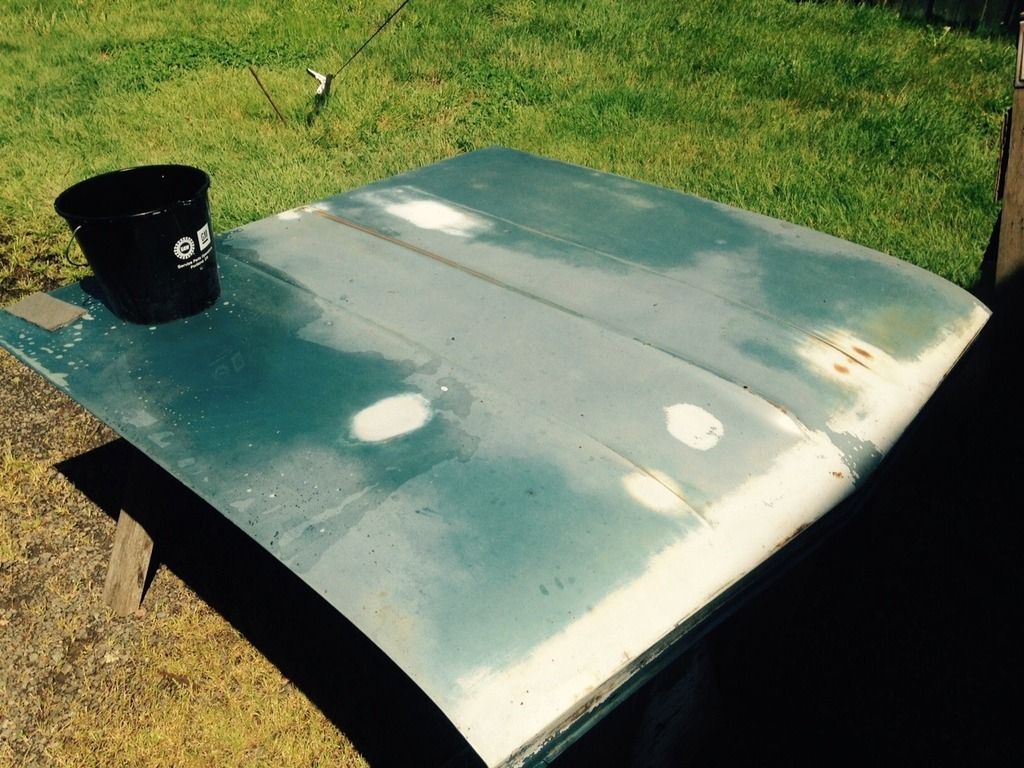
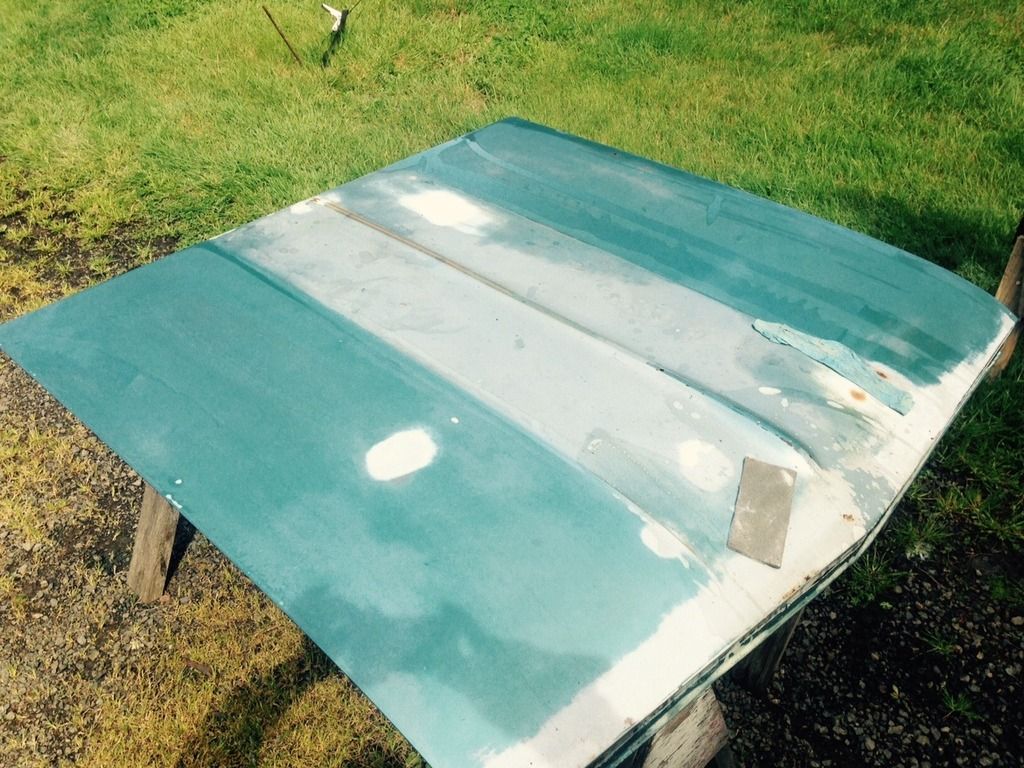
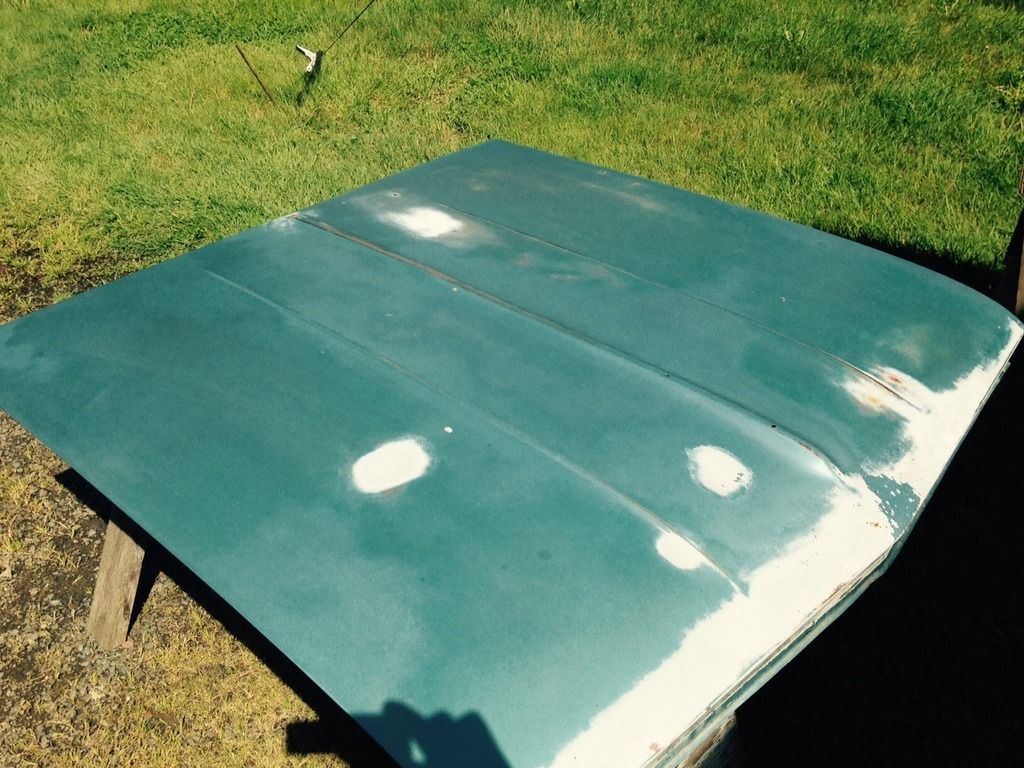
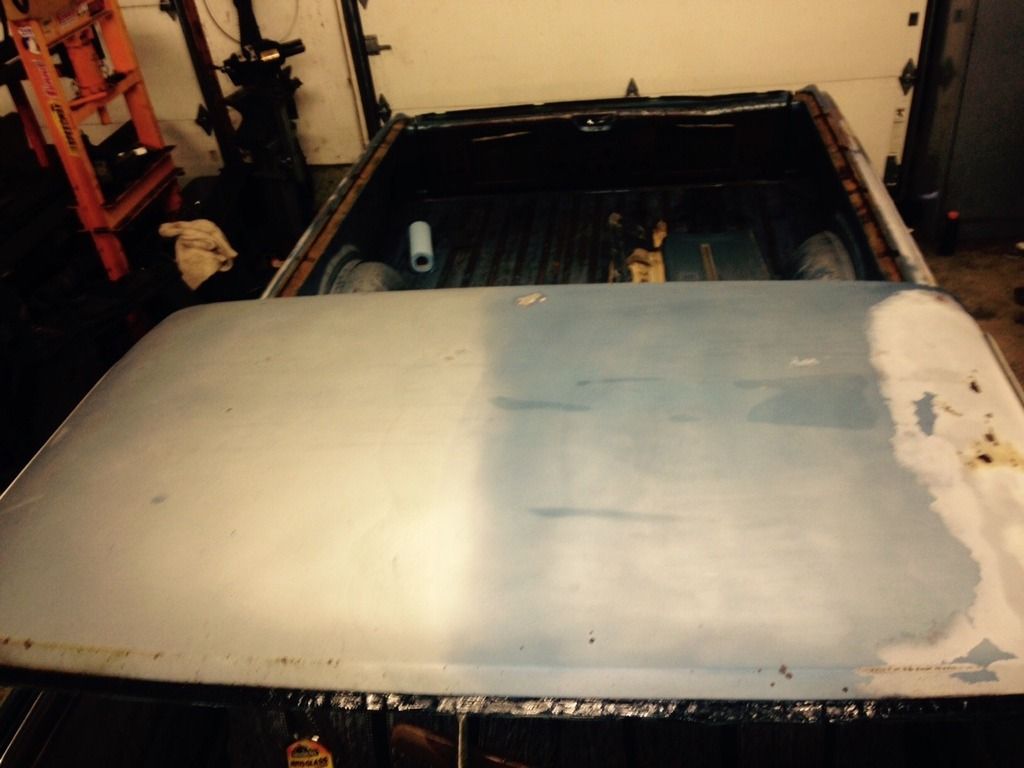
This is how we finished up.
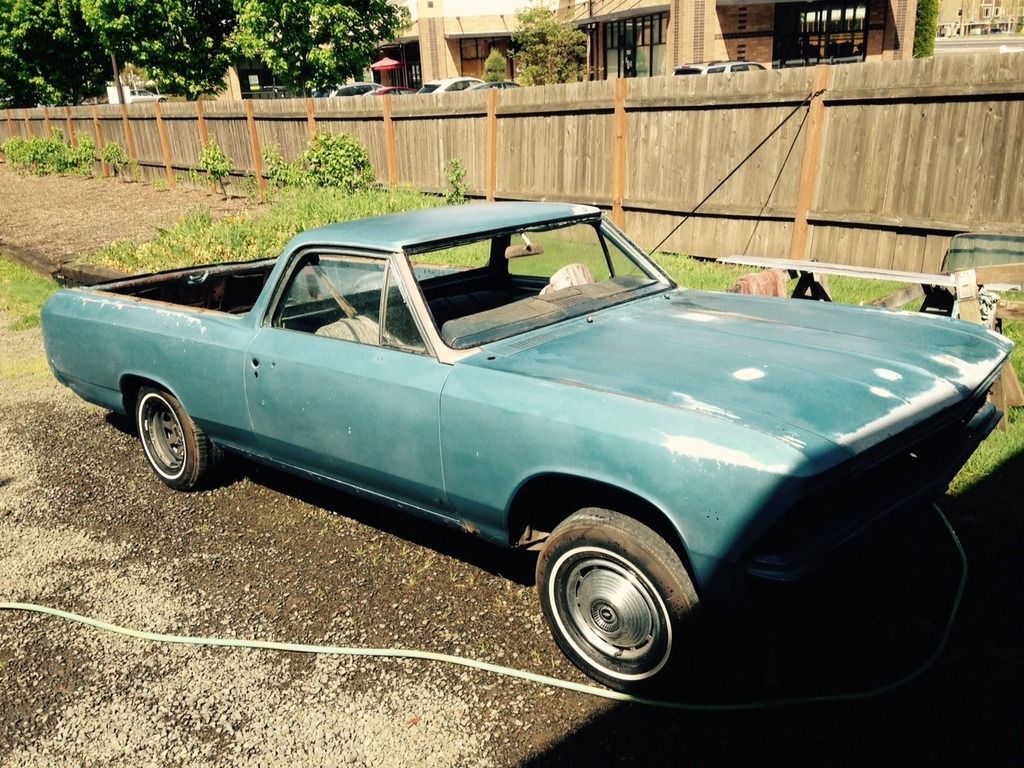
I'll be focusing on the engine assembly next.
Re: Projects from THE COMPOUND!
Posted: Wed Apr 27, 2016 4:42 am
by DRIVEN
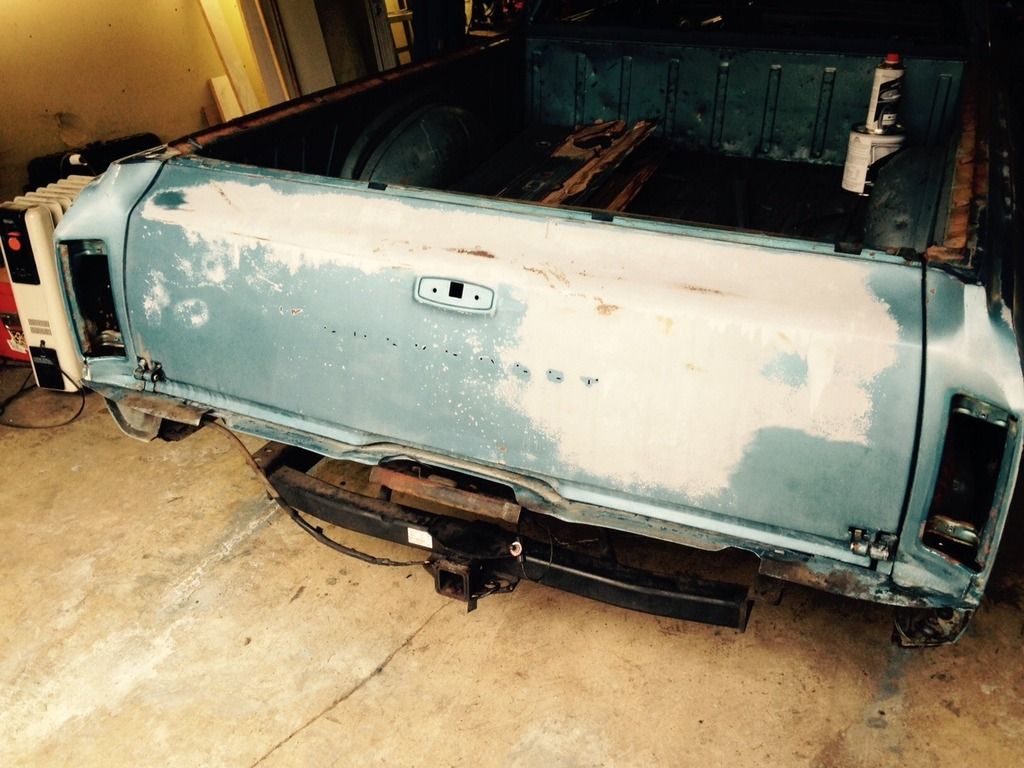
A couple more pics. My brother spent a few minutes after work yesterday taking some of the ugly out of the tailgate. The first photo shows a good sized dent on the top (8" in from the left side) where something heavy got dropped on it or maybe someone backed in to something when it was down. There is also a pretty visible crease at the bottom, almost in the center.
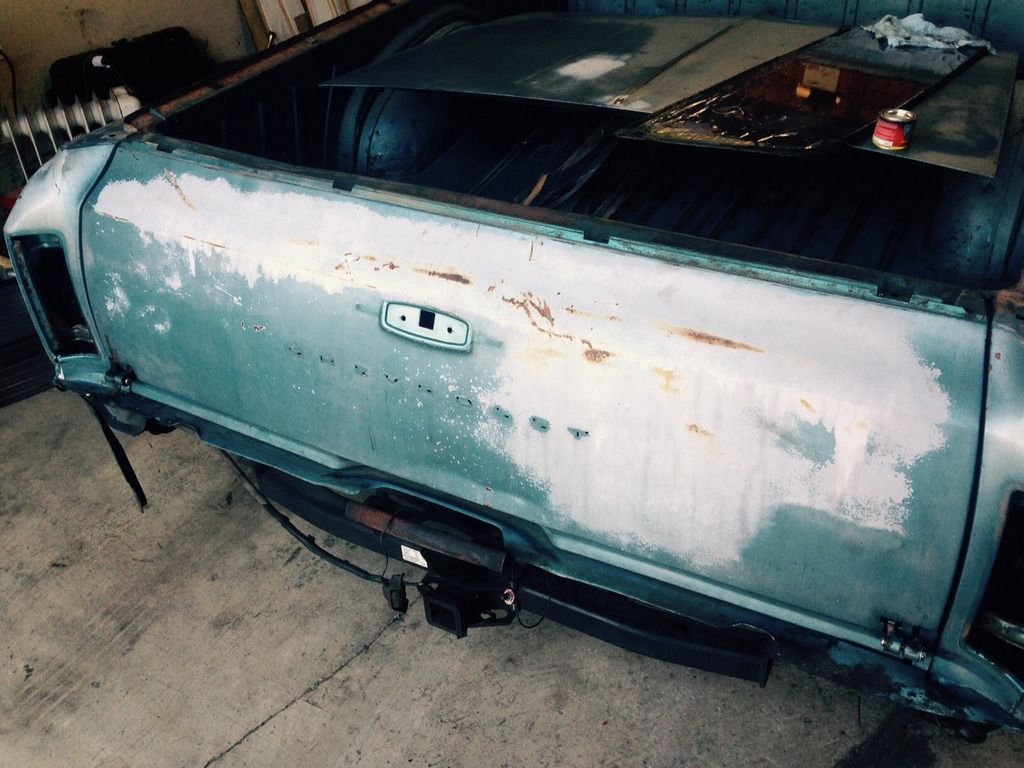
He spent about 20 minutes working them from the inside with various tools. The goal was to get them to be less noticeable but necessarily disappear. He exceeded my expectations. While we were at it we also used a porta-power and some strategic hammer slapping on the bottom of the right quarter where it had been slightly rolled under. Again, to make it less noticeable. Forgot to take pics of that though.
I'll be starting on engine work tonight.
Re: Projects from THE COMPOUND!
Posted: Thu Apr 28, 2016 12:50 am
by RedBanner
When I was a young teen I wanted one of these more than anything. I can't believe how much work you put in on all these projects.
Re: Projects from THE COMPOUND!
Posted: Thu Apr 28, 2016 1:35 am
by Laecaon
Oh just 20 minutes to pull this dent... Would take me much longer...
Re: Projects from THE COMPOUND!
Posted: Sat Apr 30, 2016 6:04 am
by DRIVEN
RedBanner wrote:I can't believe how much work you put in on all these projects.
Sure, there's that. But have you noticed how little actually gets finished?

I got really sick with some kind of stomach thing Tuesday night that took me out for most of the week. So basically nothing has been done which has me a little behind schedule. I have a bunch yard work to do but will be chipping away at the engine build. There is also a bikerbuildoff day scheduled for Sunday.
Re: Projects from THE COMPOUND!
Posted: Mon May 02, 2016 6:12 am
by DRIVEN
Still a little under the weather but managed to make some progress.
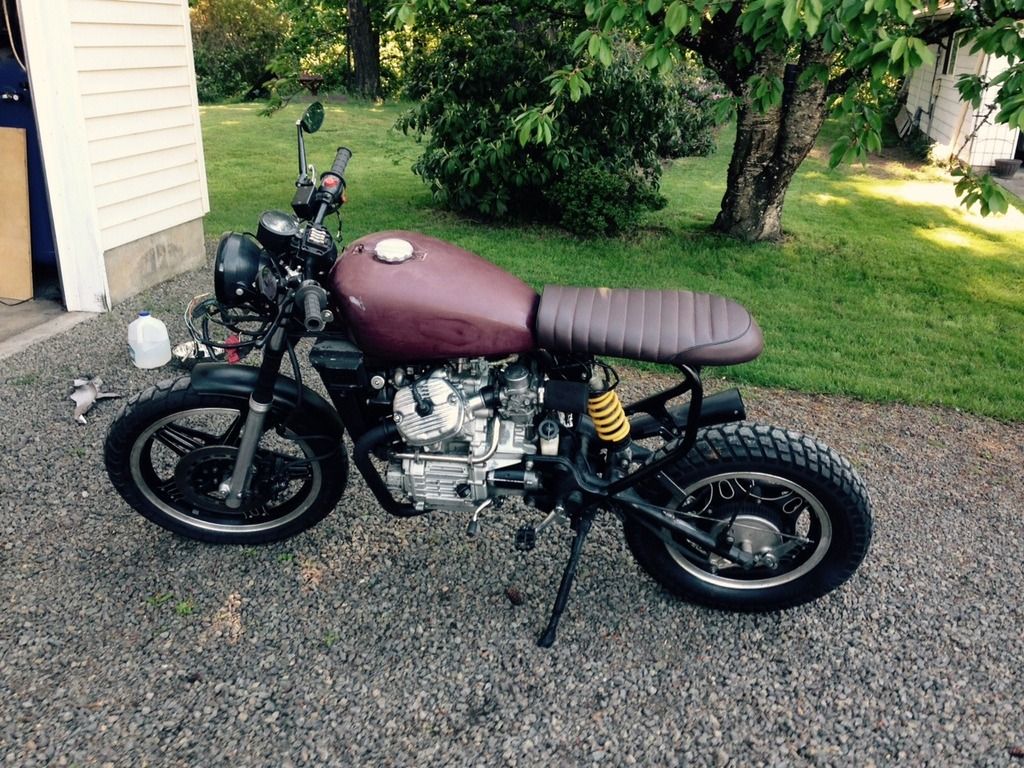
Marc came over and worked for a few hours too. He got the new battery box and battery installed. We also heated up the RS foot peg and bent it back straight. Fired it up and did a couple carb adjustments then he did a few laps around the neighborhood. Doesn't look that different now.
Re: Projects from THE COMPOUND!
Posted: Fri May 06, 2016 9:27 pm
by izzo
You sure do have a perty motor.
Re: Projects from THE COMPOUND!
Posted: Sat May 07, 2016 6:12 am
by DRIVEN
Thanks. man. Engine should finally be done by quitting time tonight.
Re: Projects from THE COMPOUND!
Posted: Sun May 08, 2016 8:01 am
by DRIVEN
Finally got back to it. Fresh coat of orange.
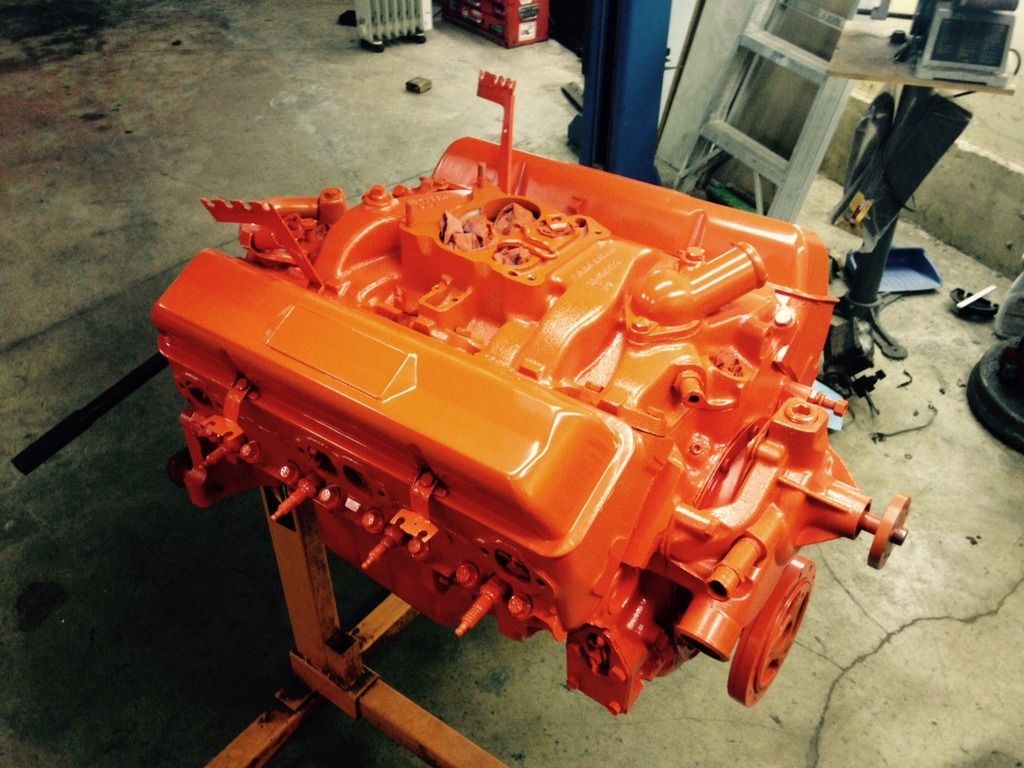
Blasted and painted all the peripherals. Cleaned all the hardware.
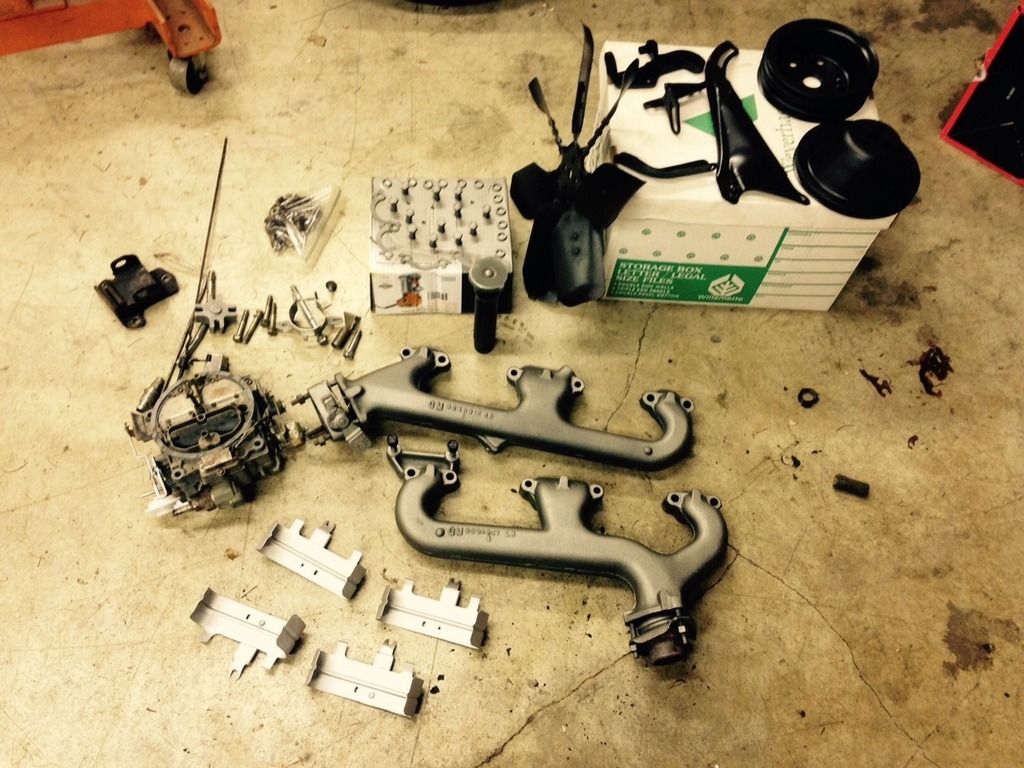
All together...
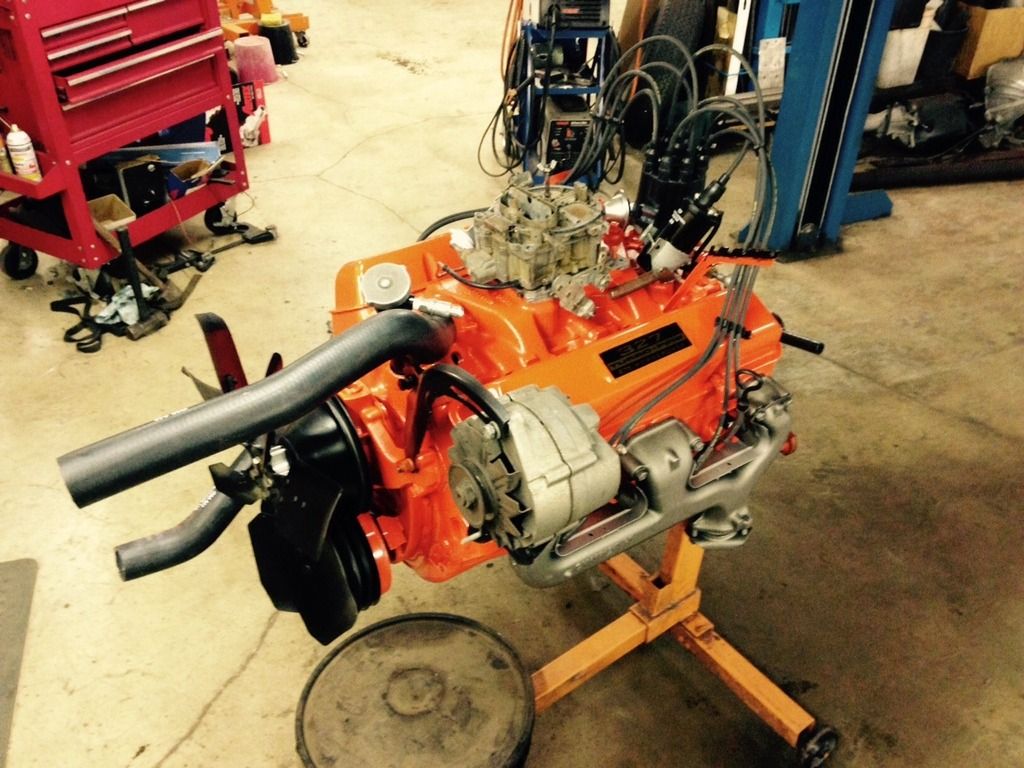
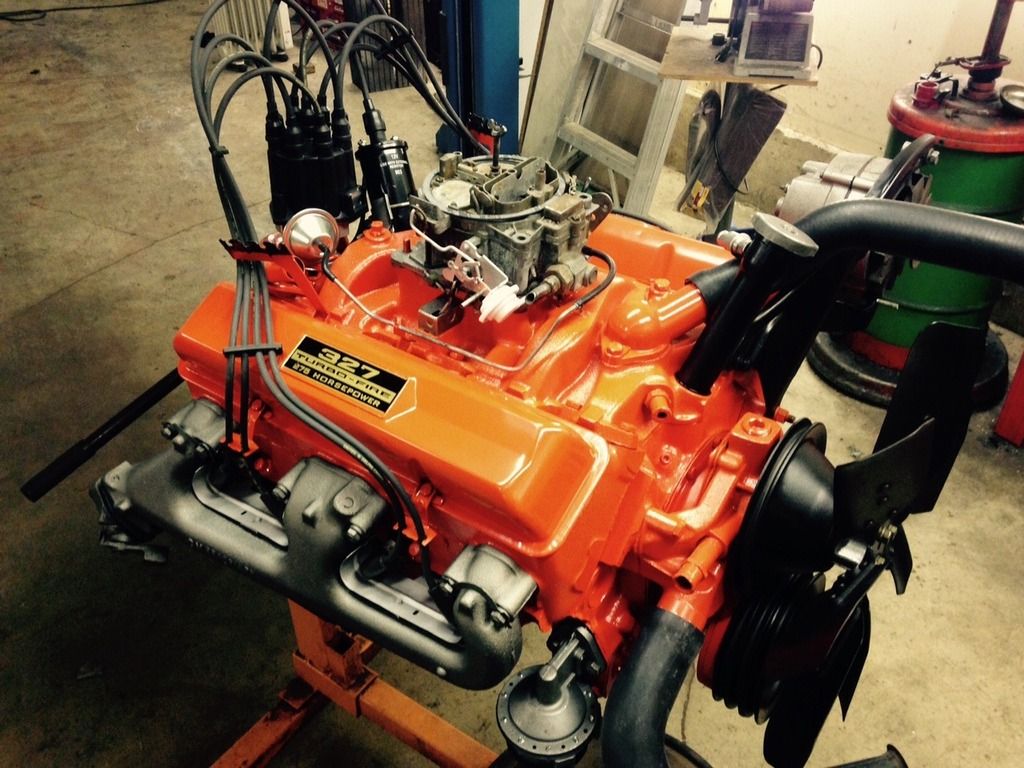
The other thing I did was convert the points ignition to a Crane XR-i system and bench test it before installing the distributor.
I've always really enjoyed this process. For some reason I find it gratifying to clean, detail and assemble engines. Usually I get to be somewhat creative and make certain fashion choices. In this particular case it's geared more toward a factory correct restoration so I got to geek out on making sure all the hardware is correct and all the fasteners were in the correct locations. There is a correct pre-bent fuel line, tower style hose clamps to go with the correctly numbered GM radiator hoses and a new fan shroud on order. I also learned that the badging on those sexy 327-only valve covers are, in fact, water transfer decals (remember building models as a kid?) and not stickers. Another thing I discovered during the process is that the distributor and the starter are original to the car. More matching numbers! The alternator is the correct casting number but is date coded early '68 so it's been replaced at some point. Maybe I'll keep an eye out for one that's more "correct" at the swap meet next year.
I didn't take any pics, but I also replaced both U-joints, painted the driveline, painted the transmission crossmember, changed the fluid in the rear diff, and replaced the leaking pinion seal. That's going to leave me with all new fluids from front to back, rebuilt radiator, engine, transmission, and driveline. I'm hoping that it should be reliable and trouble free for quite a while.
