Page 4 of 7
Re: Kylezone's Longbed 521
Posted: Tue Aug 05, 2014 2:23 am
by Laecaon
720 King cab, I think either 85 or 86... Someone converted the front hubs to manual locking. 97 Frontier KA 2wd Tranny (30.5" long instead of 28.5"). Yes we need to fuddle with the cab mounts, and definitely the bed mounts (and the bed...) And that short driveshaft piece will need to be shortened just a bit.
Re: Kylezone's Longbed 521
Posted: Mon Aug 11, 2014 10:02 pm
by kylezone
got a bit done over the weekend, and ive been opening at work the past couple days so ive had evenings free. but its to hot and i feel un-motivated lol.
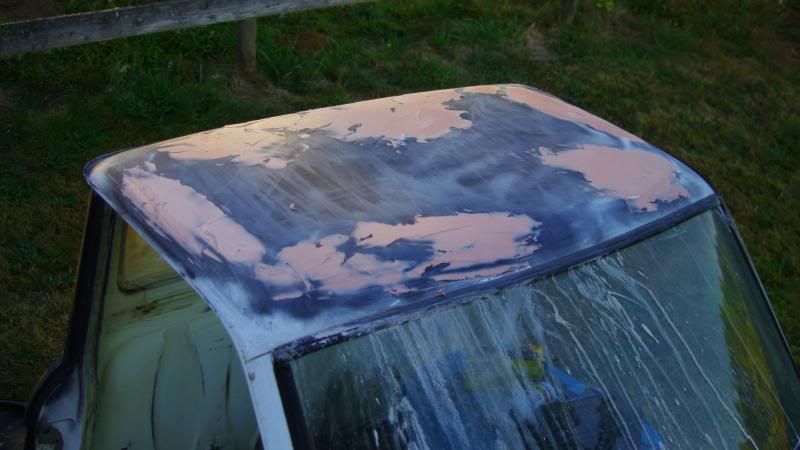
first off i got a bunch of body work done, the roof is more or less done at this point, its not perfect but im getting tired of sanding, ive spend hours and hours just on the roof.
it was dented pretty badly all over, it looked like someone tied something heavy to the roof at some point.
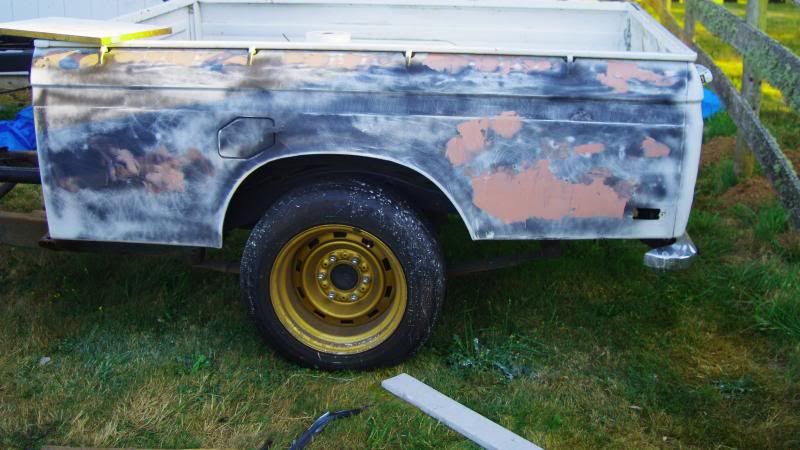
Bed is doing alot better too, but im not going to get too carried away with it because i still need to extend it a foot or so.
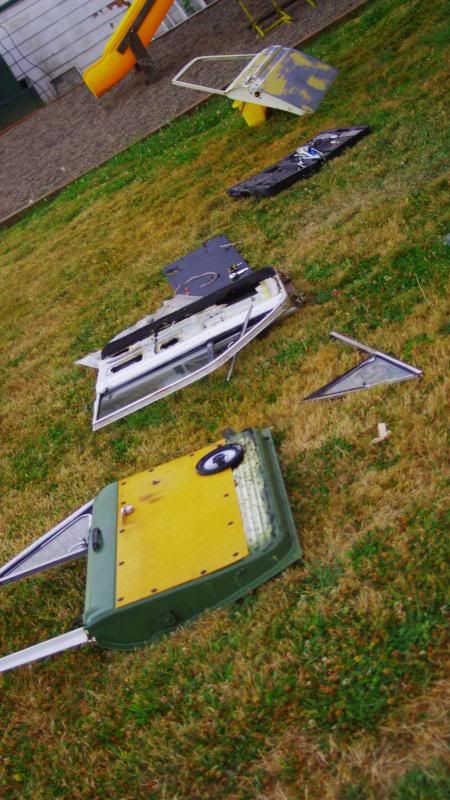
I also got started on the doors. in typical 521 fassion they're misserable to work on, you have to take everything apart to get the glass out, but i suppose i needed to strip everything off anyway.
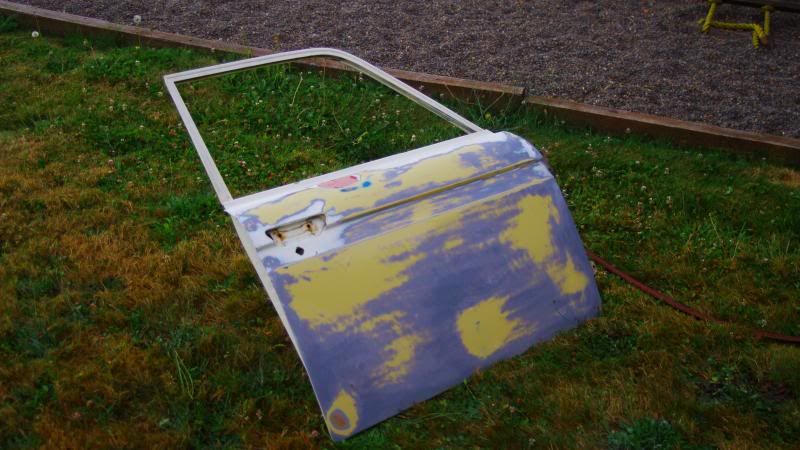
the new passenger door was in nice shape, only one small dent above the handle. and very little rust.
I painted all the seams and rusty bits inside with rust reformer / rusty metal primer....
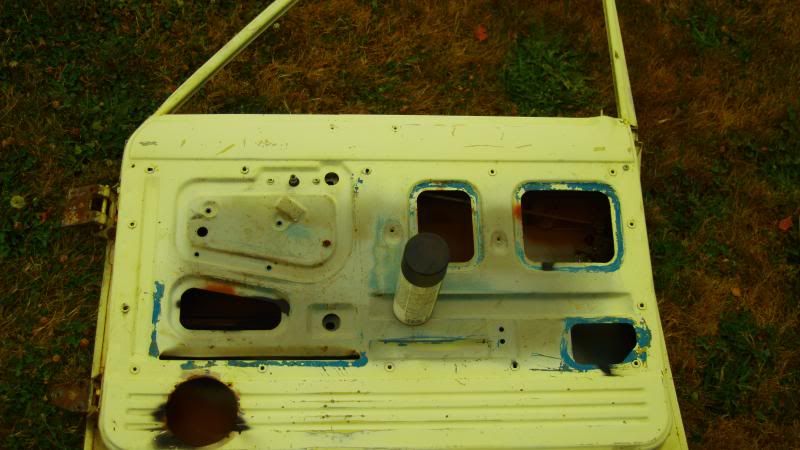
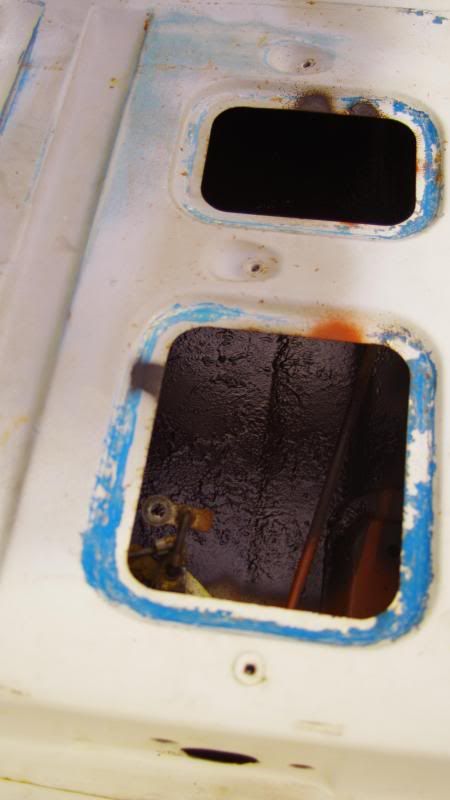
and than gave it a nice heavy coat of rubberized undercoat as sound deadening.
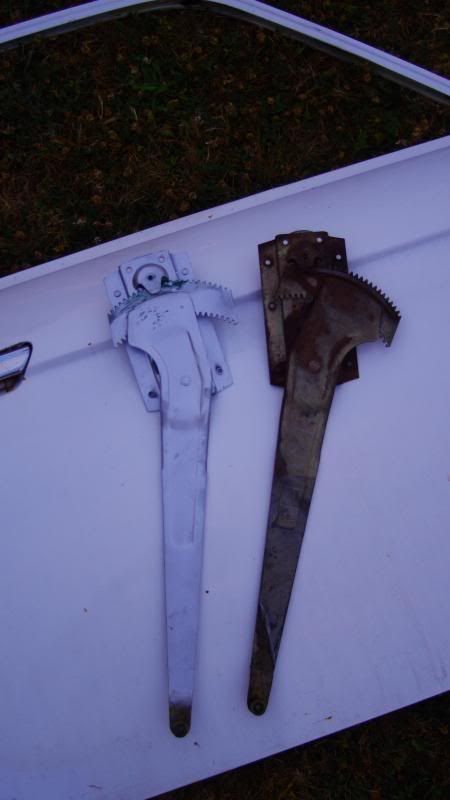
than I took the regulators, cleaned them up as best as i could, hit them with rust reformer/ silver rustoleum and than greased everything with bike bearing greese, i figure its pretty resistant to water so it made sense... and i already had it.
after / before
door got some primer
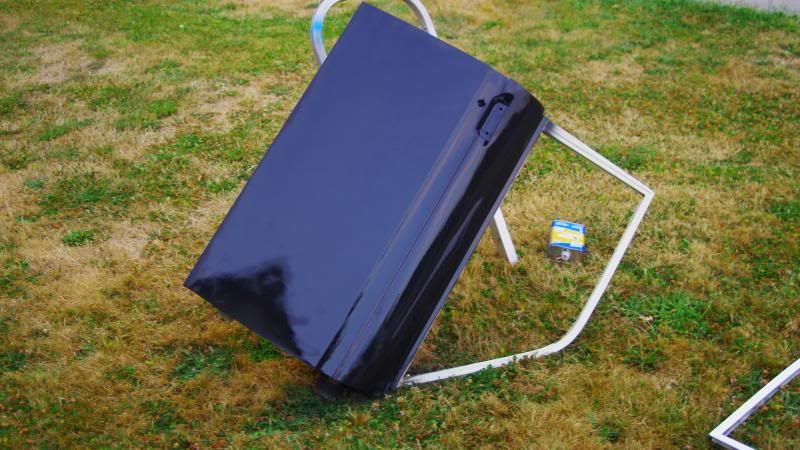
still have the driver's door to do but that one is in great shape too so it wont take long.
the super weird thing is the lock in the driver door doesnt match my key, but the lock in the new passenger door from another truck does..... weird but at least i have a matching set...
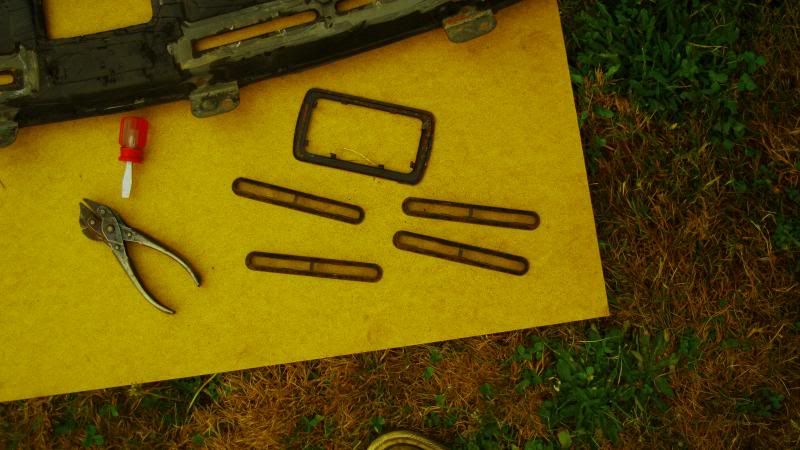
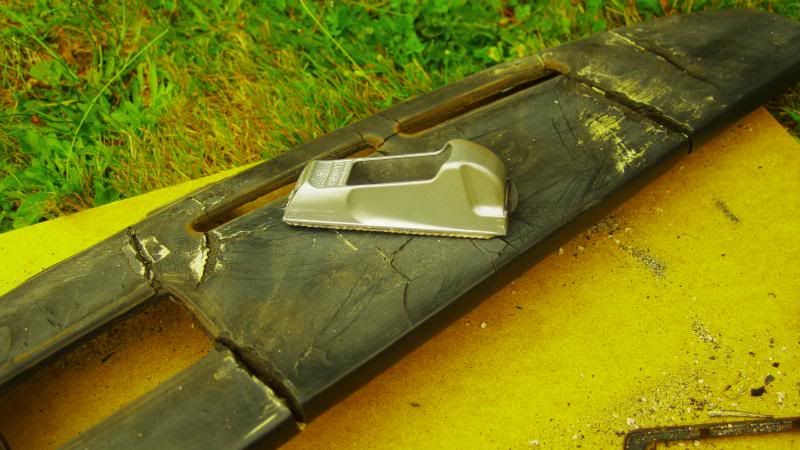
I also got started on restoring the dash. i could have bondoed the cracks but it was super wavy so i decided to put a sheet of masonite on top to make it flat.
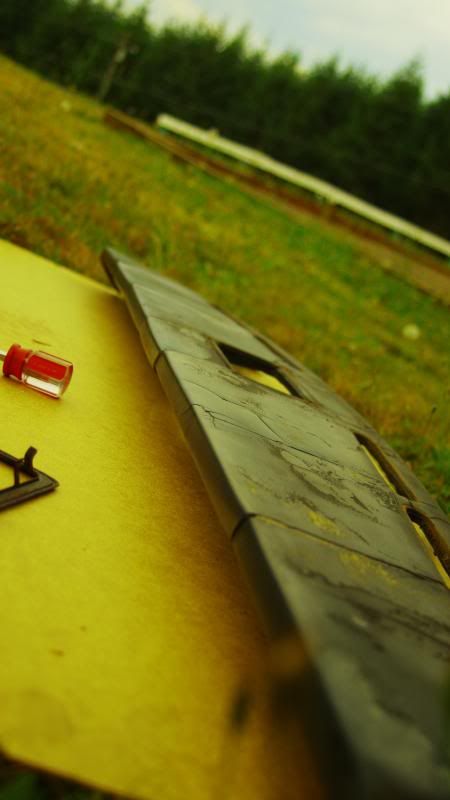
got all the little trim things out. but the tabs will be too short to fit the dash with the added thickness of the masonite.... ill just figure that out later.
used one of these cheese-grater-type things to cut down the ridges as best as I could.
new top.
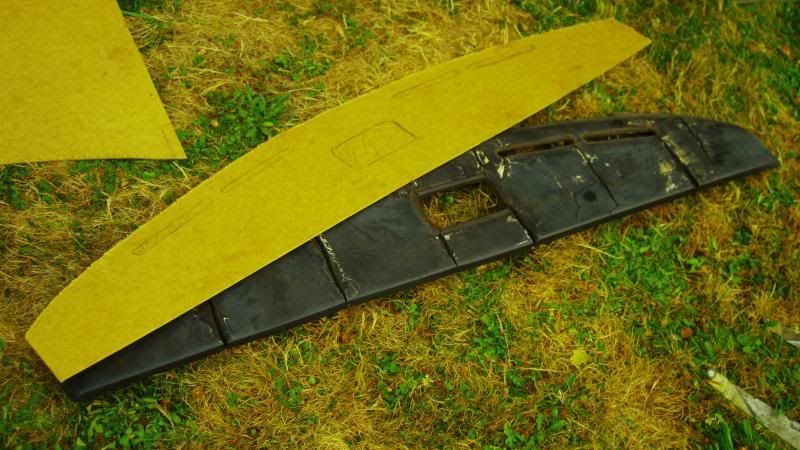
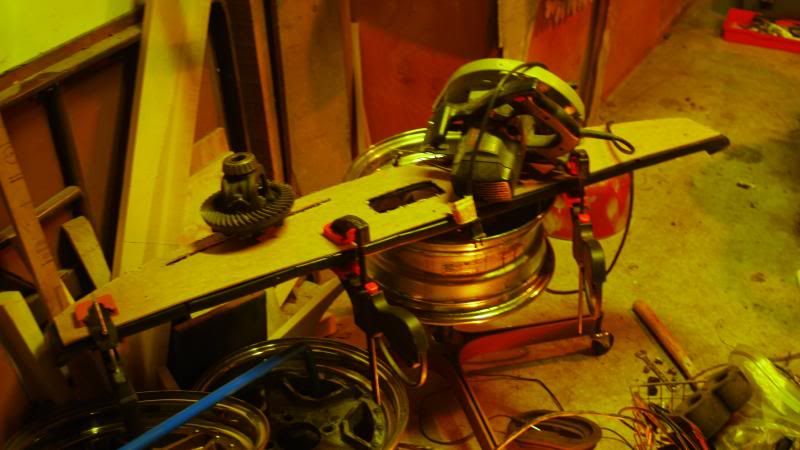
put it on with some marine adhesive. im thinking that more clamps might be a good investment in the neer future, but for now a saw and a toyota differential will work. =)
aaaand all the trim got painted.
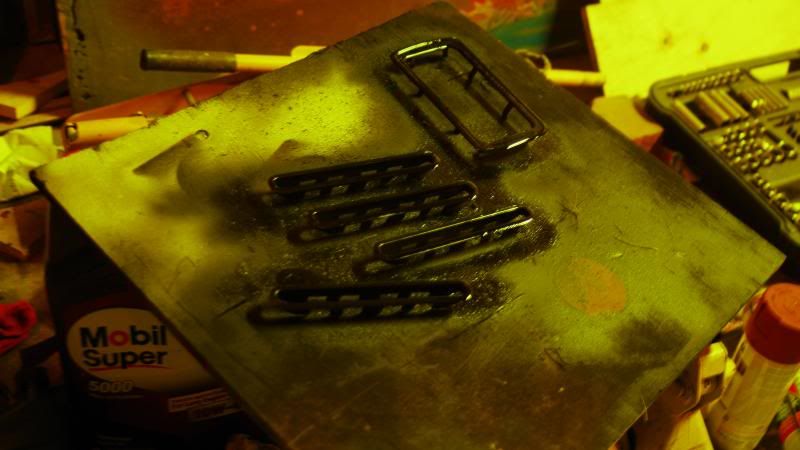
thats it for now. Paint got shipped so I need to get the cab completely in primer asap and let it cure.
ive decided im going to shorten the driveshaft myself it looks pretty easy actually. and Nissan was super nice when the did cab mounts, the front two line up perfectly, and than the middle and back sets are the same distance from the front on both trucks. they are about 2" narrower, but could be alot worse.
Re: Kylezone's Longbed 521
Posted: Tue Aug 12, 2014 8:55 am
by Taterhead
Even if you shorten the driveshaft yourself, you'll still need to take it to a driveline shop to get it balanced. But you probably already knew that.
Re: Kylezone's Longbed 521
Posted: Tue Aug 12, 2014 5:06 pm
by kylezone
yep, one of the weights is right about where i have to cut.
Re: Kylezone's Longbed 521
Posted: Fri Aug 15, 2014 12:22 am
by kylezone
more progress
after the masonite dried, i bondoed all the corners
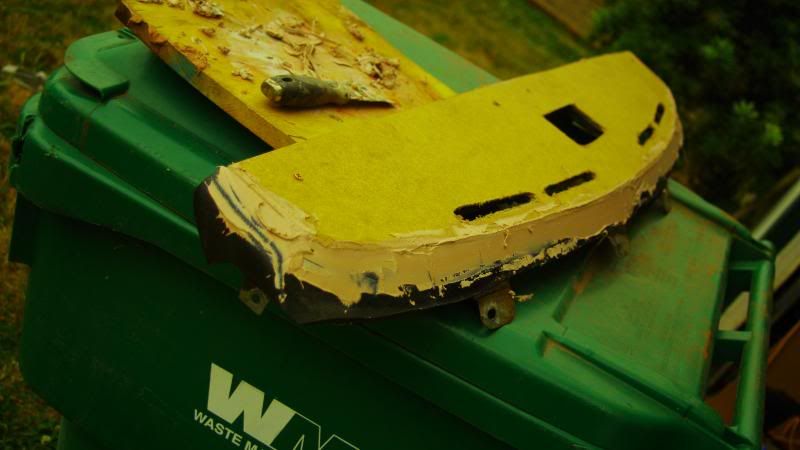
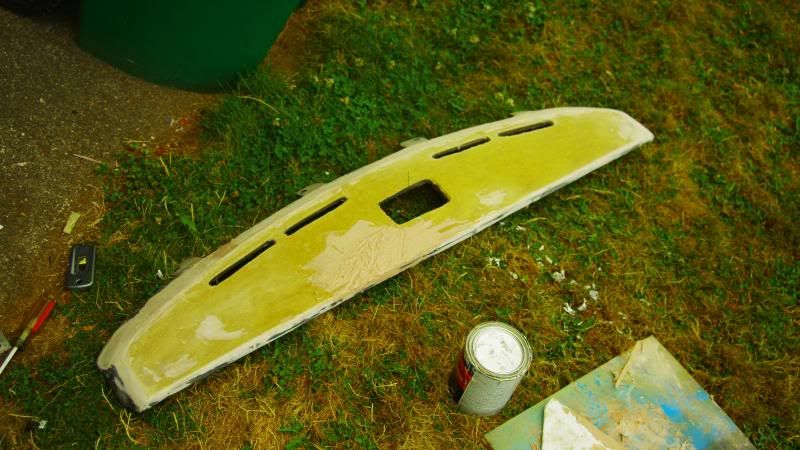
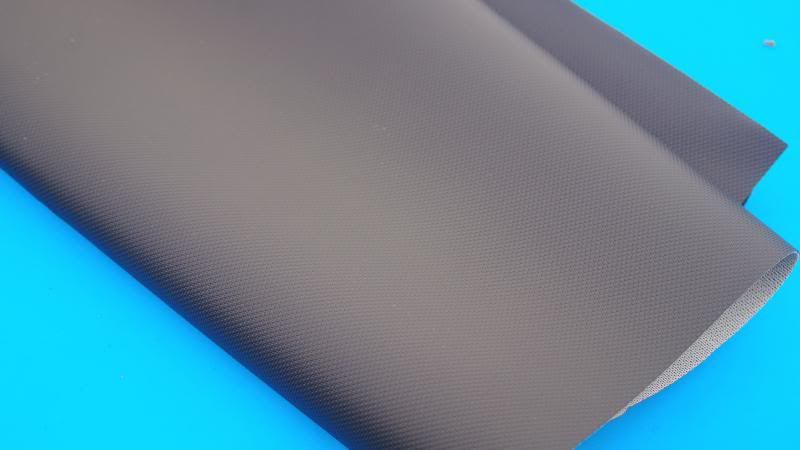
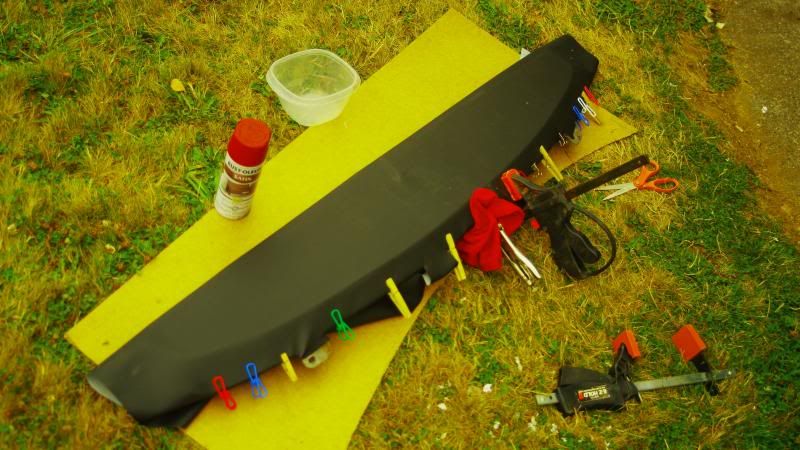
than i found the PERFECT material for the cap, its a good quality vinyl with a woven backing, it has a little bit of give to it, its nice and thick, and it has a pattern on it instead of a fake leather look.
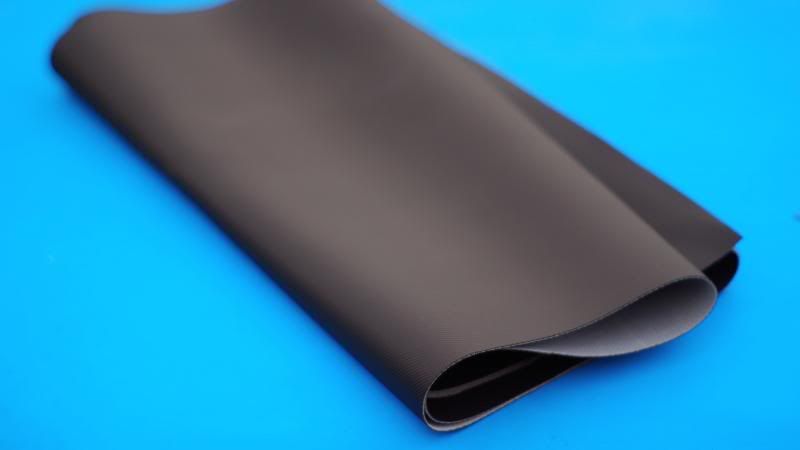
a little hard to see in the pictures, but its like a micro diamond plate pattern.
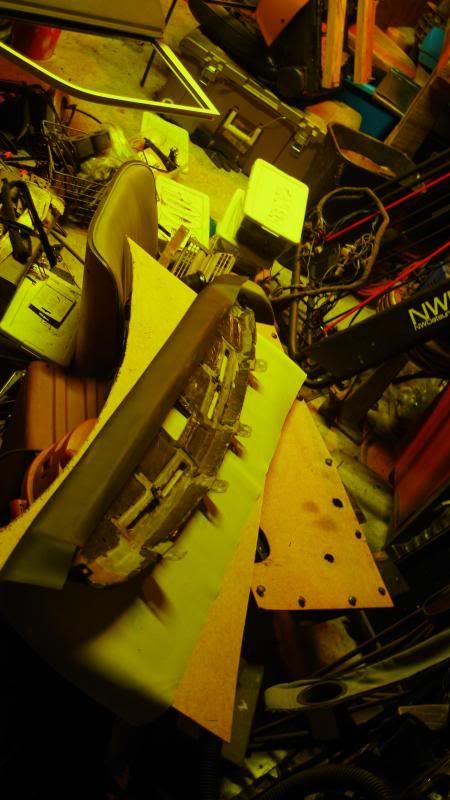
i glued the bottom edge where it meets the dash front and let it set over night.
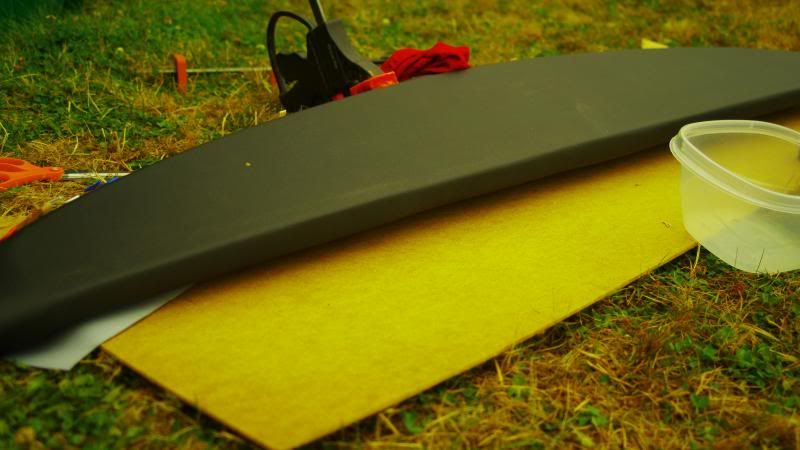
today i spray glued the whole thing and streched the material ove the top.
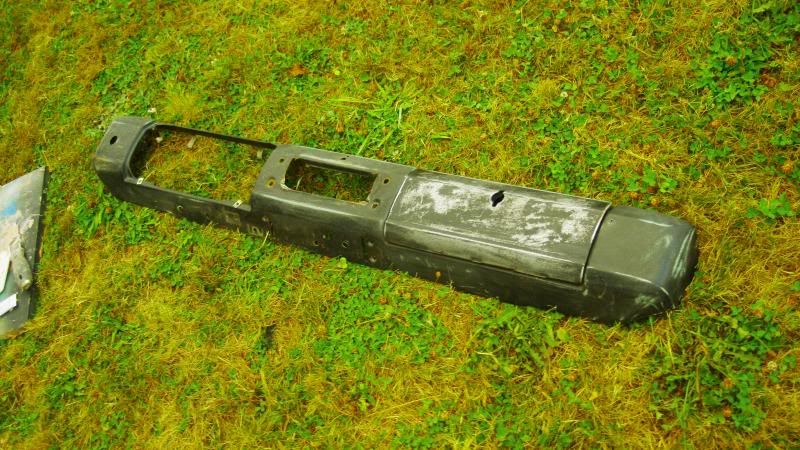
got the dash face sanded down too but its going to need some work in the stereo hole, PO cut it up for some reason. but onnce its done ill paint it the same color as the body.
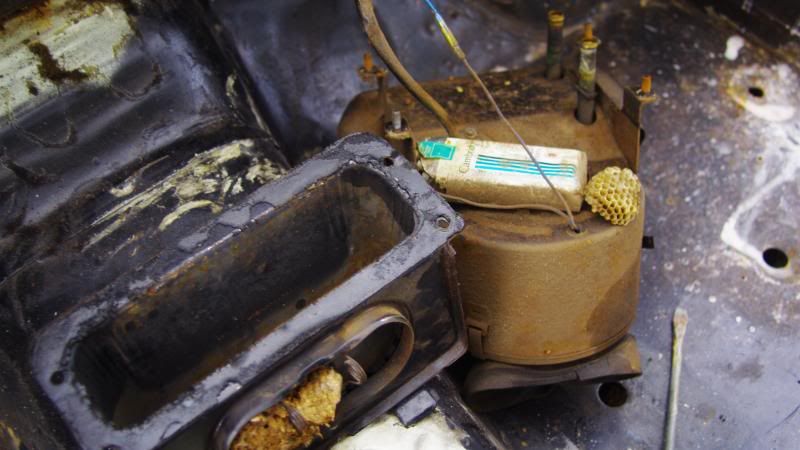
pulled my heater core.... no wonder it smelled a little funky when it got hot... cant beat that bee's nest and 30 year old menthol scent.
and the windshield came out today too.
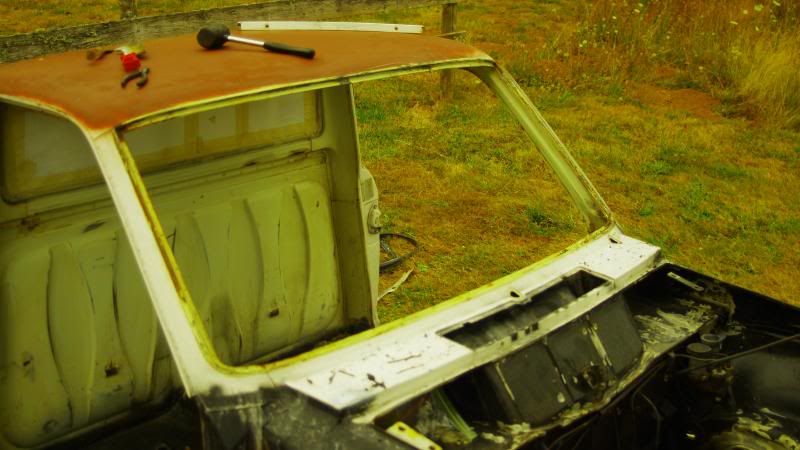
surprisingly clean underneath, a bit of pitting, but better than i was expecting, this is the worst of it.
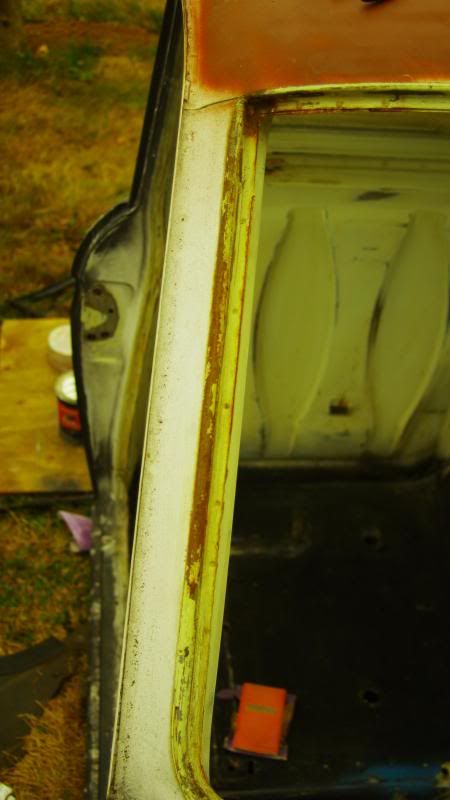
stripped the interior the rest of the way and got it ready for primer.
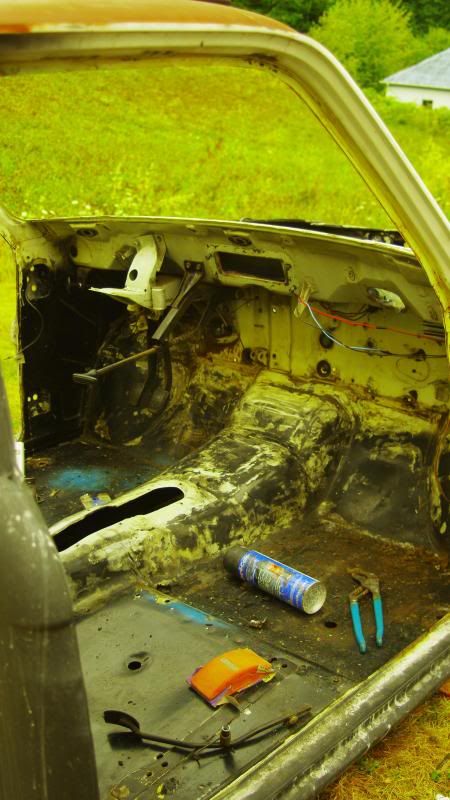
i got the whole interior in primer aswell but it was too late to take any pictures. but im really anctious to ge the whole thing primed, still have the engine bay/ driver fender, and driver door. tho the door is well on its way.
Re: Kylezone's Longbed 521
Posted: Fri Aug 15, 2014 9:36 pm
by izzo
good lord man. Lots of work you're doing there! Wish i lived closer to everyone so i could run over and see shit live in person lol
Re: Kylezone's Longbed 521
Posted: Sat Aug 16, 2014 1:27 am
by Laecaon
TIm, you should move. you are too far away.
And I never called you kyle... um yea...
Re: Kylezone's Longbed 521
Posted: Sat Aug 16, 2014 7:51 am
by izzo
I am man :\ But dat garage i gots... lol
Re: Kylezone's Longbed 521
Posted: Sun Aug 17, 2014 9:07 pm
by kylezone
more stuff
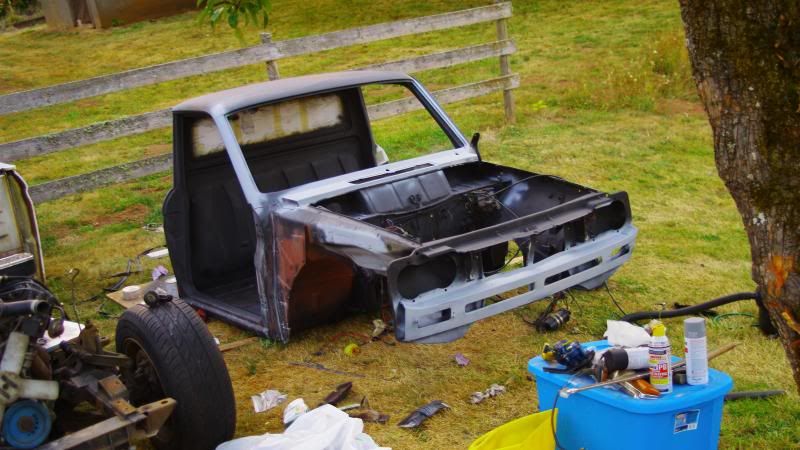
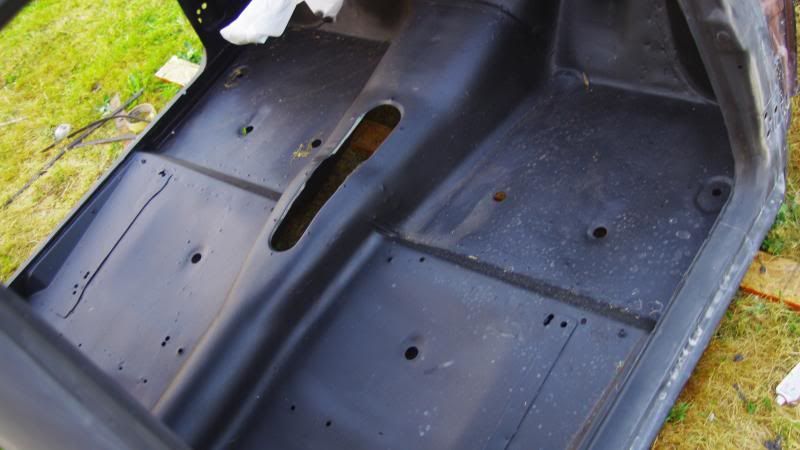
cab is in primer. i dont have a current picture but its all the same color primer at the moment. and the wheel wells have rubberized coating.
the floor inside is in bedliner.
fenders and doors
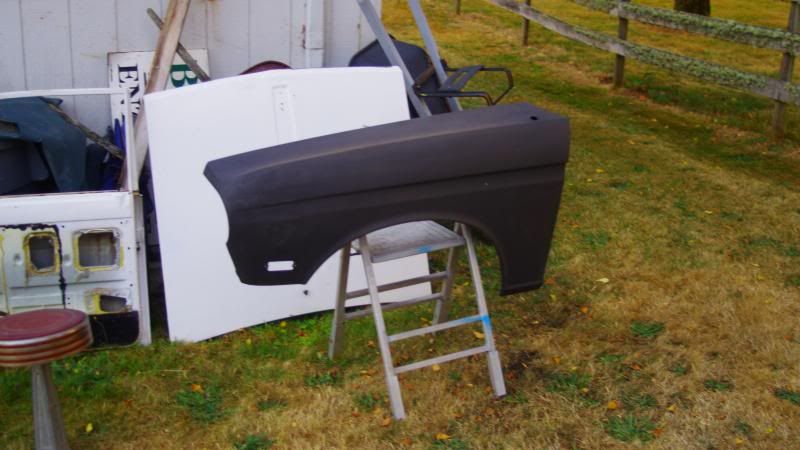
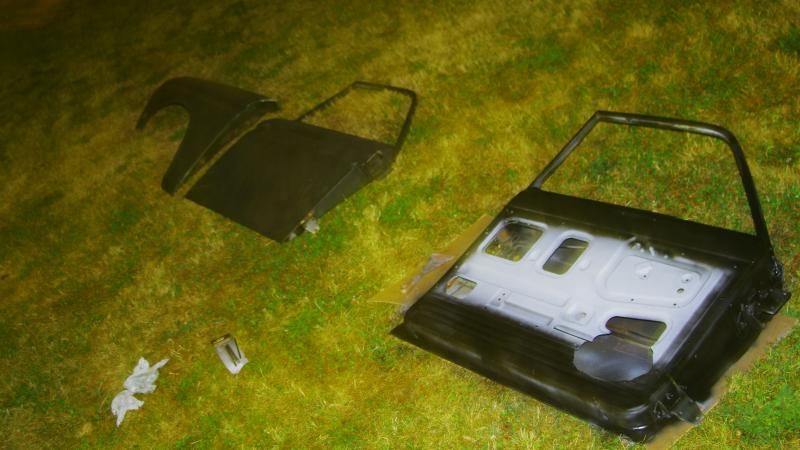
and jake and i got the end cut out of the driveshaft.
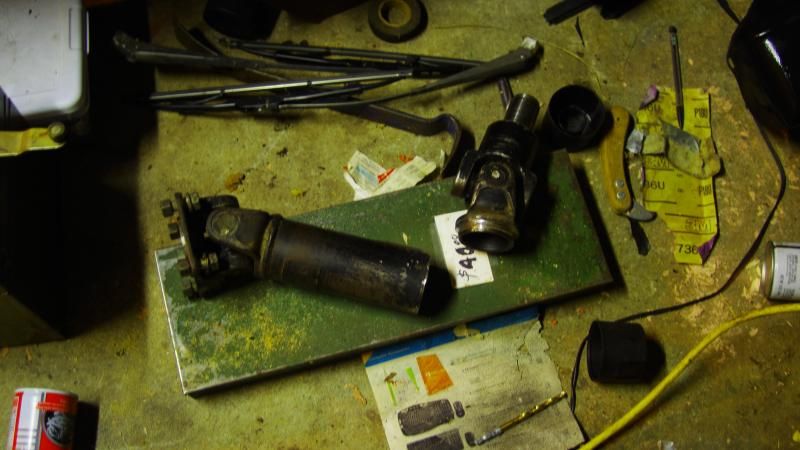
just a couple of odds and ends to do tomorrow, but its time to start wet sanding, and next weekend we're going to do paint!! but it sounds like the wheel well needs to be hammered out a bit for the break booster, so ill need to get that figured out before paint . hopefully i can get ahold of one after work some day this week. other than that i think the last scary thing to do is figure out the cab mounts and bed mounts...
Re: Kylezone's Longbed 521
Posted: Tue Aug 19, 2014 12:04 pm
by uberkevin
Holy shit may your Killen shit!!
Nice work bud.
Re: Kylezone's Longbed 521
Posted: Tue Aug 26, 2014 11:19 pm
by kylezone
as usuall ive been ignoring my thread. so i have a bunch of stuff to post.
ive got everything in primer and wet sanded to 600 grit, with the exception of the bed and the dashboard.
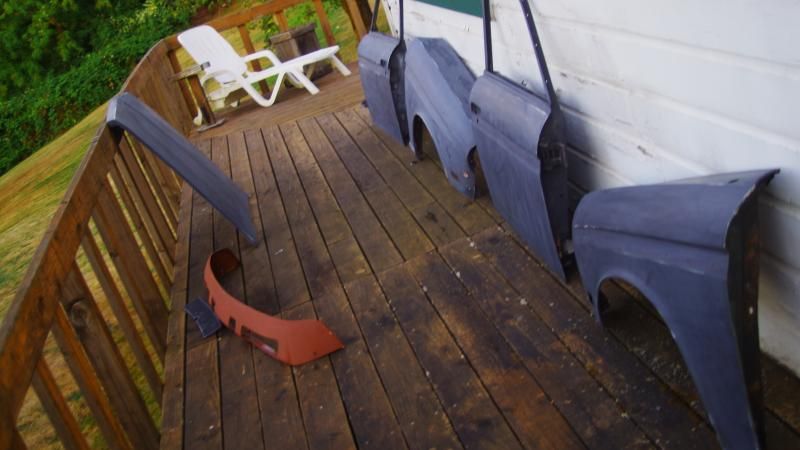
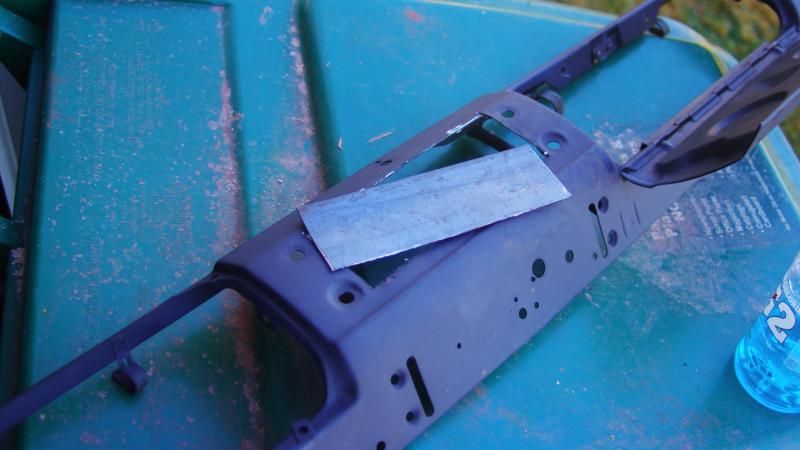
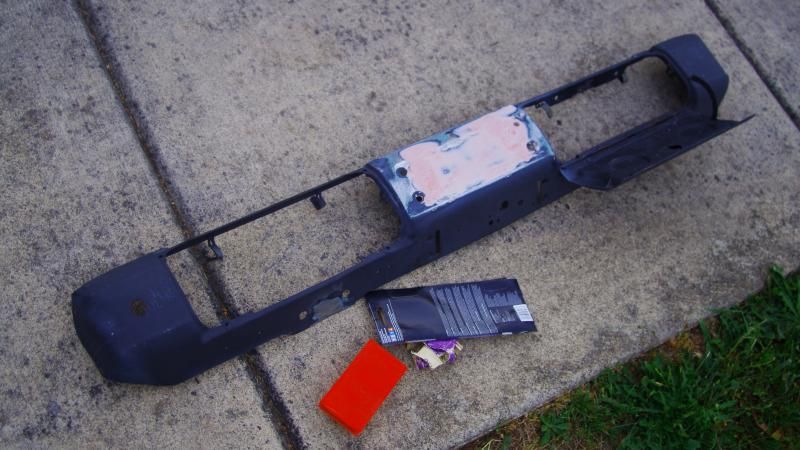
The dash board got a patch to fill in the deck hole, i dont have a deck, so i dont need it and im not going to the effort of trying to bend everything back into shape that the PO screwed up.
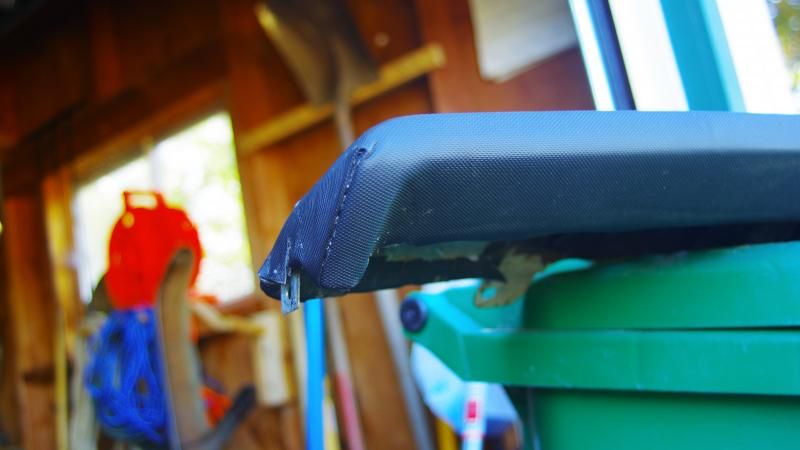
the dash cap is nearly finished, i finished one end of it, and it was such a pain in the butt to do that i havnt got around to the other side lol. but it turned out pretty decent considering the complex shape.
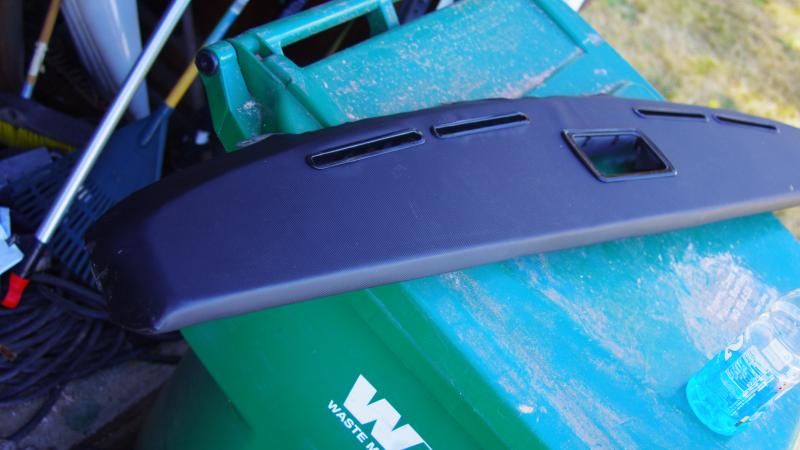
some of the glue residue should come off pretty easily with a gum eraser or something like that. My biggest concern is seeing how it will stand up to the sun. ... time will telll
found a ... i dont know what its called, steering damper? whatever that shock absorber thing on the stearing linkage is. didn't realize i was missing one untill i saw it on a truck at the PnP lol.
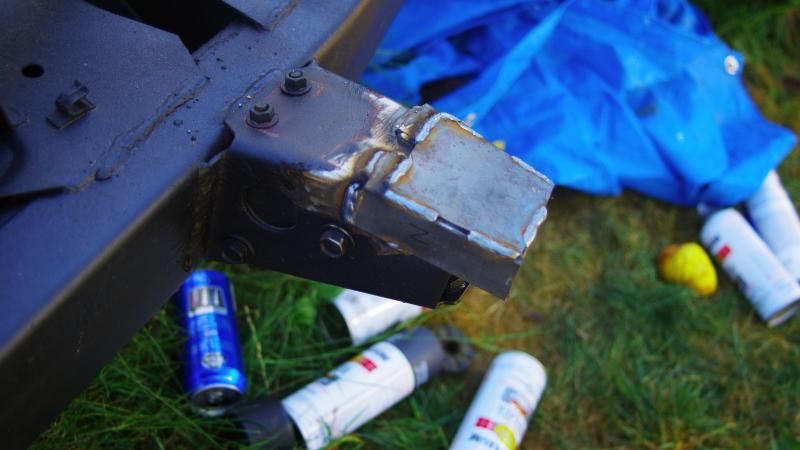
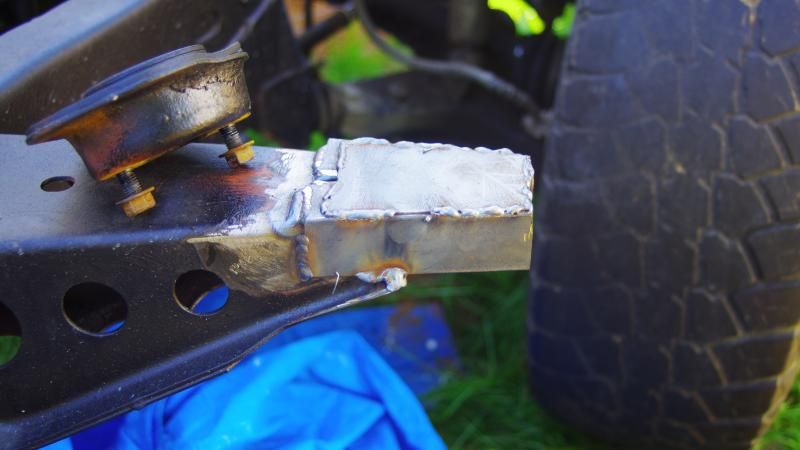
and Lacaeon came over the other day to help me weld on some cab mount extentions. the mounts are all spaced the same distances back from the front on the 521 and the 720 KC apparently... thats handy, only problem is the back two sets are both inboard about an inch on each side. so the plan is to weld these on, drop the cab on, and drill through using the existing holes in the floor.
rear
middle
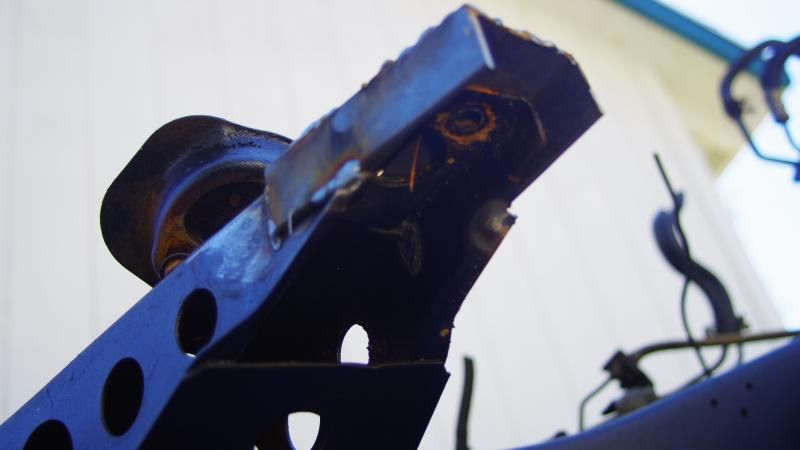
and the bottom side of the middle set, just for refference how much they are extended.
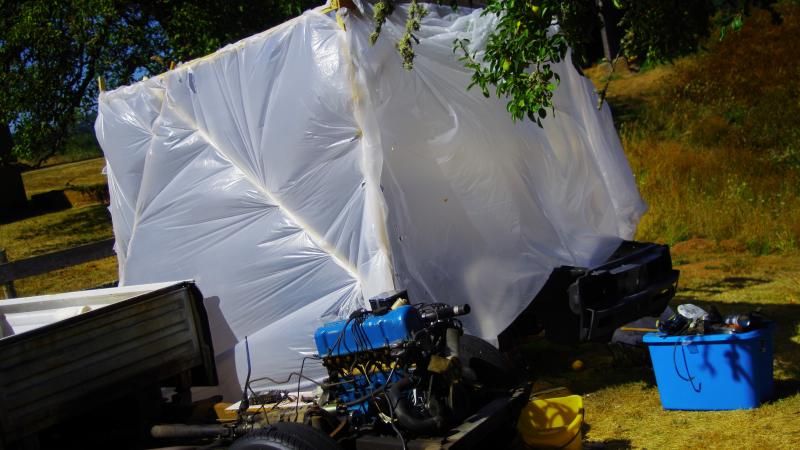
paint booth is up.... sofar the wind hasnt caused too much damage. but.... not none. needs to last a couple weeks
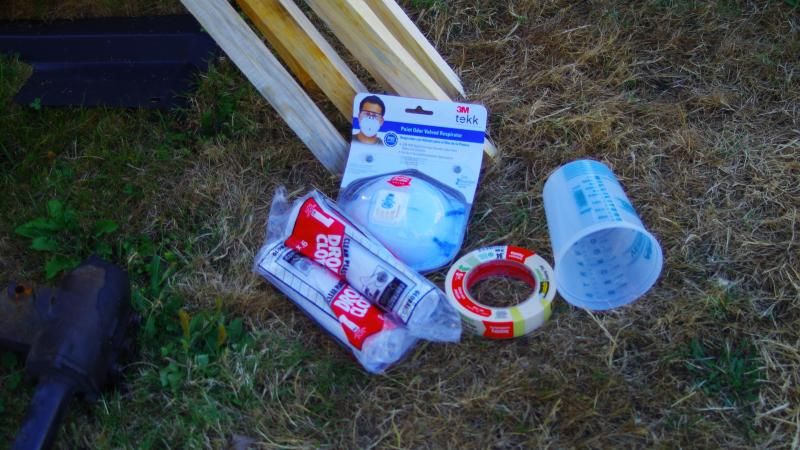
paint stuff...
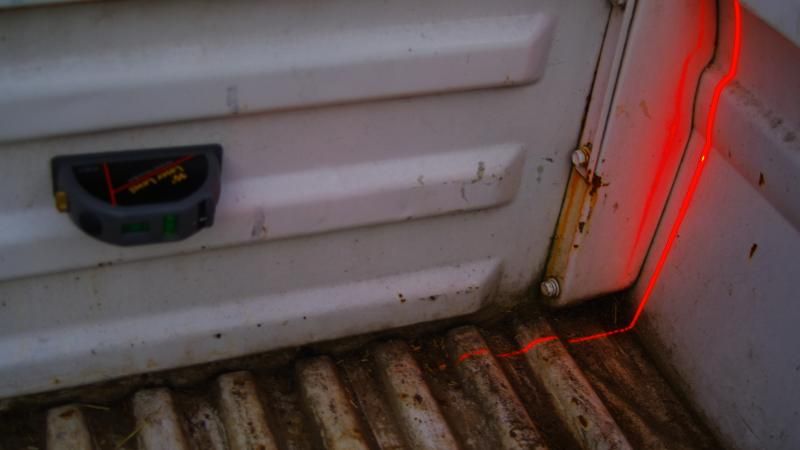
and i laid down some tape on the bed so i can cut a nice clean line. used a laser line for a guide. just tape for now tho, I need to pull the gas tank. and id really like to get all the other pieces cut first before i destroy a good bed.
and today I got a break booster/ master. I talked to wayno and a 720 booster seems like the easiest choice. (why did i not just keep the one that was on the KC when we cut the cab apart???? oh well)
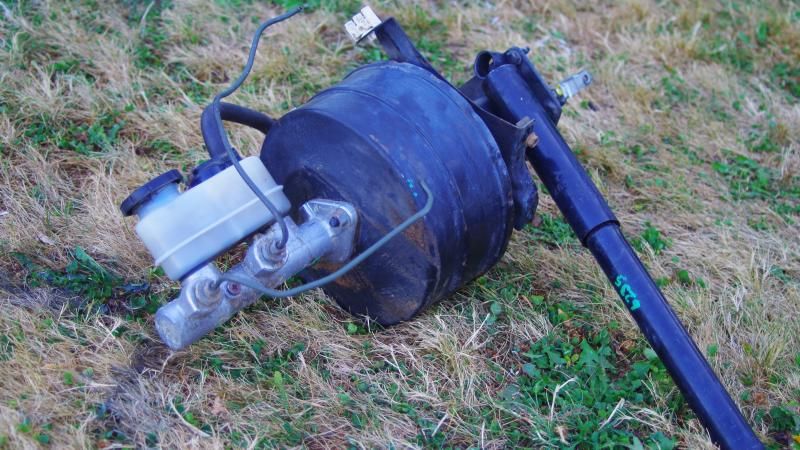
more info on how thats going to fit in just a bit.
Re: Kylezone's Longbed 521
Posted: Tue Aug 26, 2014 11:42 pm
by kylezone
ok, so the problem is, I need a break booster, but the 521 clutch/ break masters are super close together, so no room for a booster. on 720s they were super cool and decided to put the booster on a pedistle that pushed it out past the clutch master, so thats what im using.
The pedistle is pretty big, and has a plate that extends out over the spedo-cable hole and gets in the way of where im eventually going to have to put my 720 stearing column bracket.
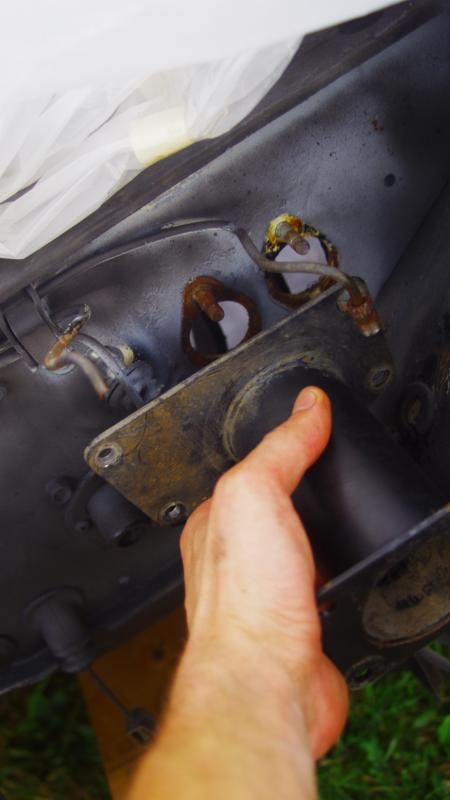
the booster side of the pedistle has 4 nuts that hold it on, so i removed those to flip it 180 degrees.
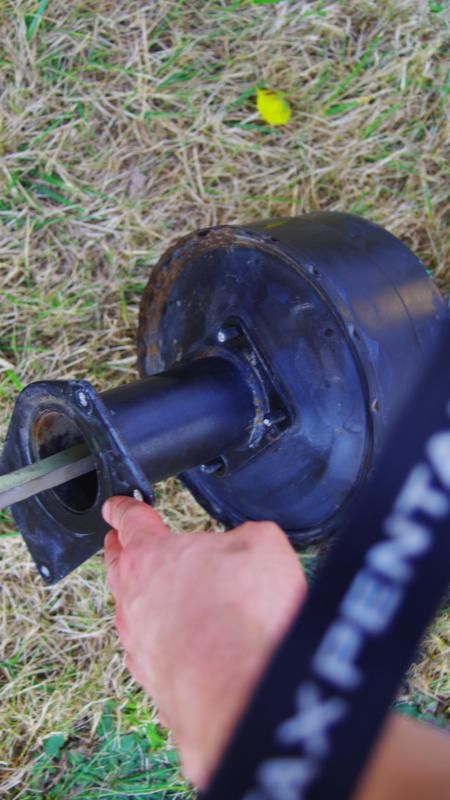
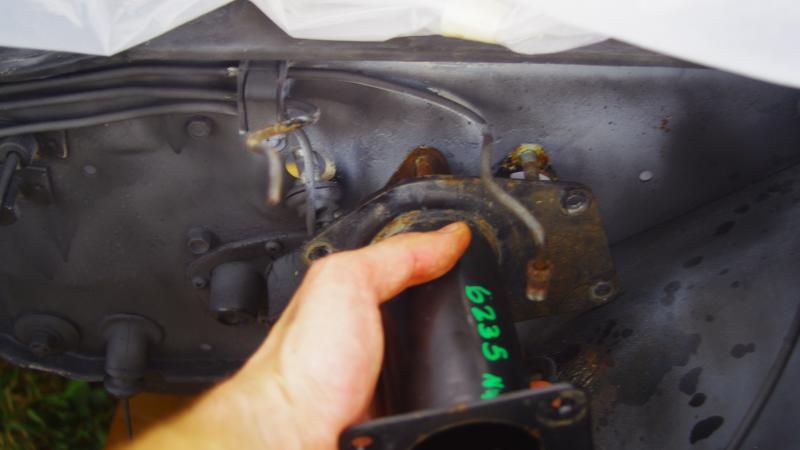
now the longer side of the plate is covering the clutch master hole, so I took a piece of heavy paper and makde a quick template.
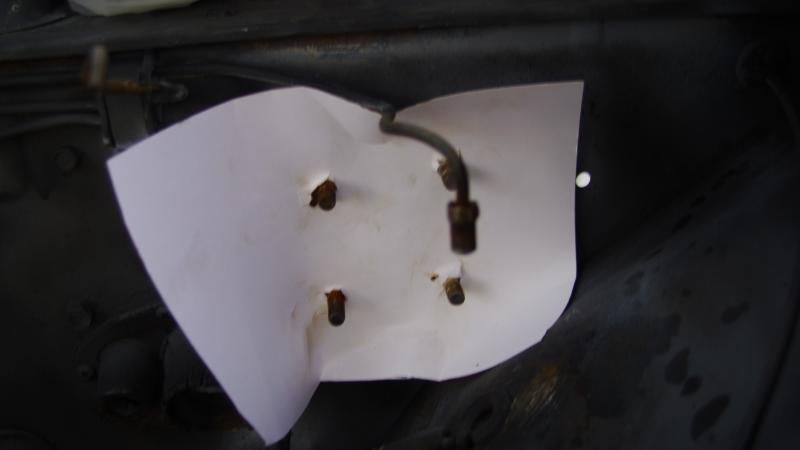
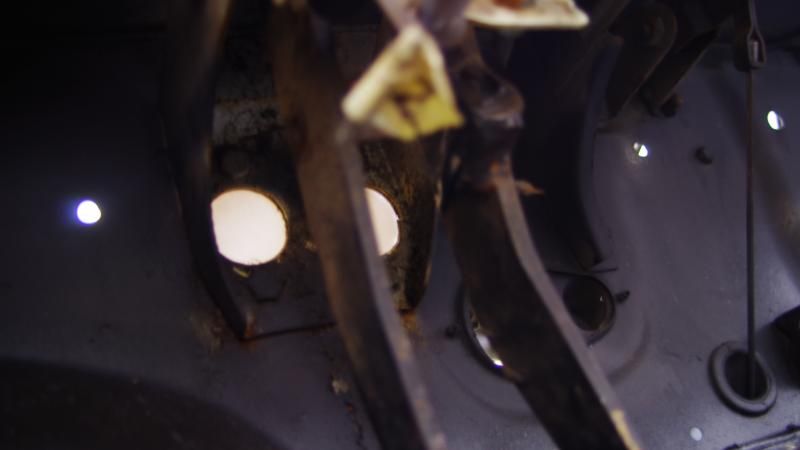
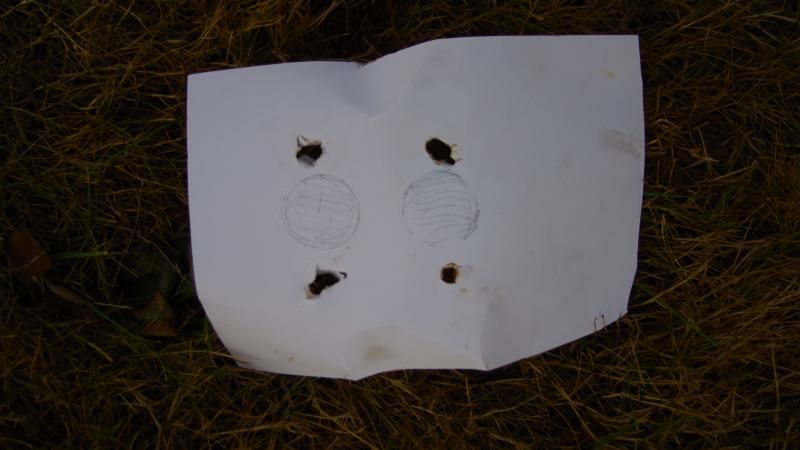
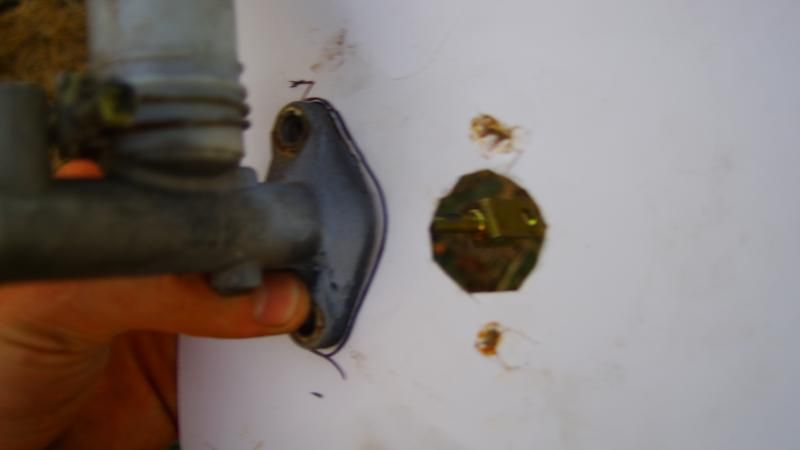
I aligned the pedistle so it was positioned where i wanted it over the break master hole, and trying to keep things parallel so that the new master isnt tilted when installed.
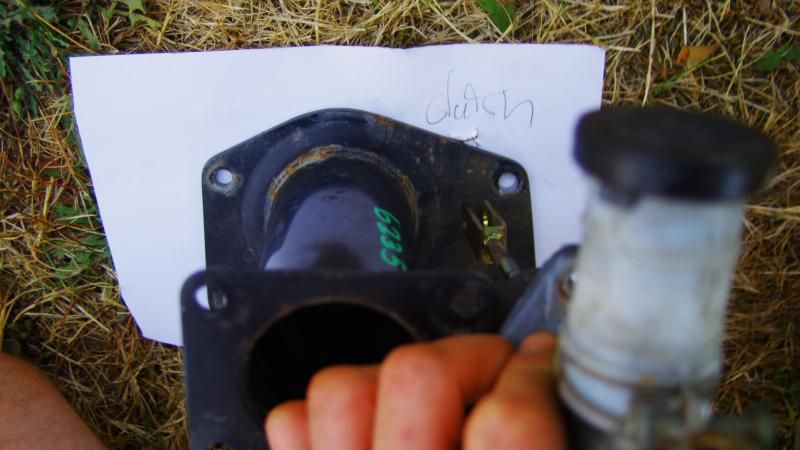
and than made a mark where the clutch master will be.

I only wanted to cut a hole big enough for the flange on the firewall side of the clutch master to fit into, so that the clutch master is sitting on top of the pedistle plate, partly to hide my really bad cutting skills. (all i had to work with was an angle grinder lol.) and partly to help hold the pedistle against the firewall.
Its not quite finished yet, i still have to do a bit of trimming to get it to fit, and ill need to hammer-in a small section of the driver side wheel well to clear the booster. but you get the idea.
and a huge thank you to Wayno for all the help!
Re: Kylezone's Longbed 521
Posted: Wed Aug 27, 2014 1:05 pm
by izzo
As always .love seeing the progress. Pretty neat watching you make this thing evolve.
Re: Kylezone's Longbed 521
Posted: Wed Aug 27, 2014 4:22 pm
by wayno
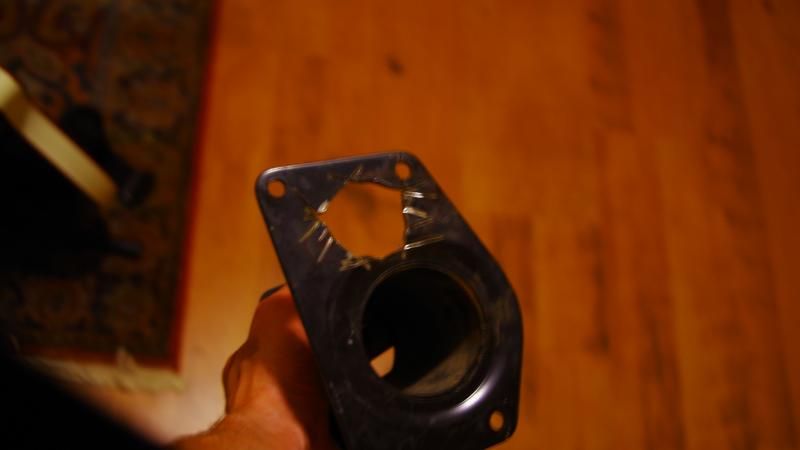
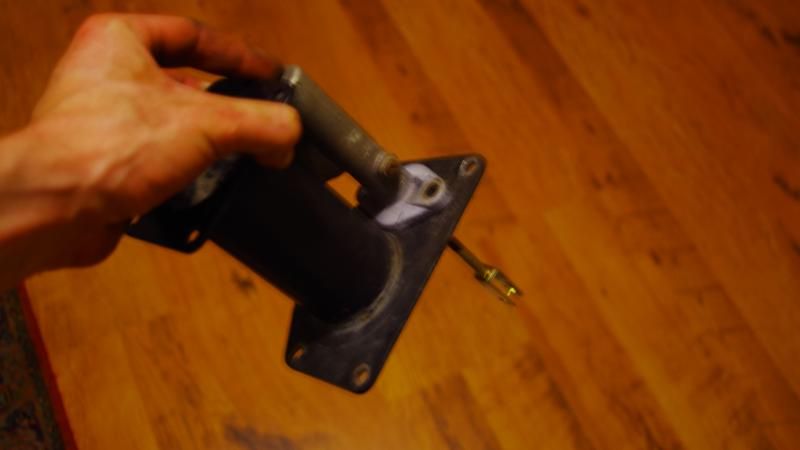
I did not say the 720 booster would work, I said I used the 720 pedestal and I flipped it like your doing, I drilled a hole like you are doing to mount the clutch master also, then I mounted a Ford Courier booster onto the 720 pedestal.
When I flipped the pedestal the tube got in the way of the stock master cylinder brake mount studs, so I knocked the brake studs out, and I then drilled 2 new holes outside(just above and below) of where the studs were, they were still in the double thick area of metal, so I was not worried.
I did a lot of trimming of the pedestal to make it work.
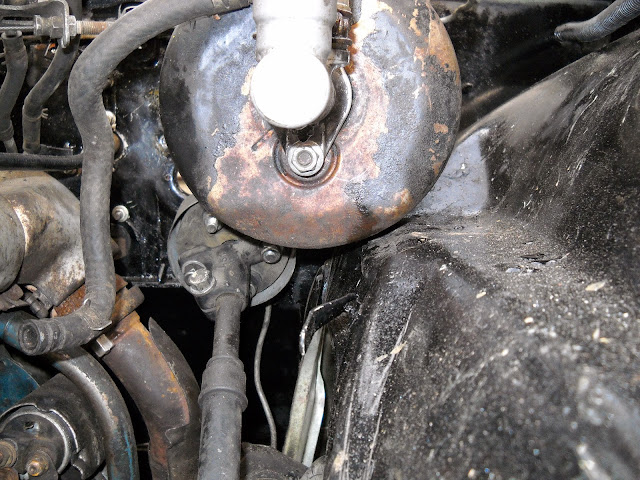
Here are a couple photos of what I did, I hope these give you a better idea of how I did it.
The new mount holes for the pedestal.

Where the holes ended up being on the inside of the firewall, I should probably put a washer on the lower bolt head.

I had to shave the side of the clutch master.
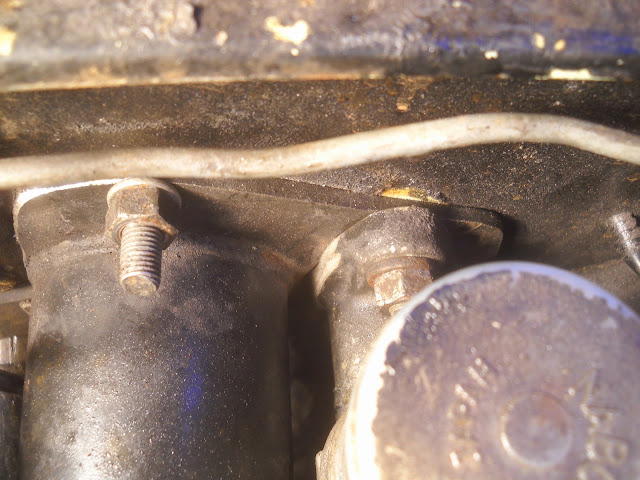
Here is the outside of the clutch master.

I had to beat the inner fender metal down a little to get the Courier booster to fit.
Re: Kylezone's Longbed 521
Posted: Wed Aug 27, 2014 8:55 pm
by kylezone
cool, yah im planning to knock out the stock master studs too. but i ended up shaving a bit of the weld around the pedistle instead of shaving the side of the clutch master. I didnt cut all the way through so there's still pleanty of strengh around the tube. And if i ever need to replace the clutch master i wont have to shave it to fit. Sofar it looks like the 720 booster is going to fit, it will require some wheel well modification for sure, but id really like to keep as many parts 521 or 720 as i can, just for the sake of keeping it simple down the road if i need to replace parts.
Re: Kylezone's Longbed 521
Posted: Wed Aug 27, 2014 9:15 pm
by wayno
I understand what your saying, the reason I use the Ford Courier booster is that it is what has been copied in the domestic vehicle restoration world, it fit in my 47 chevy pickup under the floor boards because it's so small, they make aftermarket copies of it now instead of using a NOS Ford part, as it likely has been depleted anyway.
The Ford Courier booster has a unique master also, I used that on my 520 project, it has a remote reservoir, it comes in handy when room is an issue.


I tried using a 620 master first, but it was hitting the carb, so I ended up using the complete Ford Courier setup.
kylezone » Wed Aug 27, 2014 9:55 pm wrote:cool, yah im planning to knock out the stock master studs too. but i ended up shaving a bit of the weld around the pedistle instead of shaving the side of the clutch master. I didnt cut all the way through so there's still pleanty of strengh around the tube. And if i ever need to replace the clutch master i wont have to shave it to fit. Sofar it looks like the 720 booster is going to fit, it will require some wheel well modification for sure, but id really like to keep as many parts 521 or 720 as i can, just for the sake of keeping it simple down the road if i need to replace parts.
Re: Kylezone's Longbed 521
Posted: Mon Sep 15, 2014 10:49 pm
by kylezone
last coupele times i tried to post an update either the computer crashed or photobucket wasn't working.
so lots of stuff has happened, the driveshaft got shortened and welded the transmission installed and everything on the frame was put back together and bolted down, the paint got.... applied its not perfect, and i ran out. so im going to have to buy more and finish it next summer, especially considering i havnt even started on the bed yet.
than jake came over and helped me and my dad put the cab on the frame.
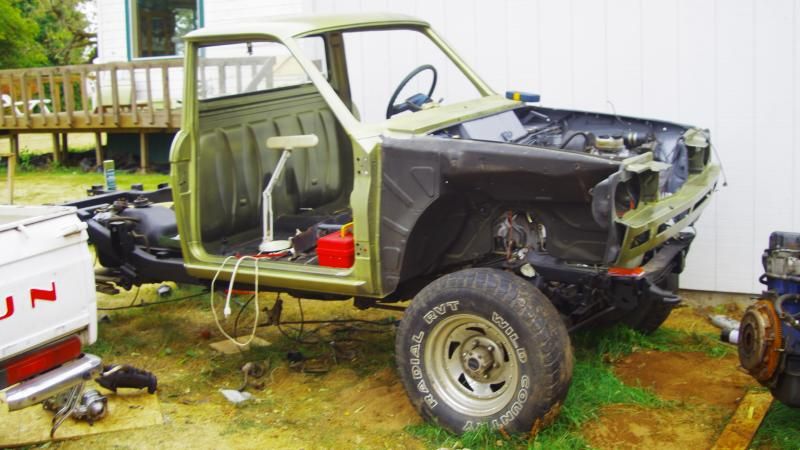
yay! it looks like a truck now!
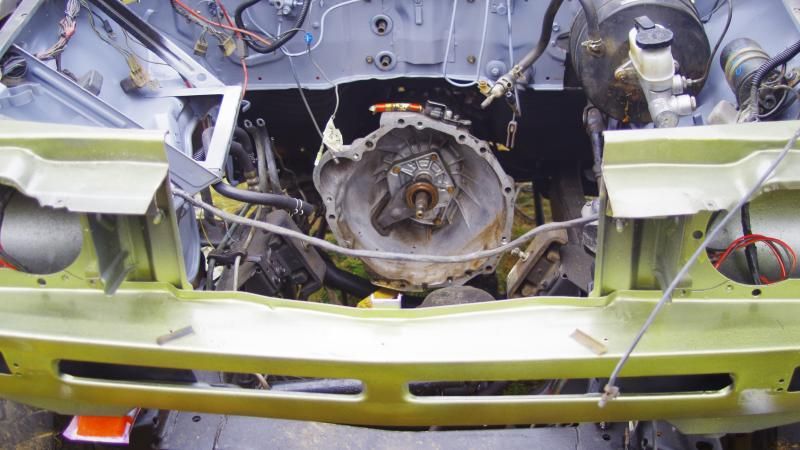
that said its not bolted down, it required a bit of modification. I cut out around the steering box,
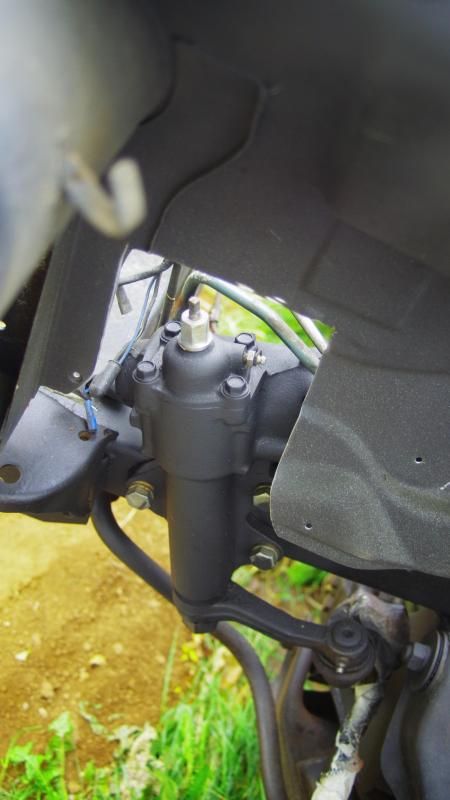
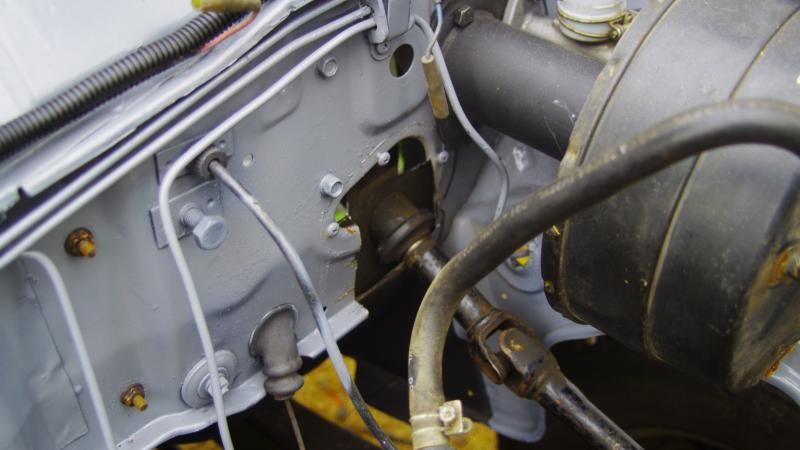
and obviously the 720 steering column doesn't just line up the same as the original.
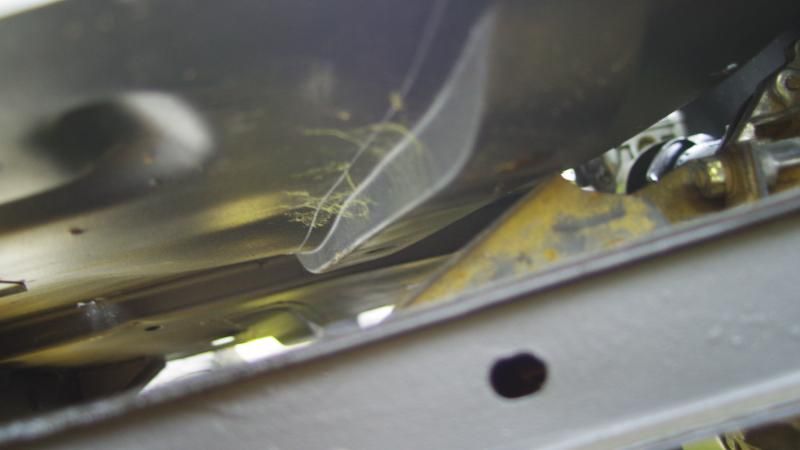
that will still need a bit of trimming, especially since its going to need a little bit of a body lift. the uppermost transferr case mount is touching the fraim rail under the driver side floorboard. so Jake working on making some body lift mounts for me.
i might get some hate for this but I dont really care lol. its a full boxed frame so the core support isnt really load bearing, and the truck is just so freaking tall now that i cant get the cherry picker to lift the motor that high lol. so im going to make it bolt on for future engine removal.
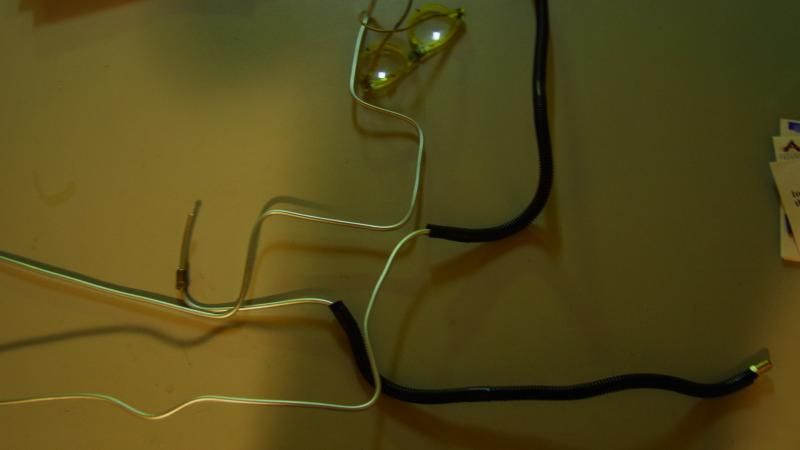
i got some break lines bent today, so thats one thing out of the way, im just going to re-use the clutch system from the 521 since its already been converted to a 620 slave... not sure how that's working with a SAE 521 clutch master... soooo im just going to not mess with that, it works, good enough.
put the engine back in aaaaand.....
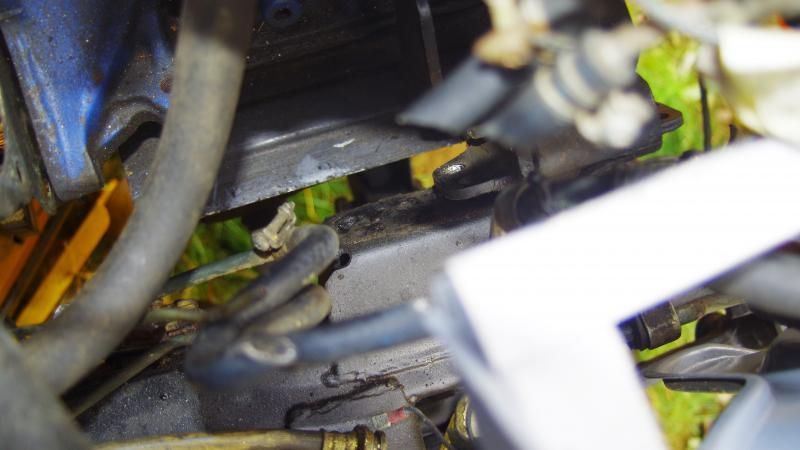
there is still a bit of room for the engine to go back as it mates to the trans. but its not quite enough... aparently the KA trans is longer behind AND forward of the mount. now i know... it looks like all said and done it will be about an inch forward, so ill just make a couple plates to move the mounts forward, Id much rather do it properly but school starts in like a week and a half, so i dont want to tear everything back apart and shorten the drive line even more and move the trans cross member. Ill do that when it gets a VG30ett =)
the other problem with that is that the fan is slightly too far forward for the radiator.
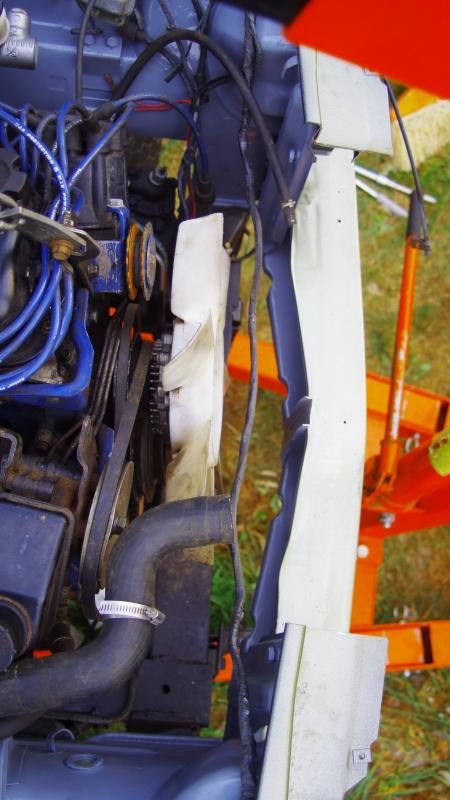
but i can flip the mounting flange on the fan to sit behind the fan clutch.
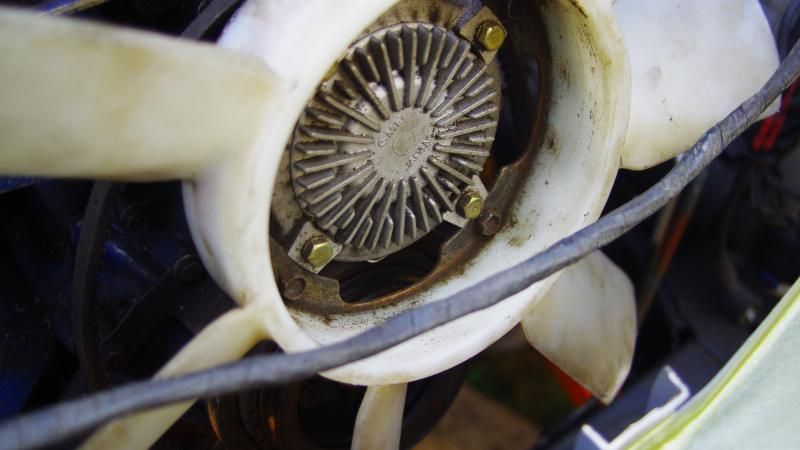
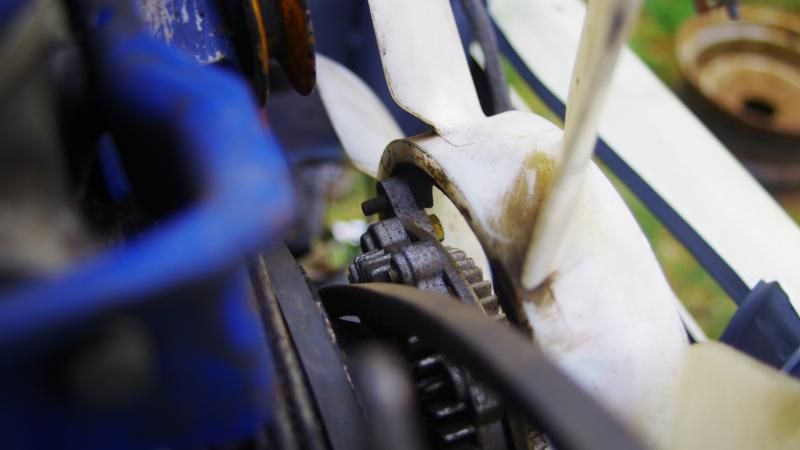
didnt get a picture, but i put it on the other side and the radiator looks like it will fit perfectly.
so... exactly 2 weeks till the first day of school....
Re: Kylezone's Longbed 521
Posted: Tue Sep 16, 2014 12:11 am
by Laecaon
We could frame mount the radiator... and move it forward...
Re: Kylezone's Longbed 521
Posted: Tue Sep 16, 2014 4:10 pm
by wayno
Can you move the cab just a tiny bit farther forward?
Re: Kylezone's Longbed 521
Posted: Tue Sep 16, 2014 4:14 pm
by DRIVEN
This thing is just cool. That's all I have to say.


