BLUE's Copper ZXT
-
- Posts: 1813
- Joined: Wed Jun 26, 2013 6:48 pm
- Cars: (3) s30's , (2) s130's
- Location: Unknown
- Has thanked: 669 times
- Been thanked: 243 times
Re: BLUE's Copper ZXT
DRIVEN » Sat Oct 11, 2014 10:24 am wrote:
1. Make progress until broke.
2. Go make mo money.
3. Repeat.
-
- Posts: 1813
- Joined: Wed Jun 26, 2013 6:48 pm
- Cars: (3) s30's , (2) s130's
- Location: Unknown
- Has thanked: 669 times
- Been thanked: 243 times
Re: BLUE's Copper ZXT
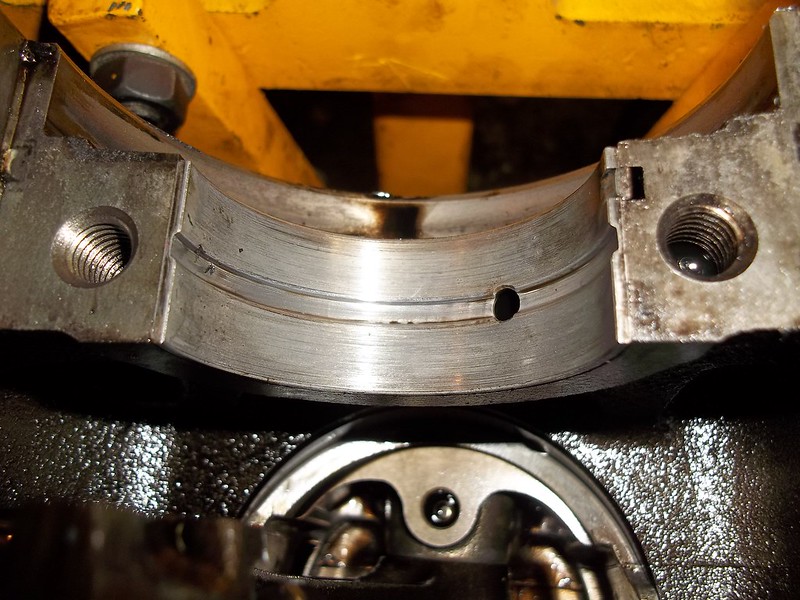
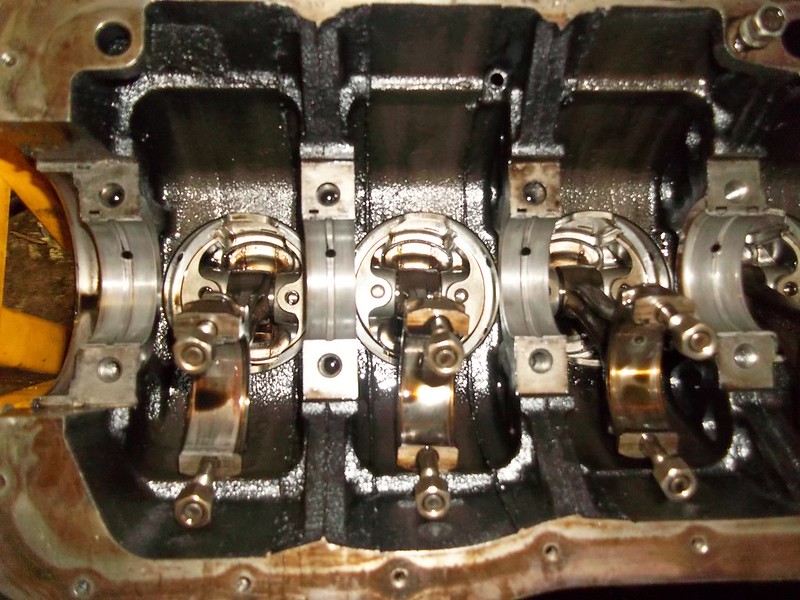
(rod bearing just dropped off the rod cap..)
033 by 71240z, on Flickr
034 by 71240z, on Flickr
yay...
035 by 71240z, on Flickr
033 by 71240z, on Flickr
034 by 71240z, on Flickr
yay...
035 by 71240z, on Flickr
DRIVEN » Sat Oct 11, 2014 10:24 am wrote:
1. Make progress until broke.
2. Go make mo money.
3. Repeat.
-
- Posts: 1813
- Joined: Wed Jun 26, 2013 6:48 pm
- Cars: (3) s30's , (2) s130's
- Location: Unknown
- Has thanked: 669 times
- Been thanked: 243 times
Re: BLUE's Copper ZXT
DRIVEN » Sat Oct 11, 2014 10:24 am wrote:
1. Make progress until broke.
2. Go make mo money.
3. Repeat.
-
- Posts: 1813
- Joined: Wed Jun 26, 2013 6:48 pm
- Cars: (3) s30's , (2) s130's
- Location: Unknown
- Has thanked: 669 times
- Been thanked: 243 times
Re: BLUE's Copper ZXT
random pic
040 by 71240z, on Flickr
The rods ends are a little blue ..... #$%# ....
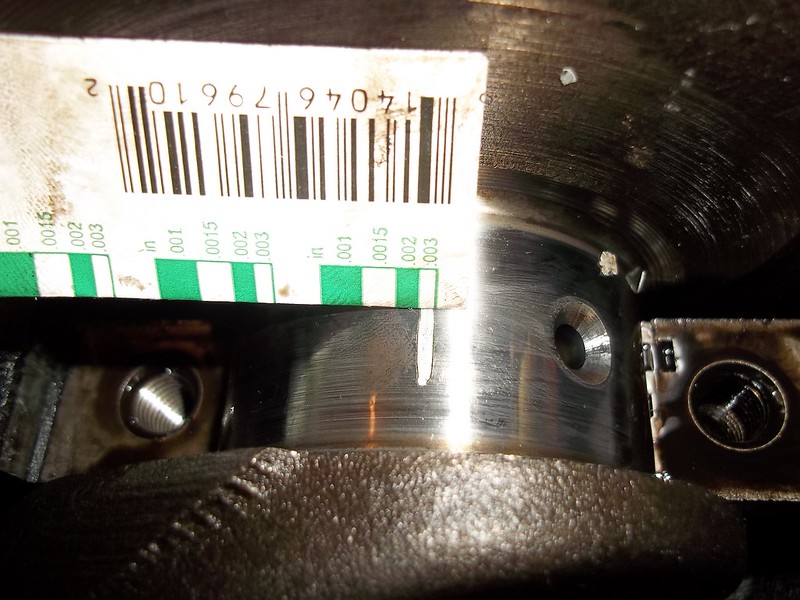
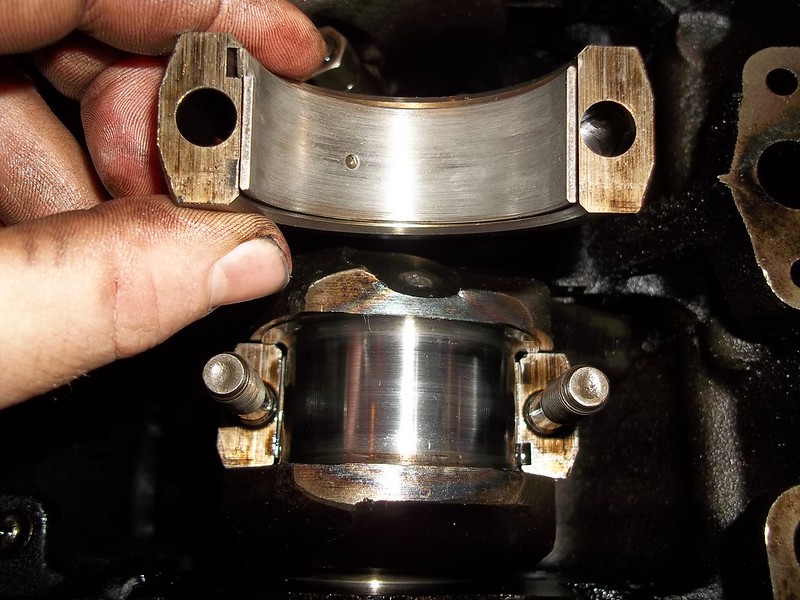
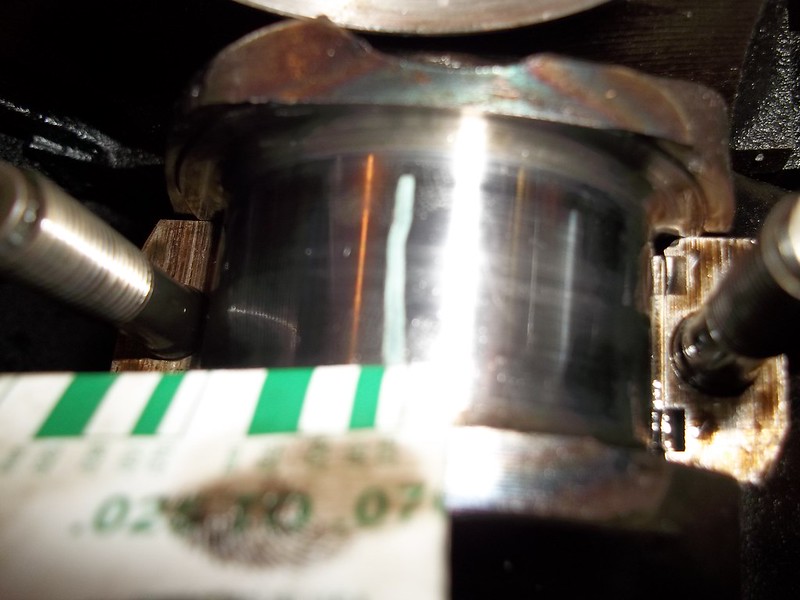
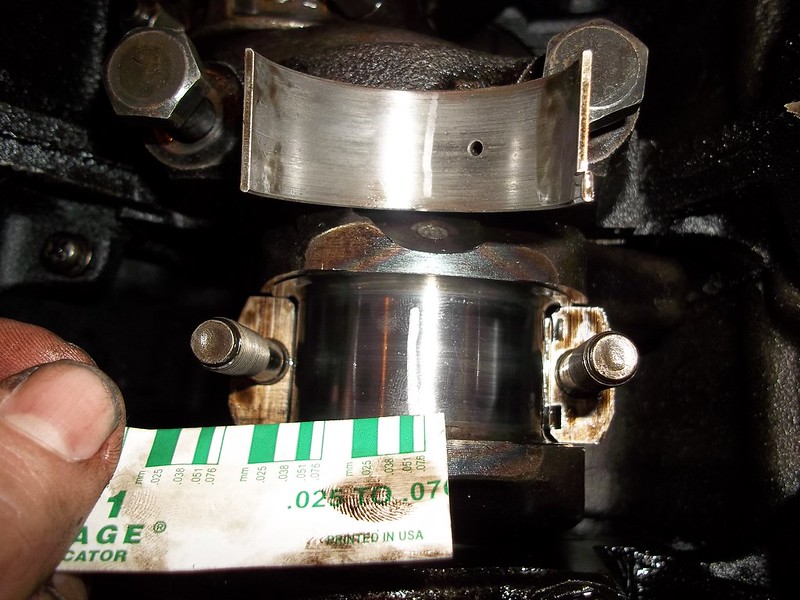
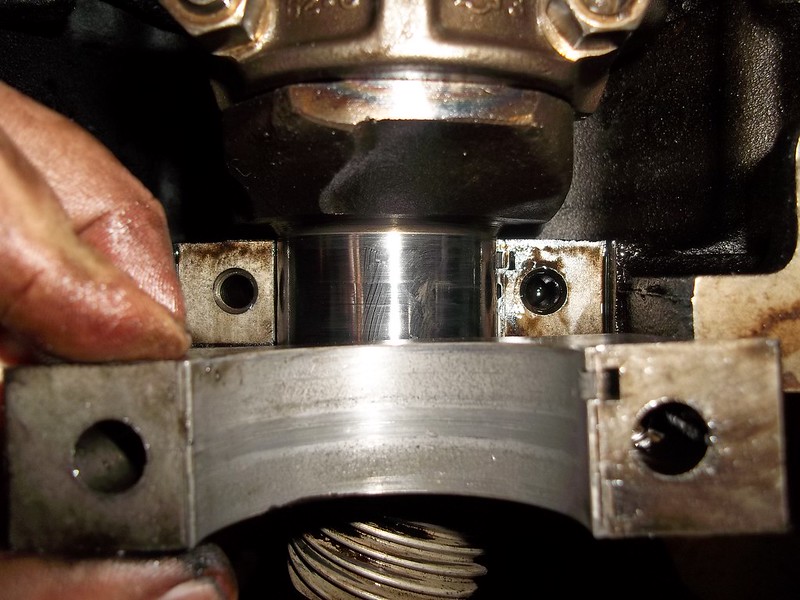
So yeah... all the Main and rod bearings are beyond spec (too big) according to plasti-gauge.
All bearings indicate they are "Nissan STD xxxxxxxxx" size on the back of each one.
Next step ....
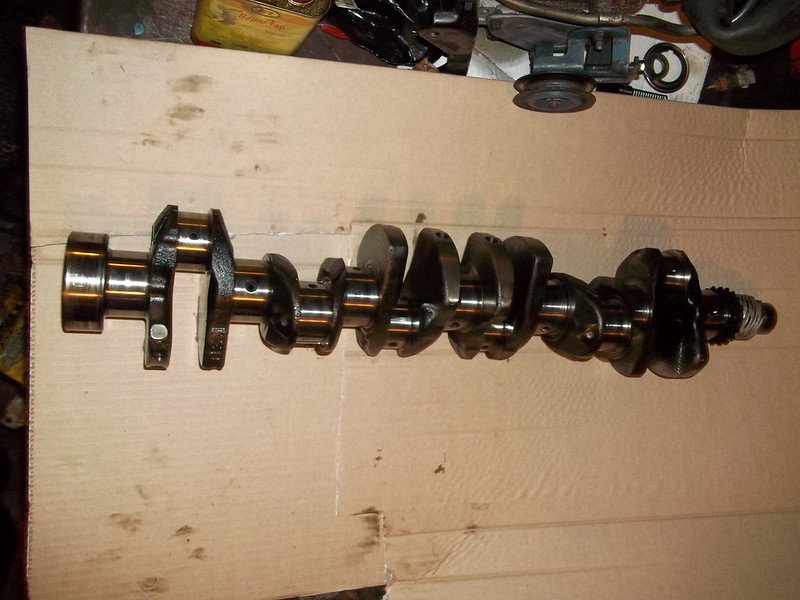
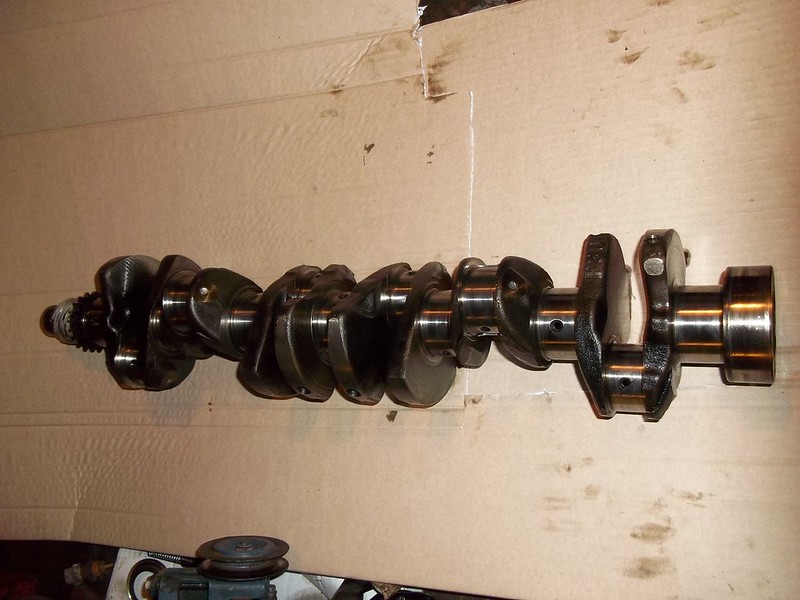
(Option 1) = out comes the crank for real measuring with micrometer's... then likely off to machinist for machining.
(Option 2) = measure spare crankshaft again.... then take my spare crank that looks to need only a polish to the machinist in place of this one and swap them out.
That's all for now working on multiple things at the same time [:)]
BLUE
DRIVEN » Sat Oct 11, 2014 10:24 am wrote:
1. Make progress until broke.
2. Go make mo money.
3. Repeat.
-
- Posts: 1813
- Joined: Wed Jun 26, 2013 6:48 pm
- Cars: (3) s30's , (2) s130's
- Location: Unknown
- Has thanked: 669 times
- Been thanked: 243 times
Re: BLUE's Copper ZXT
arrrrrr !!!draker wrote:What da spec is?
(Sealed Power SPG-1 green plasti-gauge)
Main bearing clearance specs = 0.020-0.072mm (33-40ft lbs tq)
Rod bearing clearance specs = 0.025-0.055mm (33-40ft lbs tq)
Plasti-gauge measured mains = 0.076mm (closest on the ruler)
Plasti-gauge measured rods = 0.076mm (closest on the ruler)
Old bearings measurement though.. I'm not sure how much slack new bearings would take up
DRIVEN » Sat Oct 11, 2014 10:24 am wrote:
1. Make progress until broke.
2. Go make mo money.
3. Repeat.
-
- Posts: 1813
- Joined: Wed Jun 26, 2013 6:48 pm
- Cars: (3) s30's , (2) s130's
- Location: Unknown
- Has thanked: 669 times
- Been thanked: 243 times
Re: BLUE's Copper ZXT
At this point I needed to pull the thrust bearing and rear main caps.
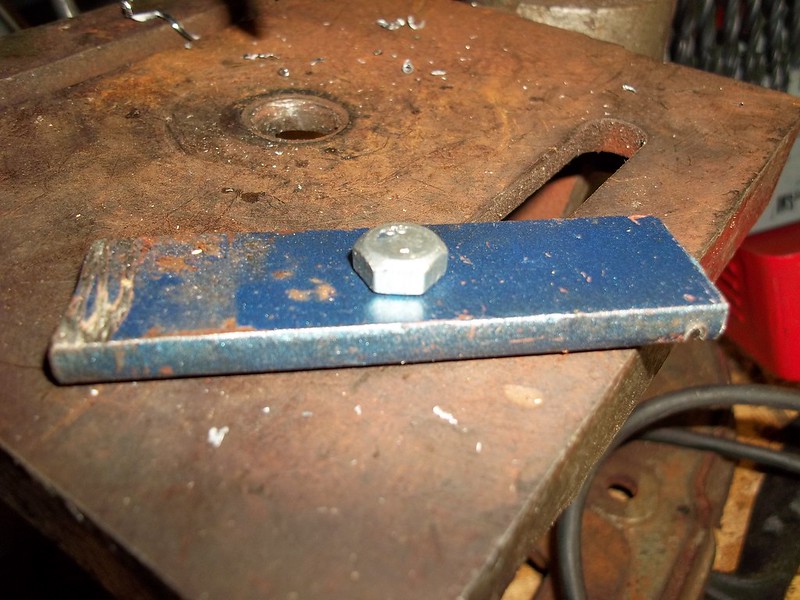
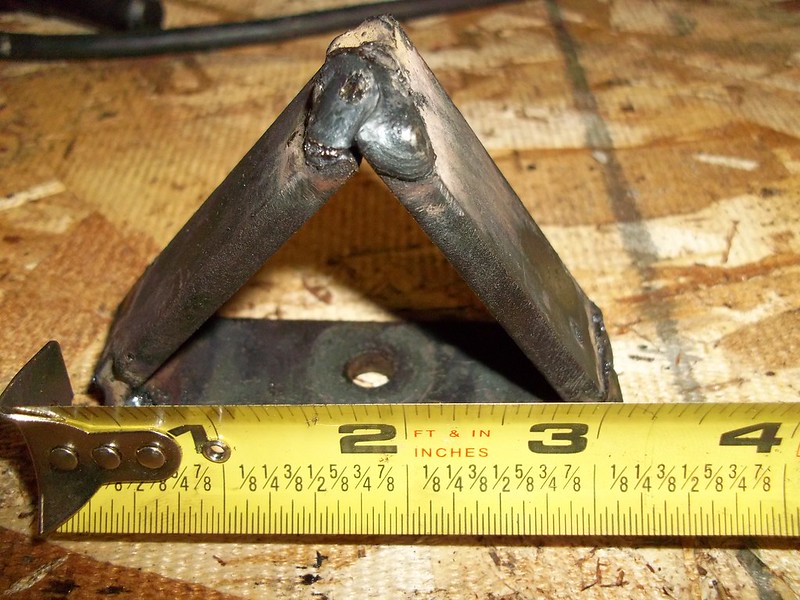
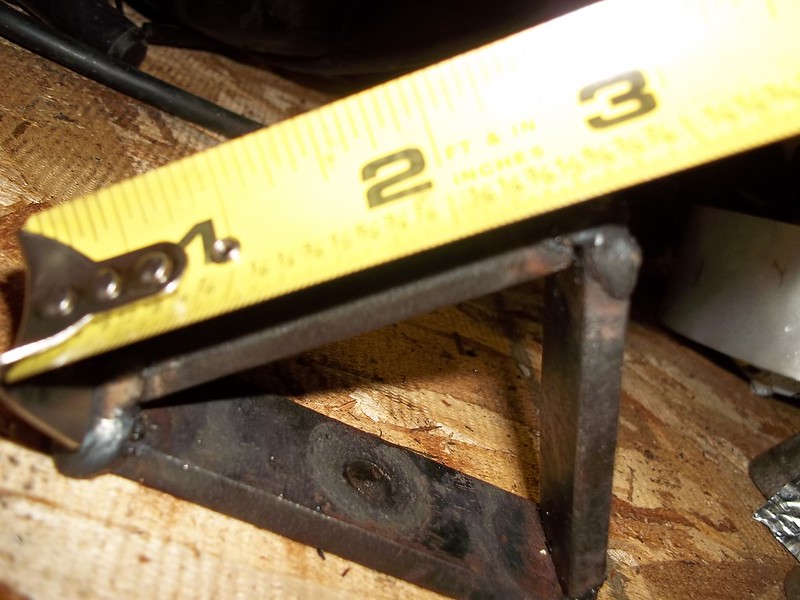
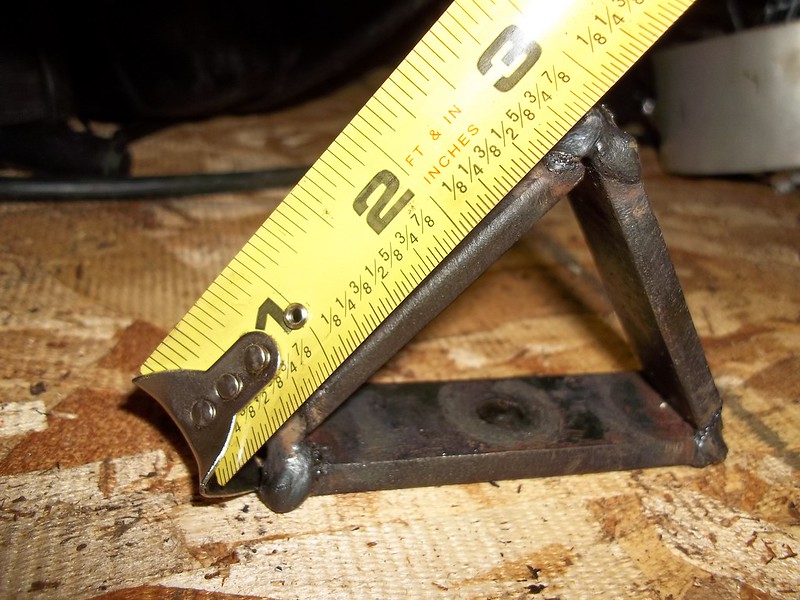
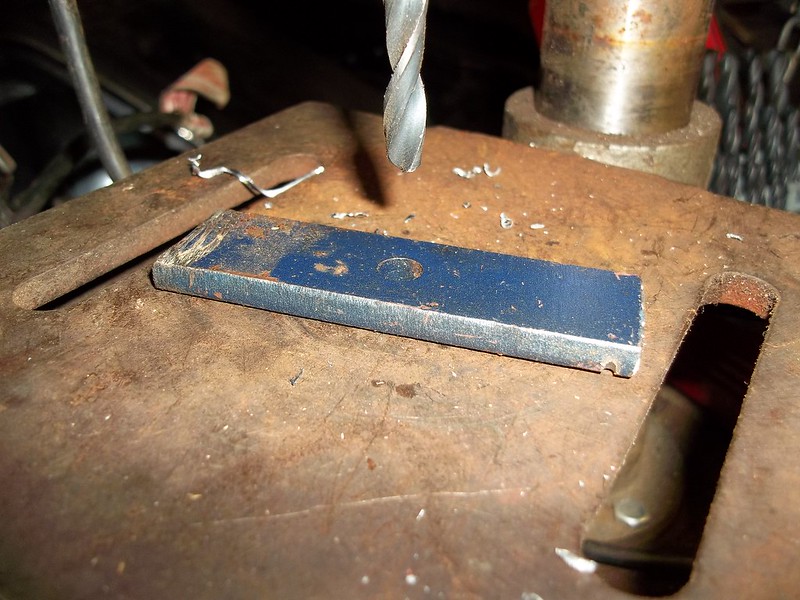
I decided to make a cheap and dirty ... hokey bearing cap puller.
006 by 71240z, on Flickr
008 by 71240z, on Flickr
010 by 71240z, on Flickr
I decided to make a cheap and dirty ... hokey bearing cap puller.
006 by 71240z, on Flickr
008 by 71240z, on Flickr
010 by 71240z, on Flickr
DRIVEN » Sat Oct 11, 2014 10:24 am wrote:
1. Make progress until broke.
2. Go make mo money.
3. Repeat.
-
- Posts: 1813
- Joined: Wed Jun 26, 2013 6:48 pm
- Cars: (3) s30's , (2) s130's
- Location: Unknown
- Has thanked: 669 times
- Been thanked: 243 times
Re: BLUE's Copper ZXT
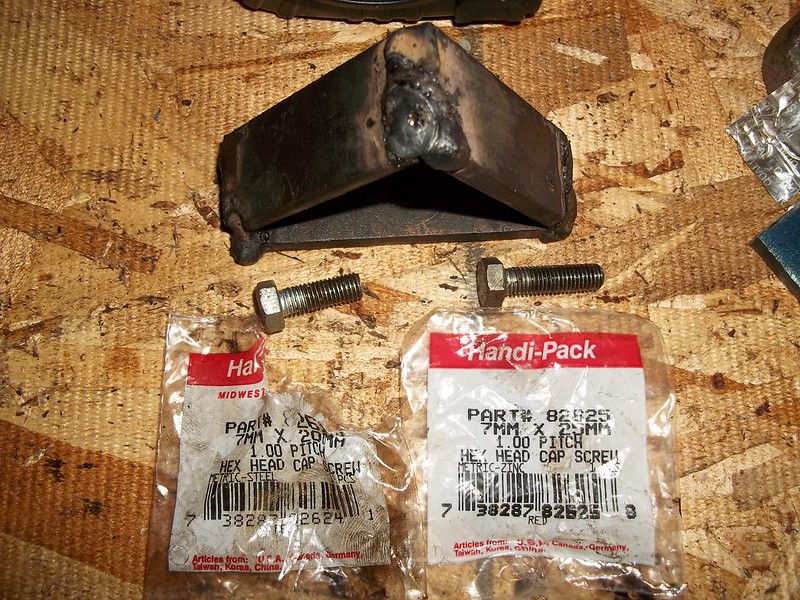
making sure the 7mm bolt fit.
012 by 71240z, on Flickr
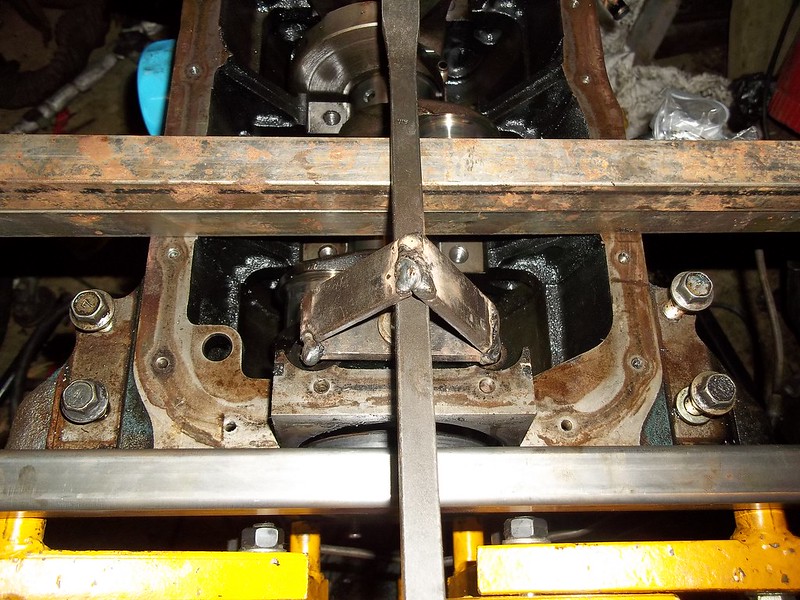
weld into triangle like so
020 by 71240z, on Flickr
021 by 71240z, on Flickr
012 by 71240z, on Flickr
weld into triangle like so
020 by 71240z, on Flickr
021 by 71240z, on Flickr
DRIVEN » Sat Oct 11, 2014 10:24 am wrote:
1. Make progress until broke.
2. Go make mo money.
3. Repeat.
-
- Posts: 1813
- Joined: Wed Jun 26, 2013 6:48 pm
- Cars: (3) s30's , (2) s130's
- Location: Unknown
- Has thanked: 669 times
- Been thanked: 243 times
Re: BLUE's Copper ZXT
022 by 71240z, on Flickr
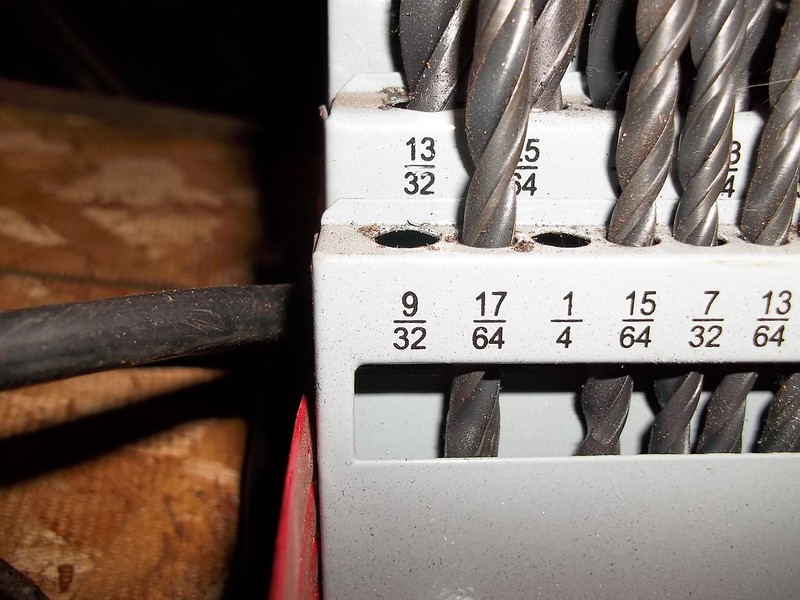
a 9/32nd bit was used to drill the hole seen above
025 by 71240z, on Flickr
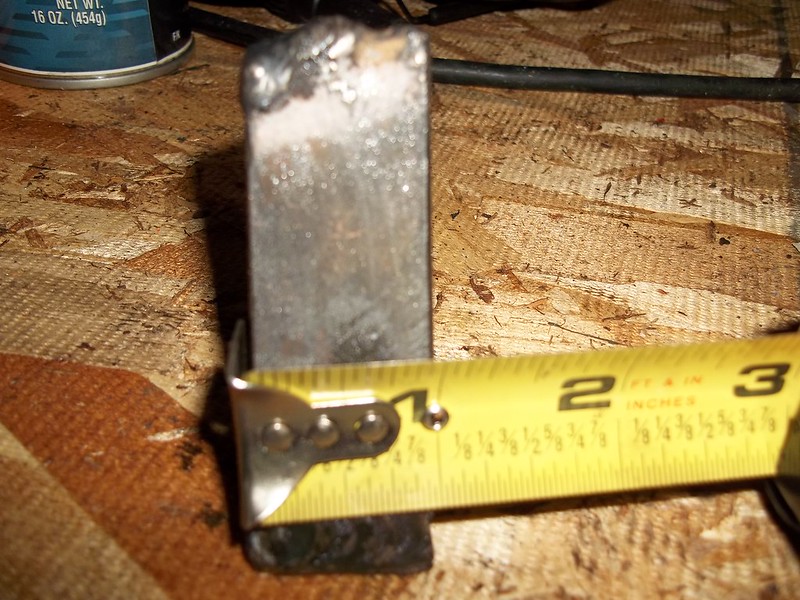
1" flat-bar
026 by 71240z, on Flickr
DRIVEN » Sat Oct 11, 2014 10:24 am wrote:
1. Make progress until broke.
2. Go make mo money.
3. Repeat.
-
- Posts: 1813
- Joined: Wed Jun 26, 2013 6:48 pm
- Cars: (3) s30's , (2) s130's
- Location: Unknown
- Has thanked: 669 times
- Been thanked: 243 times
Re: BLUE's Copper ZXT
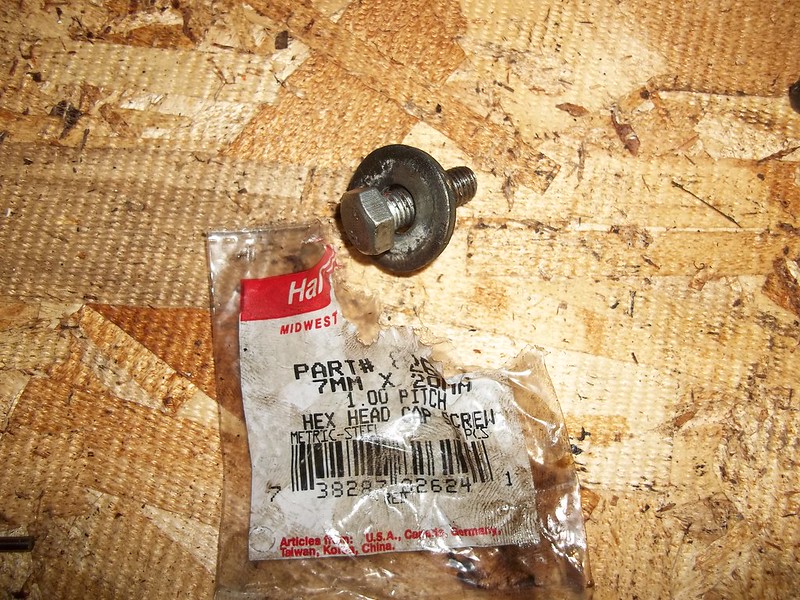
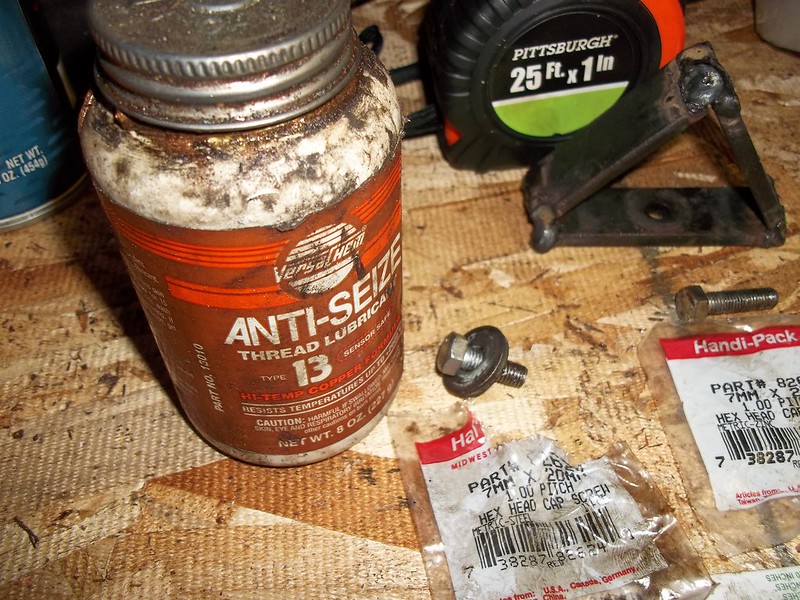
7mx1.00 - 20mm in length + a slightly fatter washer is what i used. (NAPA)
028 by 71240z, on Flickr
029 by 71240z, on Flickr
I love anti-seize. I also made sure to run a tap through the bearing cap threads before this affair.
030 by 71240z, on Flickr
028 by 71240z, on Flickr
029 by 71240z, on Flickr
I love anti-seize. I also made sure to run a tap through the bearing cap threads before this affair.
030 by 71240z, on Flickr
DRIVEN » Sat Oct 11, 2014 10:24 am wrote:
1. Make progress until broke.
2. Go make mo money.
3. Repeat.
-
- Posts: 1813
- Joined: Wed Jun 26, 2013 6:48 pm
- Cars: (3) s30's , (2) s130's
- Location: Unknown
- Has thanked: 669 times
- Been thanked: 243 times
Re: BLUE's Copper ZXT
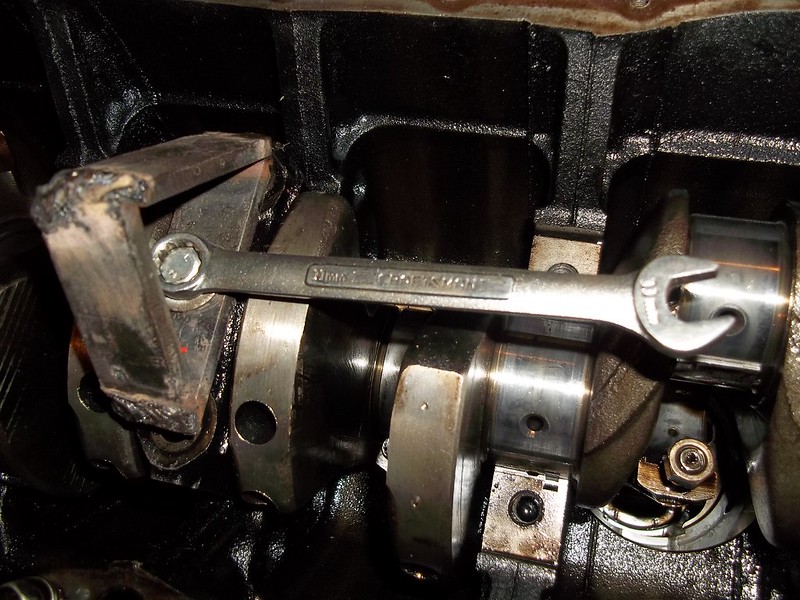
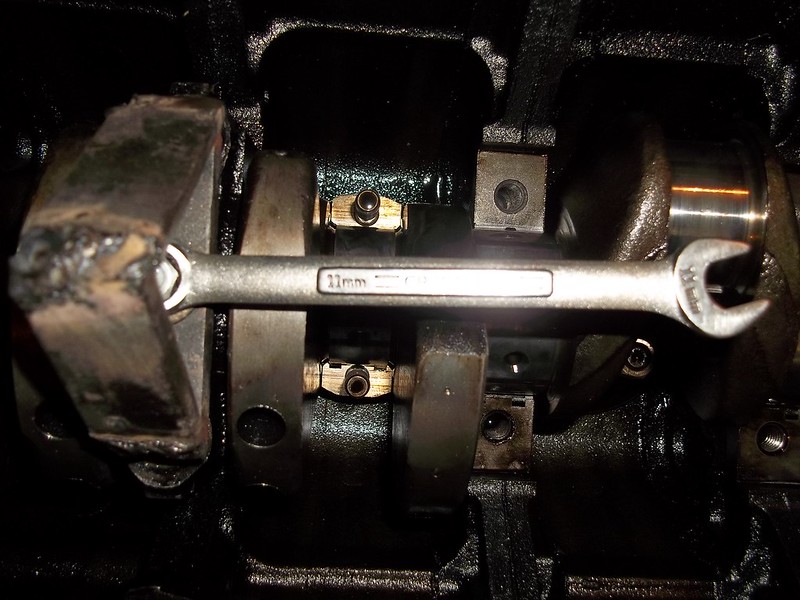
next install the triangle onto the thrust bearing cap (center one)
Also tighten with an 11mm wrench or ratchet wrench.
019 by 71240z, on Flickr
018 by 71240z, on Flickr
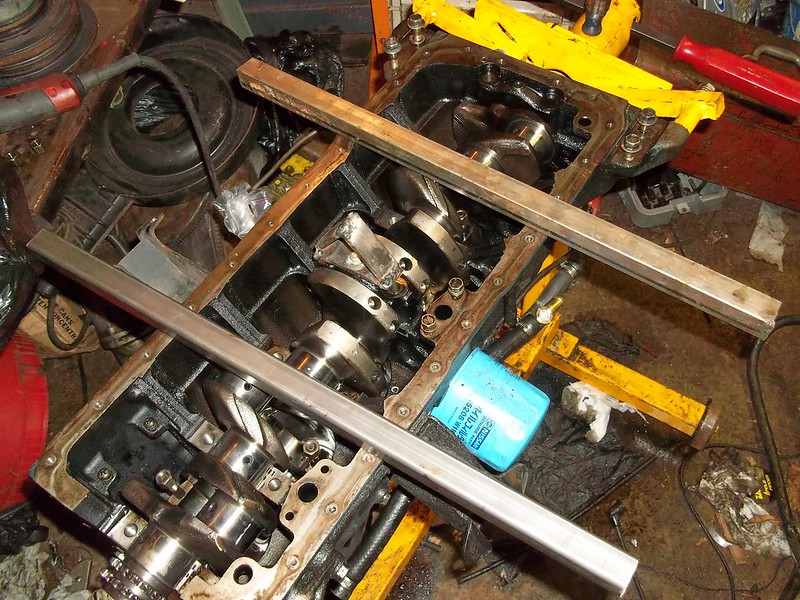
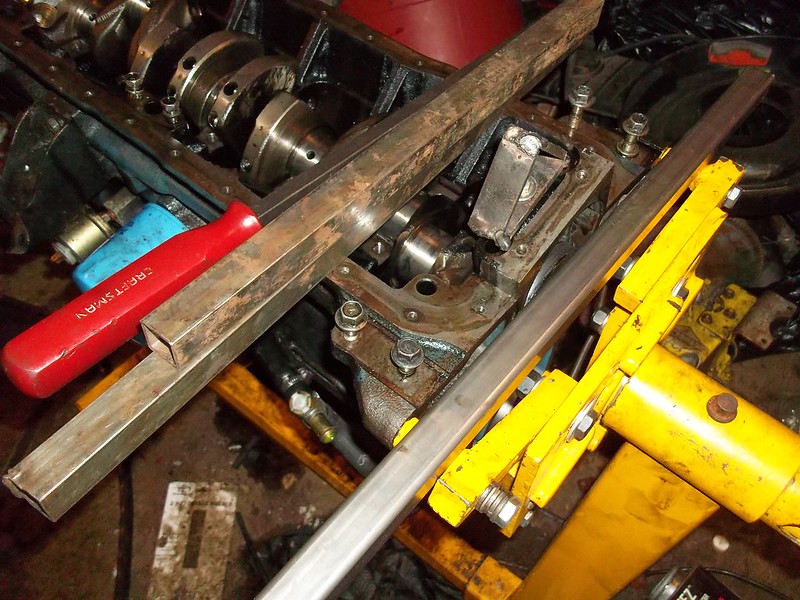
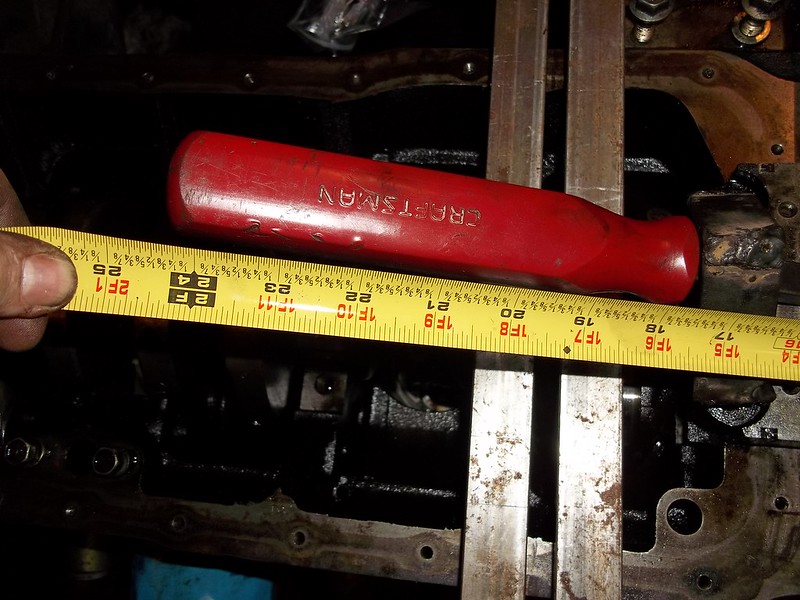
next cut (2) pieces of 24" length ... 1" square tubing like so.,,
016 by 71240z, on Flickr
Also tighten with an 11mm wrench or ratchet wrench.
019 by 71240z, on Flickr
018 by 71240z, on Flickr
next cut (2) pieces of 24" length ... 1" square tubing like so.,,
016 by 71240z, on Flickr
DRIVEN » Sat Oct 11, 2014 10:24 am wrote:
1. Make progress until broke.
2. Go make mo money.
3. Repeat.
-
- Posts: 1813
- Joined: Wed Jun 26, 2013 6:48 pm
- Cars: (3) s30's , (2) s130's
- Location: Unknown
- Has thanked: 669 times
- Been thanked: 243 times
Re: BLUE's Copper ZXT
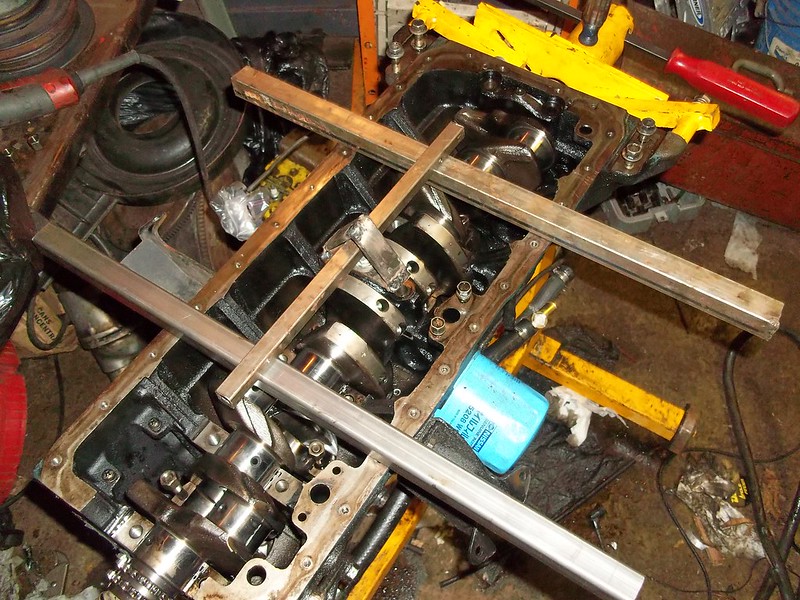
next cut a 15" length-ish ... of 3/4" square tubing and place like so in the picture below.
017 by 71240z, on Flickr
all i did is lift up leveraging the (2) 2ft lengths of tubing ... thrust bearing cap popped right off cleanly.
017 by 71240z, on Flickr
all i did is lift up leveraging the (2) 2ft lengths of tubing ... thrust bearing cap popped right off cleanly.
DRIVEN » Sat Oct 11, 2014 10:24 am wrote:
1. Make progress until broke.
2. Go make mo money.
3. Repeat.
-
- Posts: 1813
- Joined: Wed Jun 26, 2013 6:48 pm
- Cars: (3) s30's , (2) s130's
- Location: Unknown
- Has thanked: 669 times
- Been thanked: 243 times
Re: BLUE's Copper ZXT
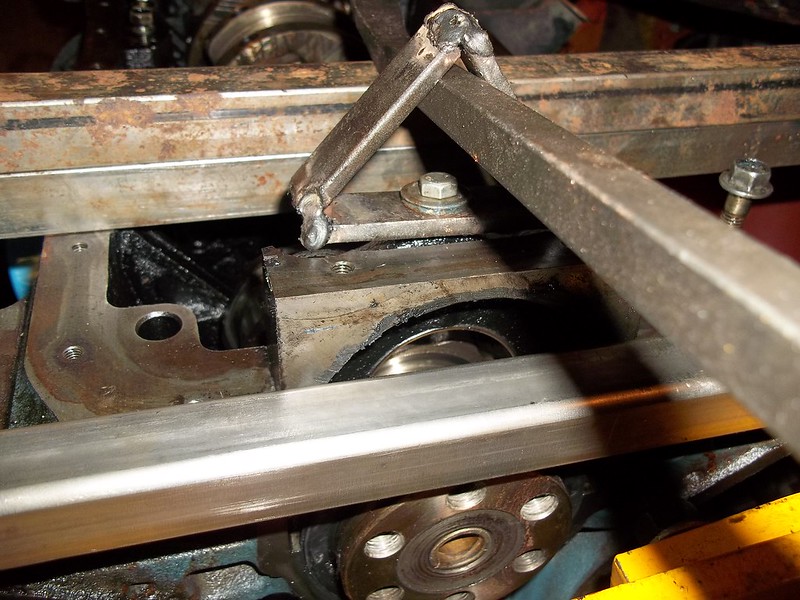
did the same procedure basically to the rear main cap (one more piece of tubing length and a 24" pry bar involved)... came off fairly easily really.
034 by 71240z, on Flickr
031 by 71240z, on Flickr
032 by 71240z, on Flickr
033 by 71240z, on Flickr
034 by 71240z, on Flickr
031 by 71240z, on Flickr
032 by 71240z, on Flickr
033 by 71240z, on Flickr
DRIVEN » Sat Oct 11, 2014 10:24 am wrote:
1. Make progress until broke.
2. Go make mo money.
3. Repeat.
-
- Posts: 1813
- Joined: Wed Jun 26, 2013 6:48 pm
- Cars: (3) s30's , (2) s130's
- Location: Unknown
- Has thanked: 669 times
- Been thanked: 243 times
Re: BLUE's Copper ZXT
DRIVEN » Sat Oct 11, 2014 10:24 am wrote:
1. Make progress until broke.
2. Go make mo money.
3. Repeat.
-
- Posts: 1813
- Joined: Wed Jun 26, 2013 6:48 pm
- Cars: (3) s30's , (2) s130's
- Location: Unknown
- Has thanked: 669 times
- Been thanked: 243 times
Re: BLUE's Copper ZXT
DRIVEN » Sat Oct 11, 2014 10:24 am wrote:
1. Make progress until broke.
2. Go make mo money.
3. Repeat.
-
- Posts: 1813
- Joined: Wed Jun 26, 2013 6:48 pm
- Cars: (3) s30's , (2) s130's
- Location: Unknown
- Has thanked: 669 times
- Been thanked: 243 times
Re: BLUE's Copper ZXT
DRIVEN » Sat Oct 11, 2014 10:24 am wrote:
1. Make progress until broke.
2. Go make mo money.
3. Repeat.
-
- Posts: 1813
- Joined: Wed Jun 26, 2013 6:48 pm
- Cars: (3) s30's , (2) s130's
- Location: Unknown
- Has thanked: 669 times
- Been thanked: 243 times
Re: BLUE's Copper ZXT
DRIVEN » Sat Oct 11, 2014 10:24 am wrote:
1. Make progress until broke.
2. Go make mo money.
3. Repeat.
-
- Posts: 1813
- Joined: Wed Jun 26, 2013 6:48 pm
- Cars: (3) s30's , (2) s130's
- Location: Unknown
- Has thanked: 669 times
- Been thanked: 243 times
Re: BLUE's Copper ZXT
DRIVEN » Sat Oct 11, 2014 10:24 am wrote:
1. Make progress until broke.
2. Go make mo money.
3. Repeat.
-
- Posts: 1813
- Joined: Wed Jun 26, 2013 6:48 pm
- Cars: (3) s30's , (2) s130's
- Location: Unknown
- Has thanked: 669 times
- Been thanked: 243 times
Re: BLUE's Copper ZXT
Rear main
048 by 71240z, on Flickr
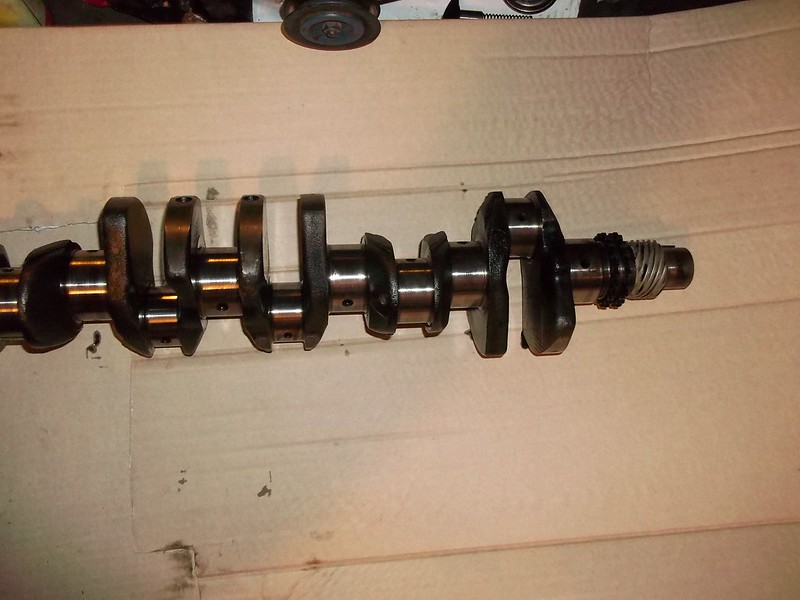
pulled it out to clean and mic it... then replace bearings accordingly.
049 by 71240z, on Flickr
050 by 71240z, on Flickr
048 by 71240z, on Flickr
pulled it out to clean and mic it... then replace bearings accordingly.
049 by 71240z, on Flickr
050 by 71240z, on Flickr
DRIVEN » Sat Oct 11, 2014 10:24 am wrote:
1. Make progress until broke.
2. Go make mo money.
3. Repeat.
-
- Posts: 1813
- Joined: Wed Jun 26, 2013 6:48 pm
- Cars: (3) s30's , (2) s130's
- Location: Unknown
- Has thanked: 669 times
- Been thanked: 243 times
Re: BLUE's Copper ZXT
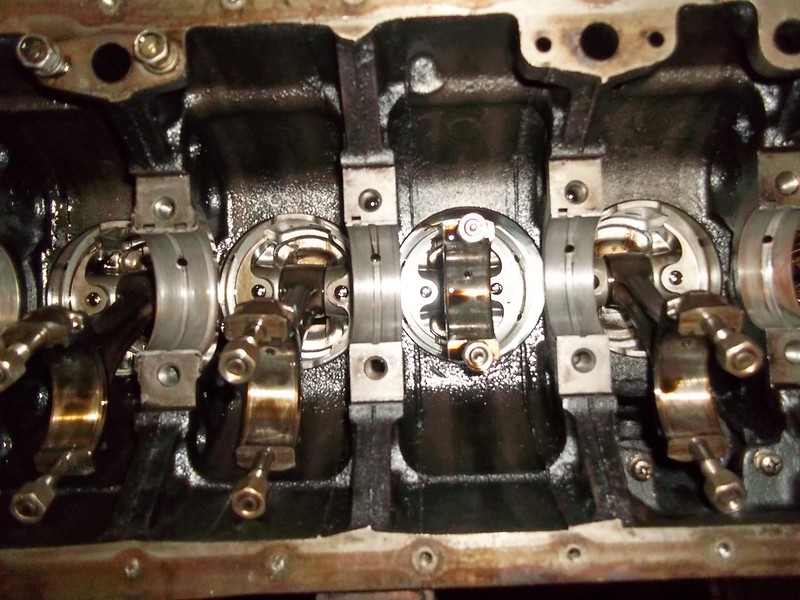
looks decently good... first impressions
051 by 71240z, on Flickr
blocks not to dirty.
052 by 71240z, on Flickr
053 by 71240z, on Flickr
051 by 71240z, on Flickr
blocks not to dirty.
052 by 71240z, on Flickr
053 by 71240z, on Flickr
DRIVEN » Sat Oct 11, 2014 10:24 am wrote:
1. Make progress until broke.
2. Go make mo money.
3. Repeat.