Page 5 of 7
Re: Kylezone's Longbed 521
Posted: Tue Sep 16, 2014 4:20 pm
by wayno
Re: Kylezone's Longbed 521
Posted: Tue Sep 16, 2014 8:46 pm
by kylezone
love the look of it lifted!! but yah i can see how a small diesel wouldnt be quite enough. those are the exact wheels im looking for too!
trans is bolted tight to the engine now, so it looks like about 1" forward. and yah the cab might move forward a tiny bit, but as it is, my 510 radiator that ive been using will fit. tho ill have to make a crossover pipe for the top hose. hopefully that will provide enough cooling.
as for the engine mounts, the passenger side will work perfectly, i just have to drill a hole a little further back on the engine side and it will bolt right up. driver side mount is a bit narrower so ill have to make a little plate to addapt it, but basically im not too concerned about it,
just ran all over town today trying to find a M10x1 female double flared brake line T. couldnt find anything, couldnt find anything online either. but someone on the ratsun facebook page managed to find one seller in Latvia who has some lol. soooo..... it will be her anytime between the 22nd and the october 8th..... might not make it by school, fingers crossed.
Re: Kylezone's Longbed 521
Posted: Tue Sep 16, 2014 9:26 pm
by wayno
The water pump will move the water just fine as long as there are no kinks in the hoses.
Re: Kylezone's Longbed 521
Posted: Tue Sep 16, 2014 9:51 pm
by Laecaon
Why not pull the T from a 720... Since its all 720 brakes...
Re: Kylezone's Longbed 521
Posted: Wed Sep 17, 2014 12:49 am
by Laecaon
Also, Double Flare = Inverted flare.
http://www.lowrangeoffroad.com/universa ... -tees.html
Also, just about any Japanese truck with a solid axle will have one on the axle.
Re: Kylezone's Longbed 521
Posted: Thu Sep 18, 2014 2:38 pm
by kylezone
More stuff:
so with the engine bolted down tight to the bell housing, this is what my mounts looked like. Passnger side:
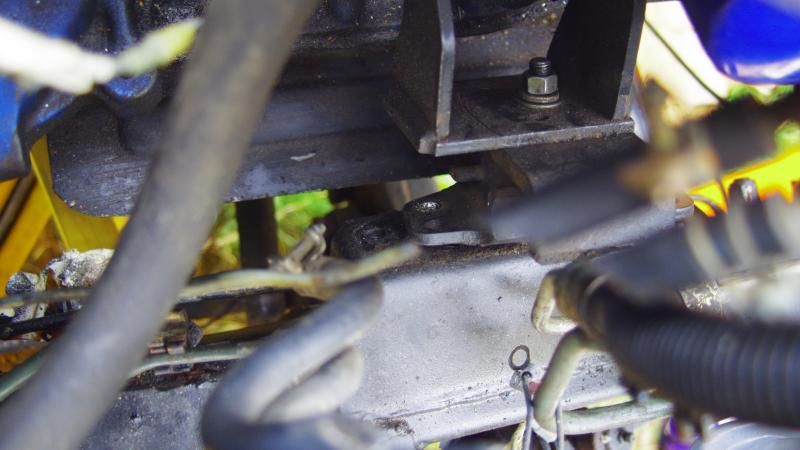
about an inch difference, luckily theirs plenty of room to work with on the engine side of the mount so i just drilled a new hole.
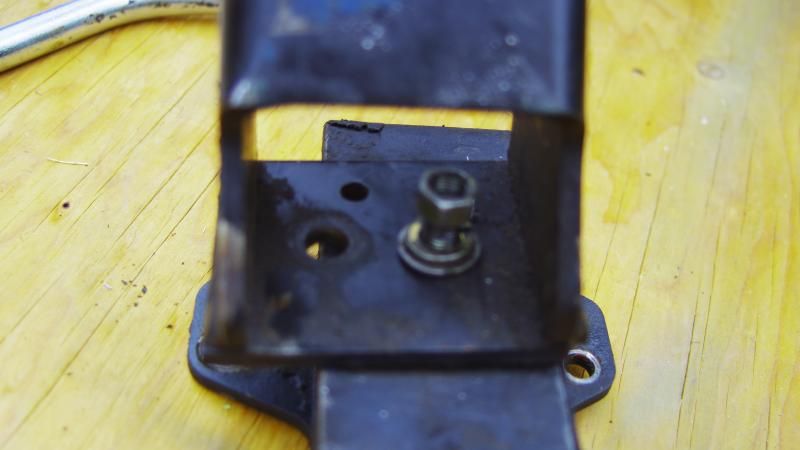
fits perfectly
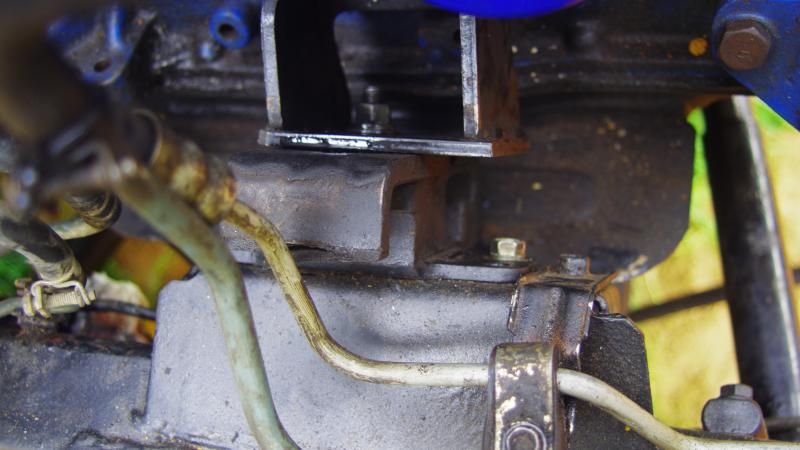
Driver side however was a bit more of a pain, the stud on the frame side of the mount sits right in the middle of butress on the engine side.
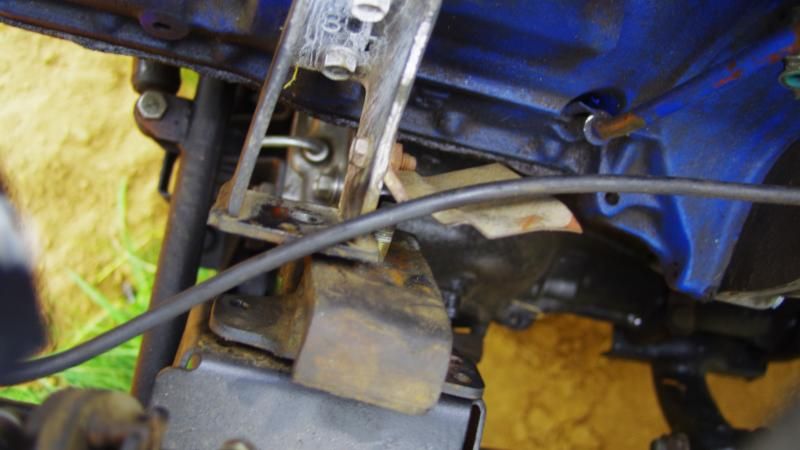
I tried bending it to get the butress out of the way of the stud, but it wasnt happening, my solution is to extend the mating plate, cut a hole out of the butress, and reinforce it with a little triangle of steel. all cut out but not welded yet.
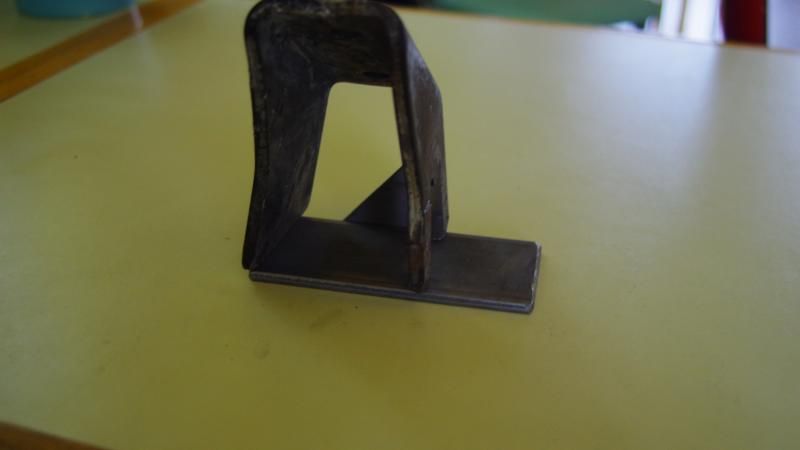
got some other stuff done, doors are all put back together, i havnt hung them yet but thats a big annoying task to get out of the way.
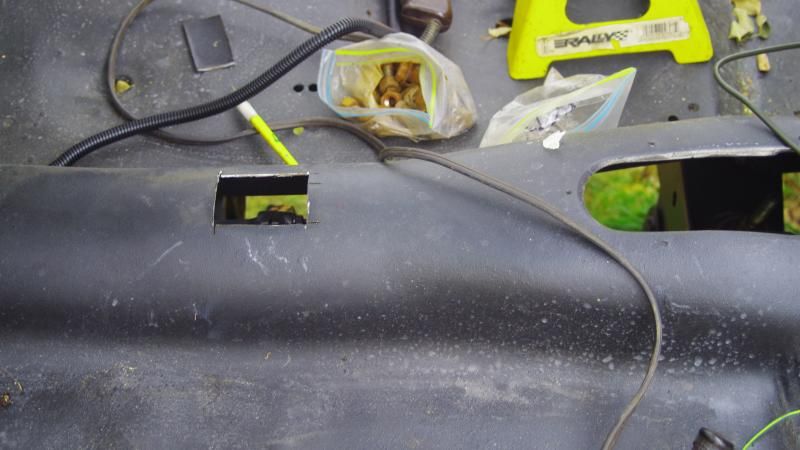
cut a hole for the transferr case shifter, it needs some adjustment still but im waiting till the body lifts are in so i know exactly how everything is going to fit.
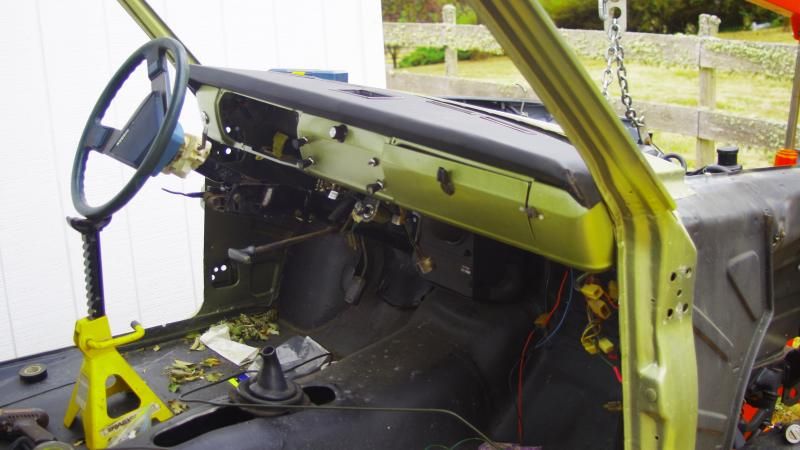
dash is mostly back together and installed, im super happy with the way it turned out!!! gotta get rid of that ugly steering wheel tho...
So the plan for the bed is to cut off all the factory mounts, run some angle iron on the frame and use jacks to set the bed to level and tack it all together, than flip the bed over and weld everything.
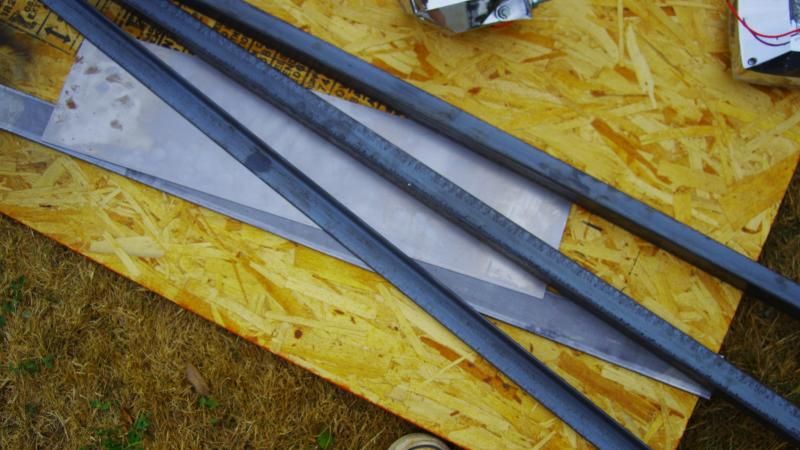
today im going to try to get all the pieces of the bed ready to weld together, the bed is all unbolted besides the gas tank, ( it started raining yesterday so i went inside =( )
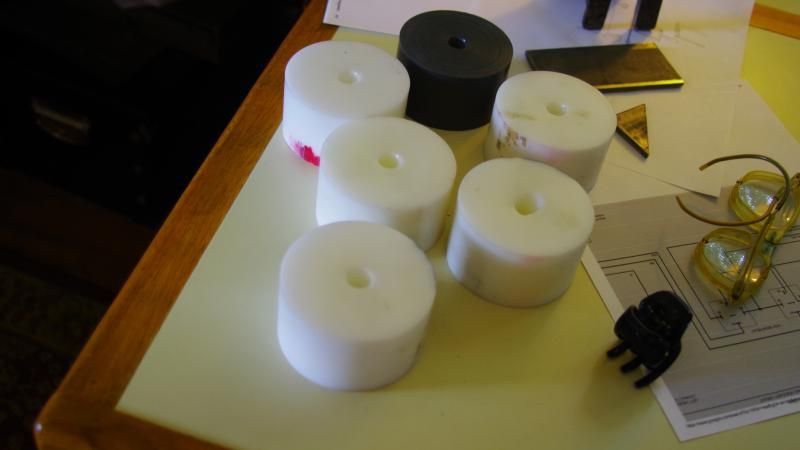
and Jacob got these made for me at work, 3" diameter hard plastic body lifts. with a 1/4" hole. just some scrap material they had lying around! so perfect!! now i can get the body mounted at its final height and i can get all the brake lines / steering column / shifters installed.
and i just got back from ACE with some new hardware.
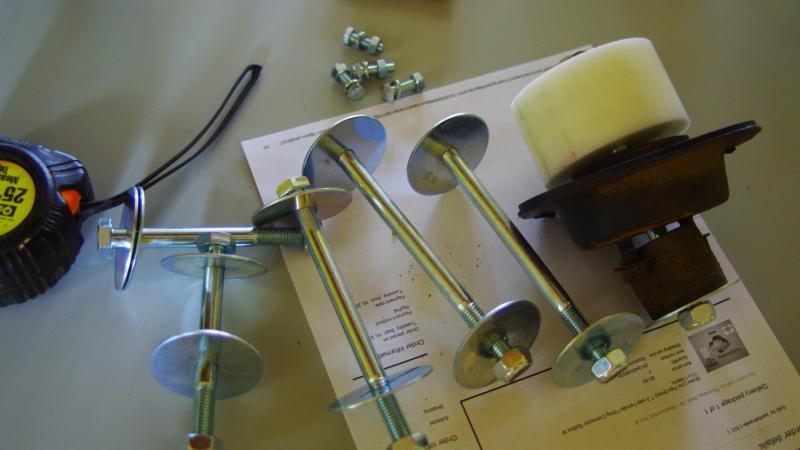
should do the trick.
i decided to go a little crazy with my headliner... probably not the wisest decision considering how little time i have, but hey... go big or go home right?
im quilting a diamond pattern into it, i layed out 2.5" x2.5" diamonds, but i thing that was i bit too crazy because i have to do it all by hand lol.... no upholstery sewing machine... yet... so im skiping every other line. and doing 5x5
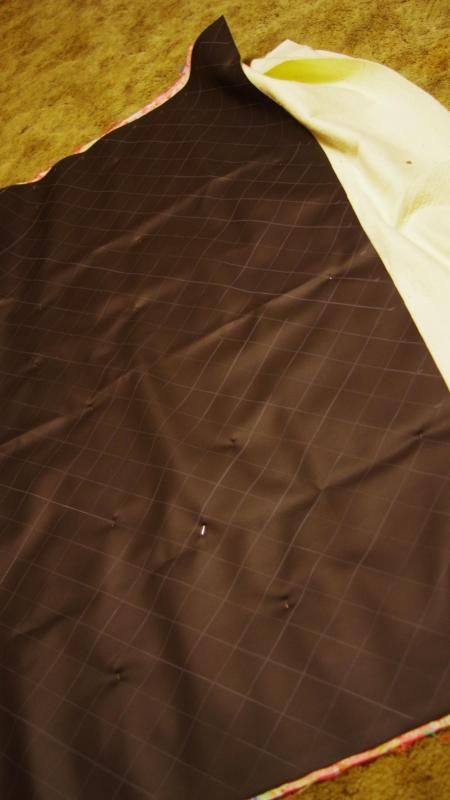
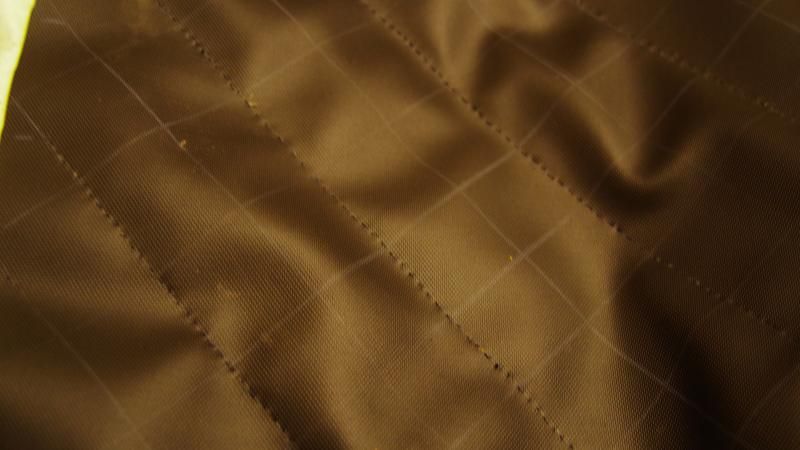
it has two layers of quilt batting and just some regular fabric for backing, i asked my mom for some ugly fabric that she didn't want.... this is what i got...

Re: Kylezone's Longbed 521
Posted: Thu Sep 18, 2014 4:42 pm
by DRIVEN
How high was the artist who created that pattern?
Re: Kylezone's Longbed 521
Posted: Thu Sep 18, 2014 7:30 pm
by kylezone
supposedly it was a poem about a owl and a cat that had a boat. Some day 20 years from now someone is going to re-do the interior, id love to see their face when they pull down the headliner.
Re: Kylezone's Longbed 521
Posted: Thu Sep 18, 2014 7:41 pm
by kylezone
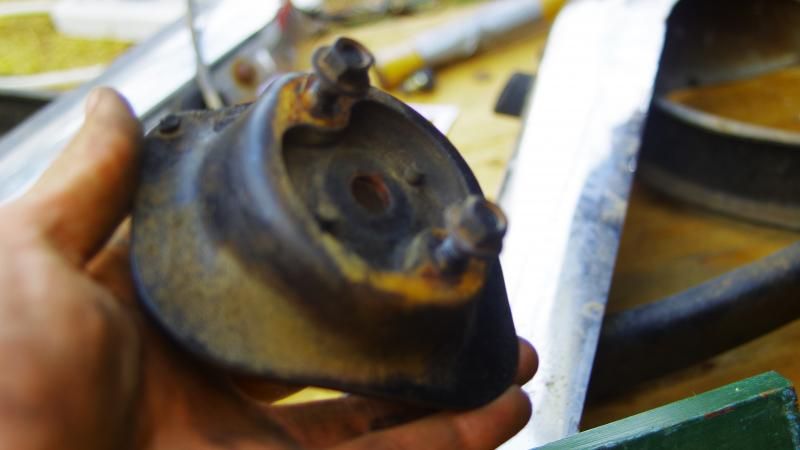
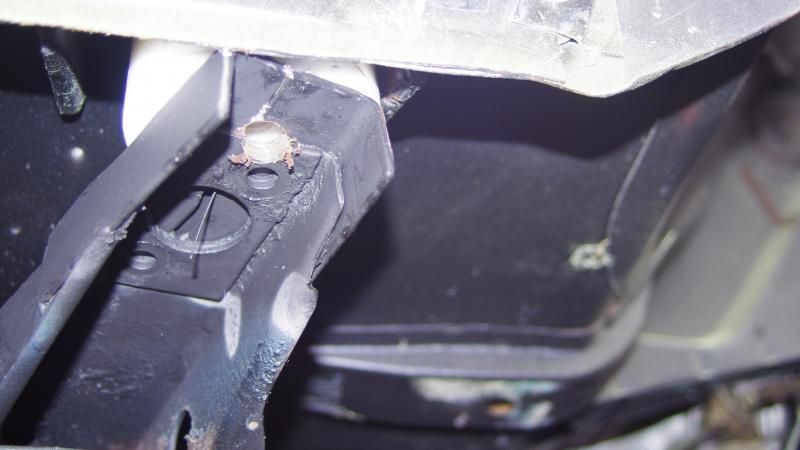
mounts are on. I had to trim them a bit to line up with the hole.
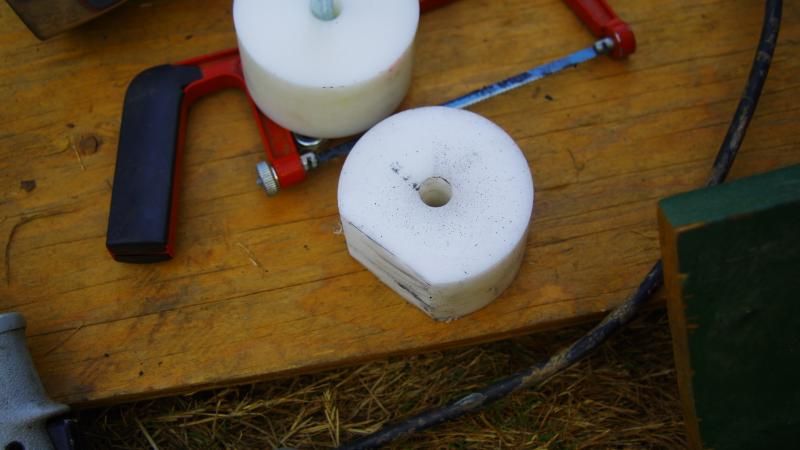
but they're all in.
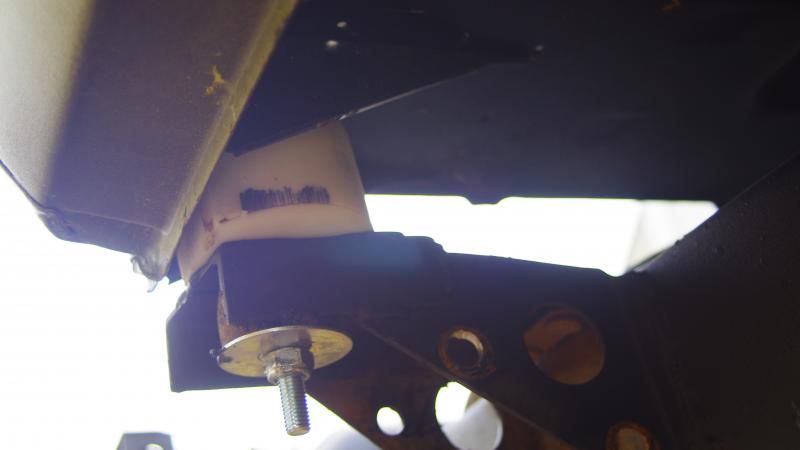
it has a rubber disc above the puck, i was thinking that that made more sense than putting the puck over the rubber disc because it would be more prone to tilting and that would put strain on the floor of the cab.
just randomly picked a wassher that looked right, fits perfecty.
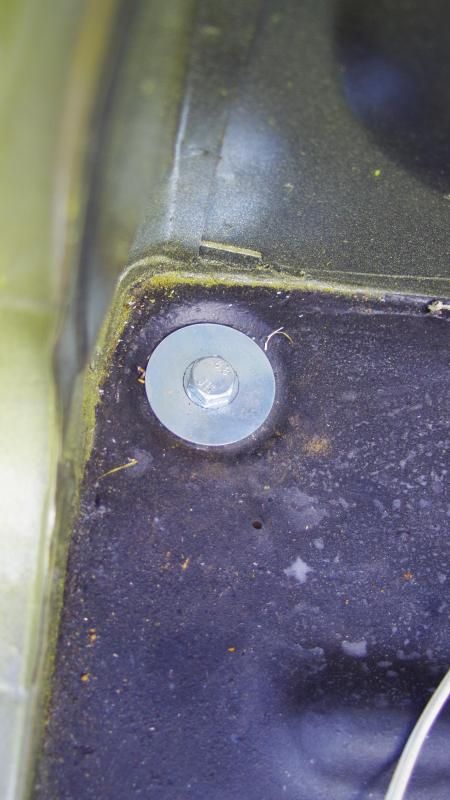
some of the frame mounts had studs in them, i tried to use those, but they ended up being way too tall and it would have required a huge amount of trimming to get them to fit so i ended up just re-using the 521 mounts.
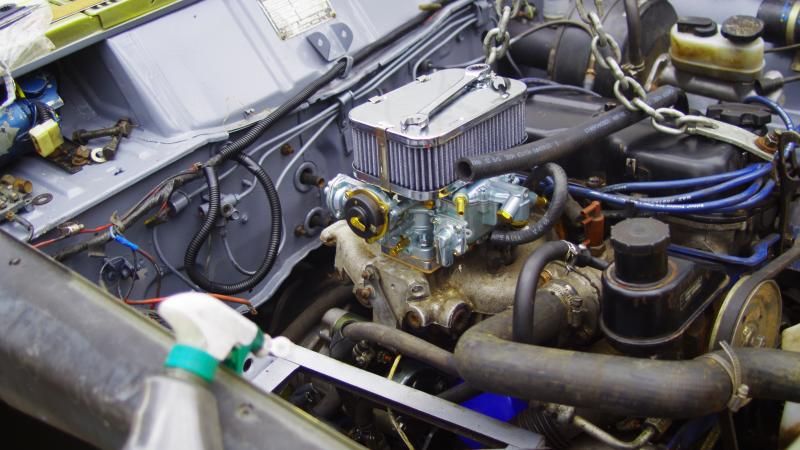
carb is on, so shiny!
and i couldn't resist trying on the roof rack =)
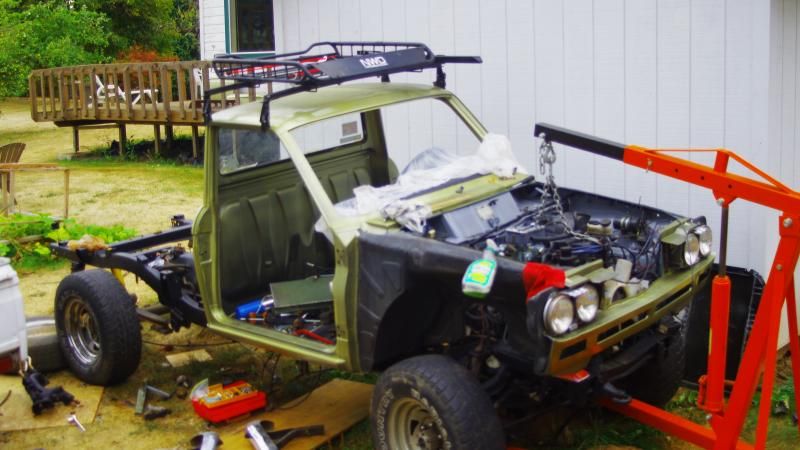
and as i mentioned before, the doors are put back together, so those and the fenders will probably go back on tomorrow.
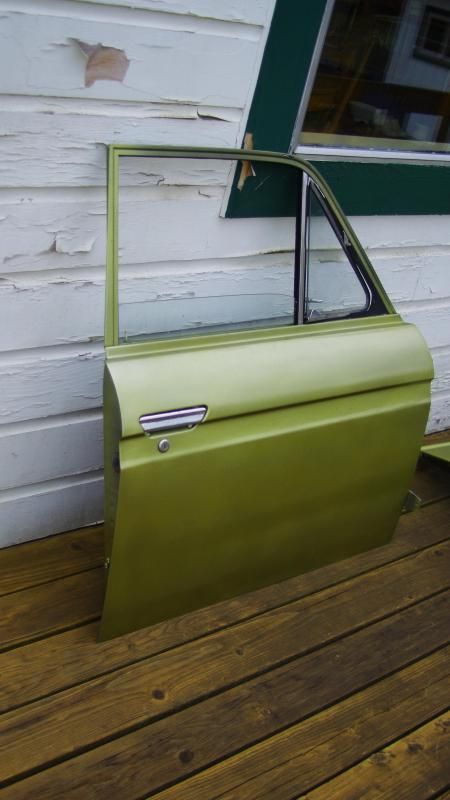
its getting there!
Re: Kylezone's Longbed 521
Posted: Thu Sep 18, 2014 9:30 pm
by Laecaon
Your phones camera color profile is all wrong. The green is too green, and the orange is coming up as red.
Re: Kylezone's Longbed 521
Posted: Thu Sep 18, 2014 11:18 pm
by Laecaon
Also, Isolation works better with the spacer against the cab instead of frame.... As in the current way will probably have some terrible vibration in the cab.
Re: Kylezone's Longbed 521
Posted: Fri Sep 19, 2014 5:40 am
by Taterhead
kylezone » Thu Sep 18, 2014 10:30 pm wrote:supposedly it was a poem about a owl and a cat that had a boat. Some day 20 years from now someone is going to re-do the interior, id love to see their face when they pull down the headliner.
You mean you're not gonna have it 20 years from now?

Re: Kylezone's Longbed 521
Posted: Fri Sep 19, 2014 10:31 pm
by kylezone
ill still have it, but ill probably just pay someone to work on it for me lol
Re: Kylezone's Longbed 521
Posted: Sat Sep 20, 2014 4:34 am
by Laecaon
Kyle doing some cutting! Notice the spark flying up...

Re: Kylezone's Longbed 521
Posted: Sat Sep 20, 2014 11:53 am
by kylezone
windshield is in,
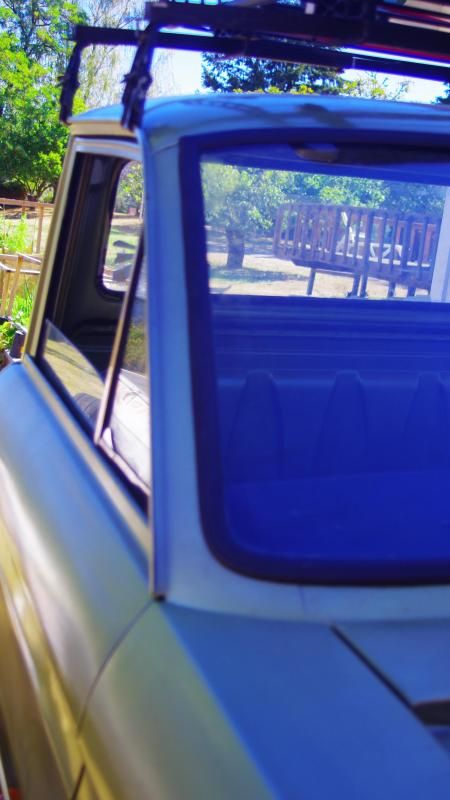
i got the gasket from vintagerubber.com, and jake found me a windshield at the pick-n-pull a while back.
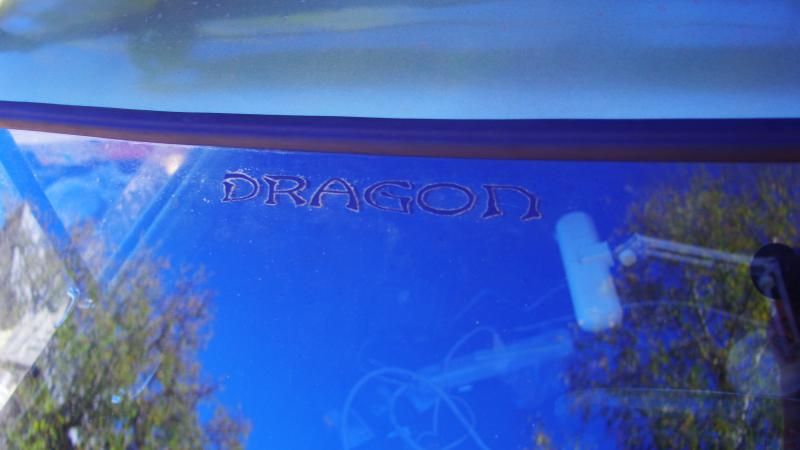
its a pretty decent piece of glass, only a little bit of de-laminating around the edges, but its all covered up by the gasket, its a HUGE improvement over the last one, even if you dont consider how cracked it was. also it says dragon on the top lol. ill be getting rid of that pretty soon...
also we got the doors on
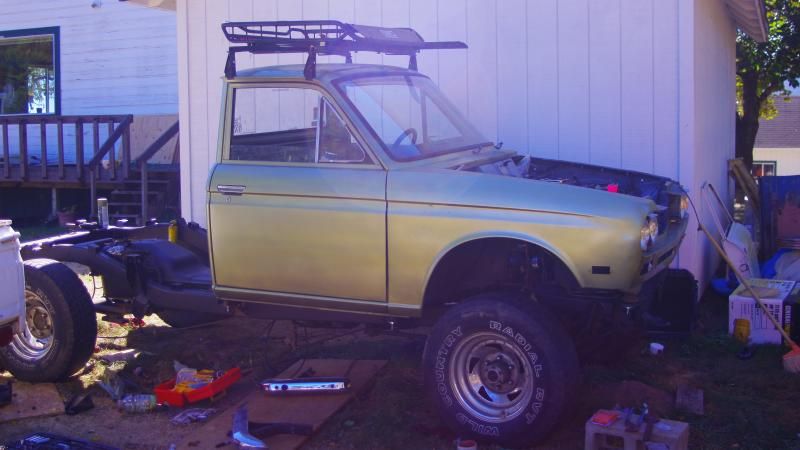
next step is to get the bed put together, its all cut into pieces and unbolted from the frame, gas tank is out, etc.
its all coming together!
Re: Kylezone's Longbed 521
Posted: Sat Sep 20, 2014 12:12 pm
by wayno
I always cut the other way with the sparks going down, it's easier to control the tool if it tries grabbing, to each their own.

Re: Kylezone's Longbed 521
Posted: Sun Sep 21, 2014 2:17 am
by Laecaon
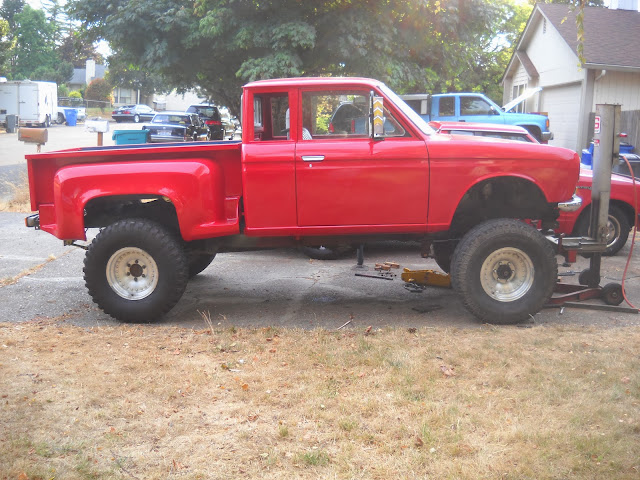
mmm long bed! We realized the cab is not level, so that needs to be fixed before finding the height of the bed. The tires are 30's if anyone was wondering. I think it will look better on 31s.

Re: Kylezone's Longbed 521
Posted: Sun Sep 21, 2014 7:14 am
by DRIVEN
Even the hook spacing looks natural. Nice!
I'd like to see this on a set of stock 4X4 wheels (like Izzo's) with a military style tire as a second set of rolling stock. All business.
Re: Kylezone's Longbed 521
Posted: Sun Sep 21, 2014 8:11 am
by wayno
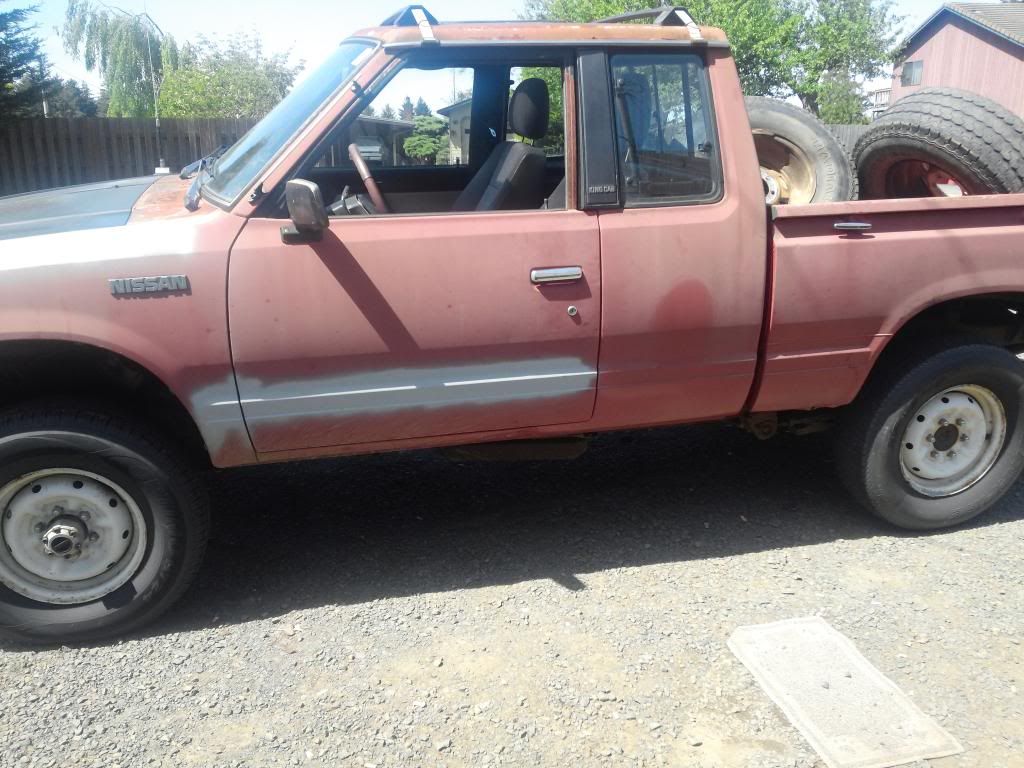
Center the wheels in the fender wells if you can, in the photo it looks like the cab needs to go back, and the box needs to be forward, is this the cab I suggested that you move the cab forward for fan clearance?
Do you have a valance, I think they look better with it in place.
Is the box going to be a 10 inch extension?
Remember, tack/spot weld it together, it will warp if you try to weld it together, tack about 4 inches apart so it doesn't get hot, eventually the tacks will almost be touching and then you will be done, just don't tack weld to close together, move ahead 4 inches every time.
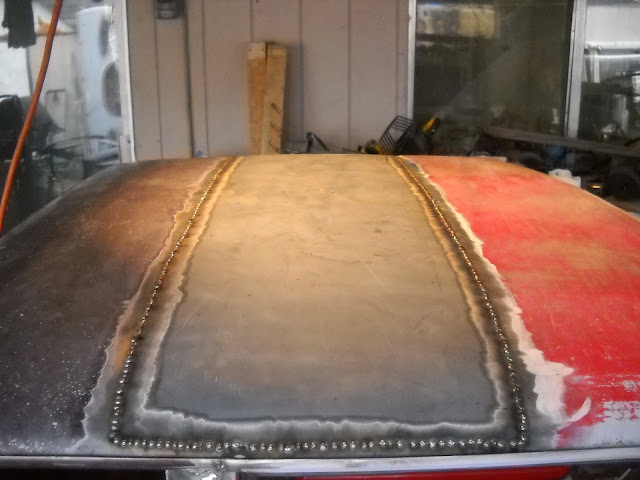
This one still warped a little on me, might have been me resting my elbows on it, or it may have been that I tacked it about 2 inches apart in some places which caused me more work in the end, I was in a hurry on this one.
I was just thinking that you might be able to do most of it on the inside, it might make the outside work easier, and if you boxed it in afterwards, there would be no inside work except for the boxing it in welding.
Re: Kylezone's Longbed 521
Posted: Sun Sep 21, 2014 12:08 pm
by Laecaon
wayno » Sun Sep 21, 2014 9:11 am wrote:Center the wheels in the fender wells if you can, in the photo it looks like the cab needs to go back, and the box needs to be forward, is this the cab I suggested that you move the cab forward for fan clearance?
Do you have a valance, I think they look better with it in place.
Is the box going to be a 10 inch extension?
The cab may need to go back, Its a visual thing, but I think in this photo the wheel is slightly turned and isnt helping anything. But I dont think the cab is moving... The front does need to go up a hair. Oddly enough though, this is the result of using the front cab mounts, as no modification is needed there to get them lined up.
The box... um how do I say, isnt anywhere near where its final position is going to be. Its literally just resting on the frame so its not resting anywhere else. So dont worry...
Yes it has a valence...
The bed is roughly 10" longer, a bit more probably.
The bed hook spacing was the best that could be done. With only extending the bed about 10" the spacing couldnt be exact. Its about 1-1.5" shorter I believe.


