Electronic Ignition upgrade for your 320
Posted: Mon Feb 06, 2017 3:23 pm
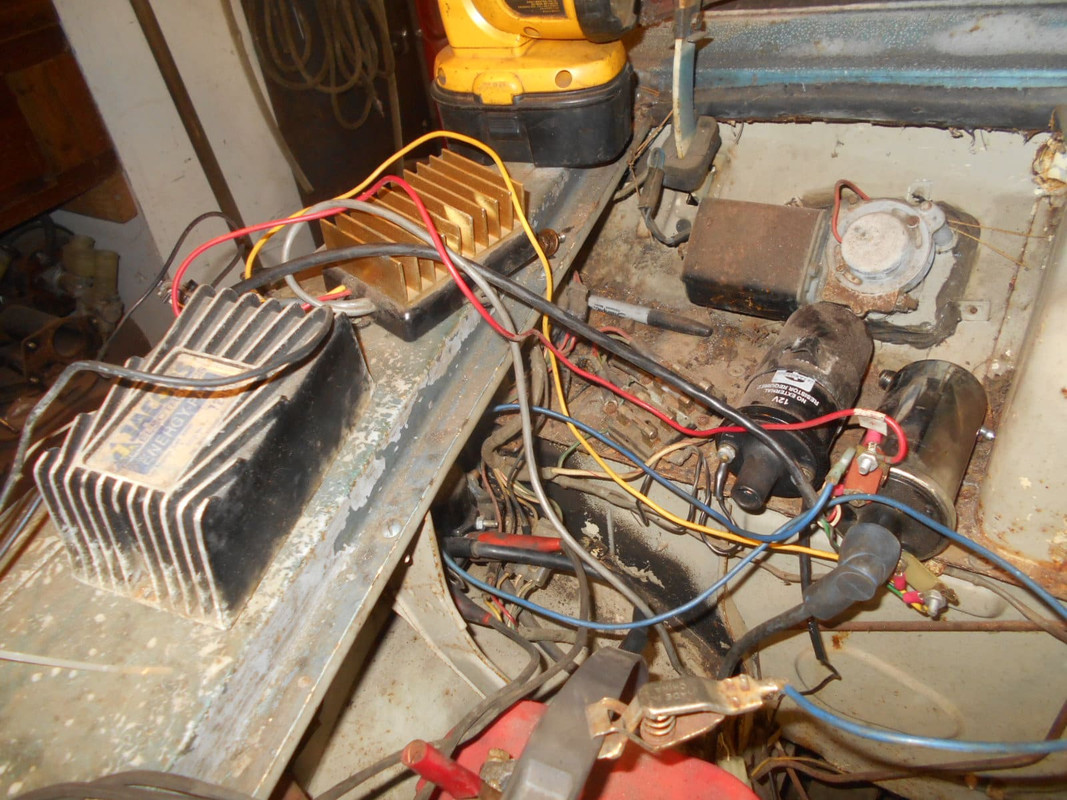
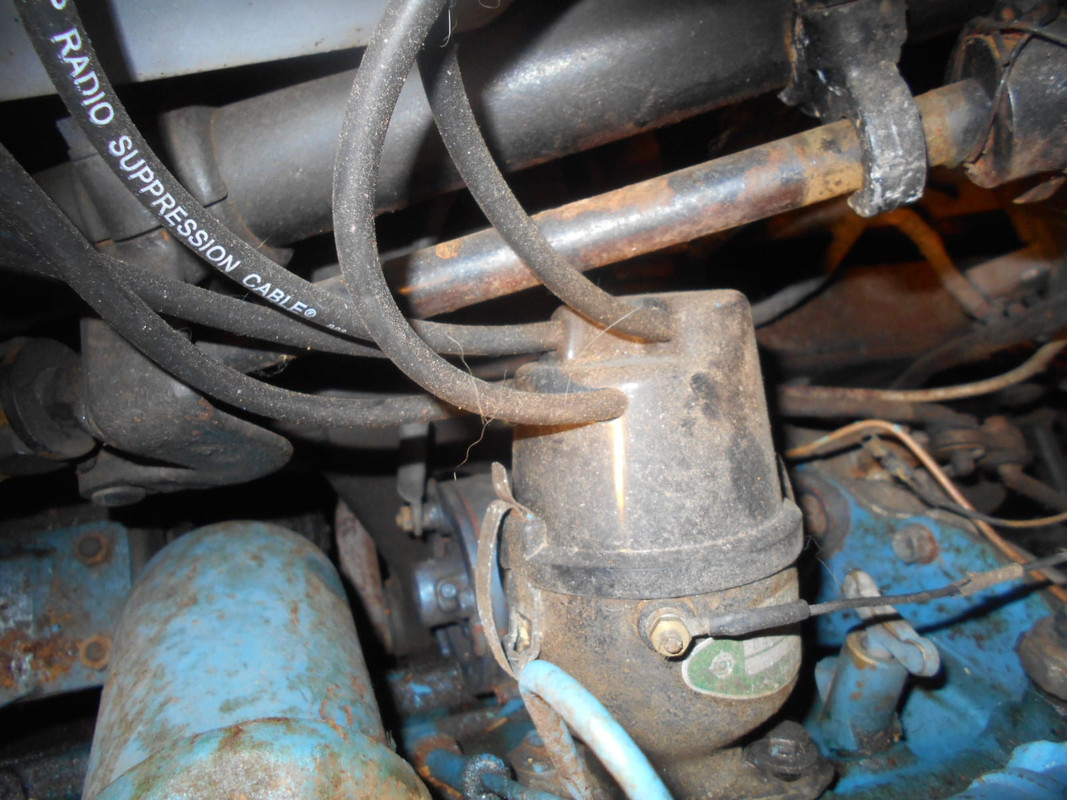
I have done a lot of upgrades over the years, but I have to say right now this is hands down the best upgrade I have ever made to a 320, my 1963 Datsun L320 has been a bitch to start for years, everything had to be perfect for it to start and I still had to turn it over quite a while before it would even try to hit/start, well yesterday and this morning I modified a matchbox distributor, put it in the truck, wired it and I removed everything(wires) that would smoke my harness/generator as it is still positive ground, wired the EI distributor to the EI coil(neg ground), made it so the starter would work, pulled the choke on, pumped the pedal 2 or 3 times, I left the key in the off position and made sure it was in neutral as I am doing all this from the engine compartment, gave the coil power, hit the starter trigger and that thing started in less than a second stone cold, never in the entire time I have owned it has it started like that even after it was warmed up, shut off, and started again.
OK, this is how I did it, first you need a matchbox distributor from an L block(Hitachi D4K) from a 1979 Datsun 620 or a 1980 Datsun 720, and you need your E1 or J13 series distributor, there are likely other L block cars that had the matchbox also.
The Matchbox I used had been in a pile of distributors outside on a shelf under my patio roof for years.
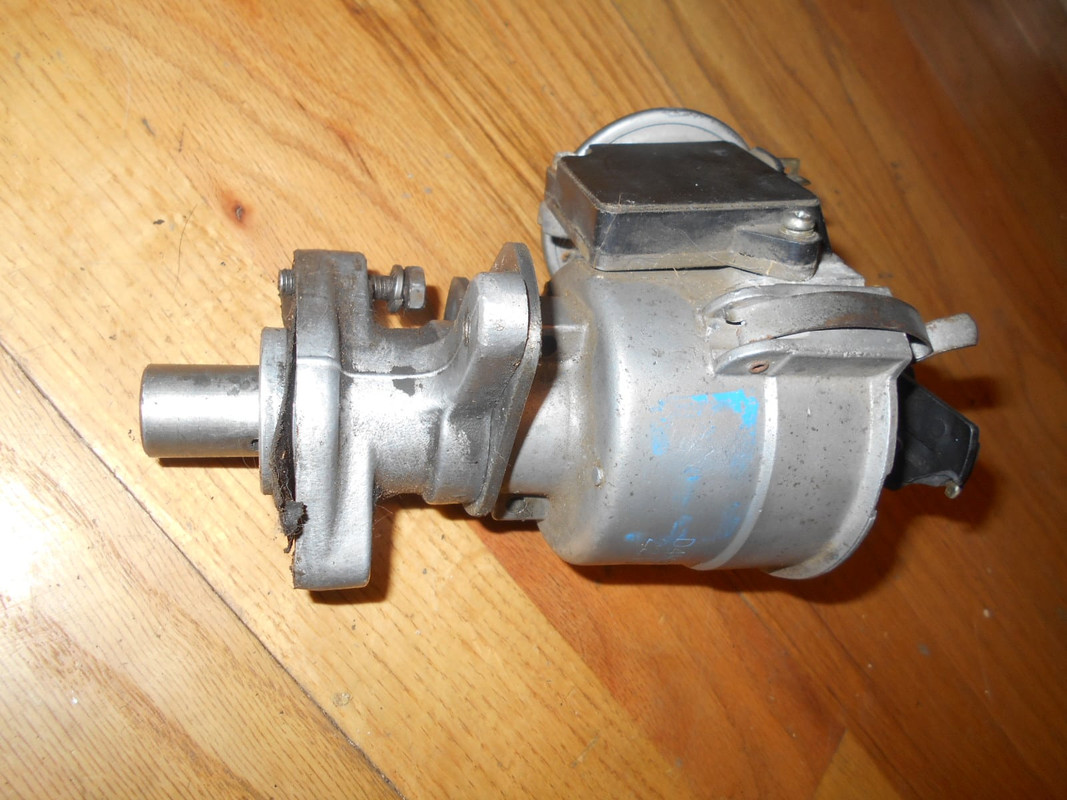
You need to remove this gear from you 320 distributor(it's a bitch, has solid pin).
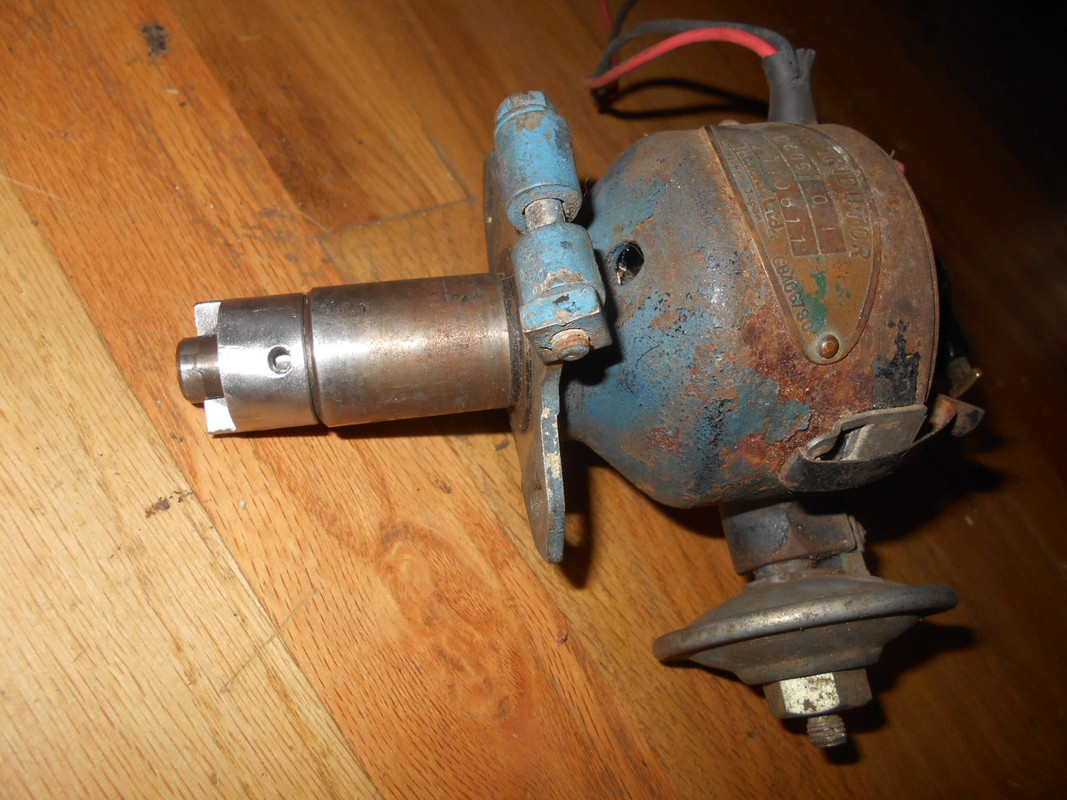
or from your J13(a lot easier, dowel type pin)
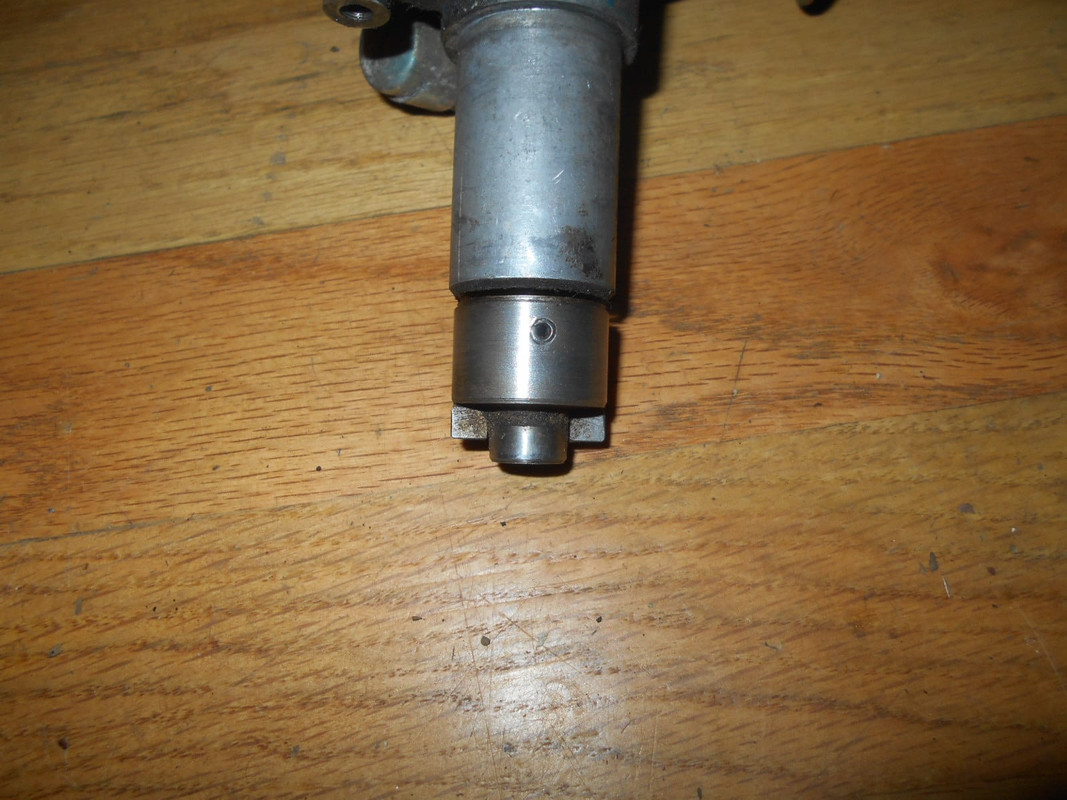
then you need to remove the gear from the Matchbox distributor.
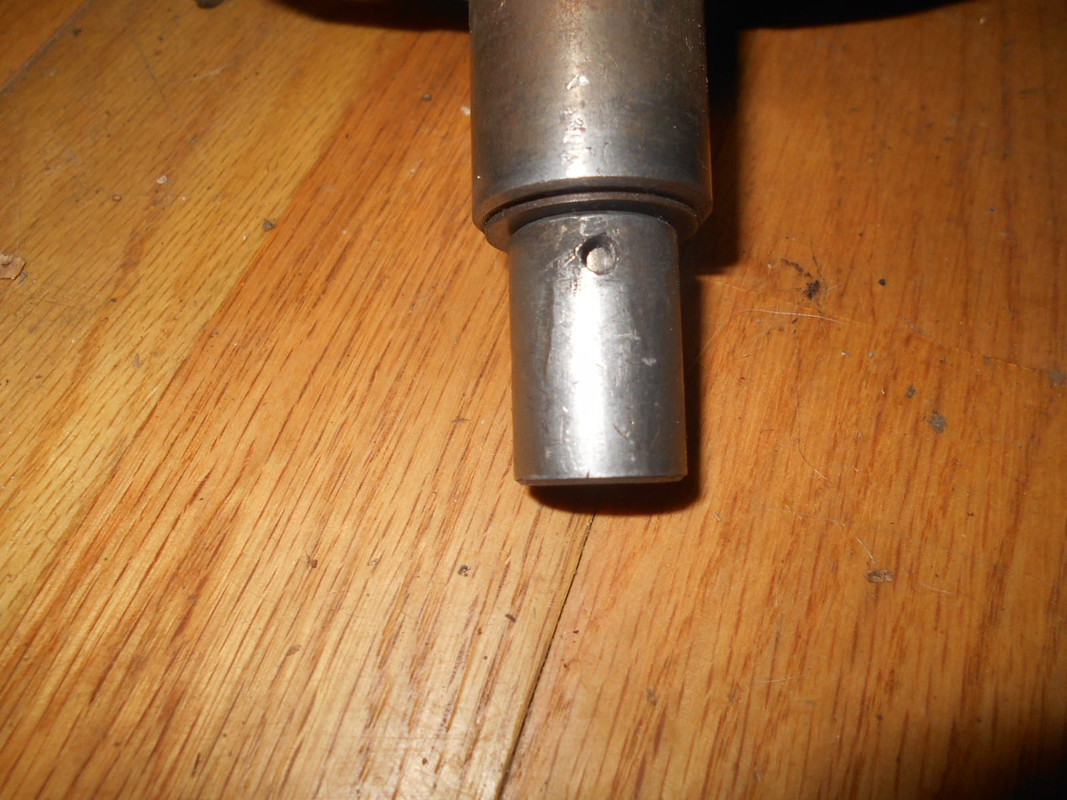 , Now you put the 320 E1 or J13 drive gear on the matchbox, I also used the J13 mount bracket, I believe that is the easiest one to modify.
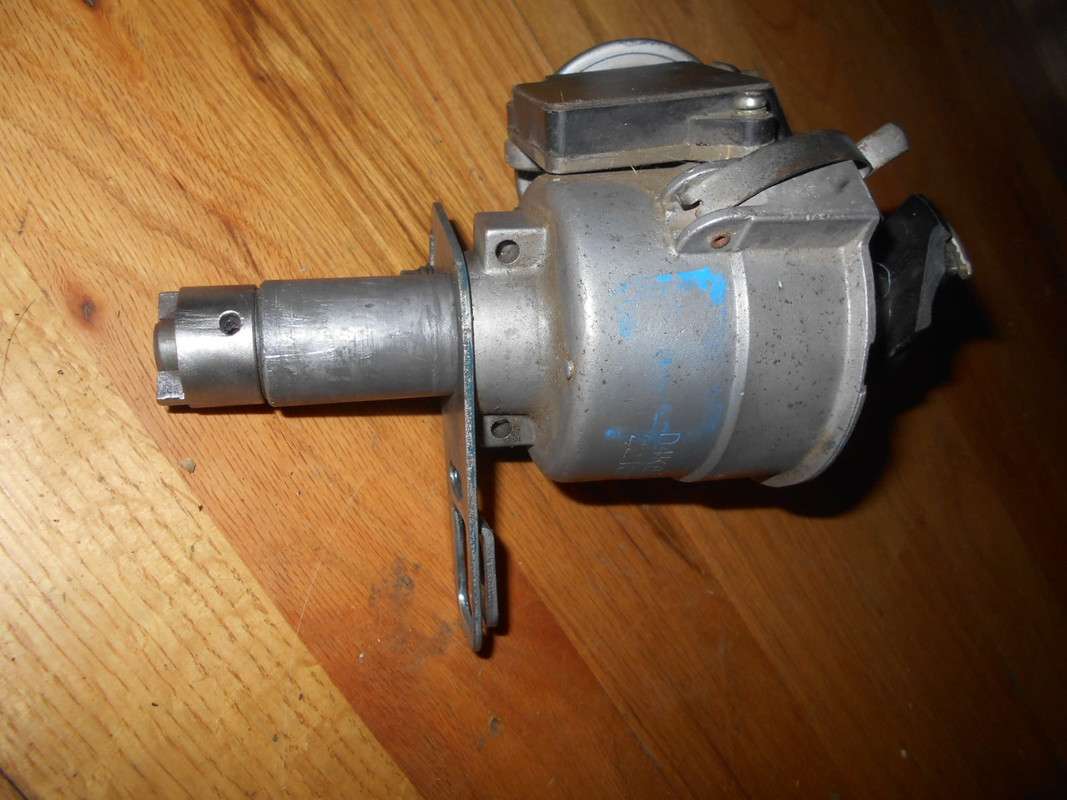
This is Mikes photo, you have to file this hole open a little on the J13 mount bracket to fit it to the matchbox housing, I also cut the other end of the bracket off just past the other oblong hole.
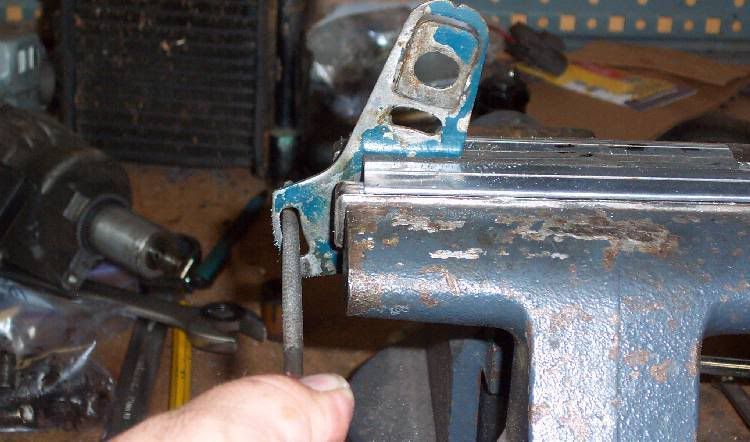
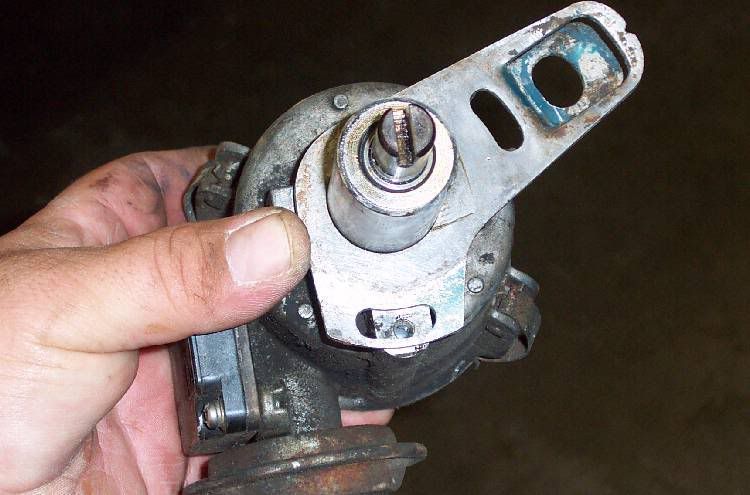
You can see where I cut it in this photo.
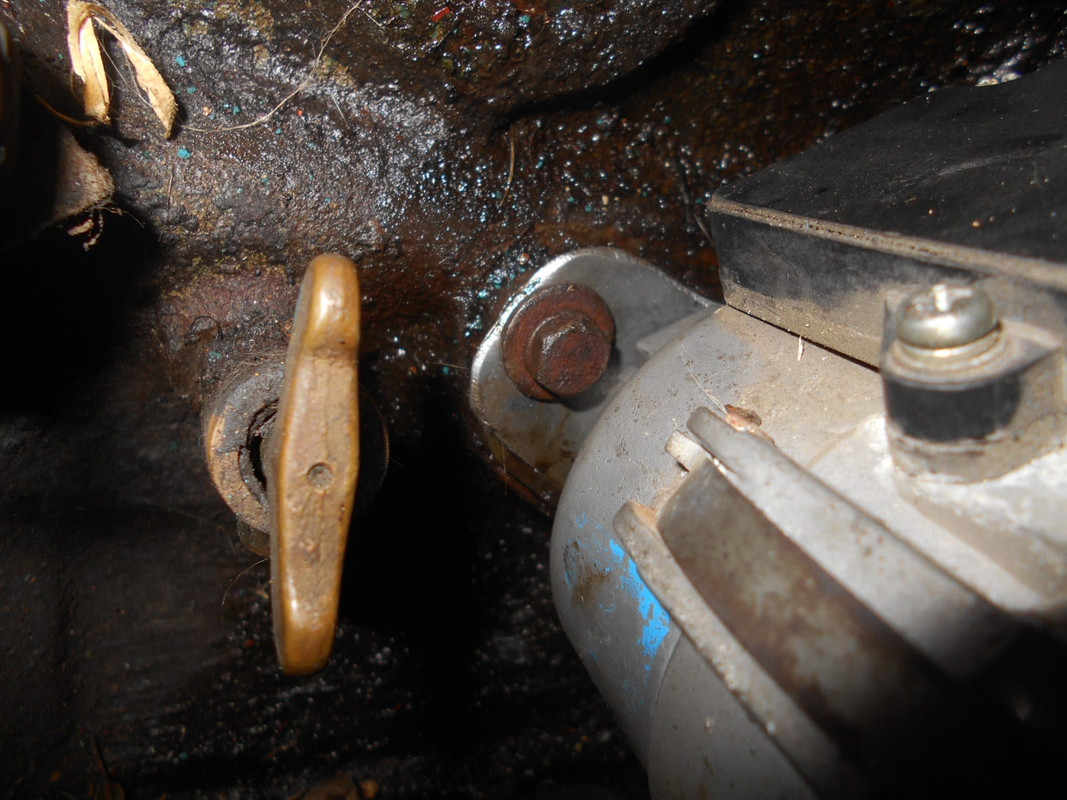
This is what the plate looks like mounted on the block, you can also see better how I cut it.
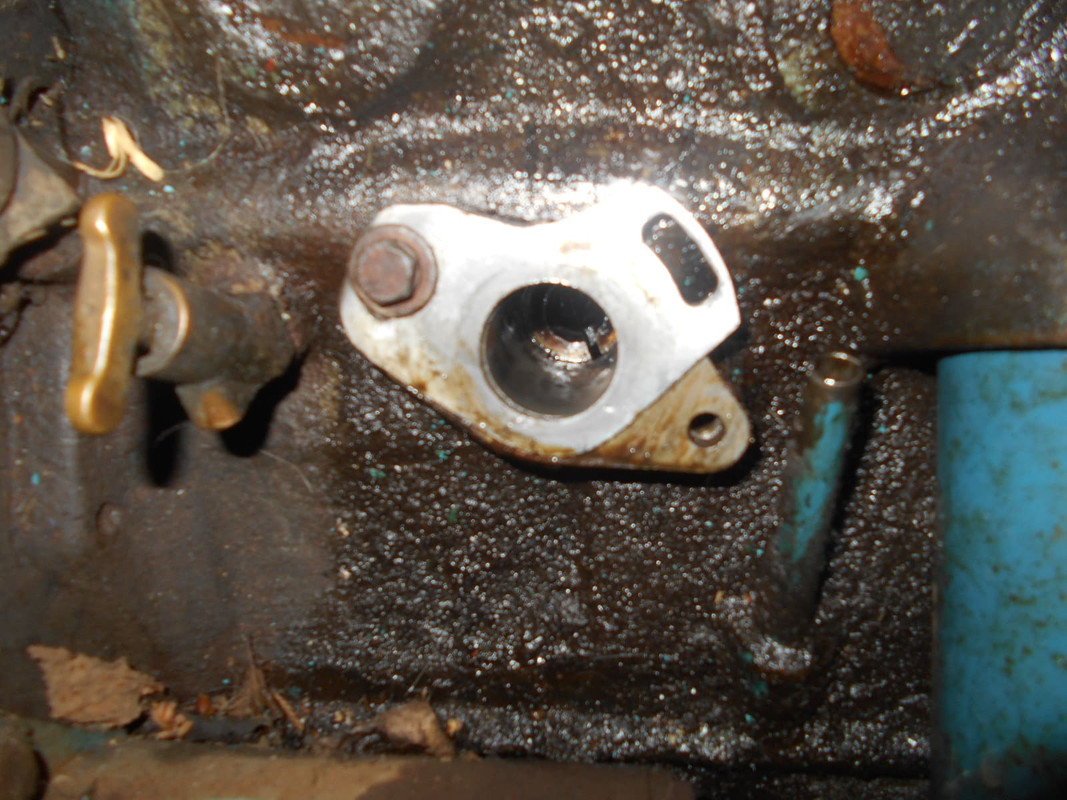
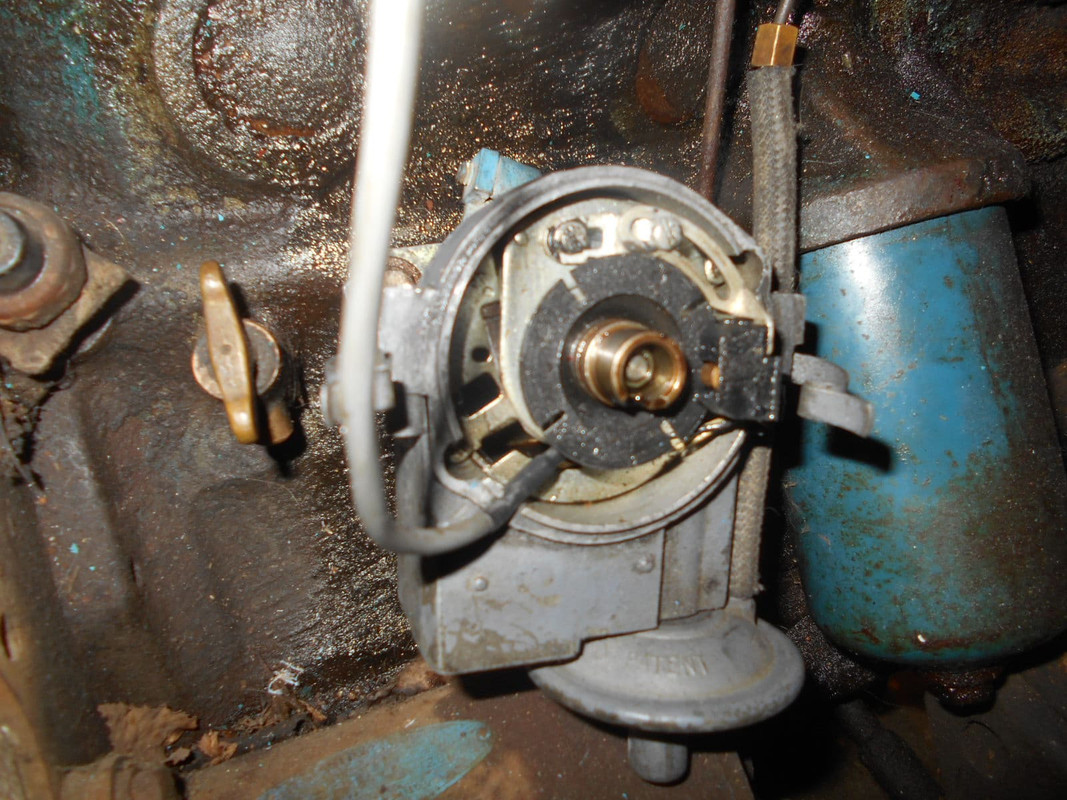
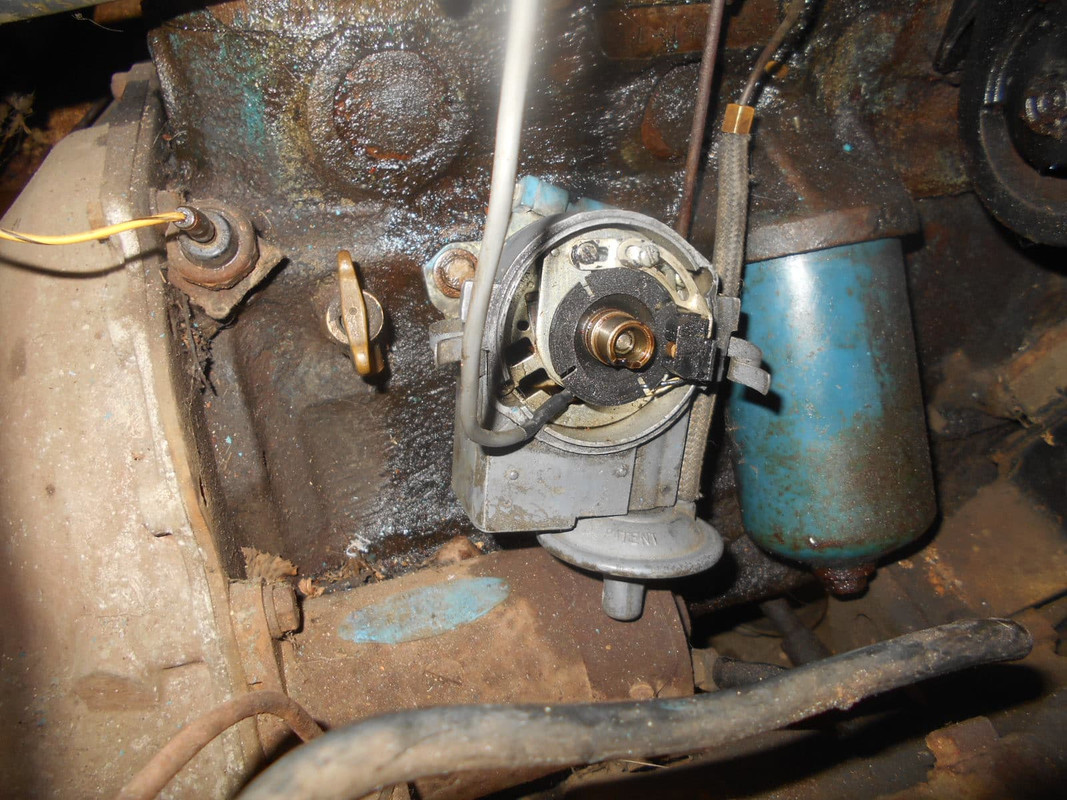
OK before you put the dowel pin in your going to have to buy one at the hardware store as the solid pin I hammered out got ruined as it did not want to come out, and the dowel pin for the matchbox gear is too short, you are going to have to orient the drive gear in the correct position on the shaft, standing at the side of the engine you want the rotor pointed at around 2pm with the vacuum advance pointed the same direction, around 2pm, you can also see in the photo below that the matchbox gear pointers inside the distributor are aligned.
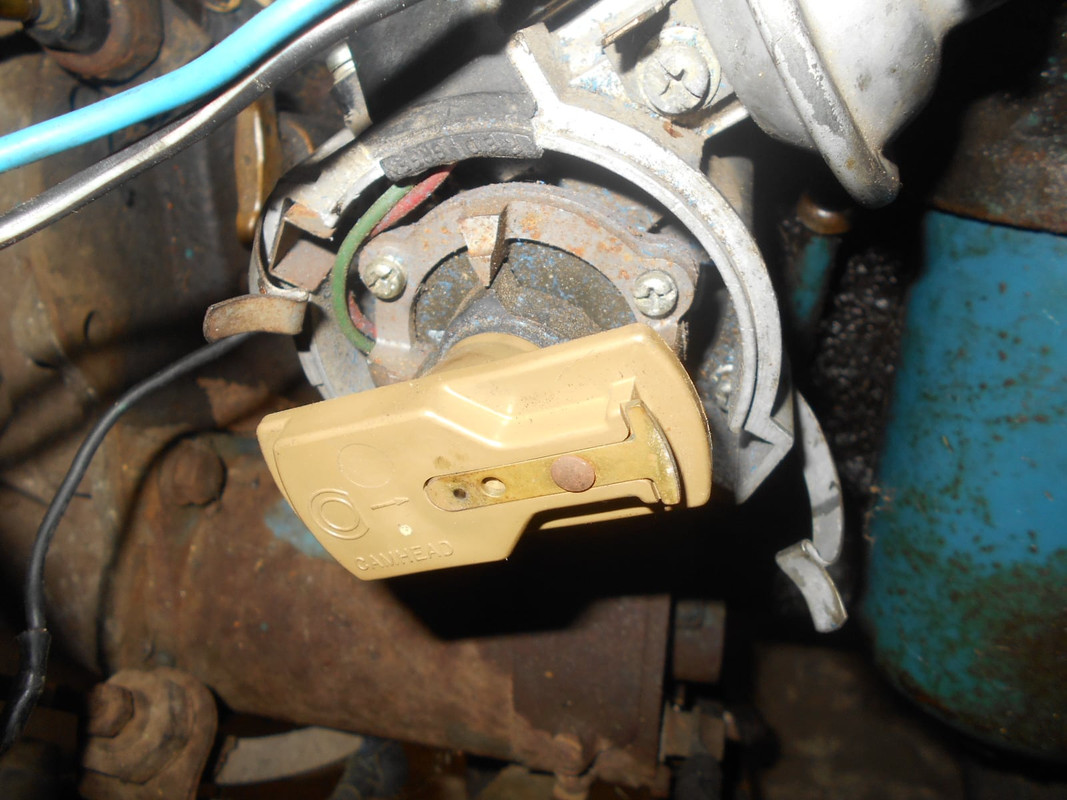
The small side of the drive gear will be towards the front of the engine, by the way your engine should be at TDC.
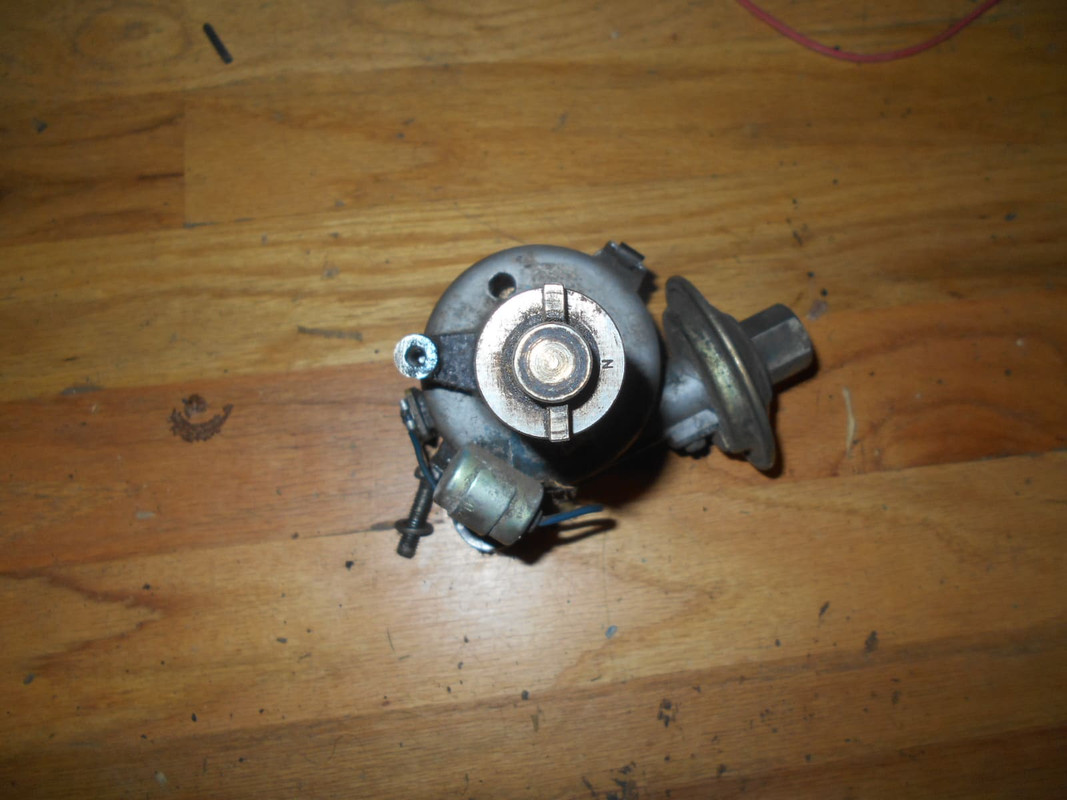
The mounting plate needs to have the oblong hole pointed towards 2pm also, this is the bolt that mounts the plate to the distributor.
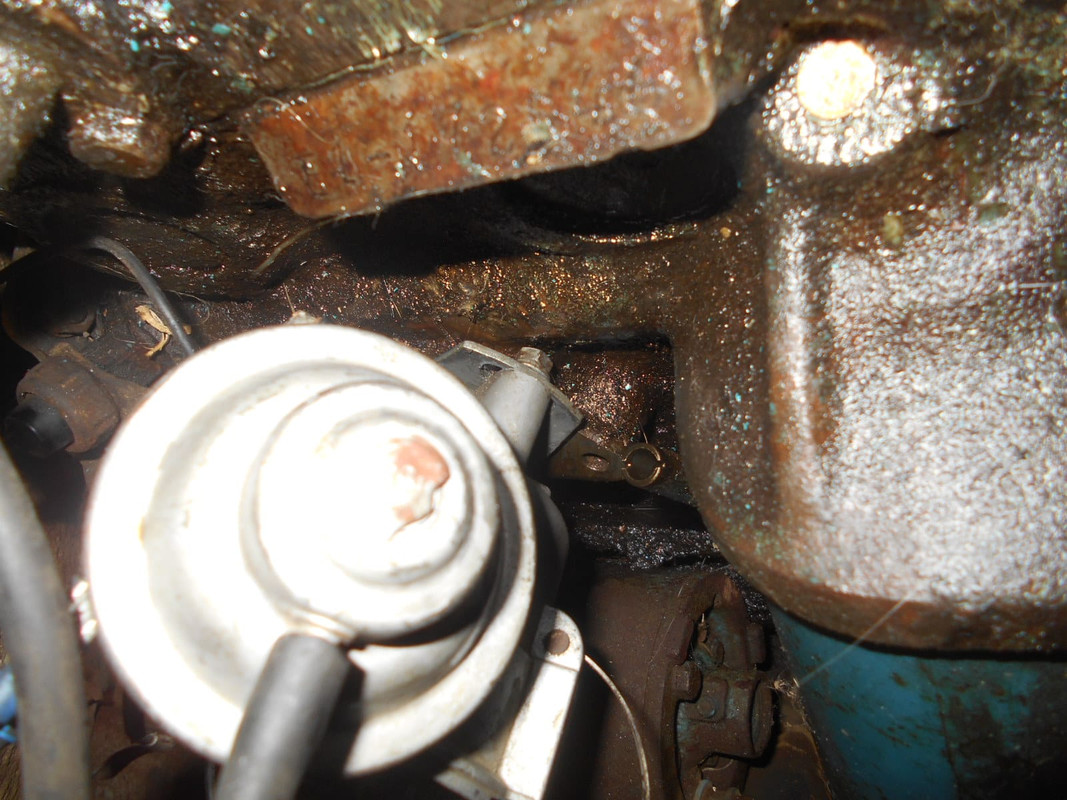
Now if the plate is on correctly, the rear oblong hole will be towards the rear of the engine, and that is the hole used to mount the distributor to the engine.

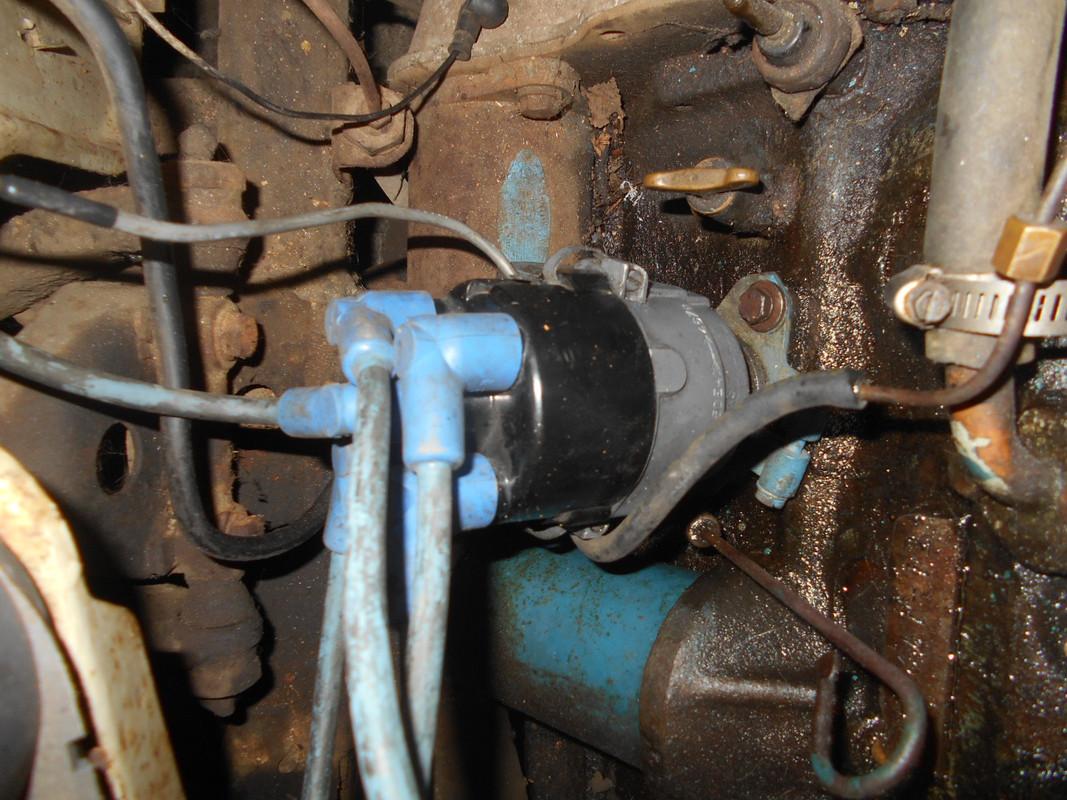
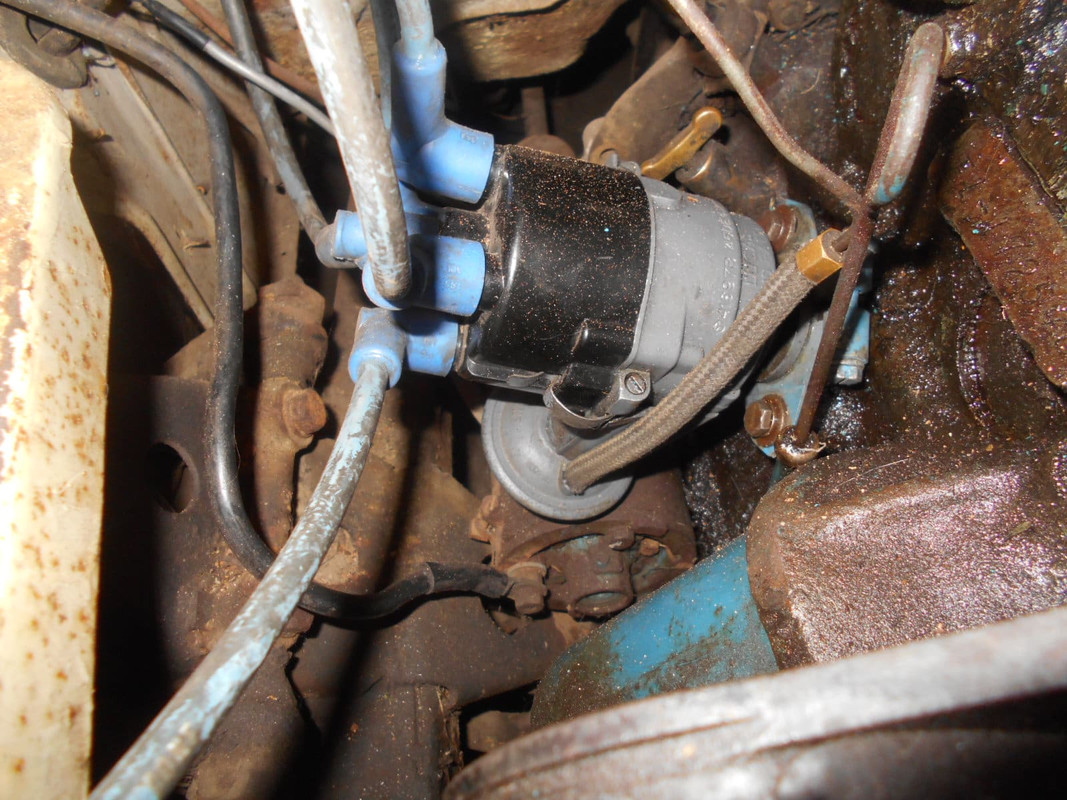
Now if everything has been done correctly, the top front spark plug hole on the cap is number one, the firing order is 1, 3, 4, 2 counter clockwise.
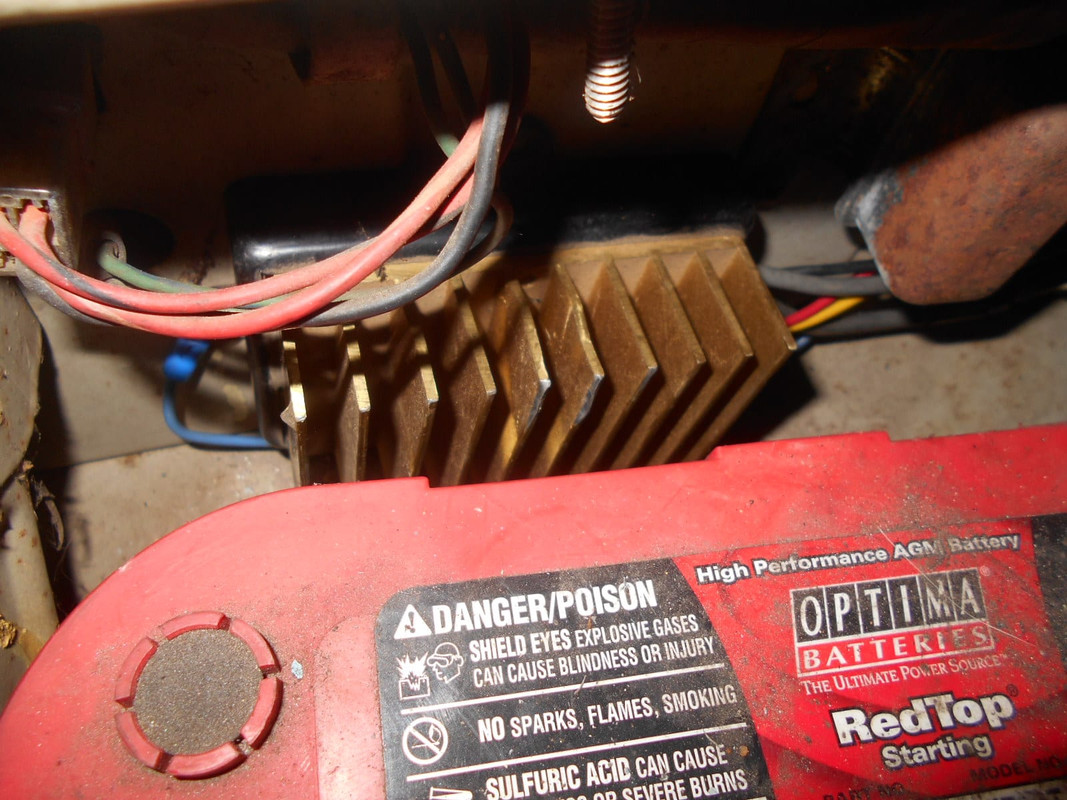
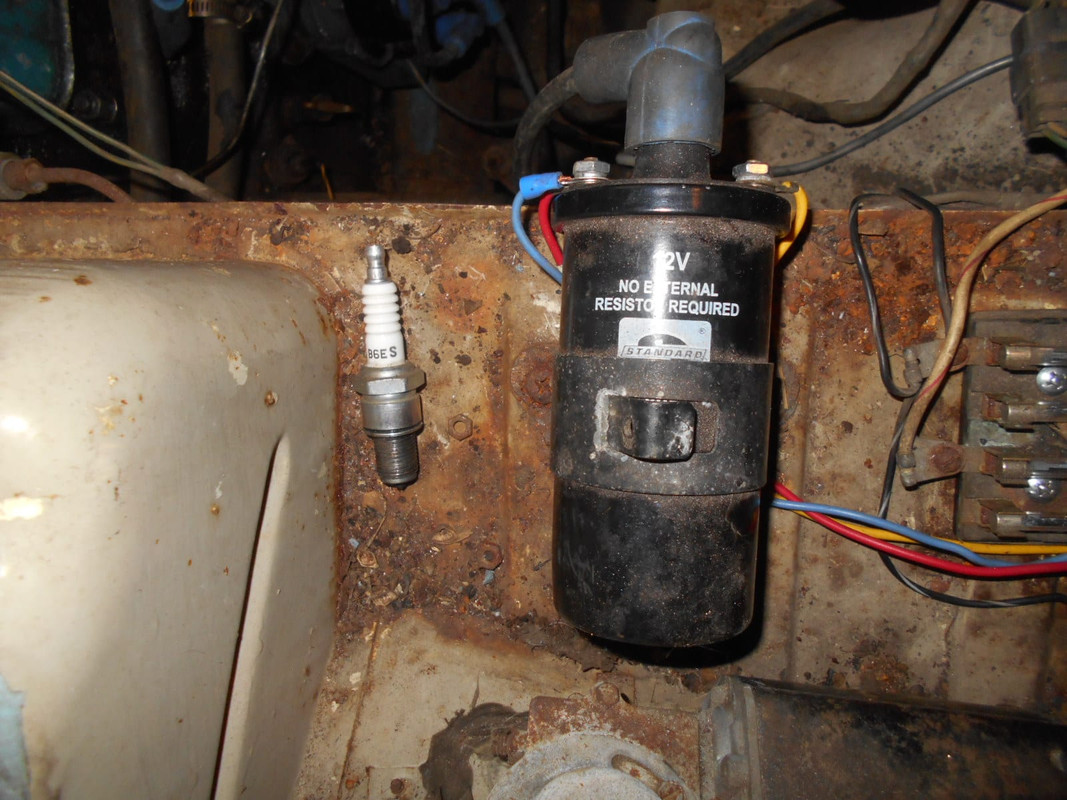
Now you also need an electronic ignition coil, and I repeat, this is a negative ground setup.
I will update this post when I think of things I should have put in the post, or when you good folks point out something I have forgotten.
OK, this is how I did it, first you need a matchbox distributor from an L block(Hitachi D4K) from a 1979 Datsun 620 or a 1980 Datsun 720, and you need your E1 or J13 series distributor, there are likely other L block cars that had the matchbox also.
The Matchbox I used had been in a pile of distributors outside on a shelf under my patio roof for years.

You need to remove this gear from you 320 distributor(it's a bitch, has solid pin).

or from your J13(a lot easier, dowel type pin)

then you need to remove the gear from the Matchbox distributor.
 , Now you put the 320 E1 or J13 drive gear on the matchbox, I also used the J13 mount bracket, I believe that is the easiest one to modify.
This is Mikes photo, you have to file this hole open a little on the J13 mount bracket to fit it to the matchbox housing, I also cut the other end of the bracket off just past the other oblong hole.


You can see where I cut it in this photo.

This is what the plate looks like mounted on the block, you can also see better how I cut it.

OK before you put the dowel pin in your going to have to buy one at the hardware store as the solid pin I hammered out got ruined as it did not want to come out, and the dowel pin for the matchbox gear is too short, you are going to have to orient the drive gear in the correct position on the shaft, standing at the side of the engine you want the rotor pointed at around 2pm with the vacuum advance pointed the same direction, around 2pm, you can also see in the photo below that the matchbox gear pointers inside the distributor are aligned.

The small side of the drive gear will be towards the front of the engine, by the way your engine should be at TDC.

The mounting plate needs to have the oblong hole pointed towards 2pm also, this is the bolt that mounts the plate to the distributor.

Now if the plate is on correctly, the rear oblong hole will be towards the rear of the engine, and that is the hole used to mount the distributor to the engine.

Now if everything has been done correctly, the top front spark plug hole on the cap is number one, the firing order is 1, 3, 4, 2 counter clockwise.
Now you also need an electronic ignition coil, and I repeat, this is a negative ground setup.
I will update this post when I think of things I should have put in the post, or when you good folks point out something I have forgotten.
