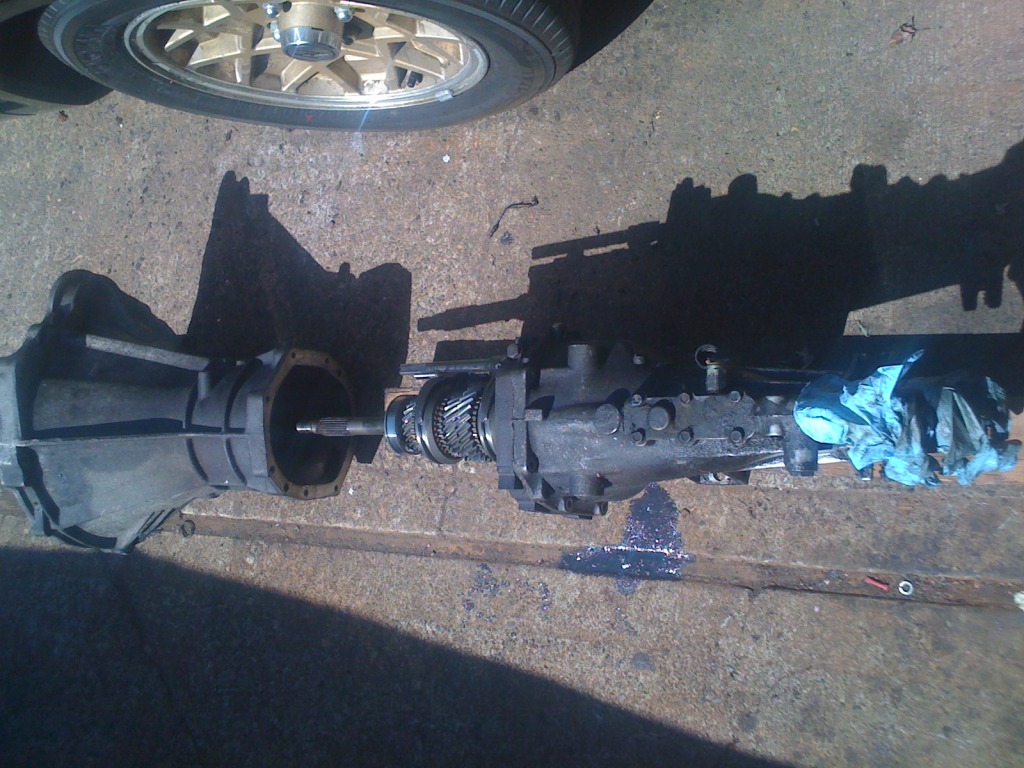
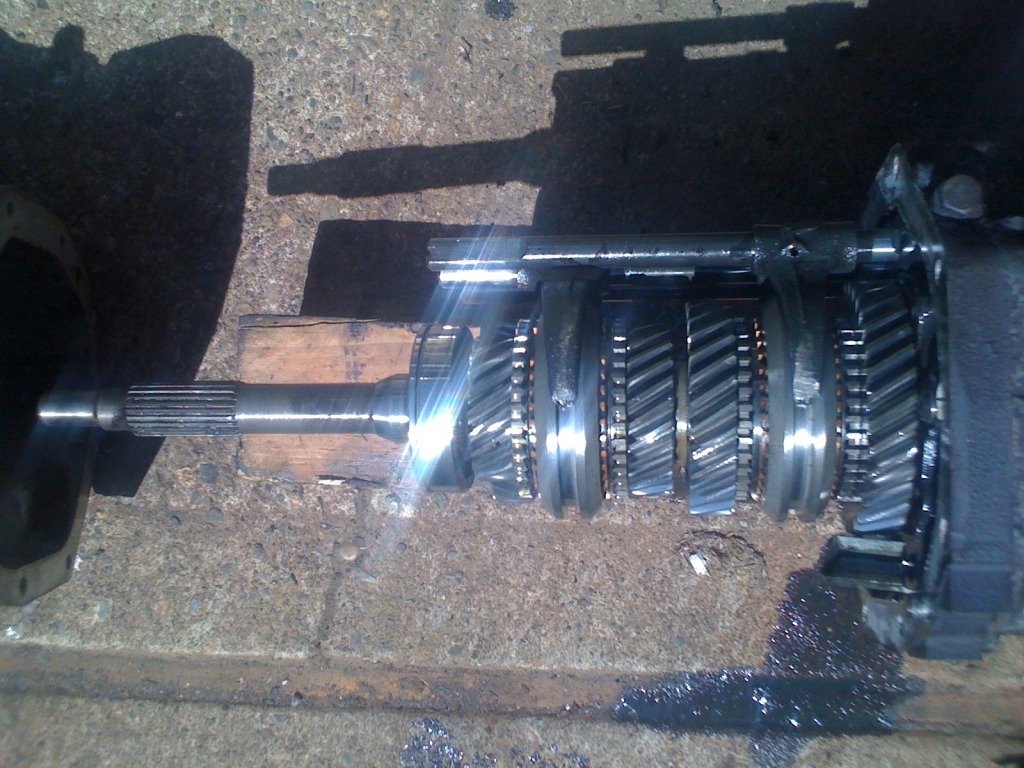
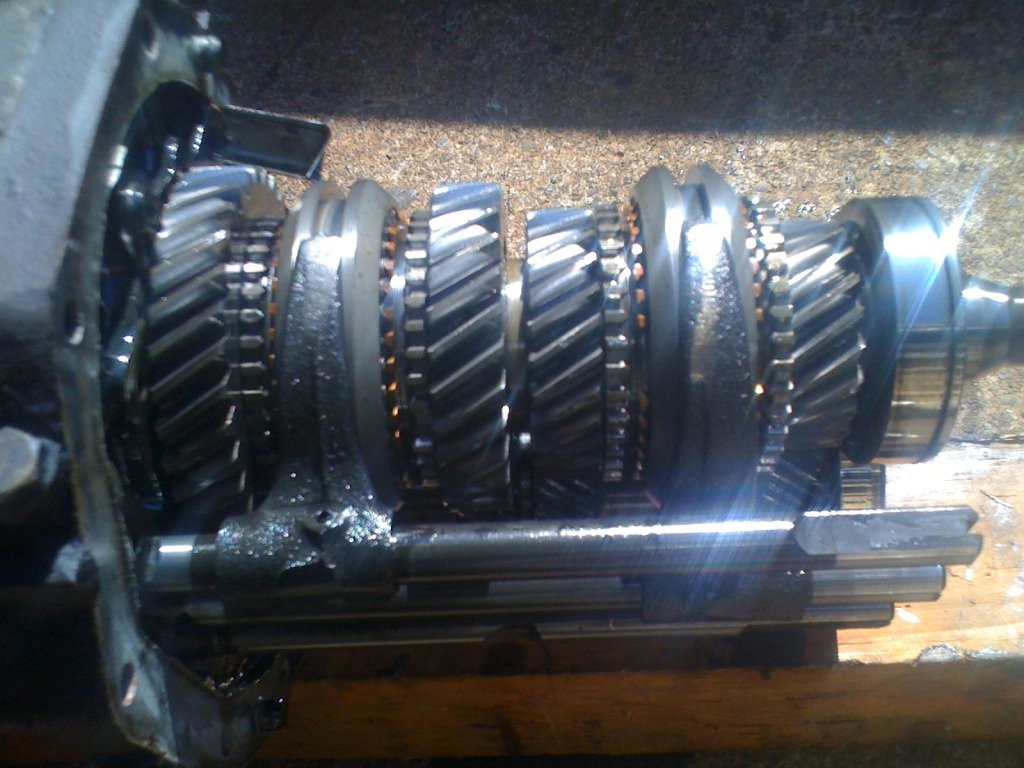
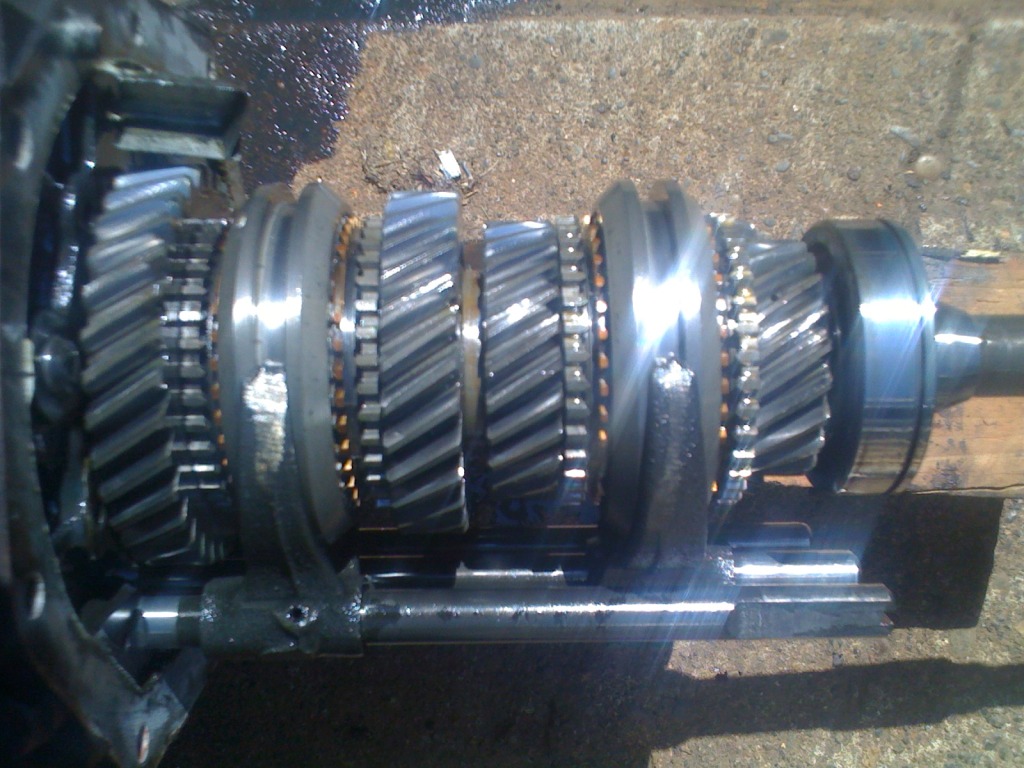
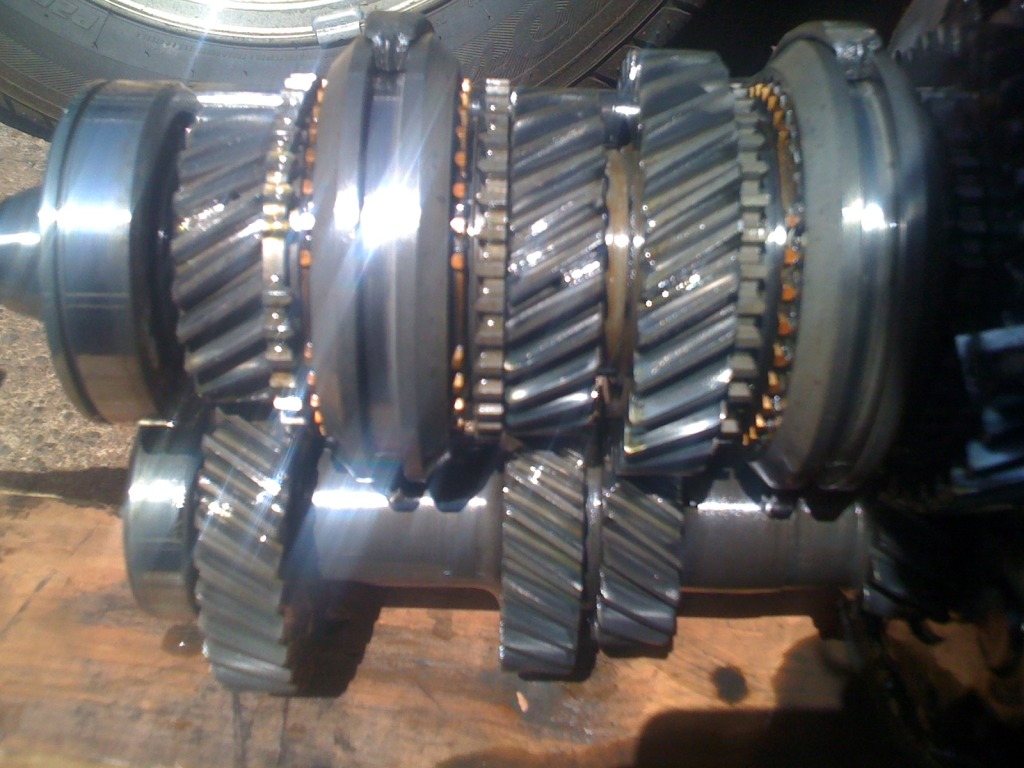
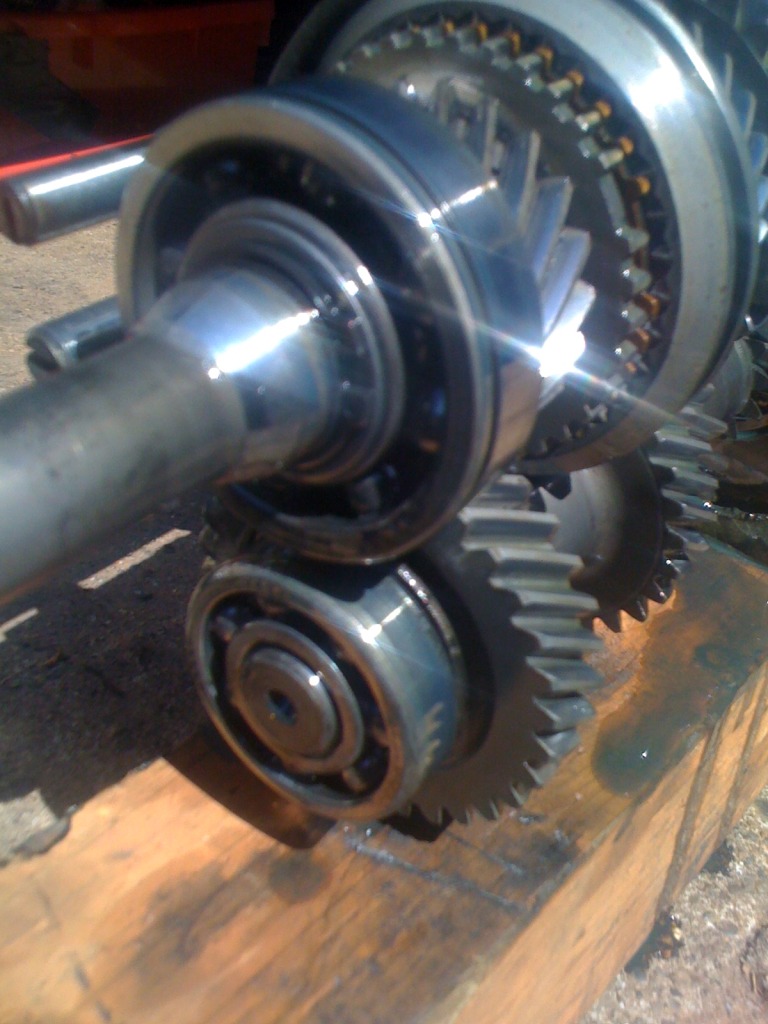
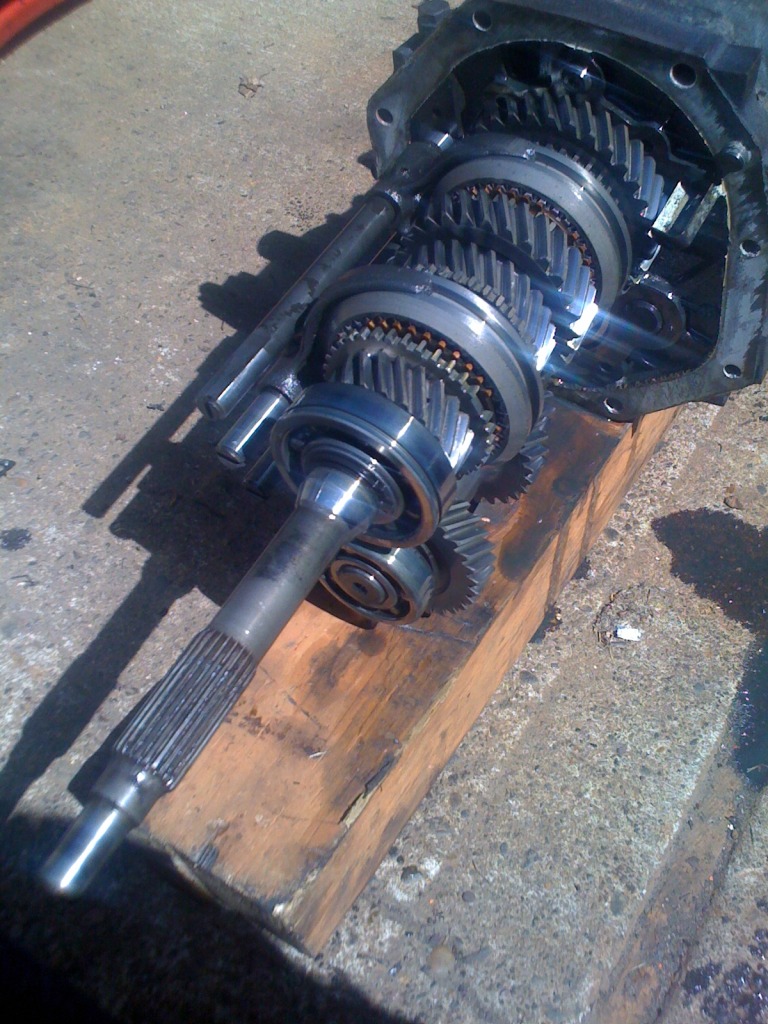
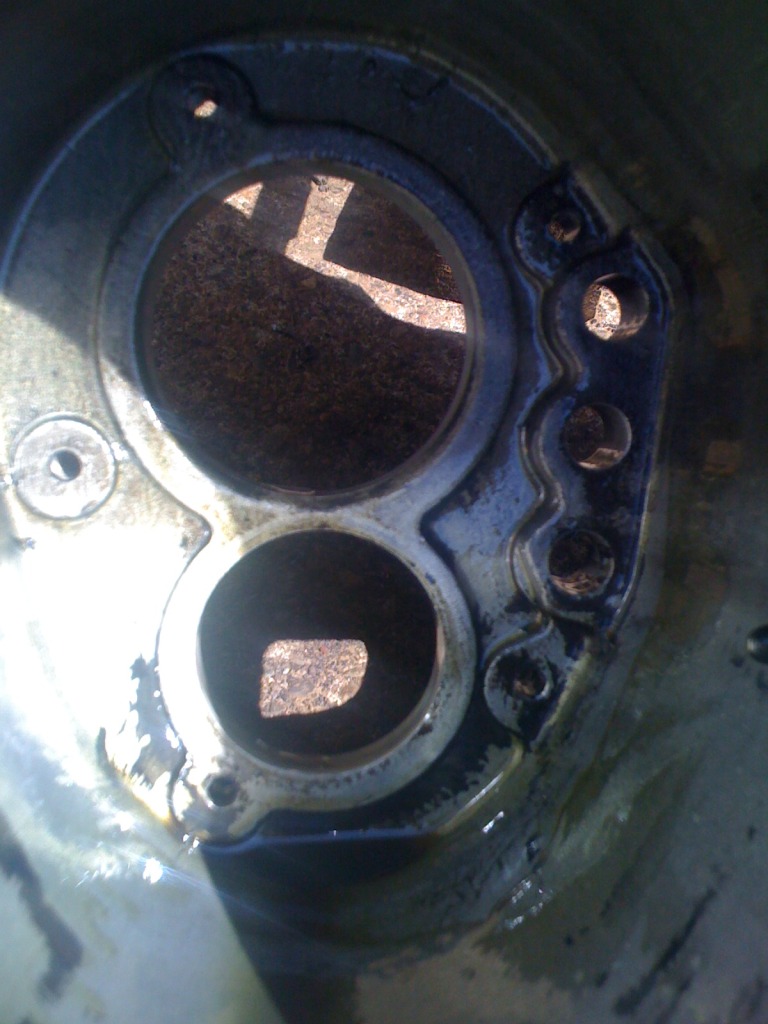
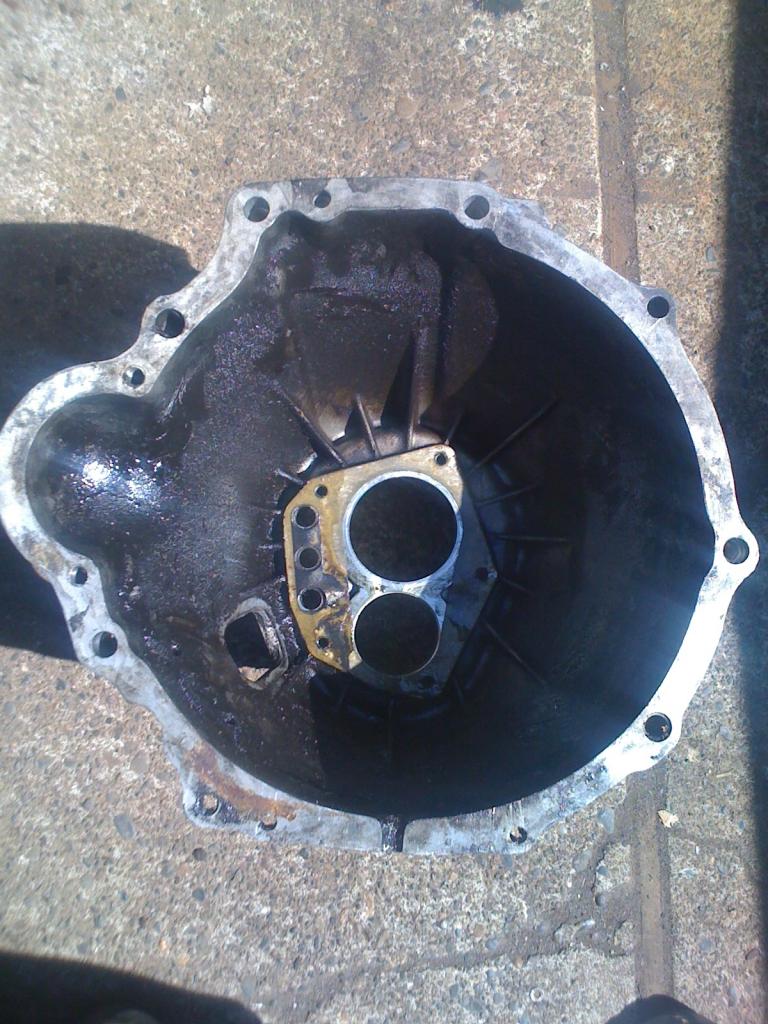
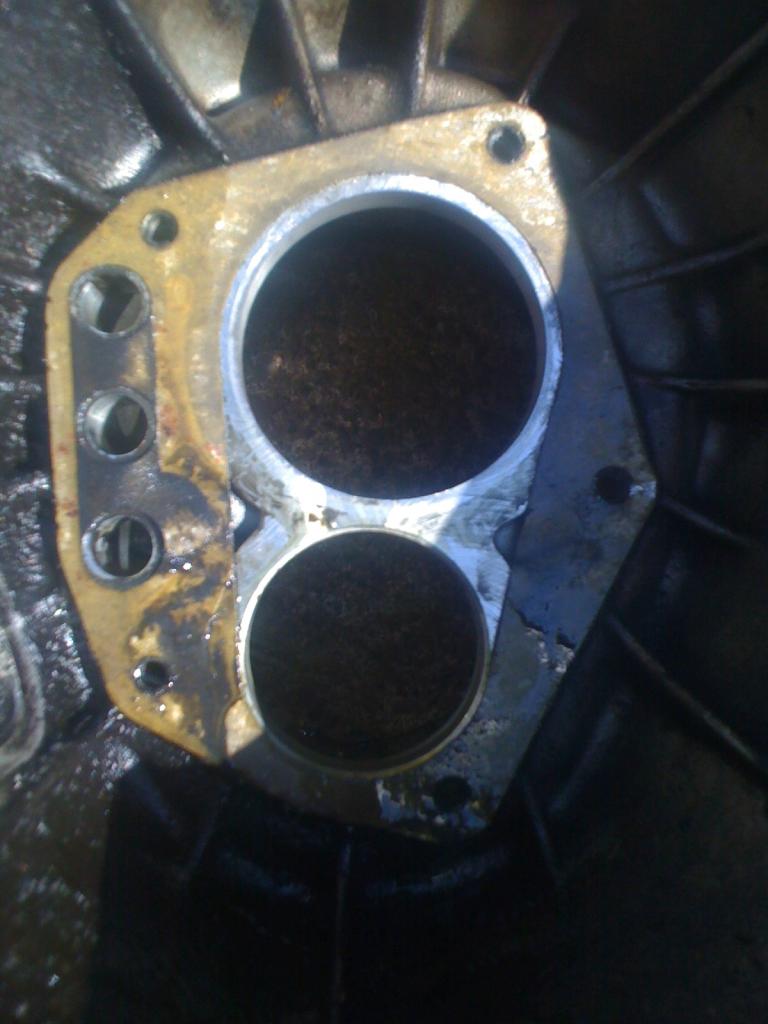
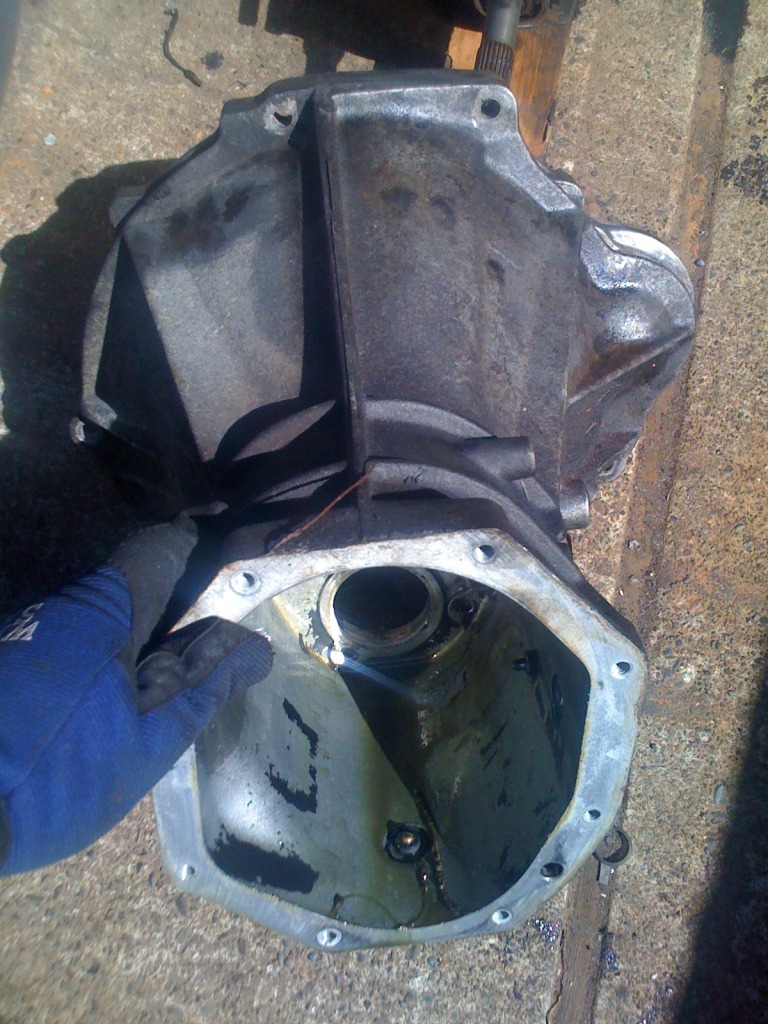
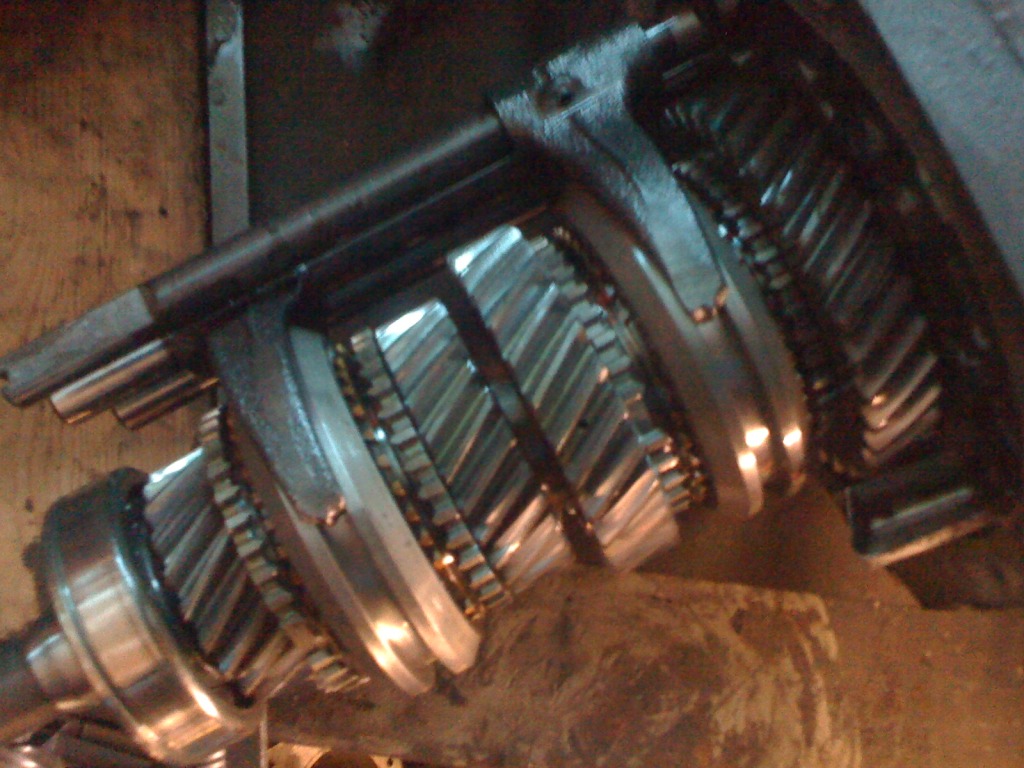
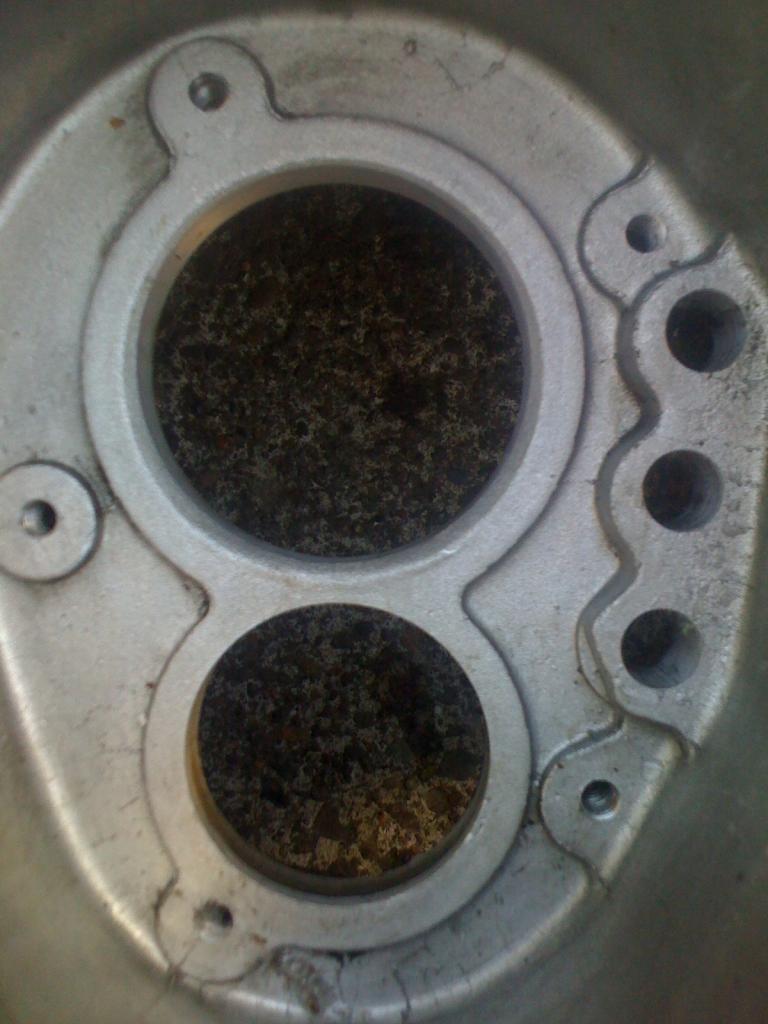
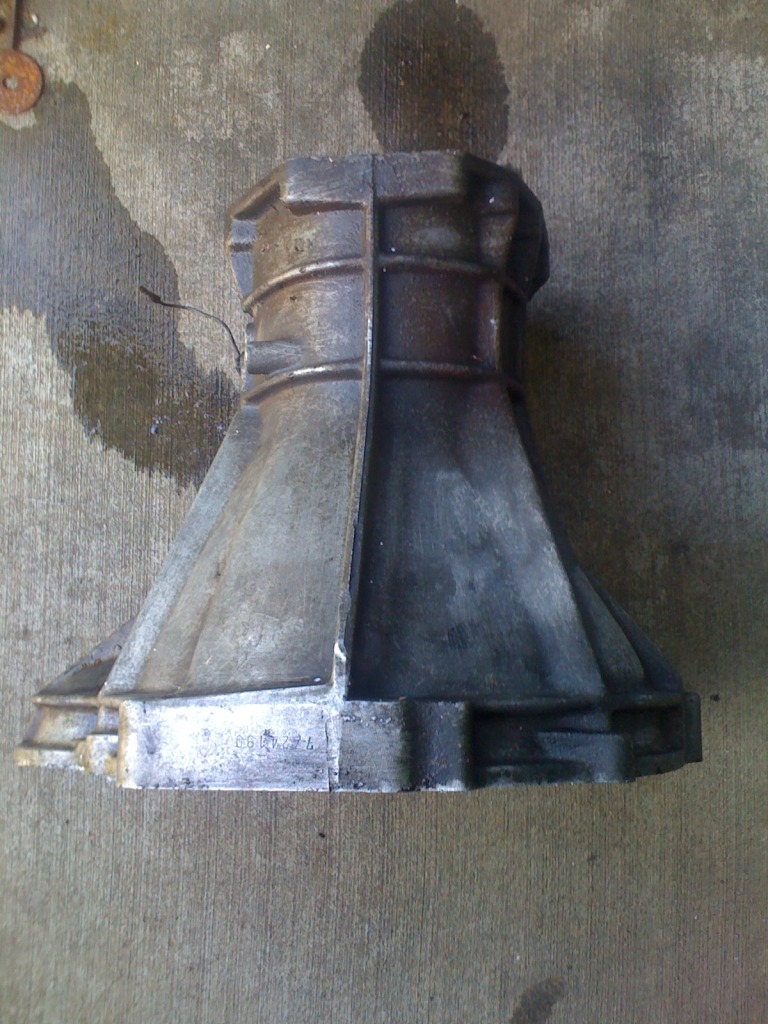
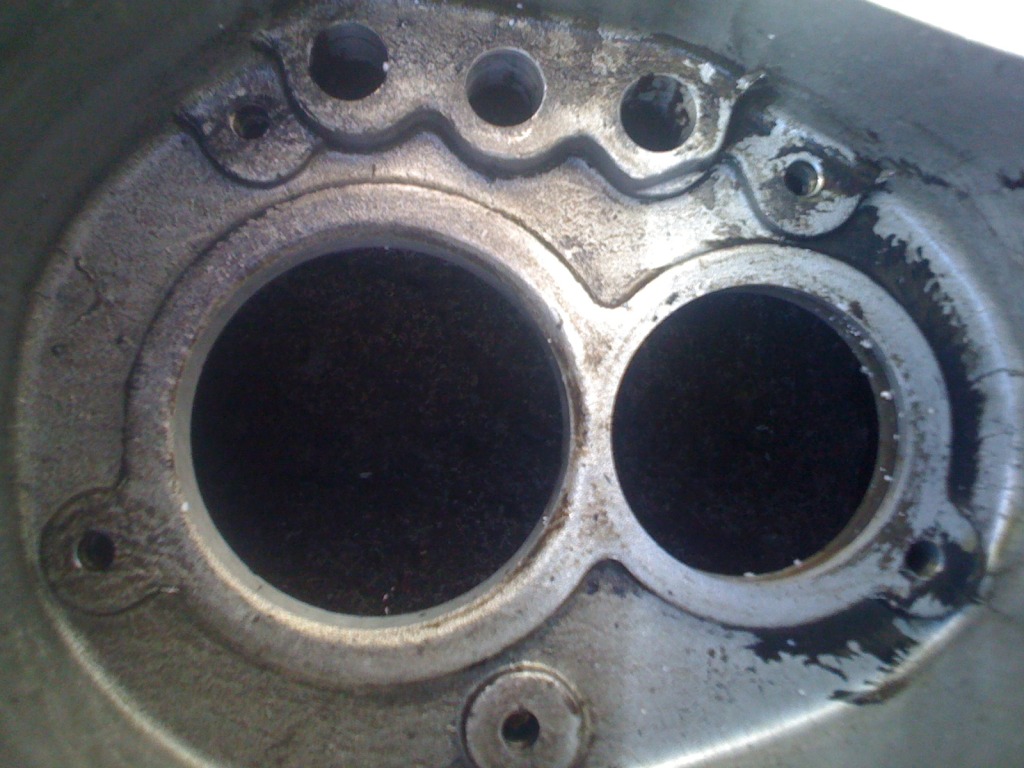
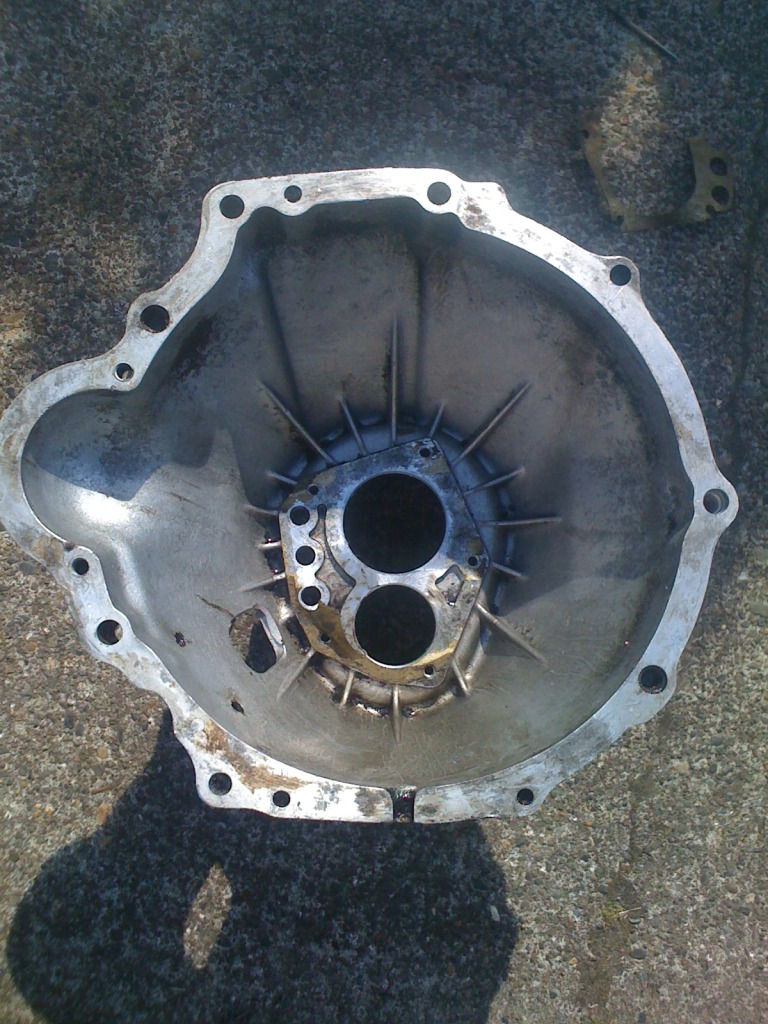
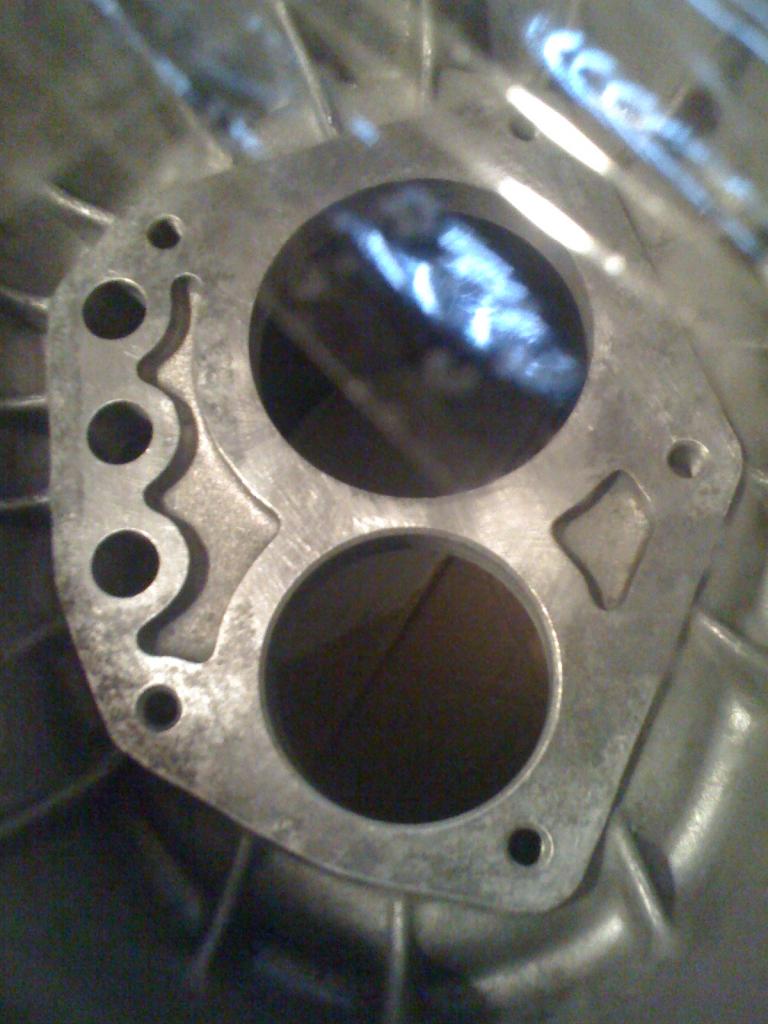
How To --- Take off L-series/KA/CA/SR front case
Posted: Sat Jul 06, 2013 10:15 pm
This is a how-to on taking off a 240-280zx L-series/KA24E or DE/CA/SR etc front TRANSMISSION case (or bell-housing as some call it).
This as well as ( I suspect ) many of my other photos will take a bit of time as I'm making the switch from photobucket to flickr.
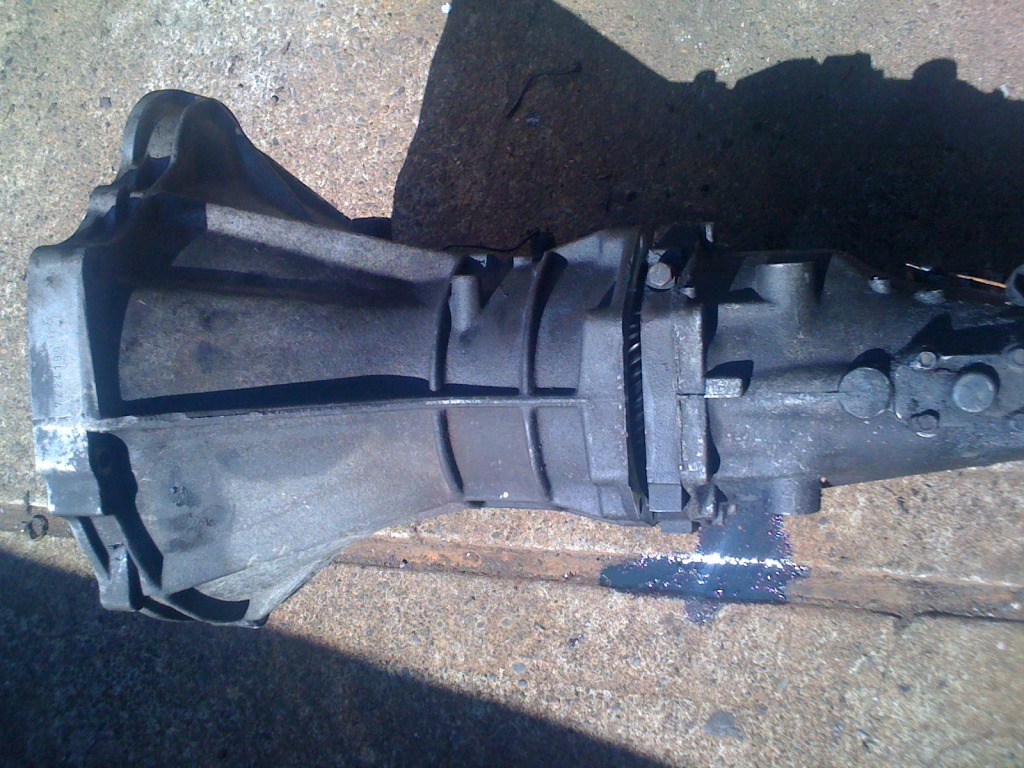
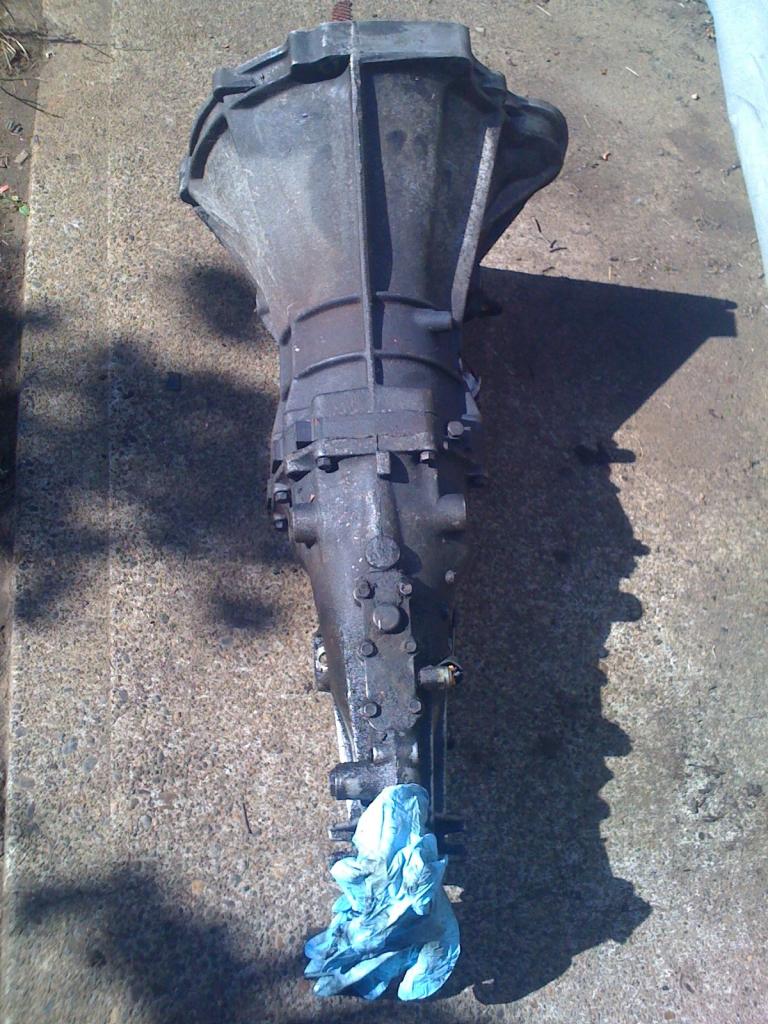
Step 1: --- obtain the transmission to be worked on. In this case we'll be using a 1973 Datsun 240z 4spd "B" series LONG-TAIL trans.
NOTE: If you wish to wash off your transmission before hand ... it's not a bad idea as of right now if it will dry off quickly for you before the sun goes down.
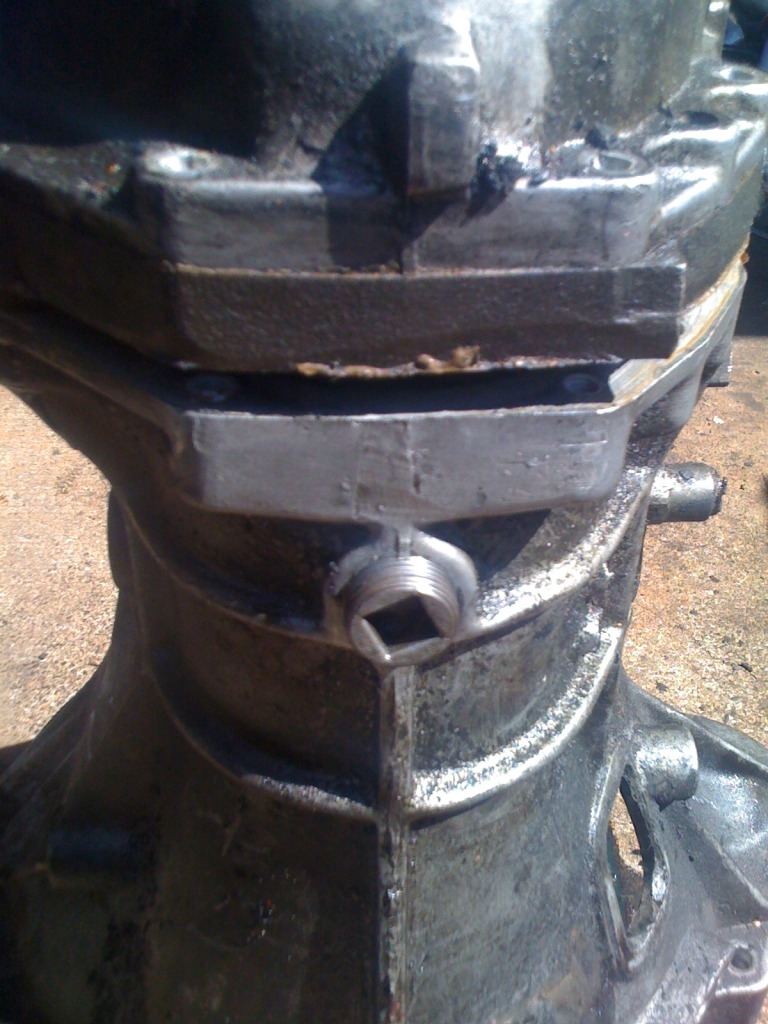
This particular transmission had a knarly piece of bearing retainer on the drain-plug , so it will require repair.
1371319658_zps30eb346b by 71240z, on Flickr
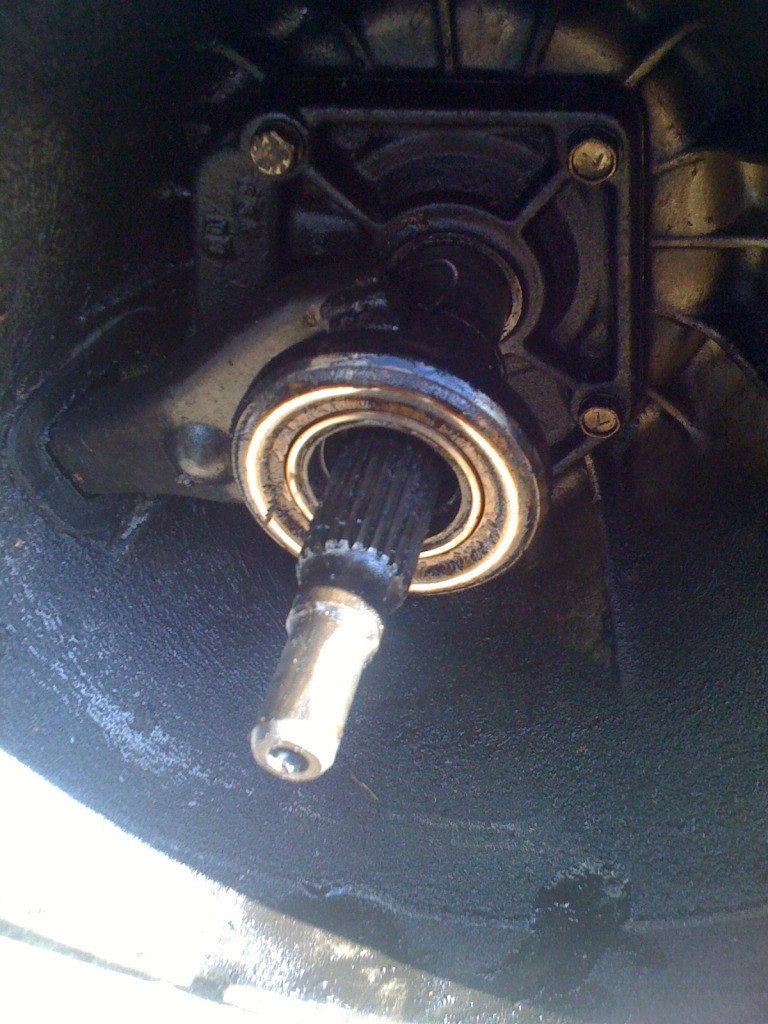
Step 2: --- Pull off the Clutch collar , Clutch throw-out bearing , and clutch fork.
NOTE: The clutch fork is simply "snapped-in" on a pivot bolt located on the front case. You literally just pull it off (in the direction towards the FRONT of the car) to release it ... then seperate the clutch collar with the bearing intact from the fork and set aside all pieces in a clean area.
1371319694_zps9b5fa3ee by 71240z, on Flickr
Step 3: --- This is what it should look like if you were successfull in Step 2.

1371319752_zpsebba52ef by 71240z, on Flickr
Step 4: --- Grab a 12mm wrench , 1/4" to 3/8" drive with a 12mm socket , and even a 12mm ratcheting wrench.
Look at the mid-section of the outside of the transmission case.
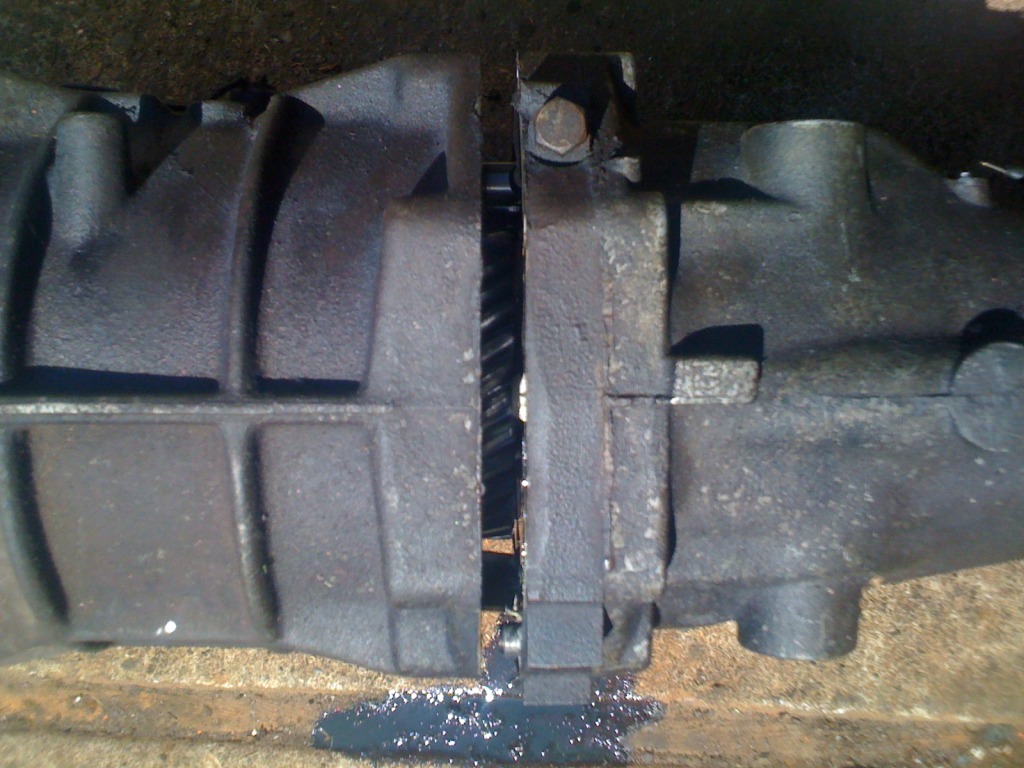
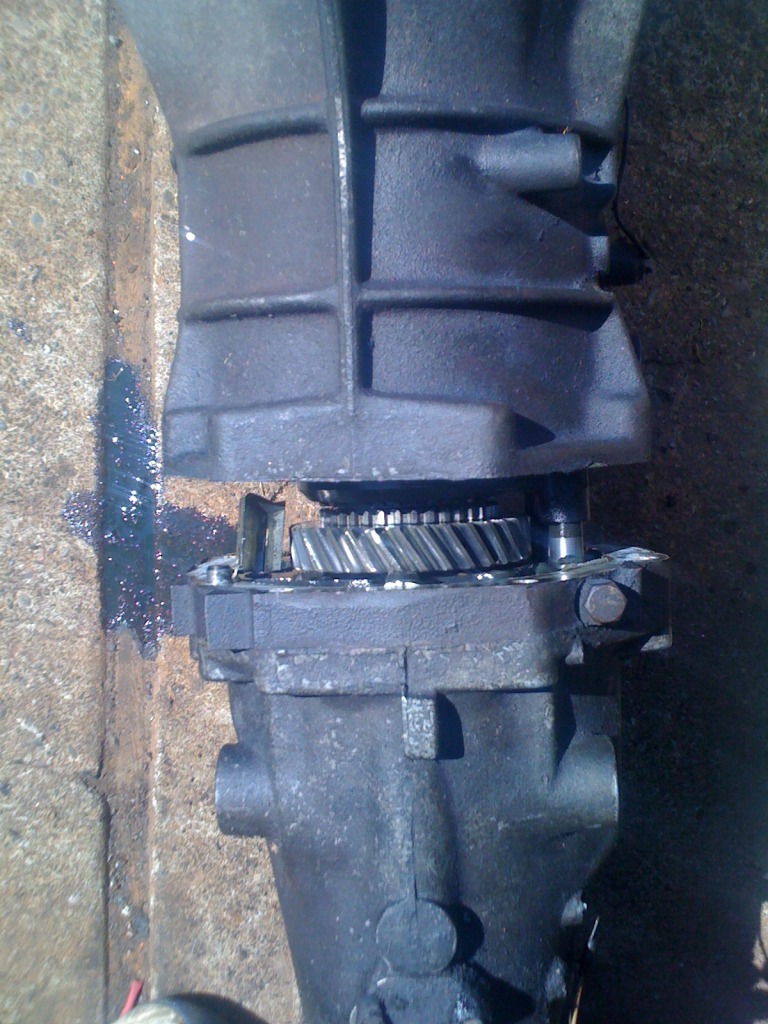
We will be taking off (8) 12mm head bolts total on the outside of tail-shaft housing ... which the bolts go through the mid-section plate ... into the front case (bell-housing).
Keep rotating the transmission until you are able to reach and take out all (8) bolts.
NOTE: I recommend wearing mechanic's gloves ... breaking loose with a wrench and then switching to a ratchet with a 12mm socket + extension.

1371319723_zps58878bcc by 71240z, on Flickr
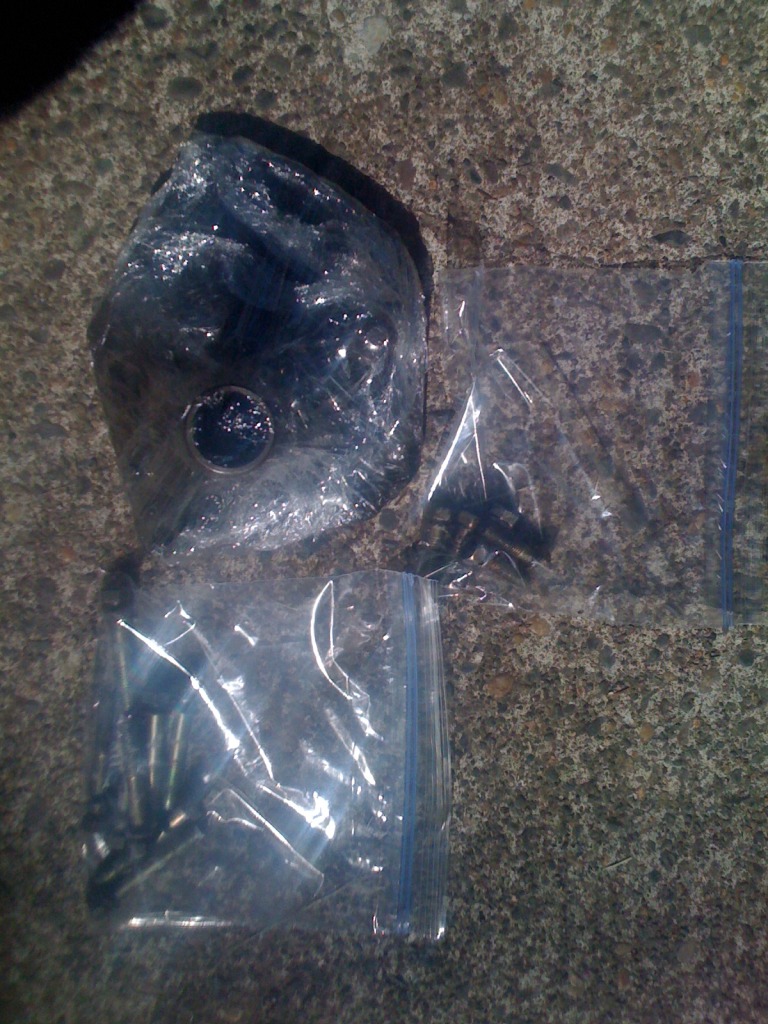
Step 5: --- Once you are done with Step 4 ... there should be (8) 12mm head bolts ... all of which are the SAME length , and bolt ( don't sweat it ).
NOTE: I would advise bagging groups of bolts for later identification IF trans is to be apart for more than a 1-week duration. Sticking them in a sand-wich bag then wrapping with sarin-wrap also helps to keep things from migrating where you don't want them to.

1371320960_zpsc0e579b6 by 71240z, on Flickr
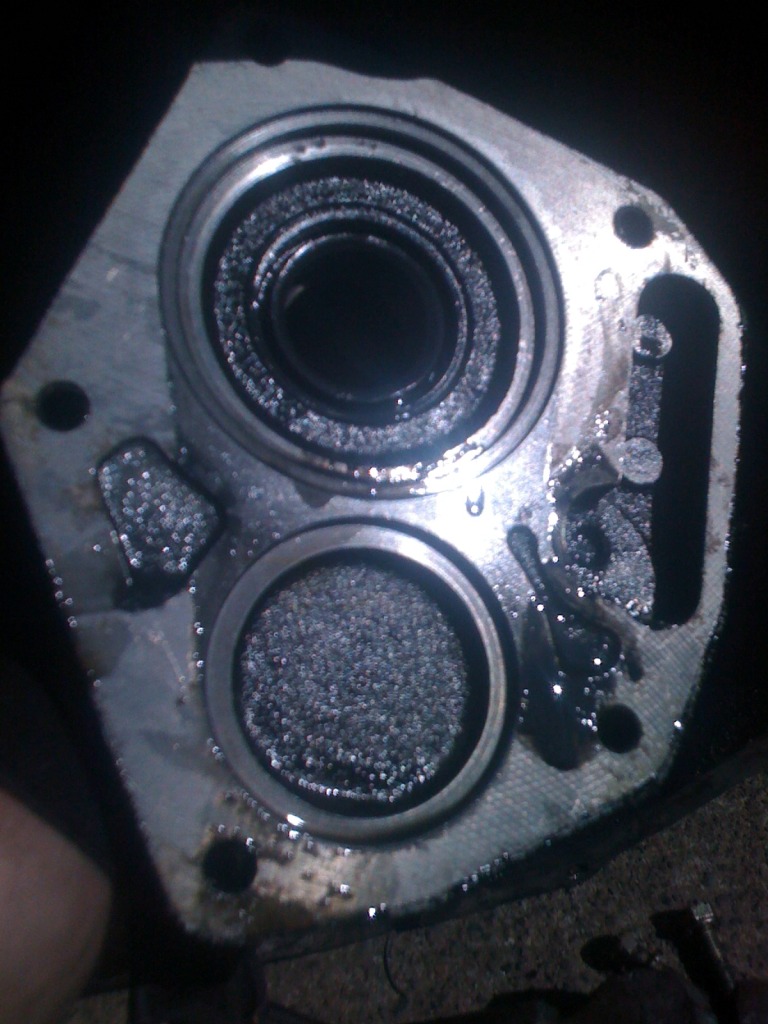
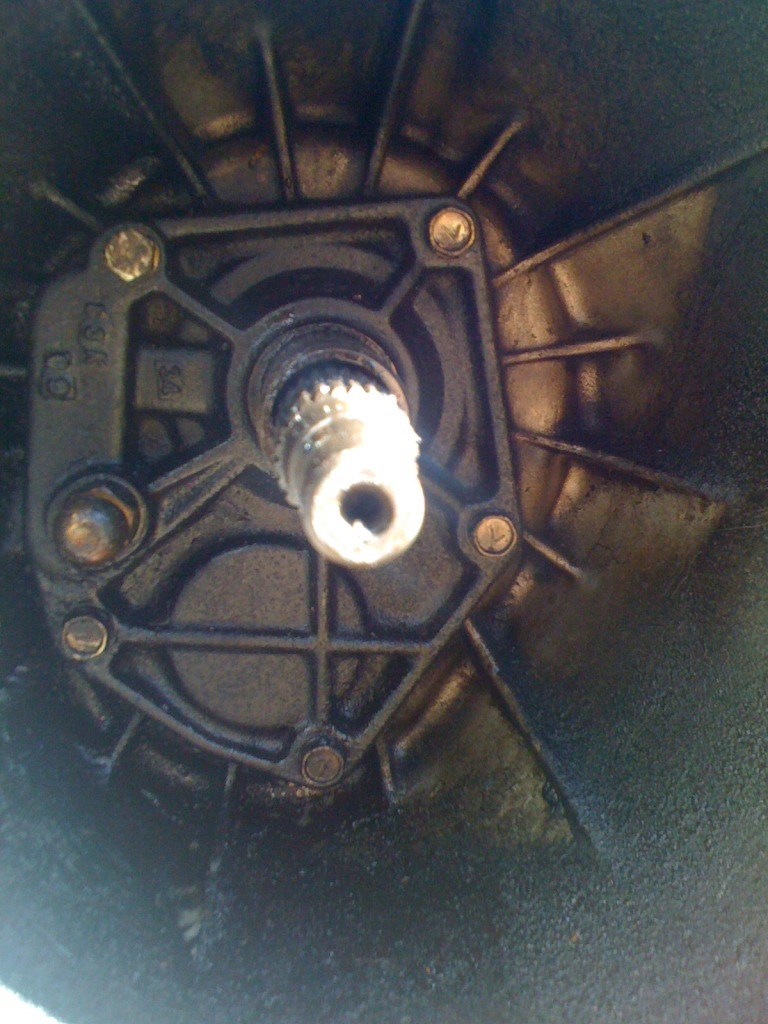
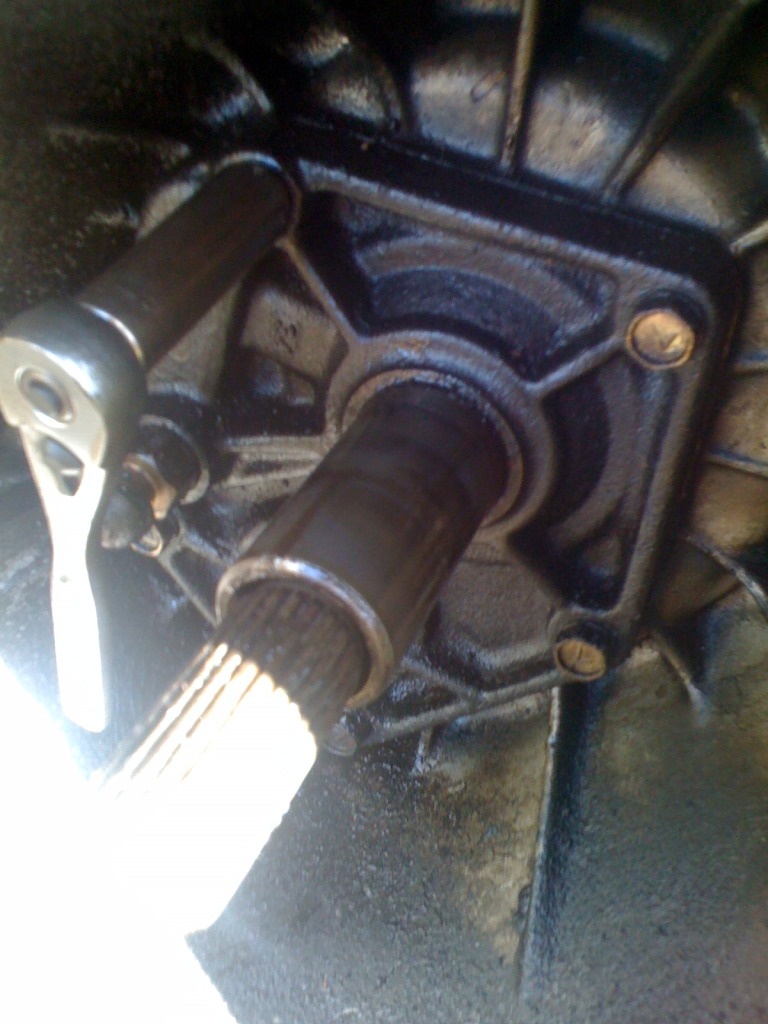
Step 6: --- Come back to the front of the transmission inside the bell-housing area. We're taking off the front throw-out bearing cover retainer off next. This earlier L-series one is made of STEEL , but later (newer) transmissions such as the KA/SR are made of ALUMINUM (be gentle).
Grab your 12mm socket (deep or shallow) on a ratchet with an extension (medium or long works well) and take off the (5) total 12mm bolts that surround the perimeter in the photo below. Loosen all of them carefully in a criss-cross pattern 1/4 turns until all are loose.
1371319777_zps7d75b076 by 71240z, on Flickr
---------------------------
1371320352_zps9192b5ad by 71240z, on Flickr
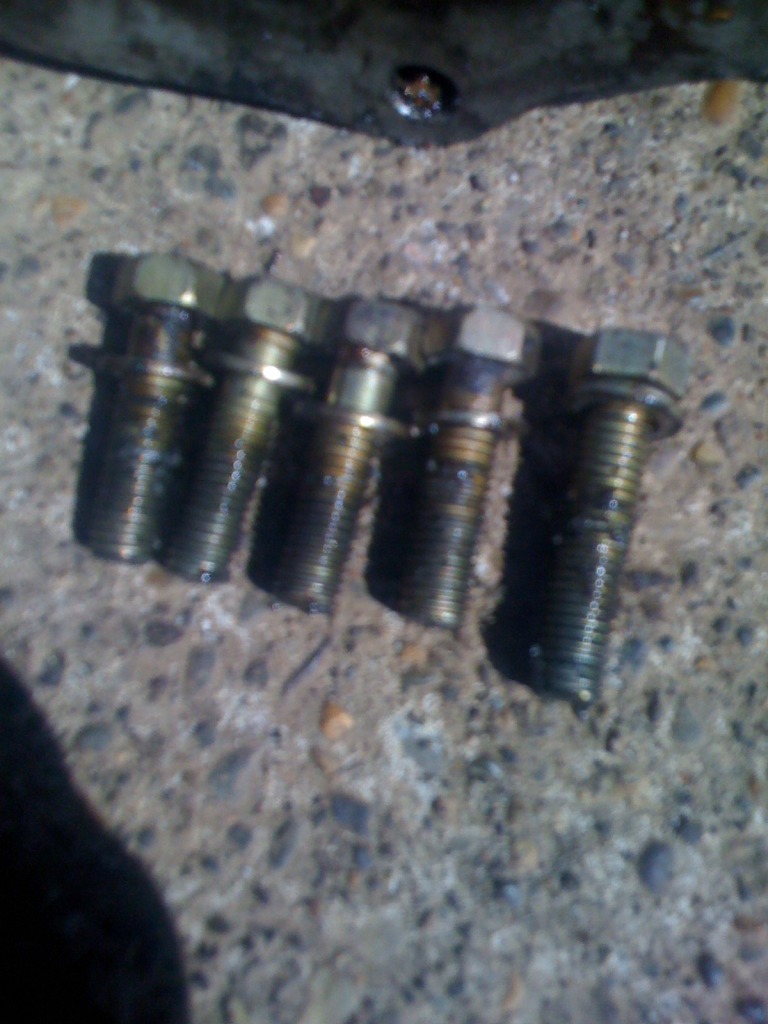
Make sure to collect all (5) 12mm bolts , and bag + tag them if stored for a long duration. You can clearly see there are (2) different lengths with 1 bolt being slightly longer than the other 4. You'll be able to tell by the casting surface which goes where.
1371319836_zpsed6347cf by 71240z, on Flickr
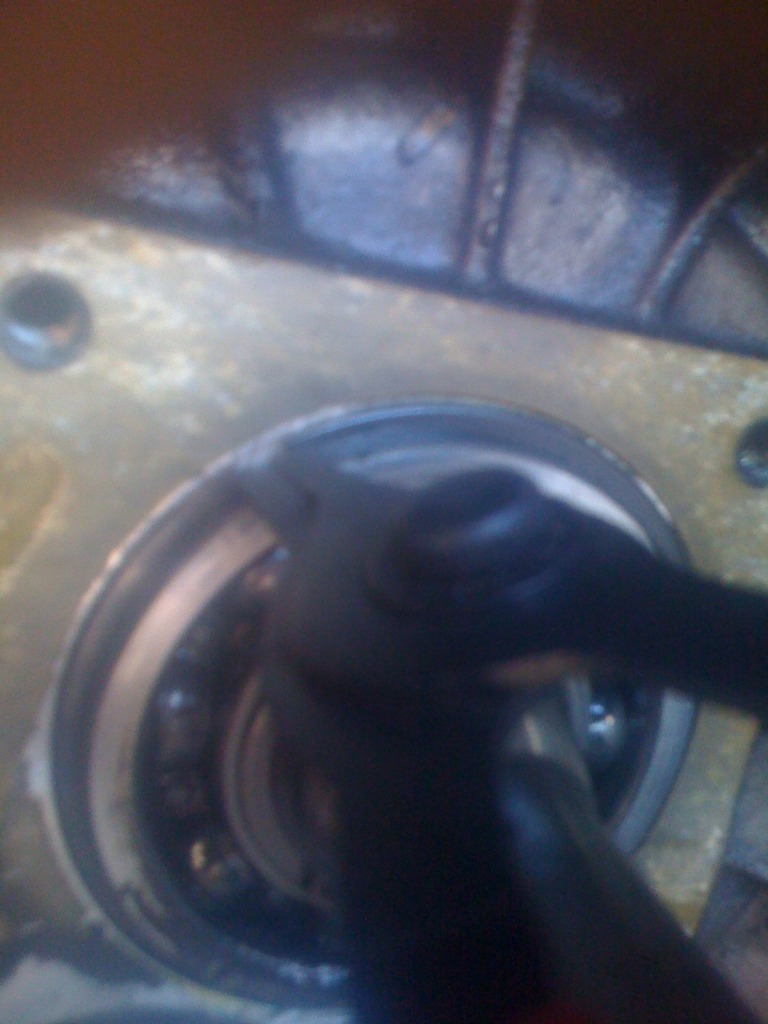
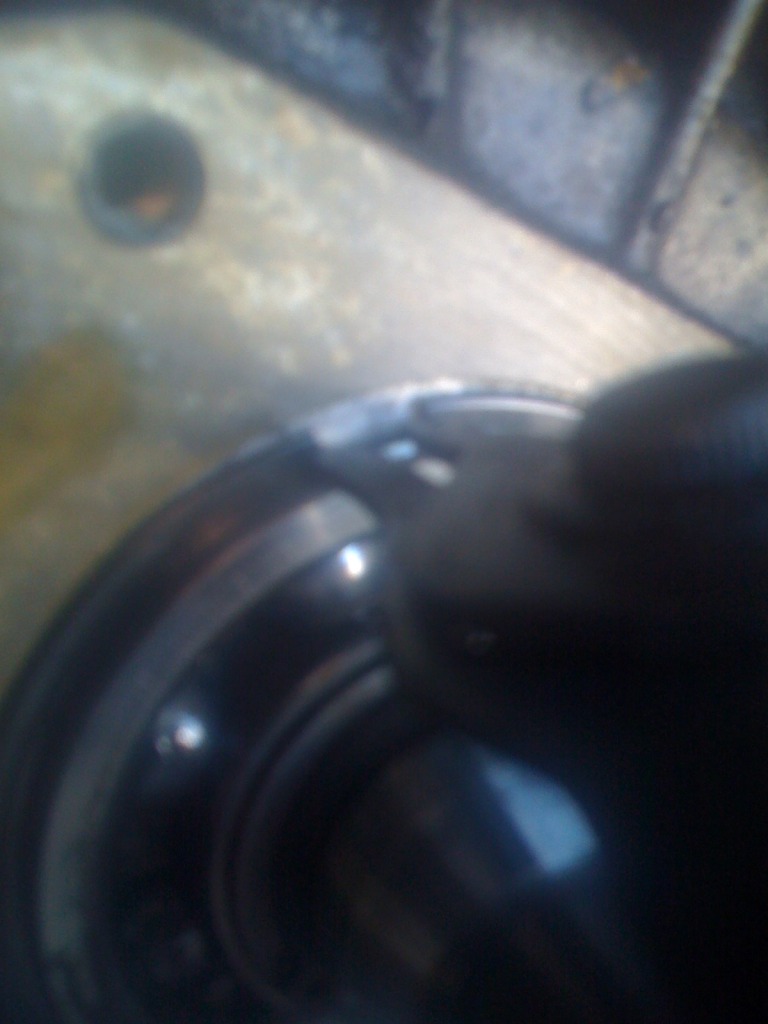
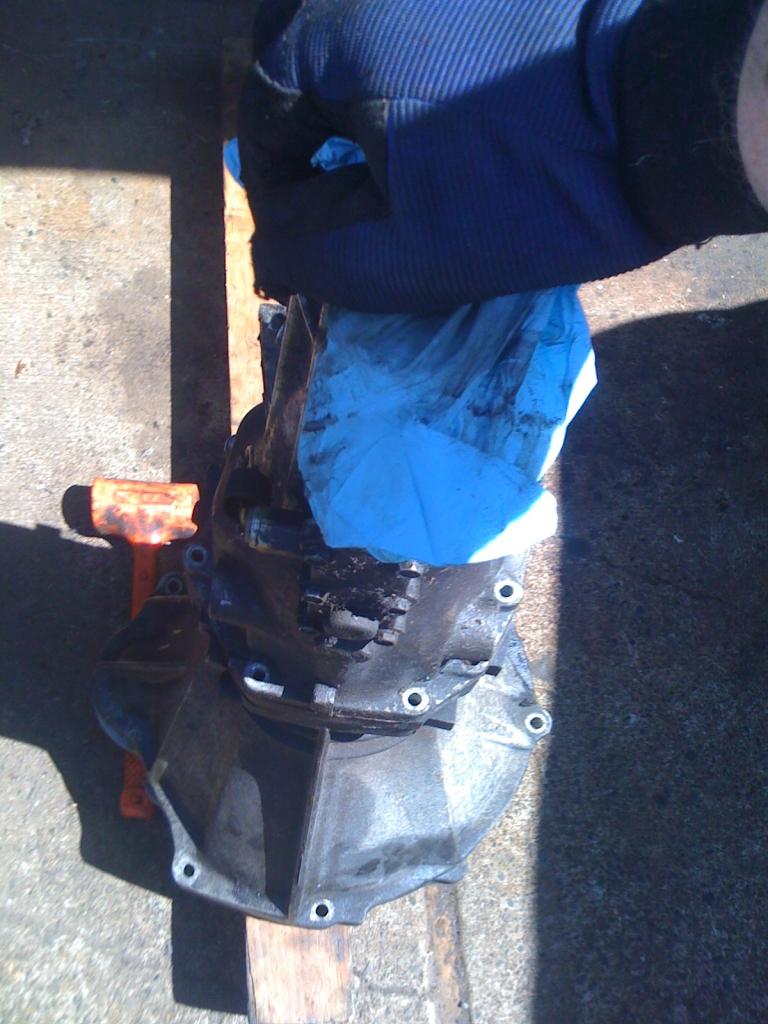
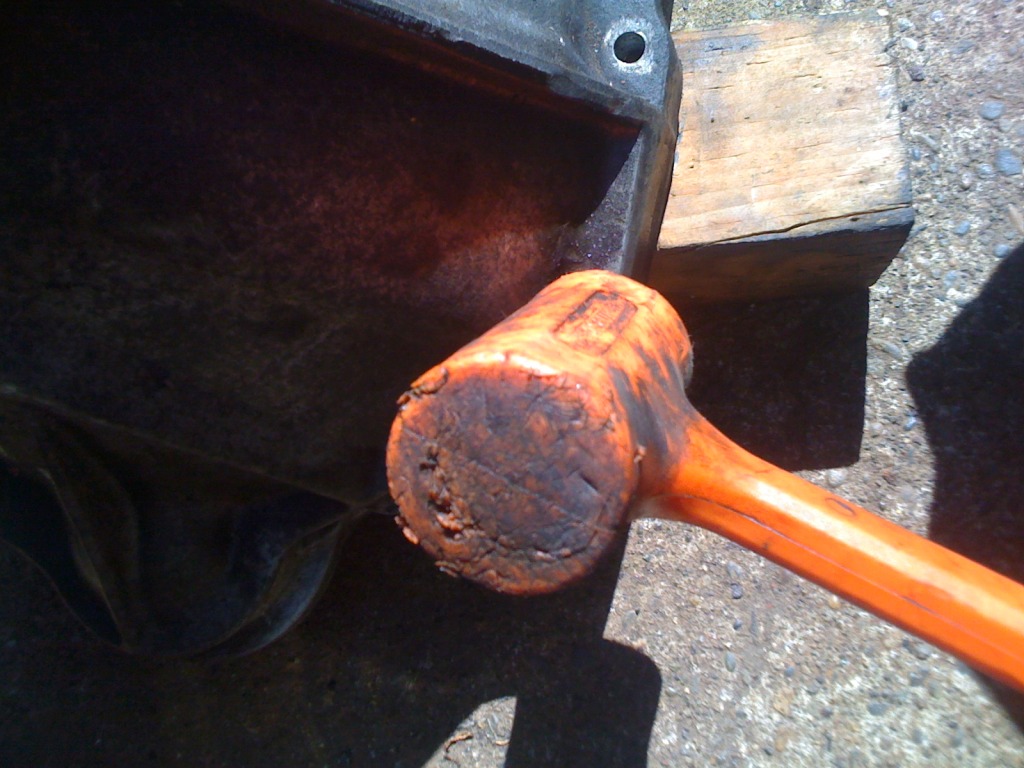
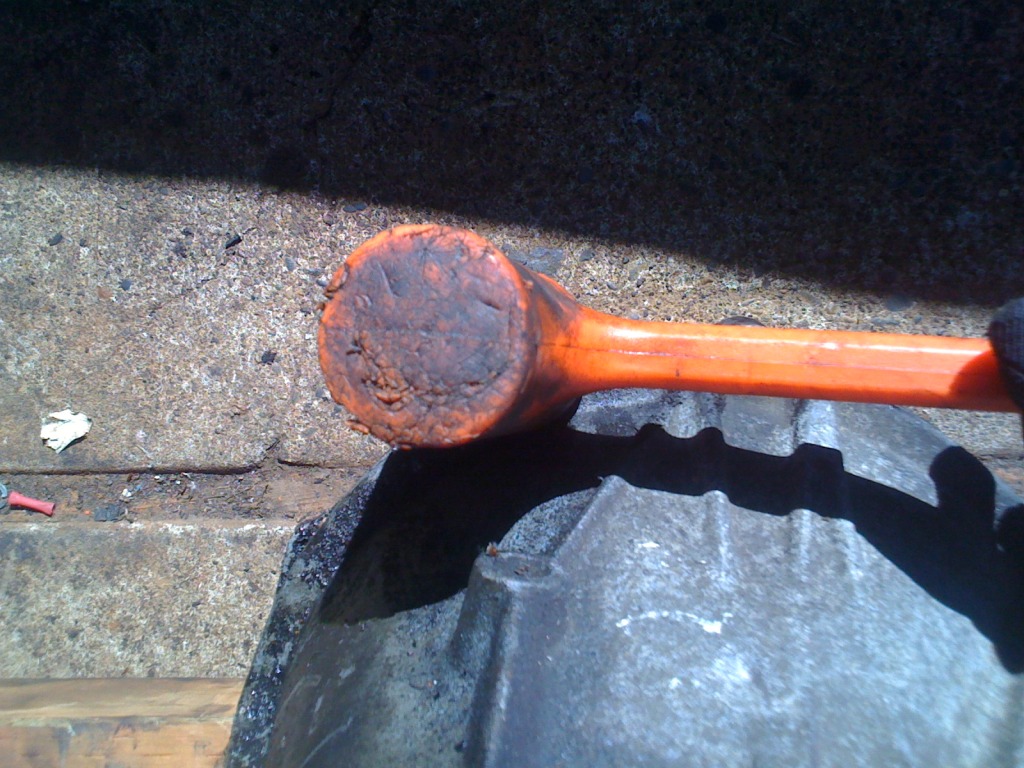
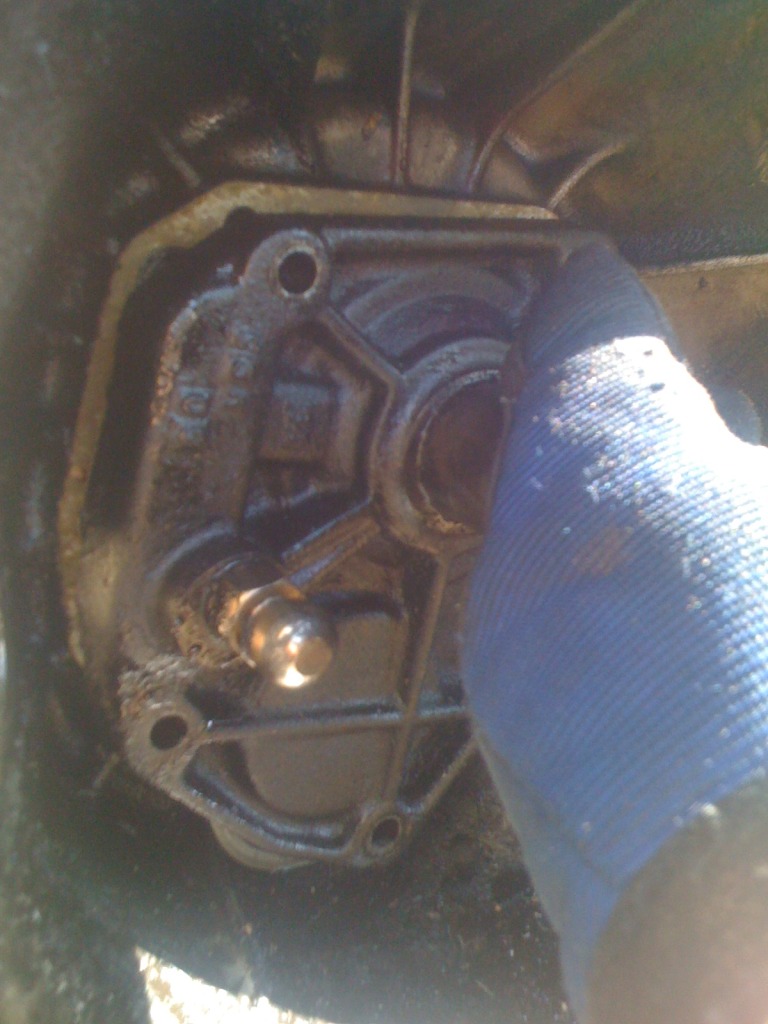
Step 7: --- We will be popping the front bearing cover loose next. You can either use a pry-bar with a soft dead-blow hammer through the clutch fork to slave cylinder access hole in the casting , a block of wood and a dead-blow/hammer from the front (carefully) , or a piece of bolt that threads into the clutch fork pivot point (threads in and pushes/pops the cover off as you TIGHTEN it).
I deligated to use a dead-blow hammer and a Craftsman pry-bar with GENTLE ... controlled blows throw the clutch fork boot area.
Point the pry bar towards the FRONT of the car ... just underneath the lip of the pivot ball-joint (won't hurt anything , but always a good idea to have something soft on edge). A few good gentle blows is all it takes to pop it loose.

1371319878_zpsc51680dc by 71240z, on Flickr
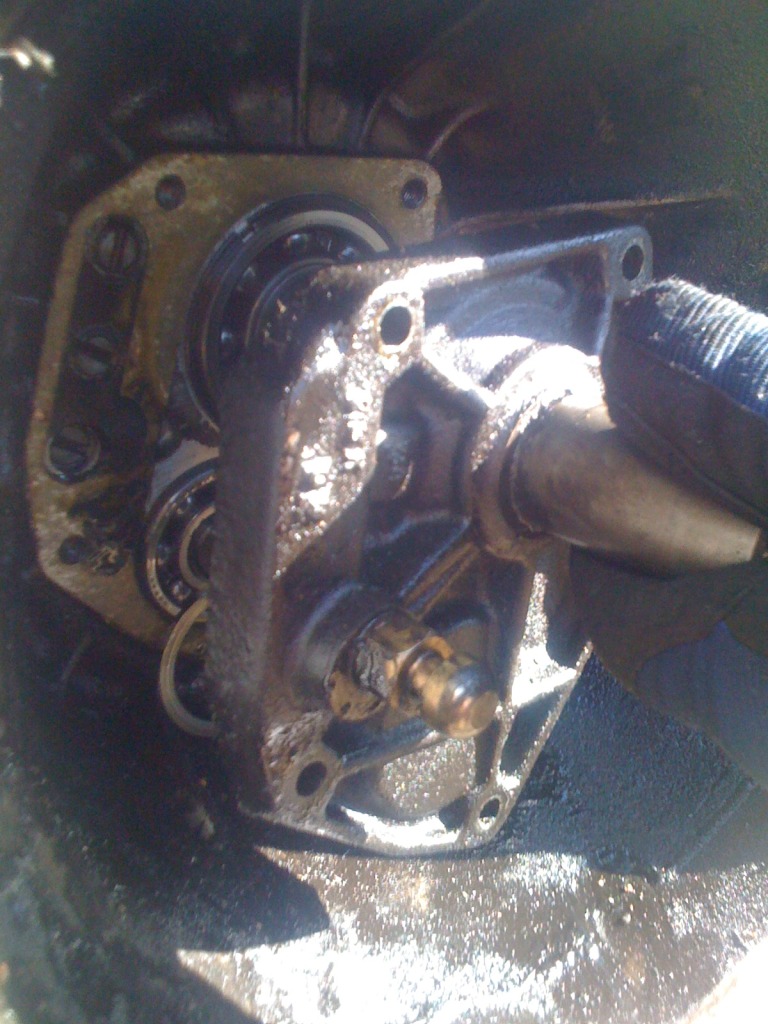
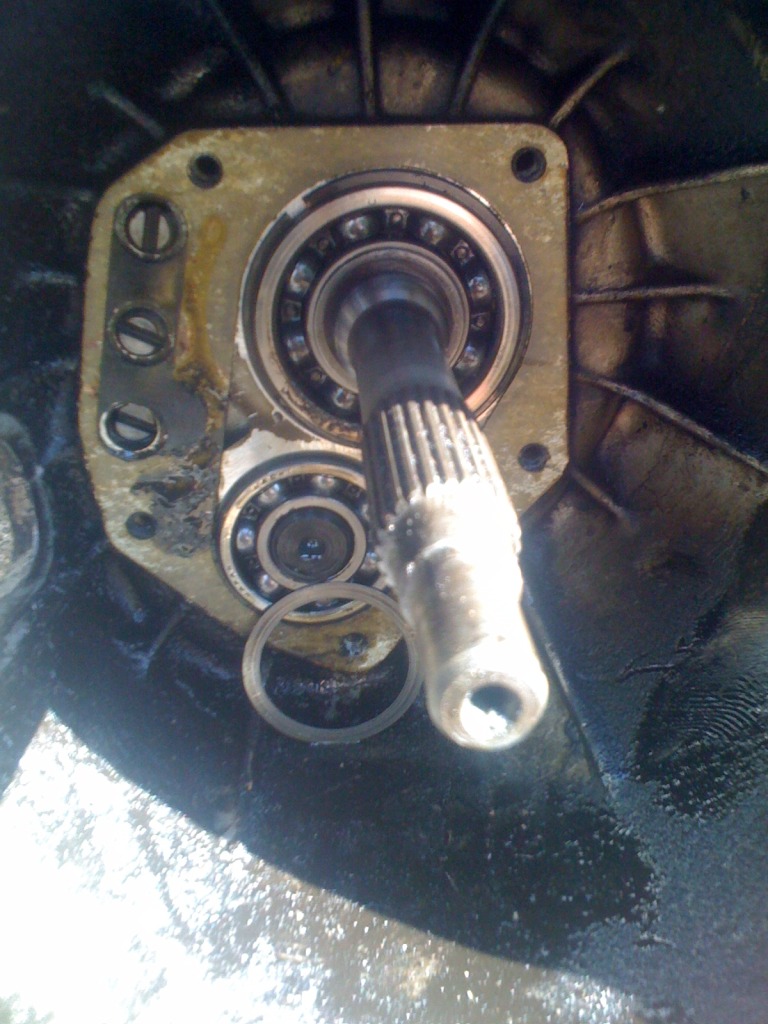
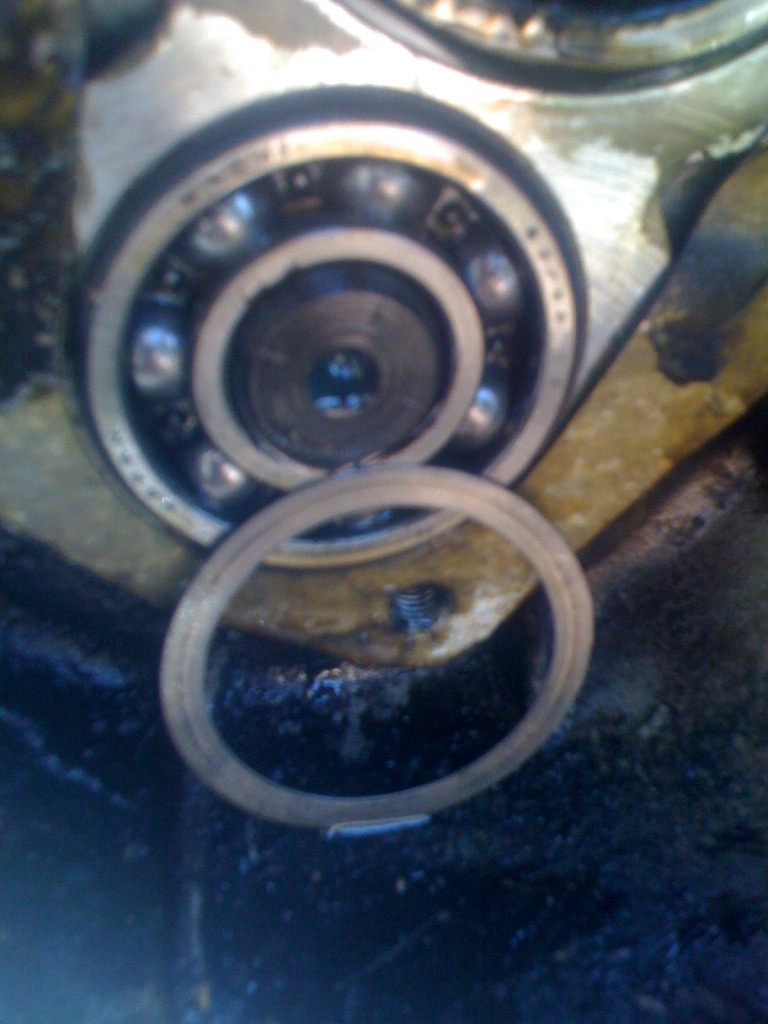
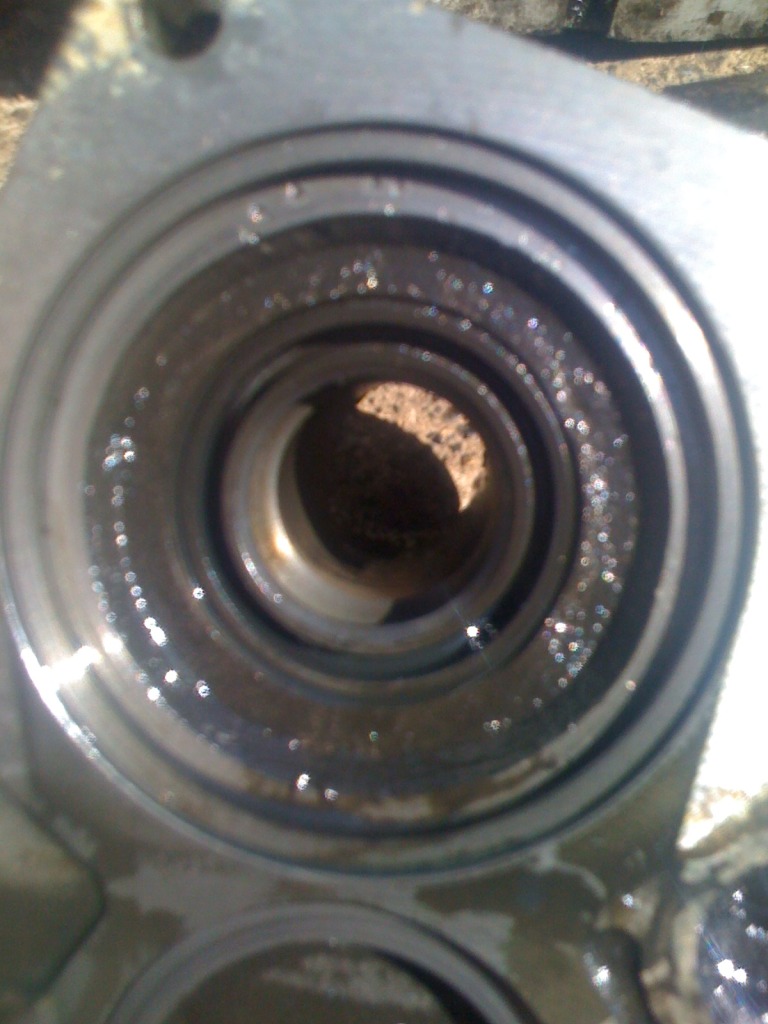
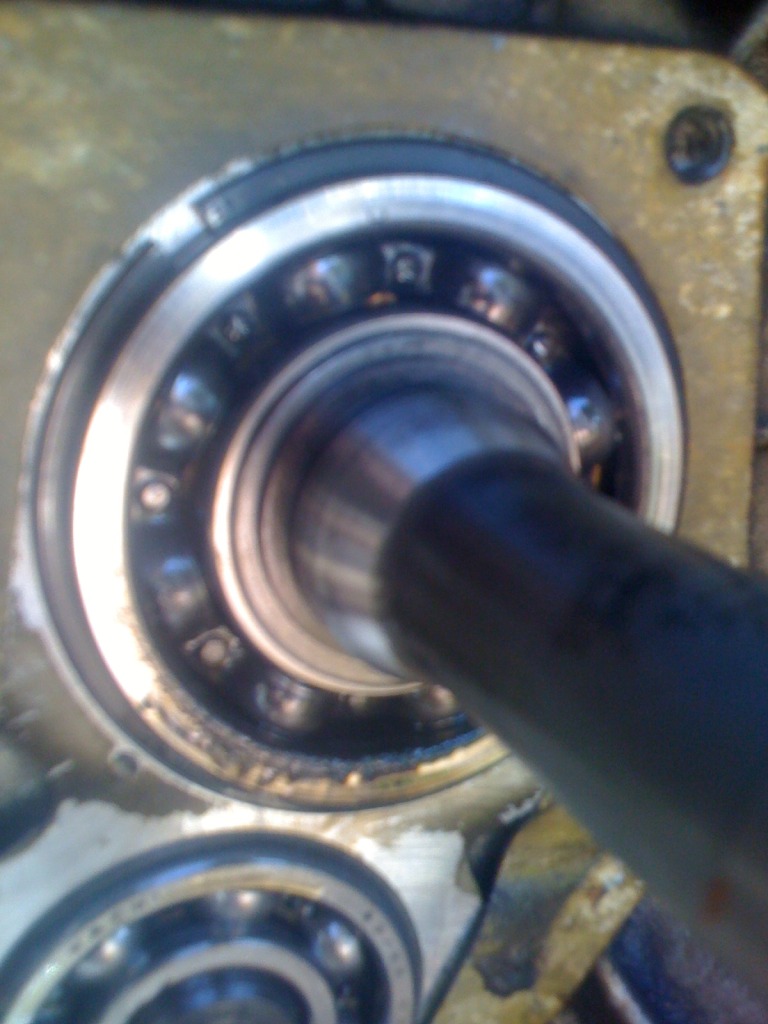
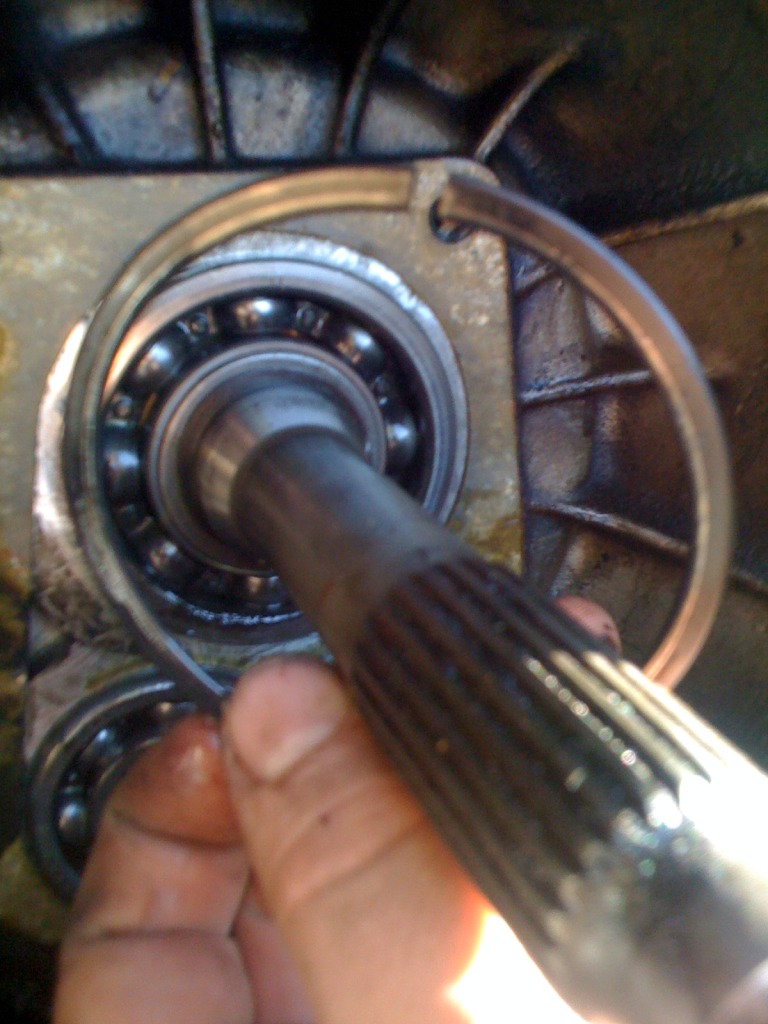
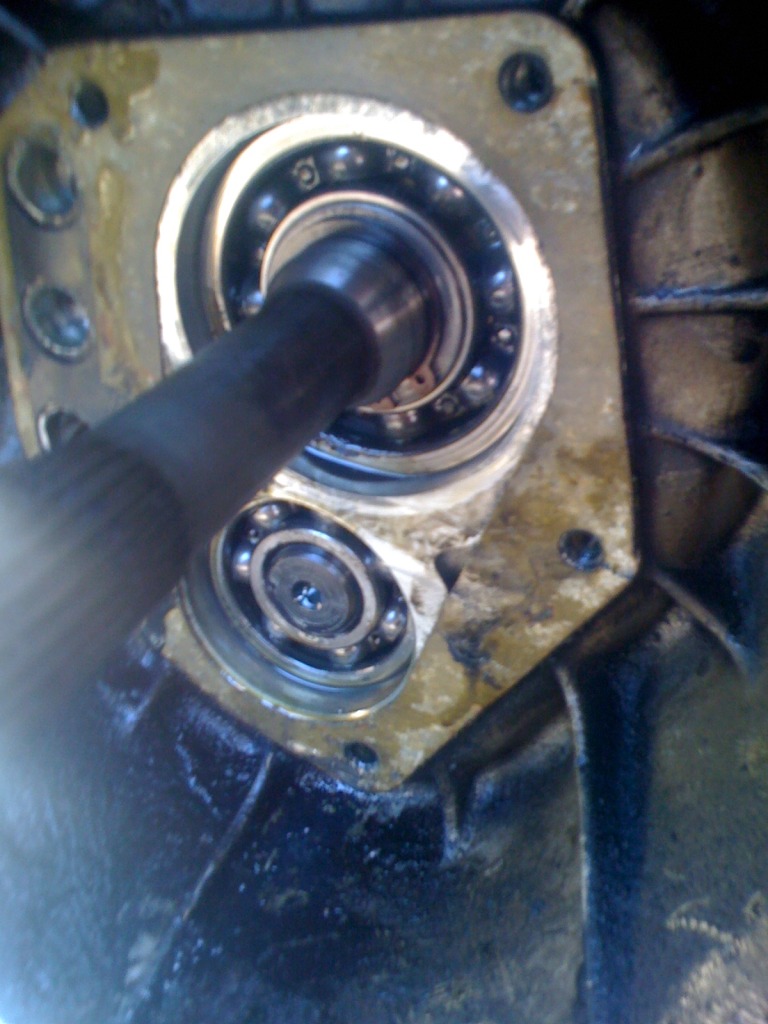
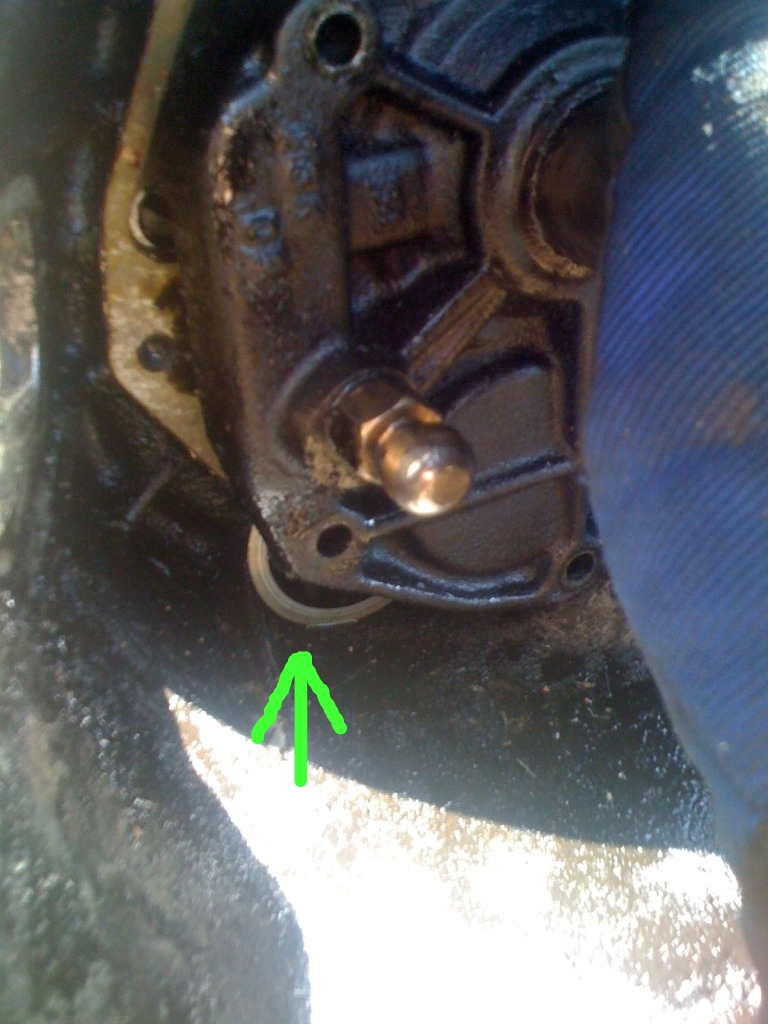
Step 8: --- Once it's popped loose (from Step 7) ... go ahead and pull it off , and make sure to be mindful of the front counter-shaft bearing shim/thrust washer(don't lose it).
1371319900_zpsb2e98041 by 71240z, on Flickr
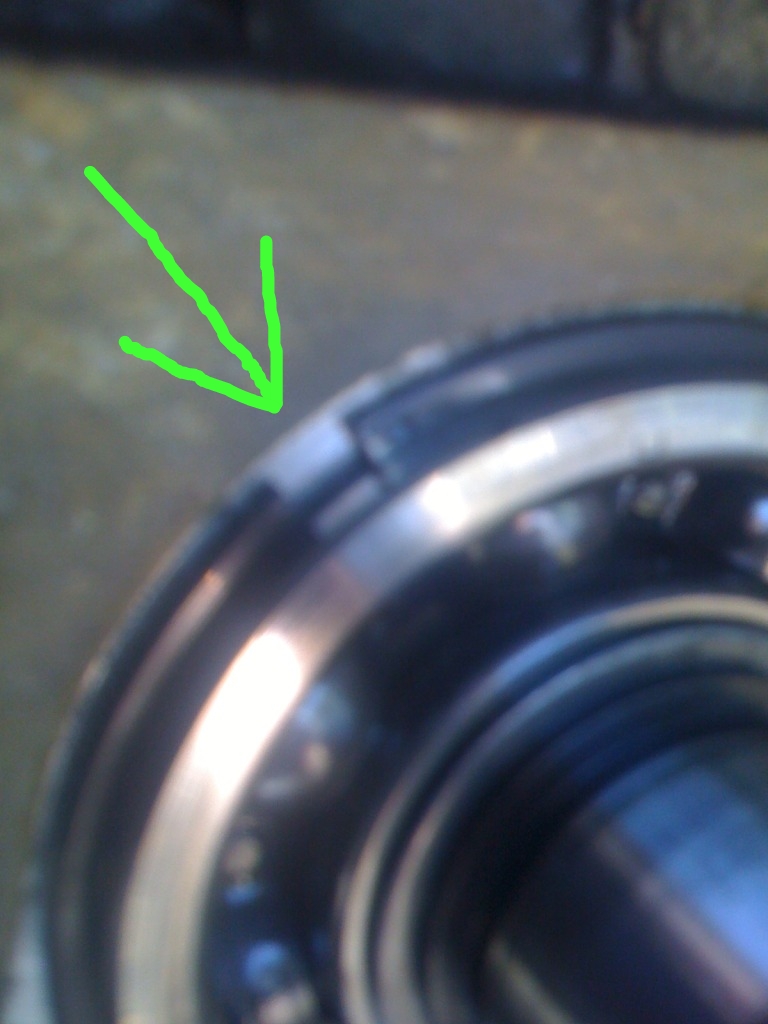
(Green arrow shows the counter-shaft shim/thrust washer dropped down when I pulled the cover off.. just a reminder not to work in a spot where this couldn't be recovered if dropped)
1371319922_zps03425932 by 71240z, on Flickr
This as well as ( I suspect ) many of my other photos will take a bit of time as I'm making the switch from photobucket to flickr.
Step 1: --- obtain the transmission to be worked on. In this case we'll be using a 1973 Datsun 240z 4spd "B" series LONG-TAIL trans.
NOTE: If you wish to wash off your transmission before hand ... it's not a bad idea as of right now if it will dry off quickly for you before the sun goes down.
This particular transmission had a knarly piece of bearing retainer on the drain-plug , so it will require repair.

1371319658_zps30eb346b by 71240z, on Flickr
Step 2: --- Pull off the Clutch collar , Clutch throw-out bearing , and clutch fork.
NOTE: The clutch fork is simply "snapped-in" on a pivot bolt located on the front case. You literally just pull it off (in the direction towards the FRONT of the car) to release it ... then seperate the clutch collar with the bearing intact from the fork and set aside all pieces in a clean area.

1371319694_zps9b5fa3ee by 71240z, on Flickr
Step 3: --- This is what it should look like if you were successfull in Step 2.

1371319752_zpsebba52ef by 71240z, on Flickr
Step 4: --- Grab a 12mm wrench , 1/4" to 3/8" drive with a 12mm socket , and even a 12mm ratcheting wrench.
Look at the mid-section of the outside of the transmission case.
We will be taking off (8) 12mm head bolts total on the outside of tail-shaft housing ... which the bolts go through the mid-section plate ... into the front case (bell-housing).
Keep rotating the transmission until you are able to reach and take out all (8) bolts.
NOTE: I recommend wearing mechanic's gloves ... breaking loose with a wrench and then switching to a ratchet with a 12mm socket + extension.

1371319723_zps58878bcc by 71240z, on Flickr
Step 5: --- Once you are done with Step 4 ... there should be (8) 12mm head bolts ... all of which are the SAME length , and bolt ( don't sweat it ).
NOTE: I would advise bagging groups of bolts for later identification IF trans is to be apart for more than a 1-week duration. Sticking them in a sand-wich bag then wrapping with sarin-wrap also helps to keep things from migrating where you don't want them to.

1371320960_zpsc0e579b6 by 71240z, on Flickr
Step 6: --- Come back to the front of the transmission inside the bell-housing area. We're taking off the front throw-out bearing cover retainer off next. This earlier L-series one is made of STEEL , but later (newer) transmissions such as the KA/SR are made of ALUMINUM (be gentle).
Grab your 12mm socket (deep or shallow) on a ratchet with an extension (medium or long works well) and take off the (5) total 12mm bolts that surround the perimeter in the photo below. Loosen all of them carefully in a criss-cross pattern 1/4 turns until all are loose.

1371319777_zps7d75b076 by 71240z, on Flickr
---------------------------

1371320352_zps9192b5ad by 71240z, on Flickr
Make sure to collect all (5) 12mm bolts , and bag + tag them if stored for a long duration. You can clearly see there are (2) different lengths with 1 bolt being slightly longer than the other 4. You'll be able to tell by the casting surface which goes where.

1371319836_zpsed6347cf by 71240z, on Flickr
Step 7: --- We will be popping the front bearing cover loose next. You can either use a pry-bar with a soft dead-blow hammer through the clutch fork to slave cylinder access hole in the casting , a block of wood and a dead-blow/hammer from the front (carefully) , or a piece of bolt that threads into the clutch fork pivot point (threads in and pushes/pops the cover off as you TIGHTEN it).
I deligated to use a dead-blow hammer and a Craftsman pry-bar with GENTLE ... controlled blows throw the clutch fork boot area.
Point the pry bar towards the FRONT of the car ... just underneath the lip of the pivot ball-joint (won't hurt anything , but always a good idea to have something soft on edge). A few good gentle blows is all it takes to pop it loose.

1371319878_zpsc51680dc by 71240z, on Flickr
Step 8: --- Once it's popped loose (from Step 7) ... go ahead and pull it off , and make sure to be mindful of the front counter-shaft bearing shim/thrust washer(don't lose it).

1371319900_zpsb2e98041 by 71240z, on Flickr
(Green arrow shows the counter-shaft shim/thrust washer dropped down when I pulled the cover off.. just a reminder not to work in a spot where this couldn't be recovered if dropped)

1371319922_zps03425932 by 71240z, on Flickr
