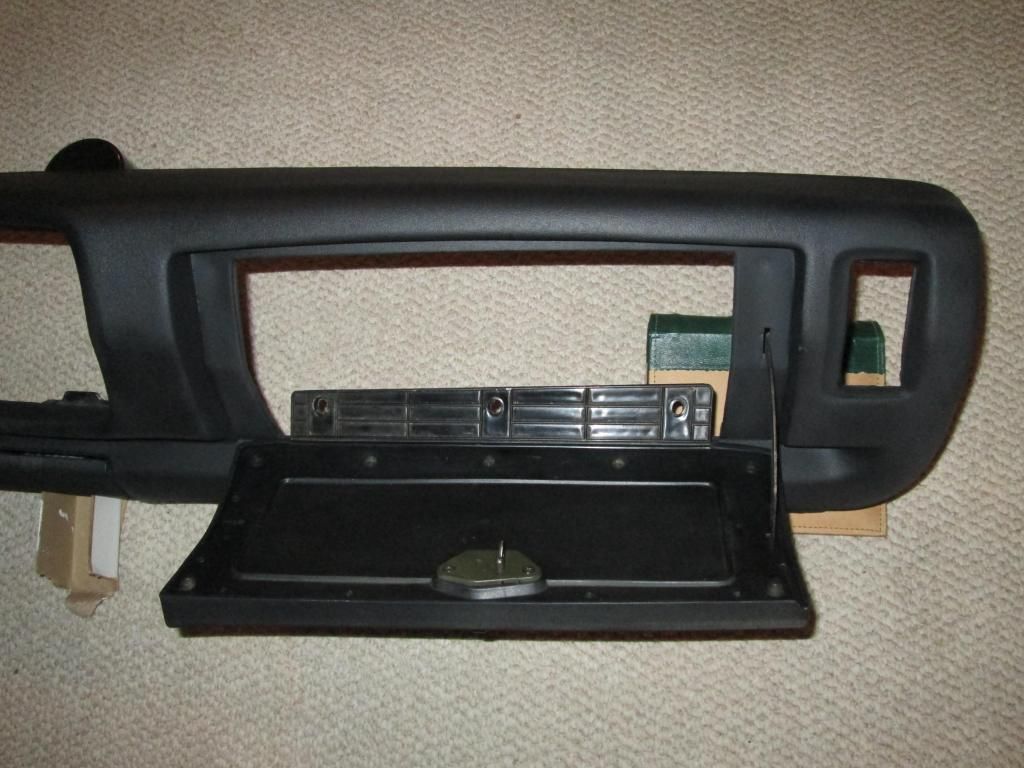
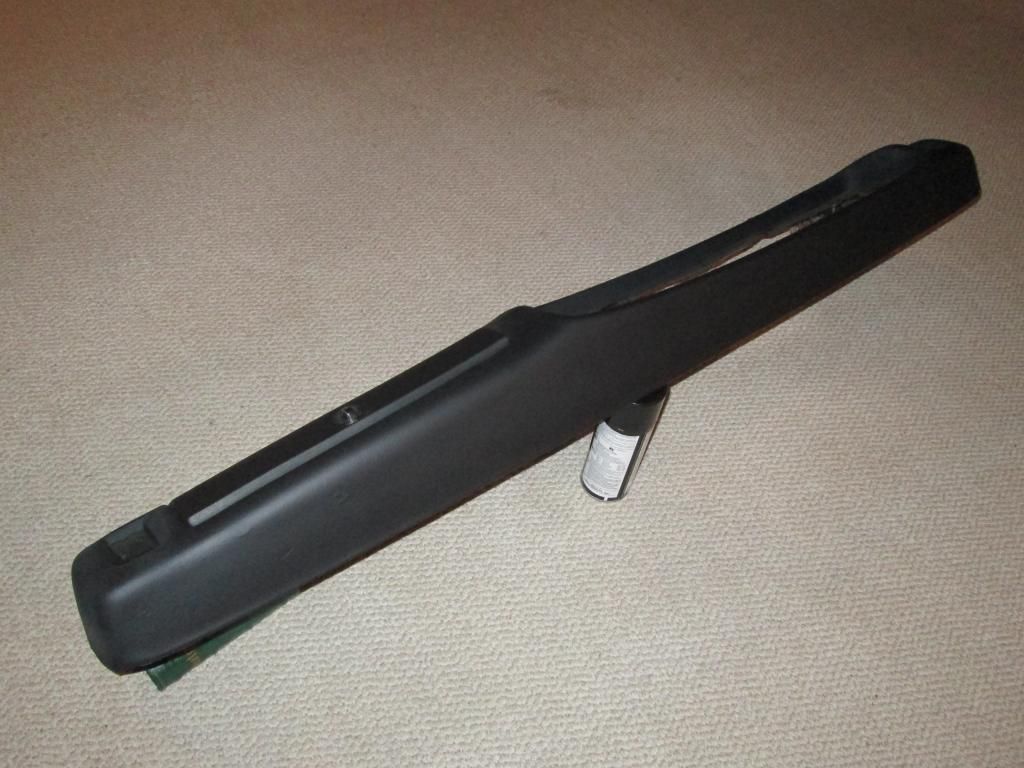
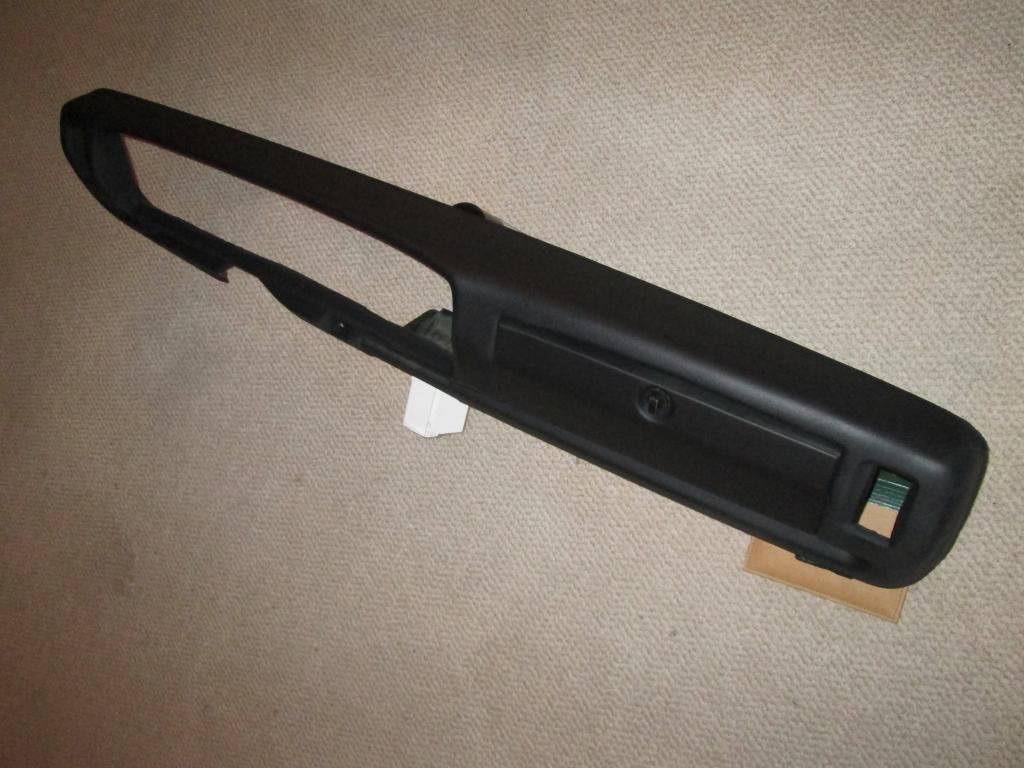
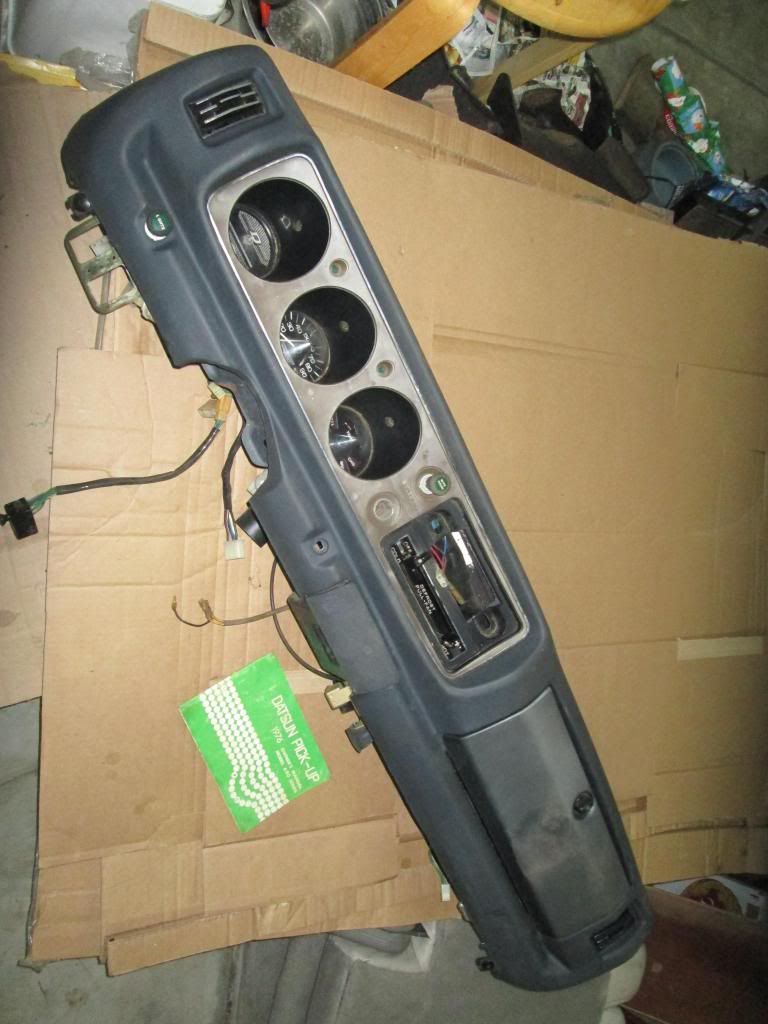
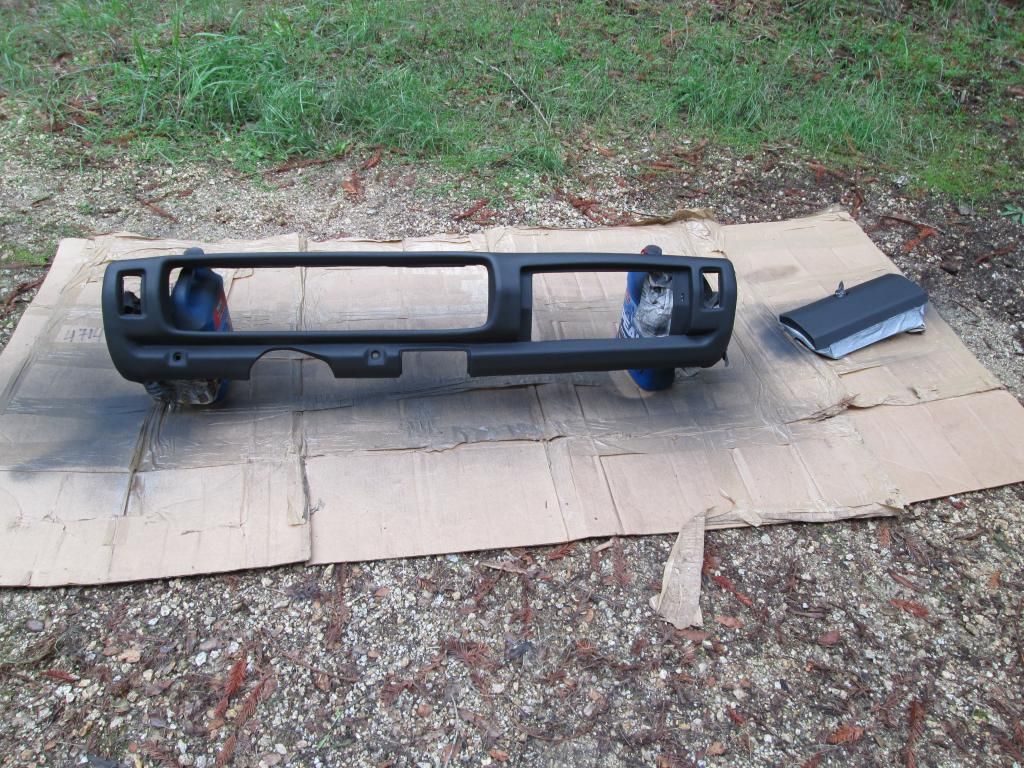
I picked up this dash a little while back. It's from a 1976 truck, with a good bezel and a nice pad.
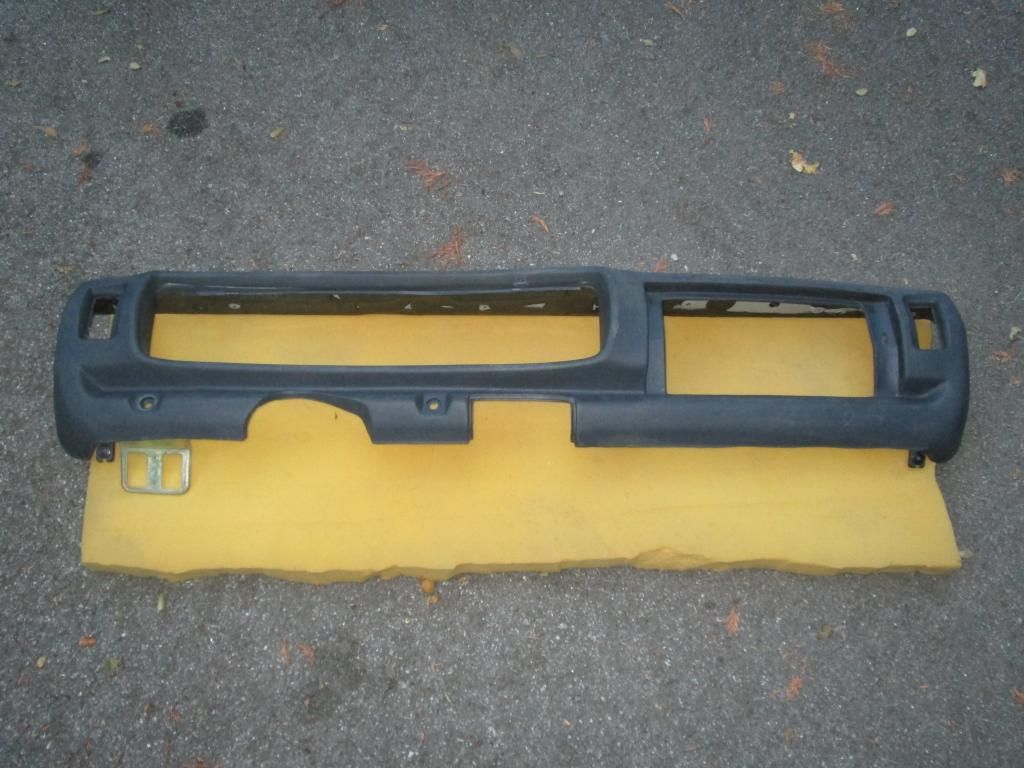
I got the pad off, with a couple of boo-boos in the process. The pad was rock hard, so any pressure caused cracks and/or a hole. If I were to do this again, I might try using the plastic prep to soften it before I tried removing it, to reduce the chance of making new cracks or holes. Oh well, live and learn.
I used SEM Plastic and Leather Prep - I fogged it on a number of times. By the third or fourth application the pad was soft enough to push on without creating a new crack! I also picked up a SEM Urethane Bumper Repair Kit - an epoxy style filler to fix the cracks and holes. This whole process is being done with SEM products, and I'm following the recommended procedures. Perhaps other products would work as well, but going with this approach - I don't expect to have any surprise reactions between products.

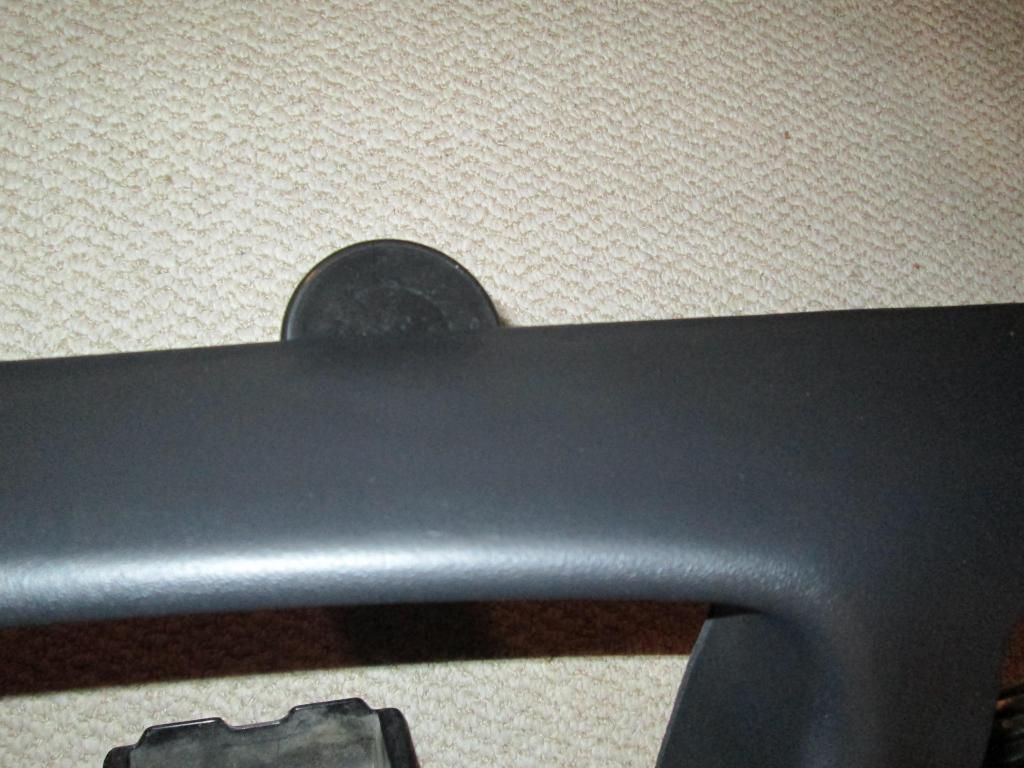
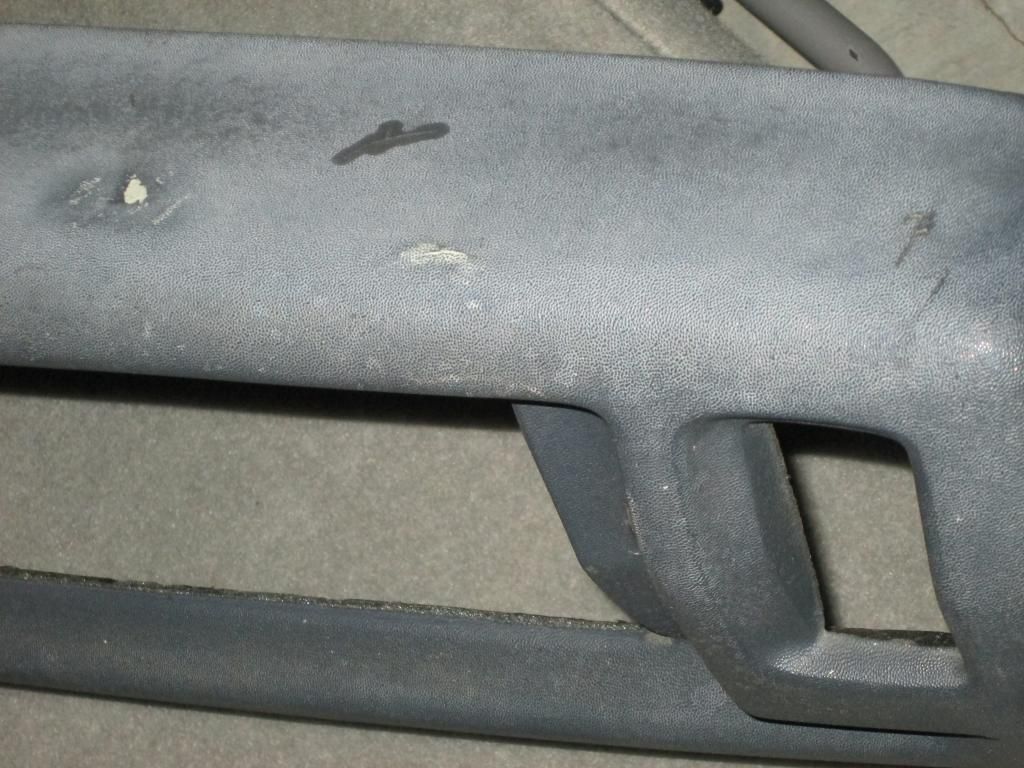
You can see dark spots where the plastic prep found a crack or a hole. That exposed more than I first saw. Once I get the pad as soft as I can, spraying on the prep a half dozen times, I filled the holes and cracks with the Urethane Epoxy. I found it's best to make a very small batch, not only was the dark stuff slow to get out of the tube, but you only have minutes to deal with it before it starts to set up.
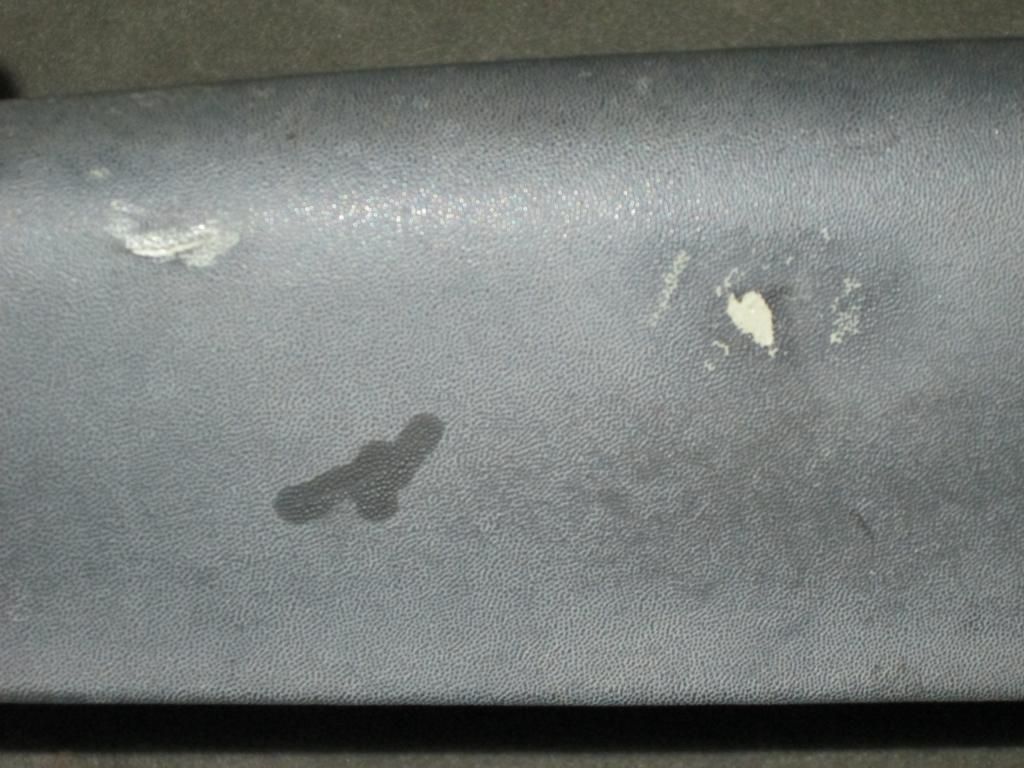
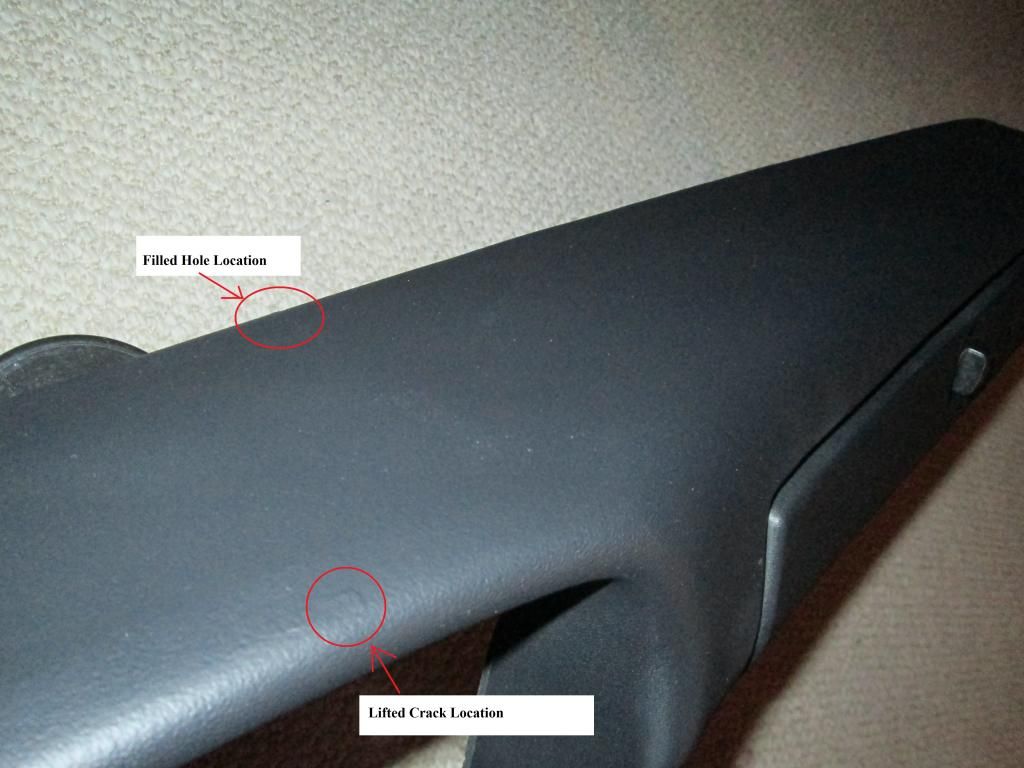
In the upper left of this shot you can see where a crack was opened up and I filled it. The other spot that got filled here was a place where the pad was pushed in, nothing missing, it wasn't a hole just a few cracks and a low spot. While the urethane mix was still tacky I cleaned off the extra using a rag and the plastic prep, but it dried fast and I didn't get all of the excess cleaned up.
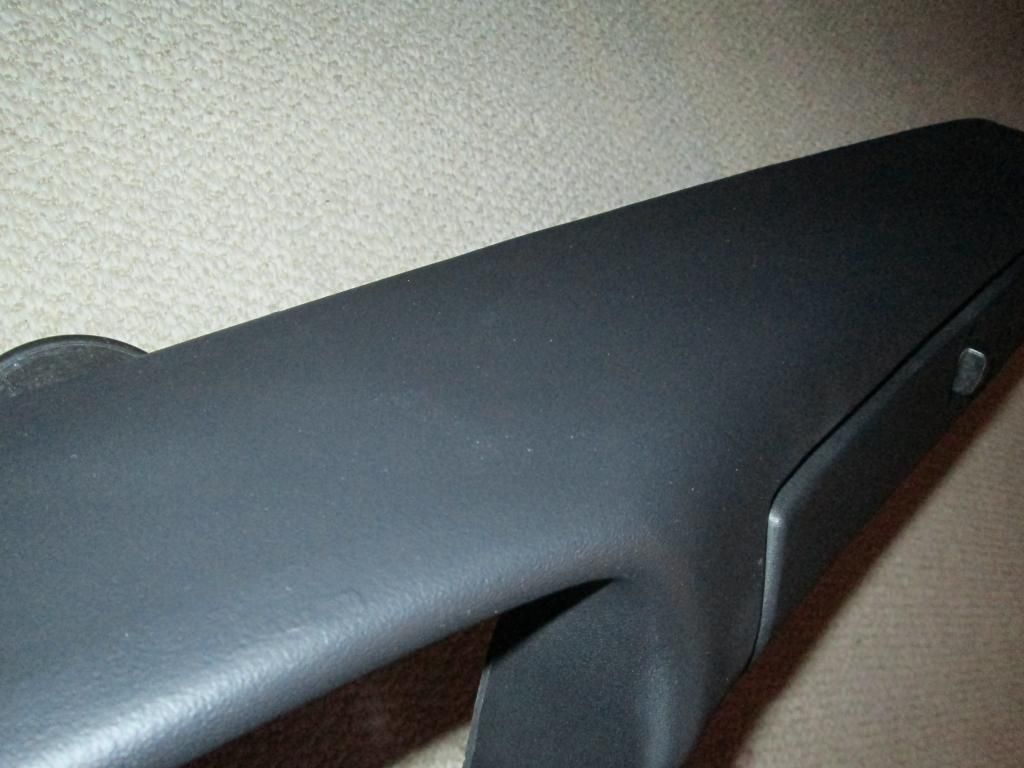
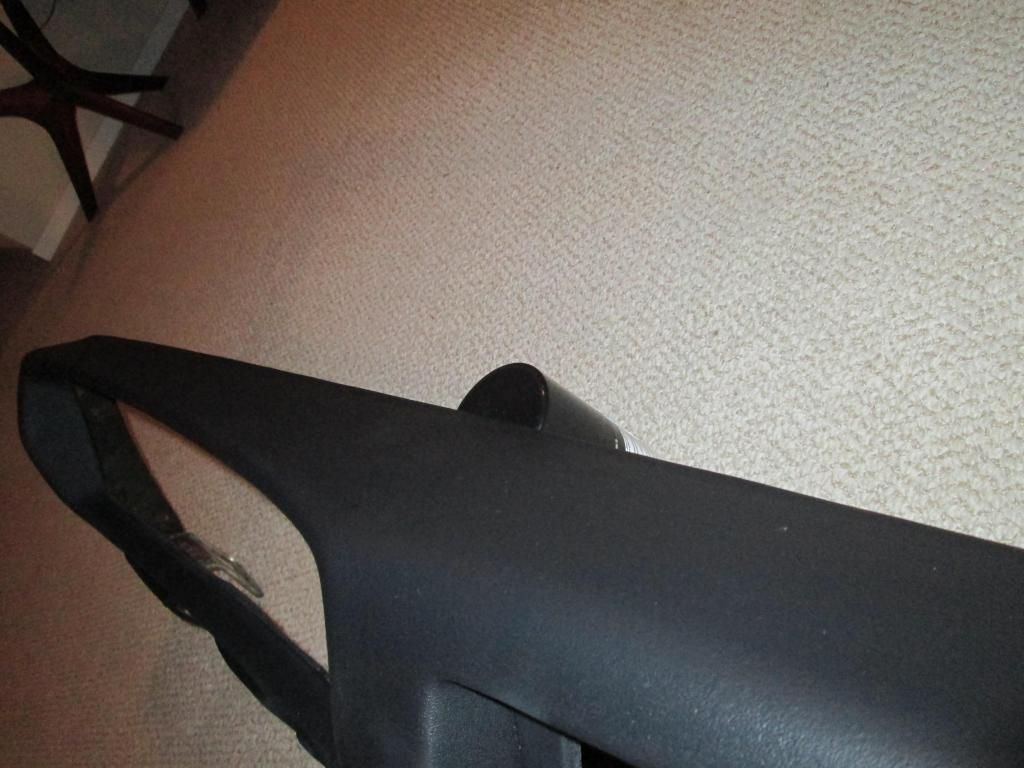
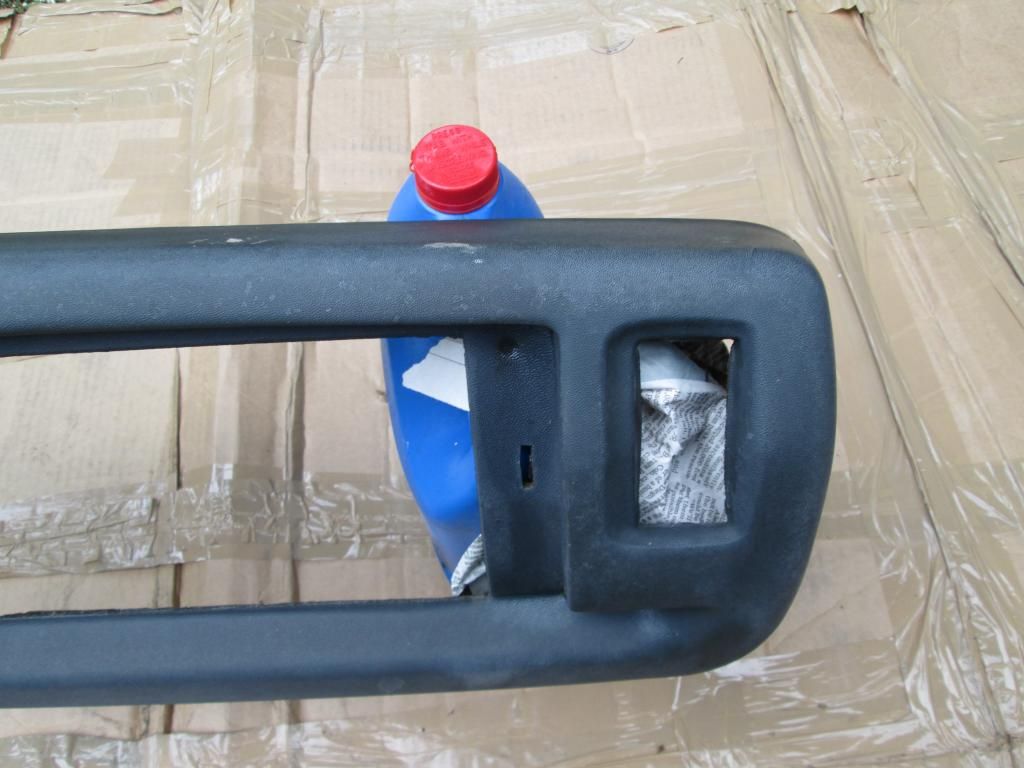
Here you can see a couple more dark spots which are cracks. On the upper edge there was a hole with a small piece of the old dash pad barely hanging on. I used the urethane repair goop to stick that back on, and filled the hole - and wiped up as much of the mess I made with more of the plastic prep.

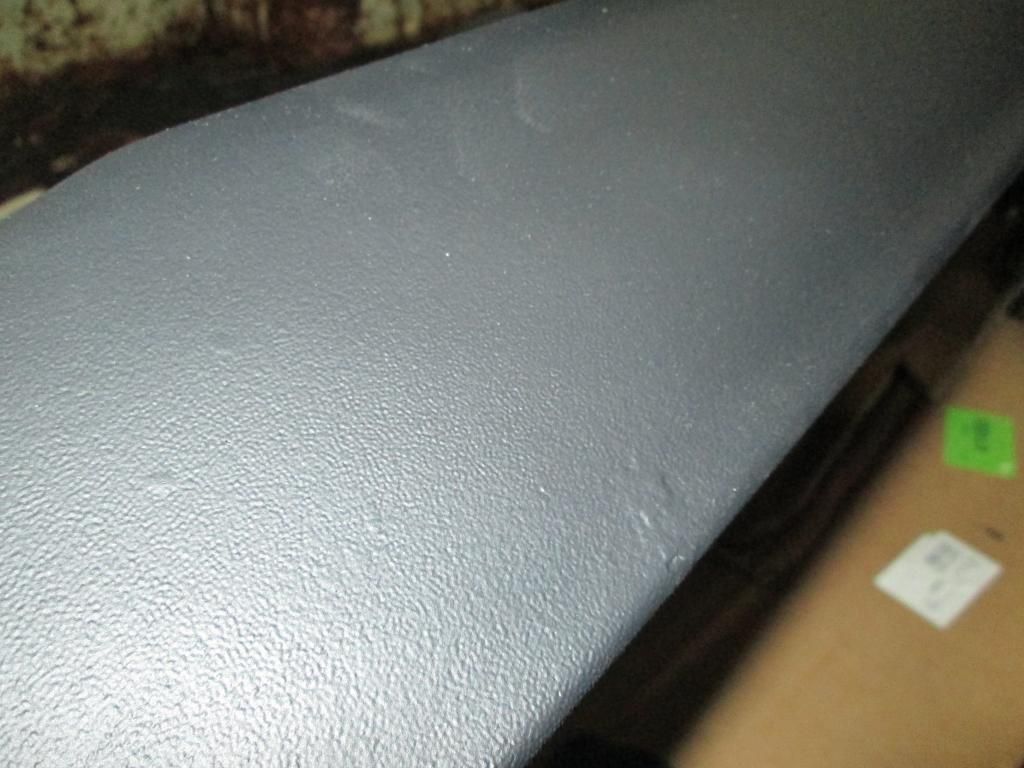
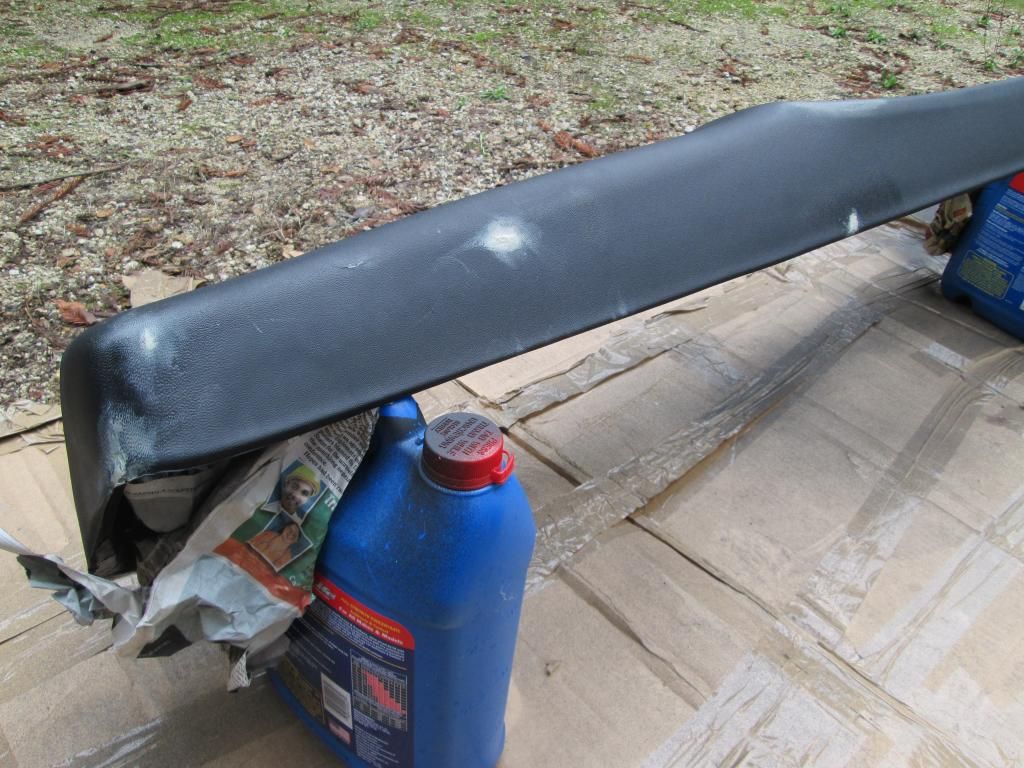
I filled in the holes and the larger crack, it didn't take much so I have enough of this urethane repair to do a few more dash pads. I was trying to be careful with my repairs so that the original texture wasn't covered up. The primer is "sand free" (no sanding), and it goes on very light. It's clear, but where it gets built up it leaves a bit of a foggy look to the vinyl. It didn't fill in any of the original texture, and was very easy to apply.
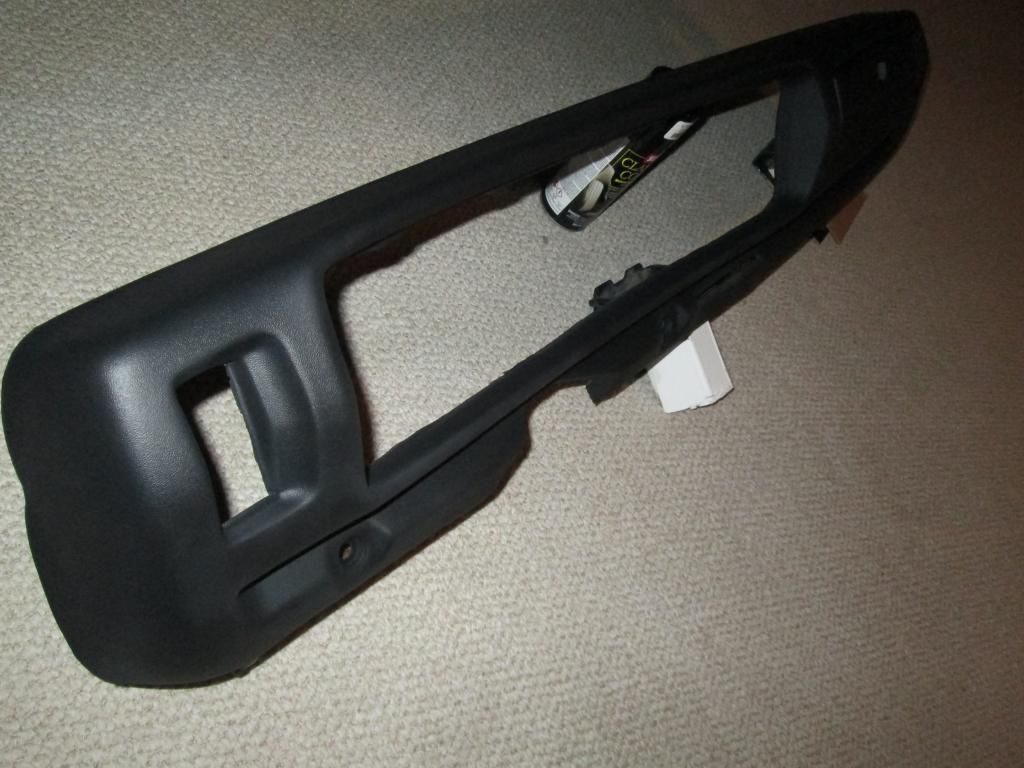
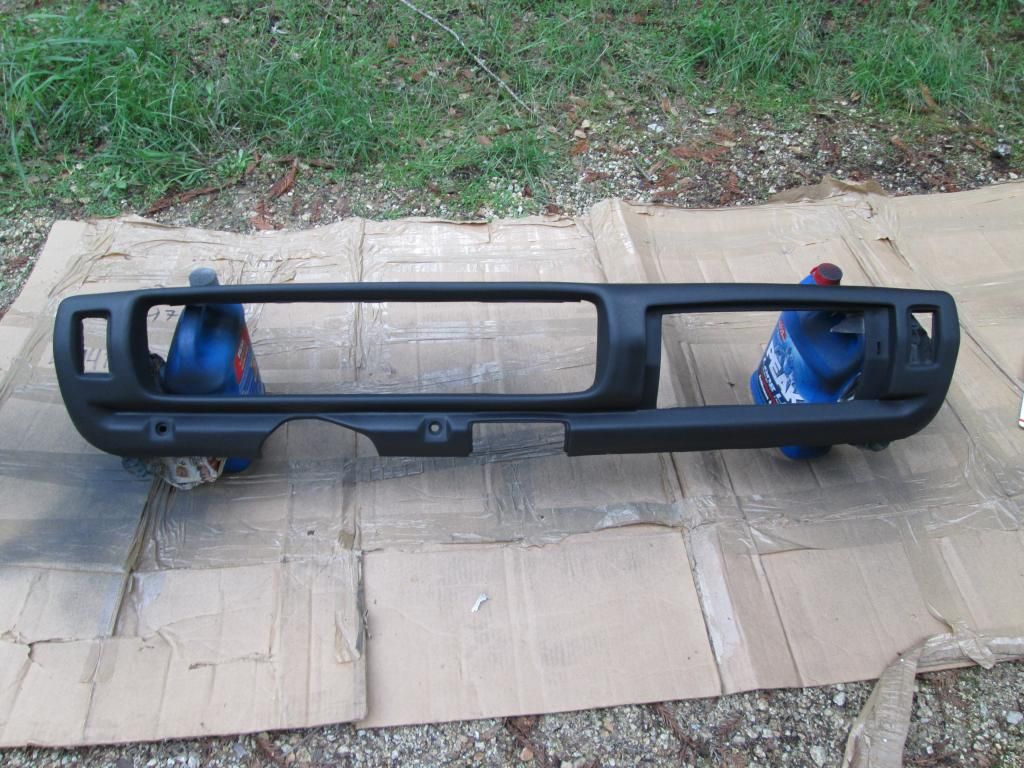
I also picked up SEM Texture Coating and found it worked great! It's black and sprays on like paint, but then it starts to crackle (you can hear it working) as it changes into the texture of leather. This also gave me a good idea of what the end result would look like, and there were spots I didn't like. The cracks that I didn't fill showed up, and there were a few low spots where I had filled in a dent and a hole.
I waited for everything to dry, then used the plastic prep to clean the areas I wanted to rework. This was better than sanding, which would have changes the texture, it also kept things cleaner. It's nice to know you can go back and correct things before the final coating is applied.
After the urethane mix hardened - I went over the areas I worked on with the primer again. It's very easy to go back a number of times, but as any artist will tell you - you need to know when to leave it alone. I went at it a third time but wished I had left it alone after the second touch up. The process is fine doing a third touch up, where I went wrong was with the texture coating (too much, too heavy). I strongly suggest using as little of this stuff as possible to cover up the repairs. I covered everything, including the glove box door and ash tray, so everything would match when I was done, but I applied way too much texture in the area I was repairing and it doesn't look the same in those spots.
It looks great, and I would recommend these products. My work won't pass for a NOS dash pad, but someone with some talent could produce results that would come very close to it. I'm glad I did this with the pad out of the truck, it wouldn't work as well done in place. The way I look at it ... it's just as much work as it is to replace a pad with a NOS unit, if you can find one ... for the price of a cheap dash cap. The cans were about $20 each and the urethane mix was about $15, close to $100 for the stuff (I think it can be found cheaper online).
Next step is to install it, and take pictures of the finished project. Stay Tuned