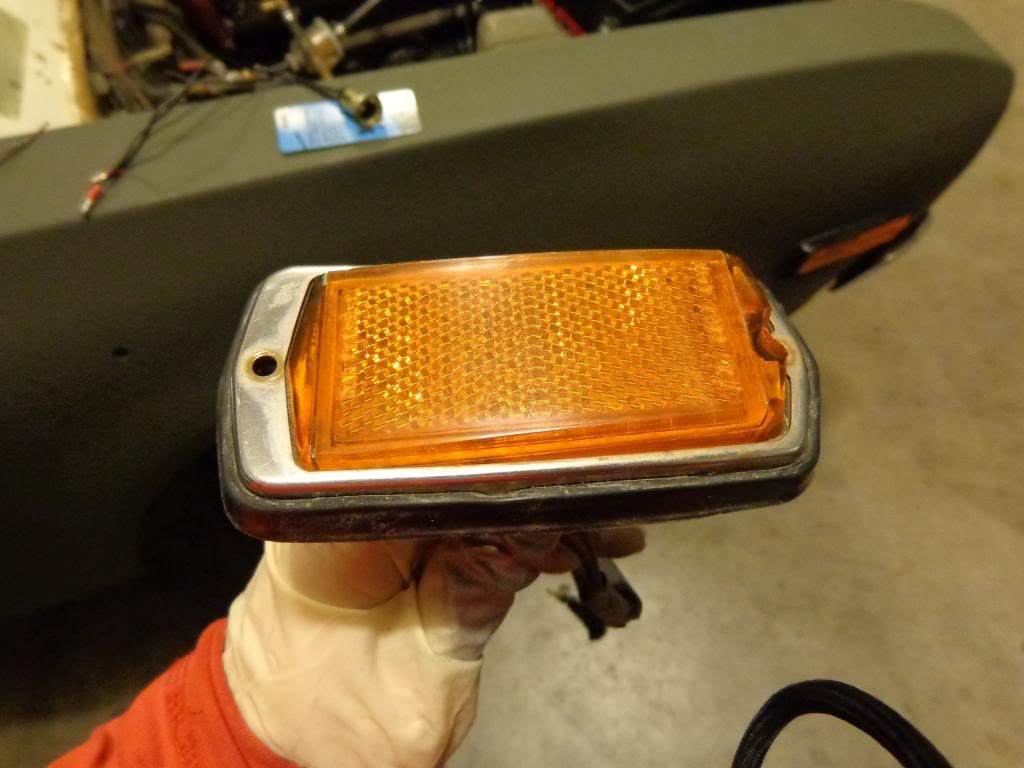
This works for any of the side marker lights with metal housings. The ones I'm working with here are from my 510, but I will post a pic below of the 620 unit to show how similar it is.
My quest started by reading this article in DQ Vol. 1 Issue 1:
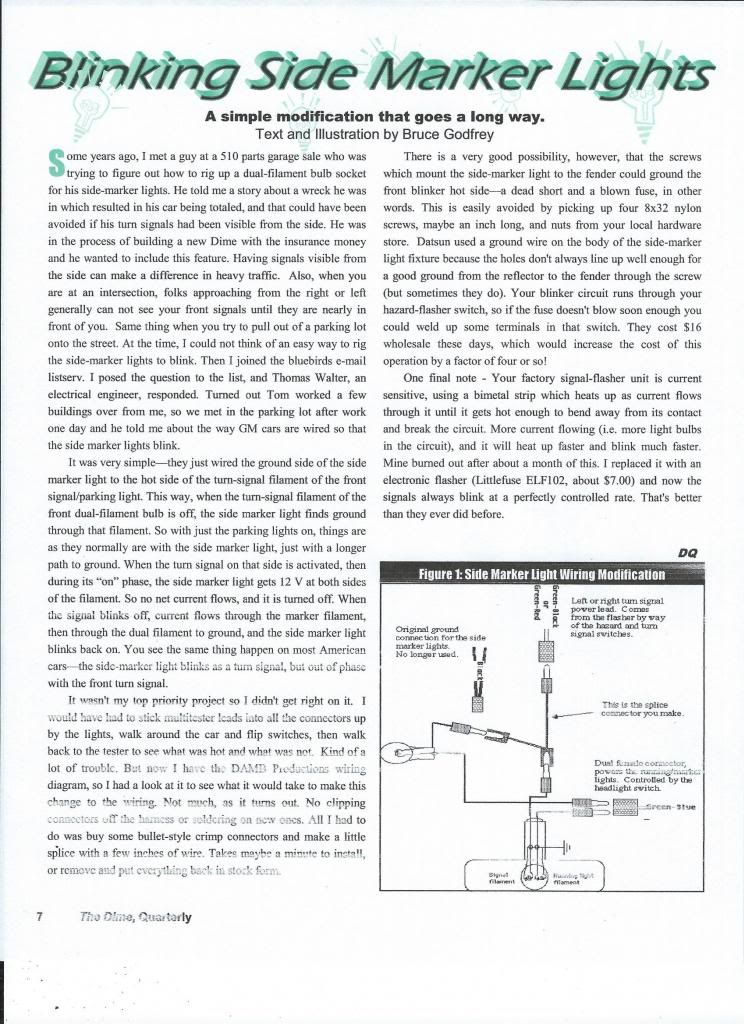
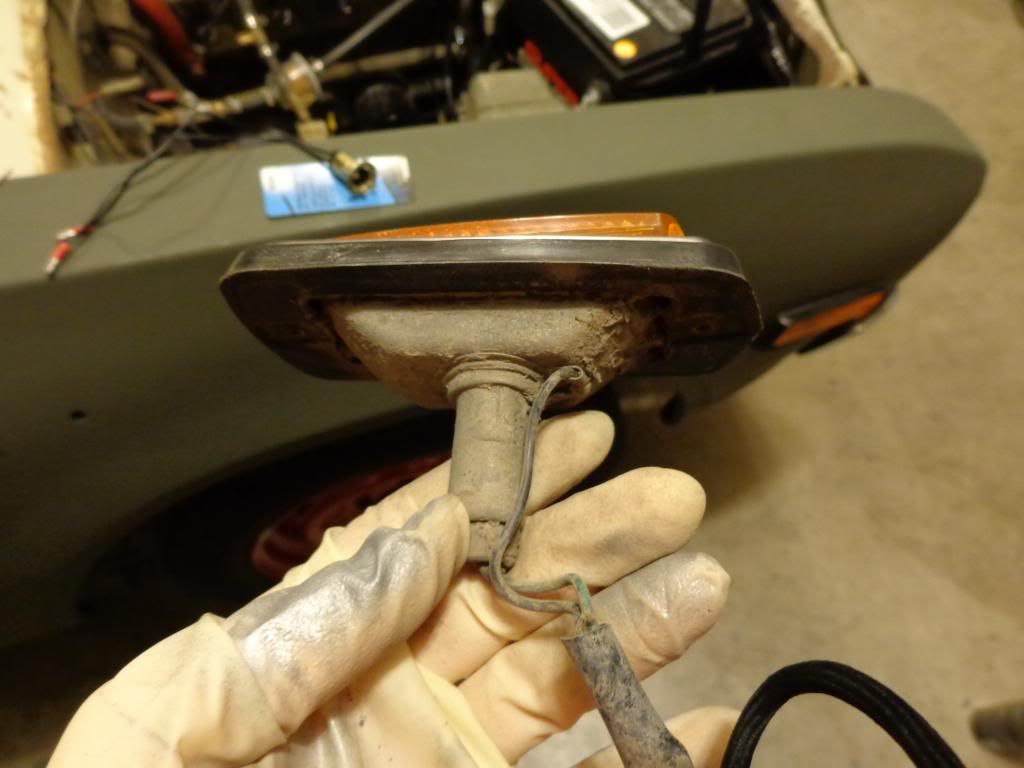
After reading this and looking at my side marker lights, it occurred to me that the factory ground wire is attached directly to the marker housing. So even if you use a nylon screw like the author suggests, you will still have the entire backside of the housing un-protected from grounding out on the body or anything that comes into contact with it. I have found in my collection of parts a side marker unit that has a full rubber sleeve protecting the entire housing. I'm guessing this is from a later 280 Z car or something. I suppose if you have this rubber sleeve, and you drill out the holes the mounting screws go through, you will be ok.... But that's not safe enough for me.
So I set out on a mission today. I was in search of a light bulb socket to replace the factory single filament bulb with something else. I had envisioned using a mini spade bulb with a plastic twist-on socket like this one I used on my 620 conversion:
http://community.ratsun.net/topic/57342 ... 620/page-4
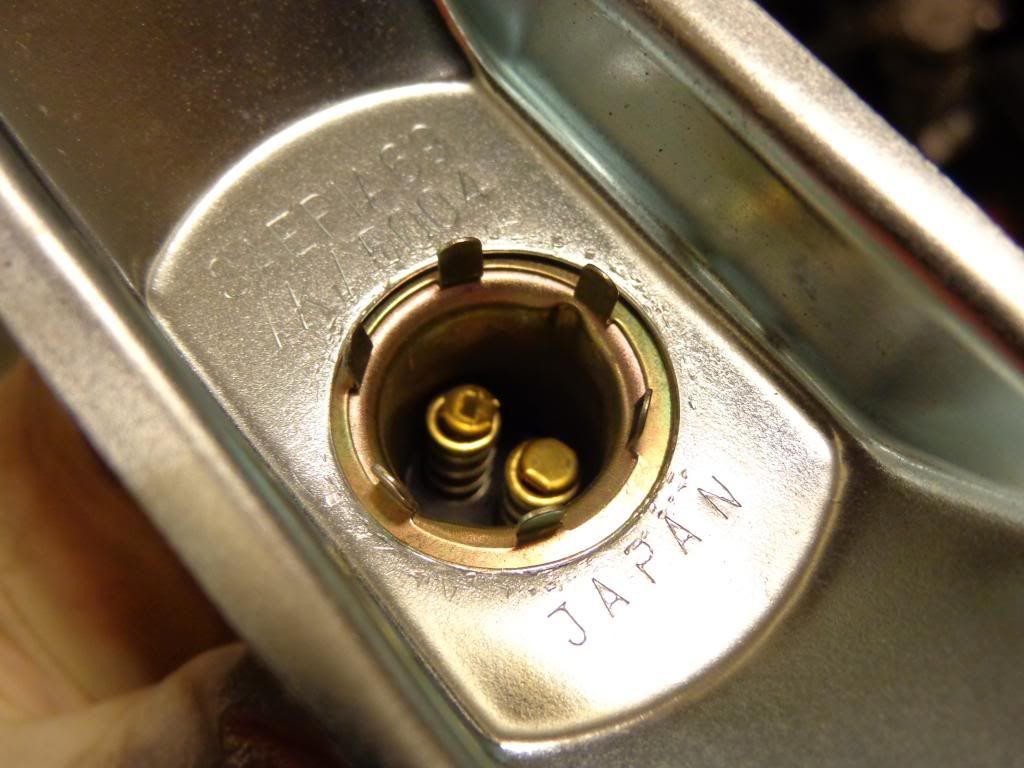
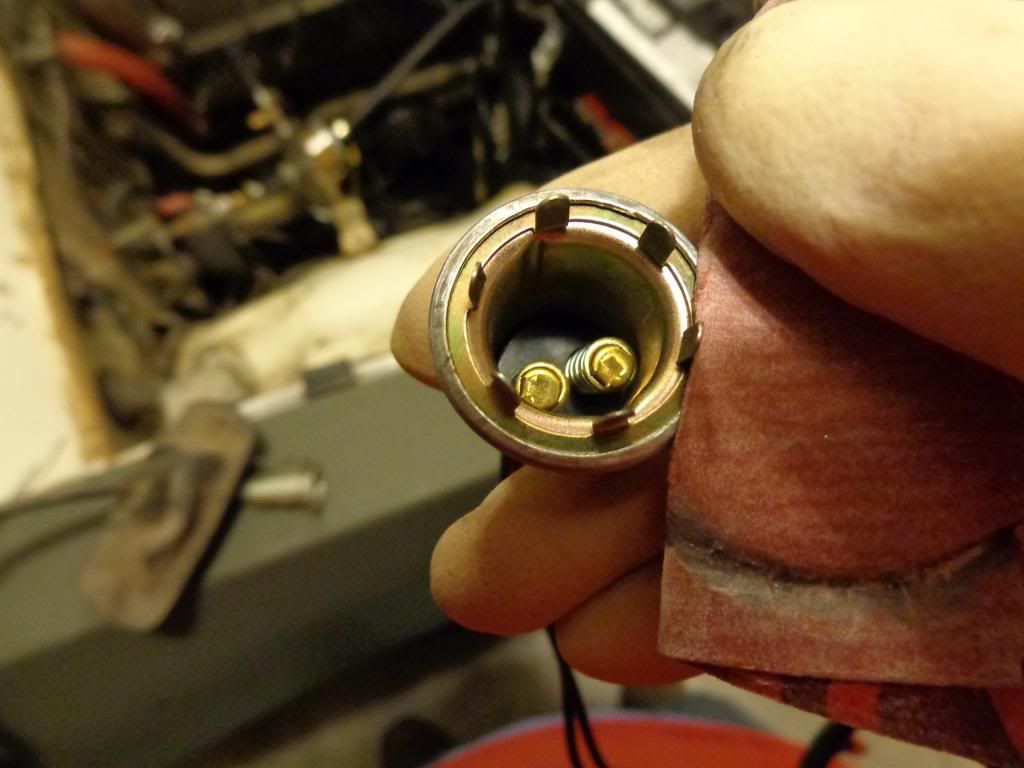
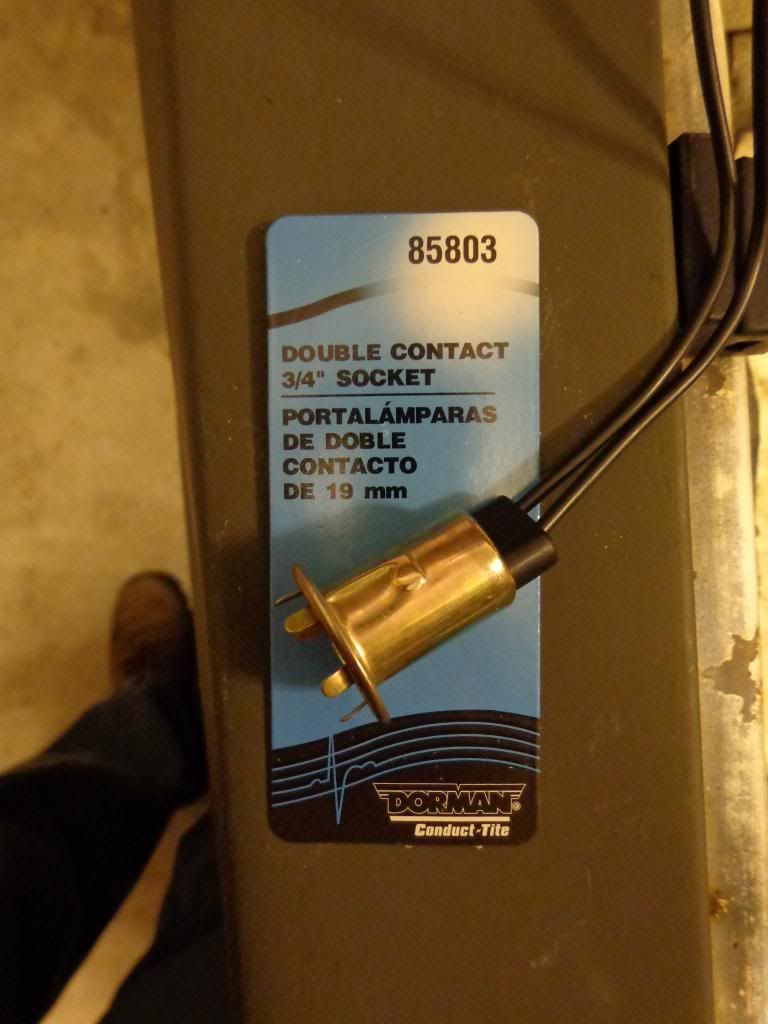
Unfortunately that socket and all the ones I found at the parts store were too small. But, I did find this one; its a dual filament 1157 socket. The sockets cost $3.66 each, up here:
Here are the couple of side markers I'm using:
Here is that rubber sleeve I referred to earlier:
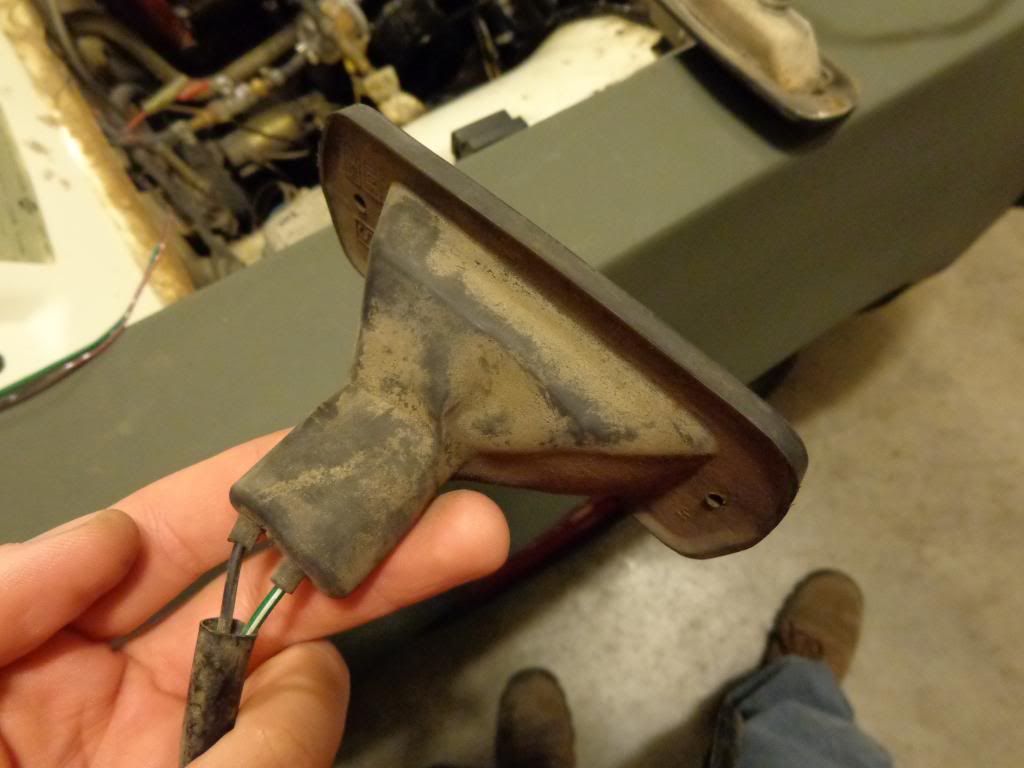
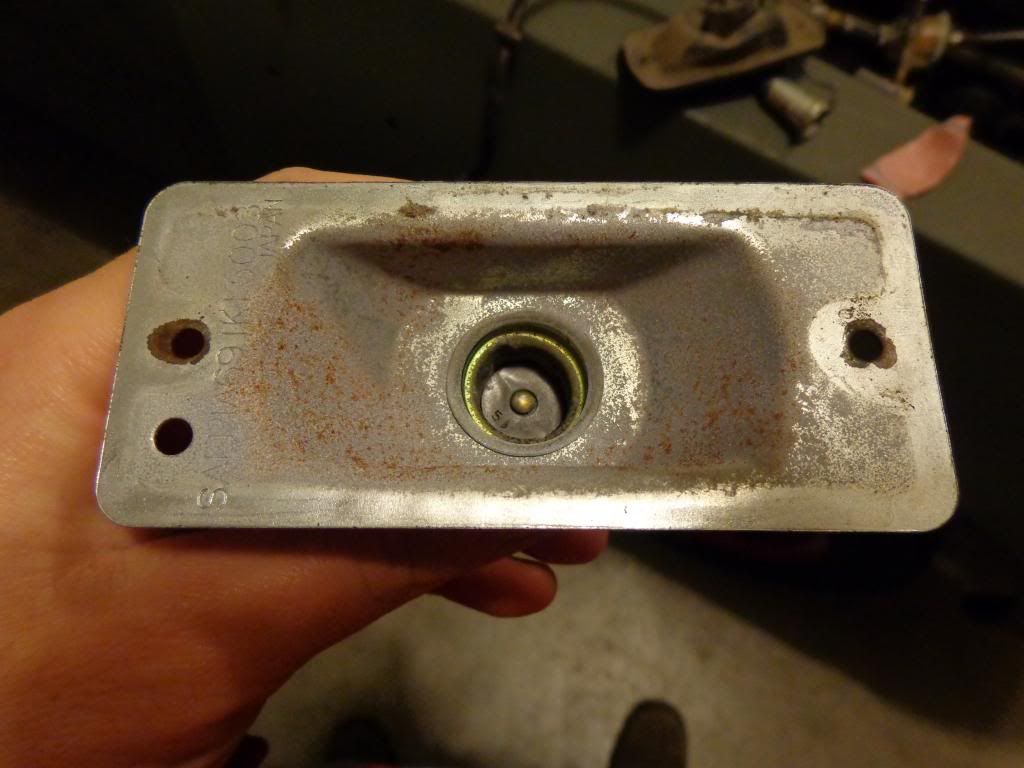
That rubber sleeve kept this housing in excellent shape over the years:
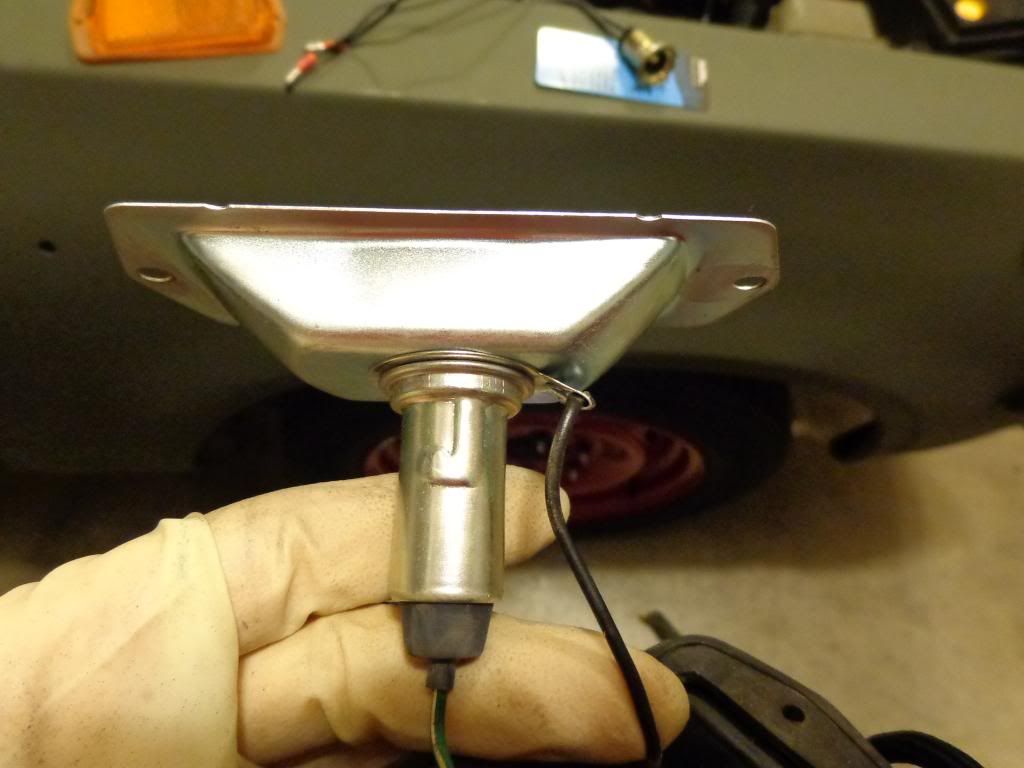
Here is one of the new Thailand units for comparison:
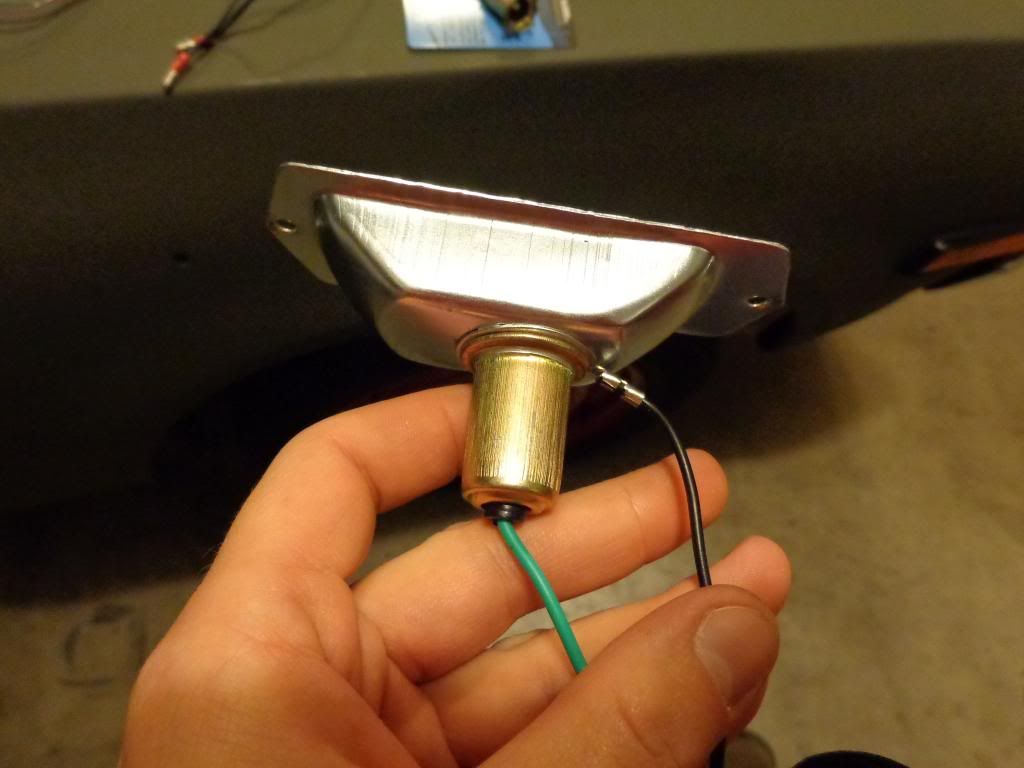
And the 620 unit for comparison:
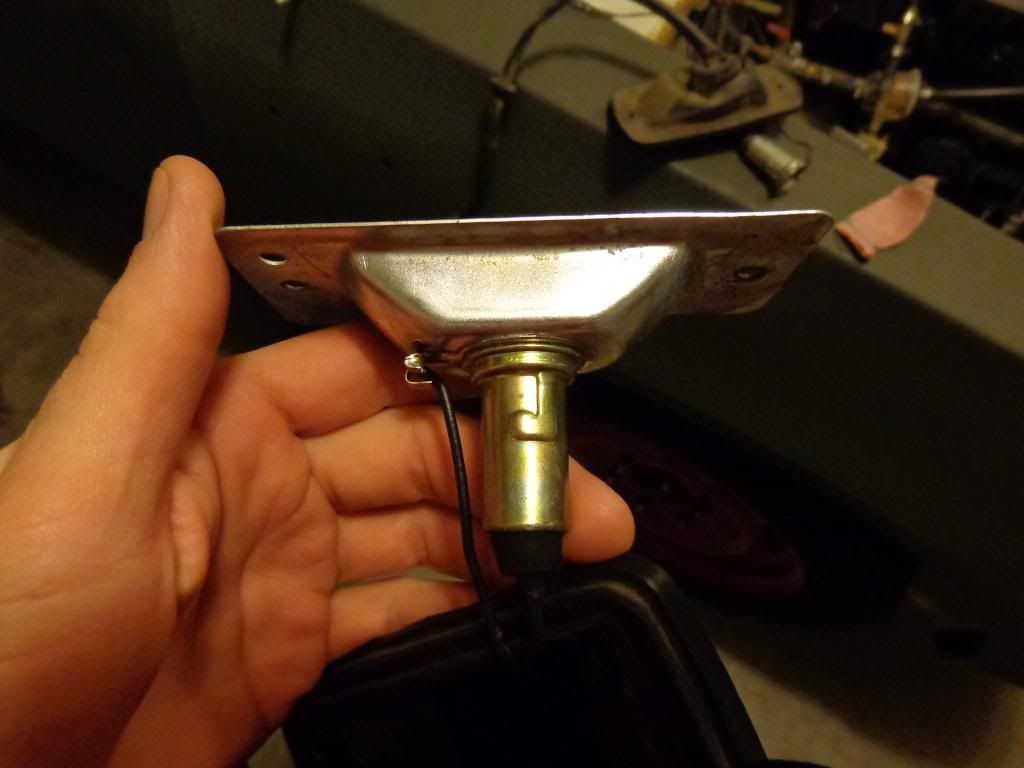
To remove the socket, I used one of my favorite tools:
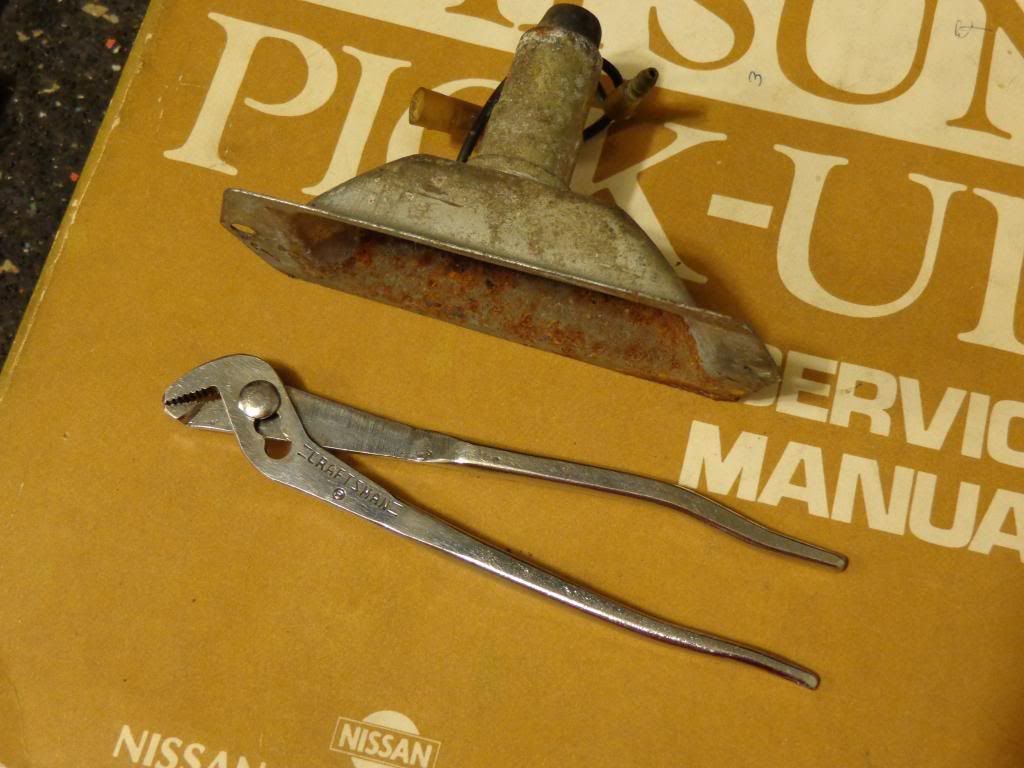
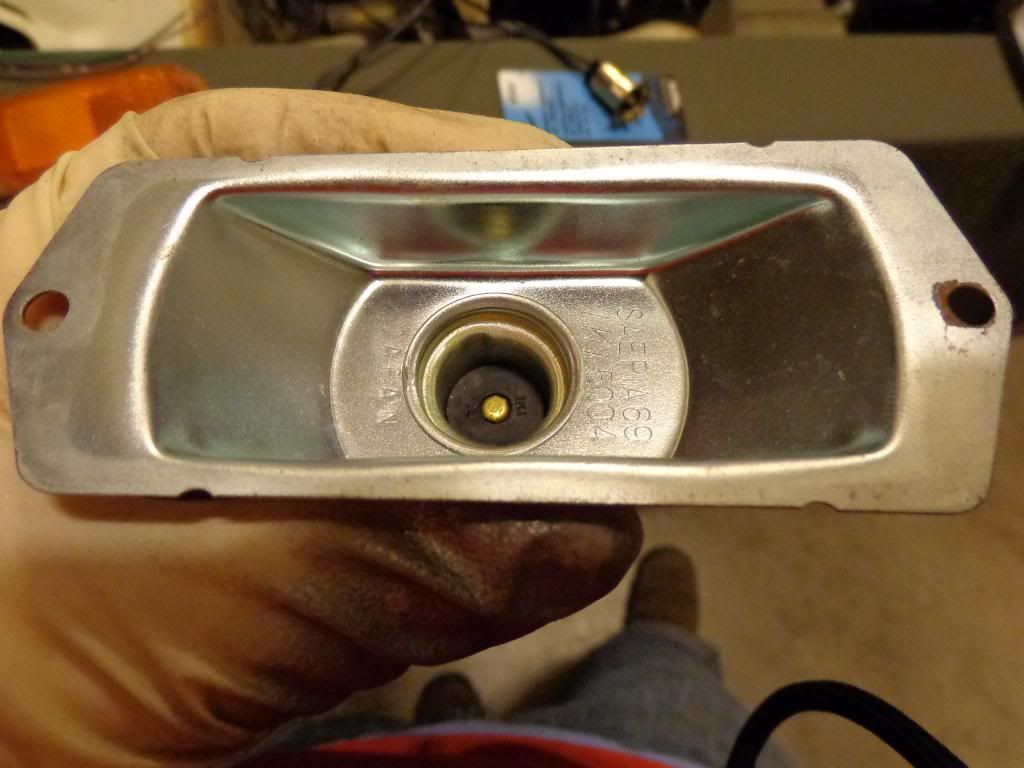
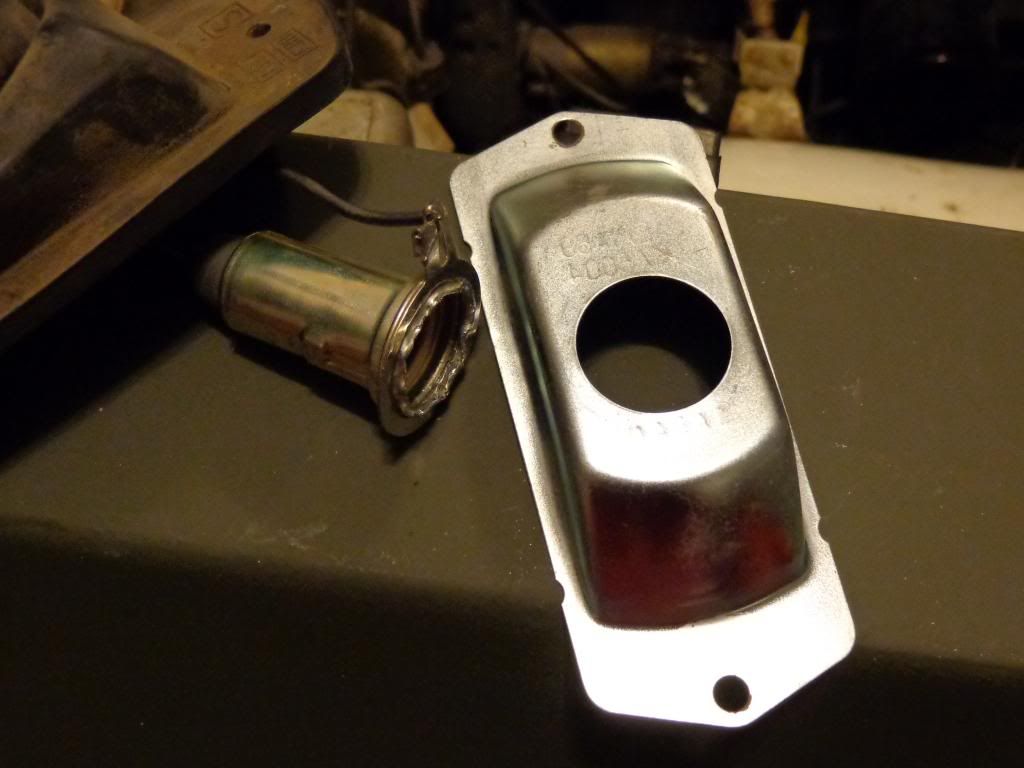
I just bent back the stamped edge and pulled the old socket off:
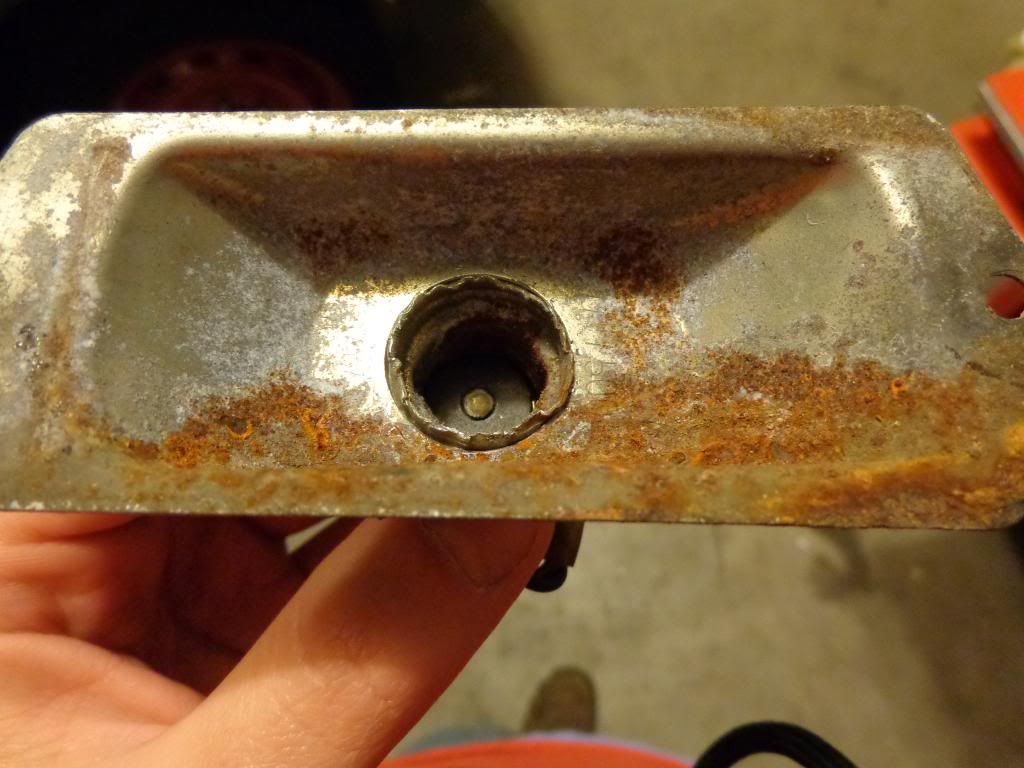
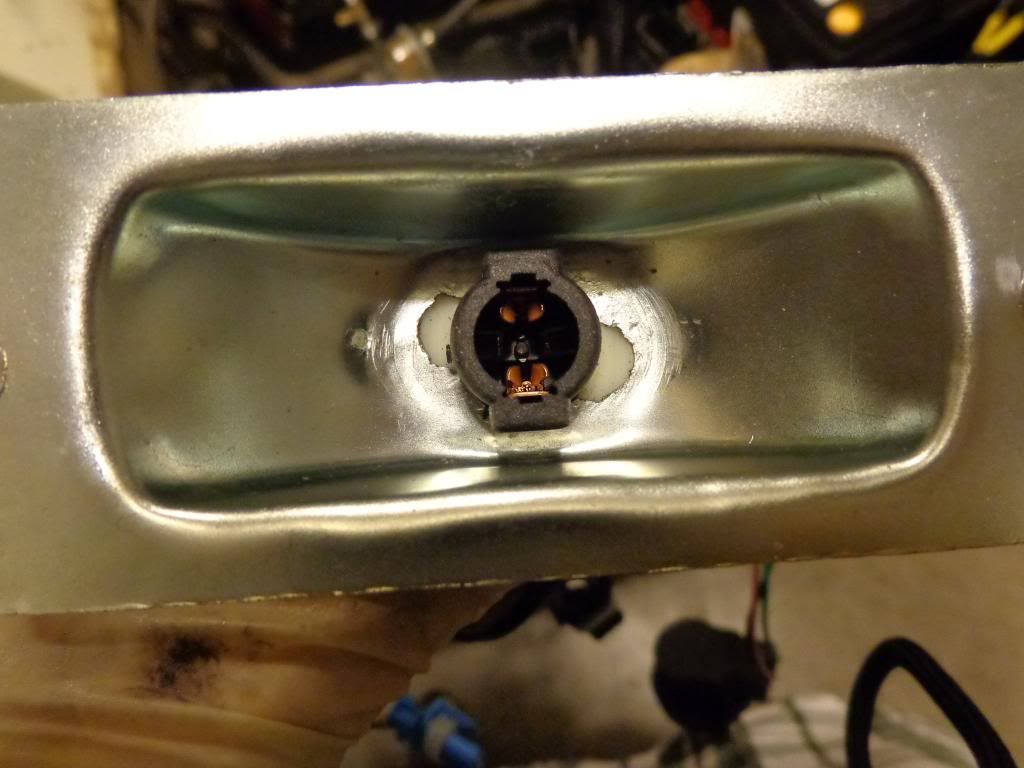
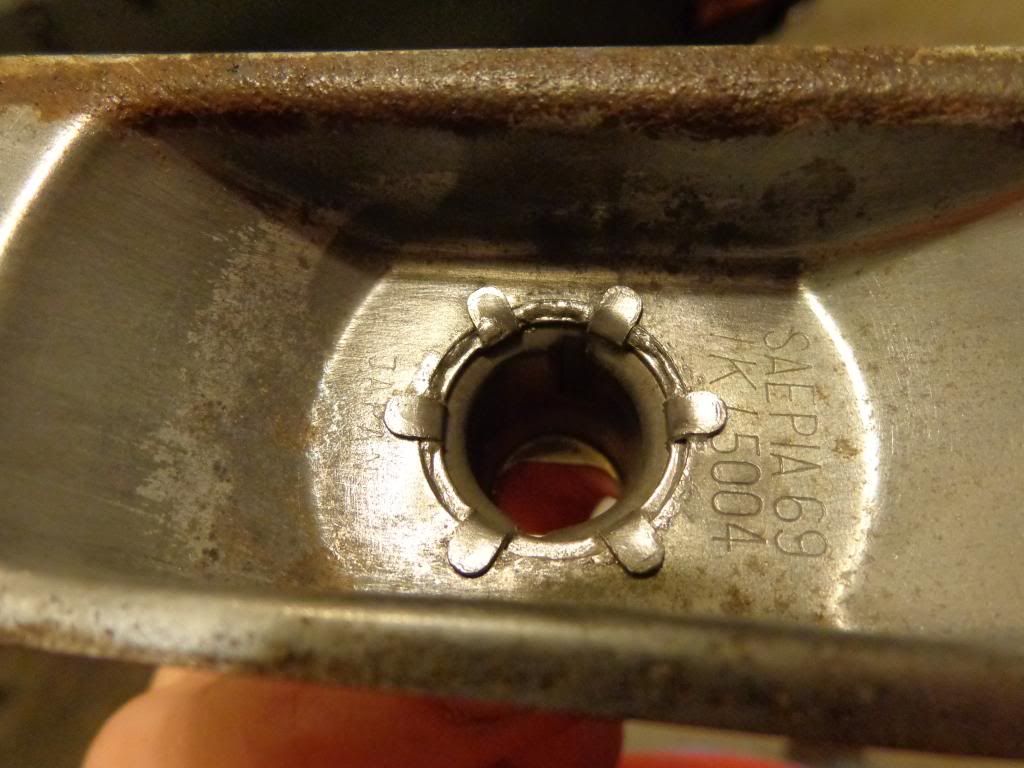
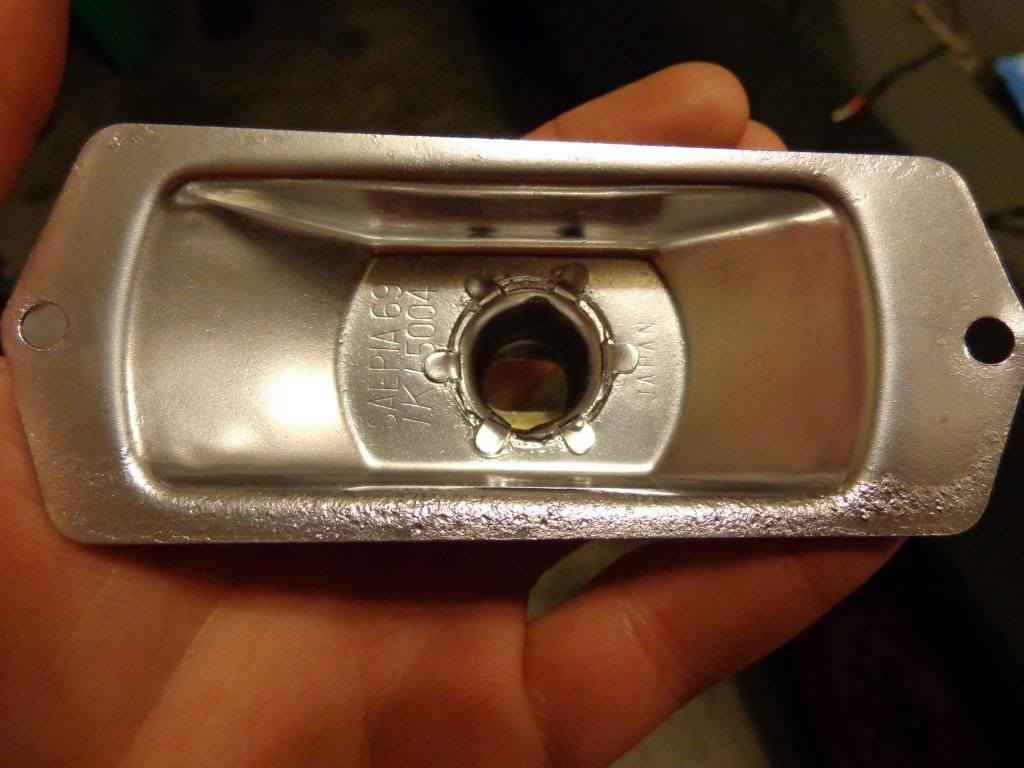
Afterwards, you're left with this:
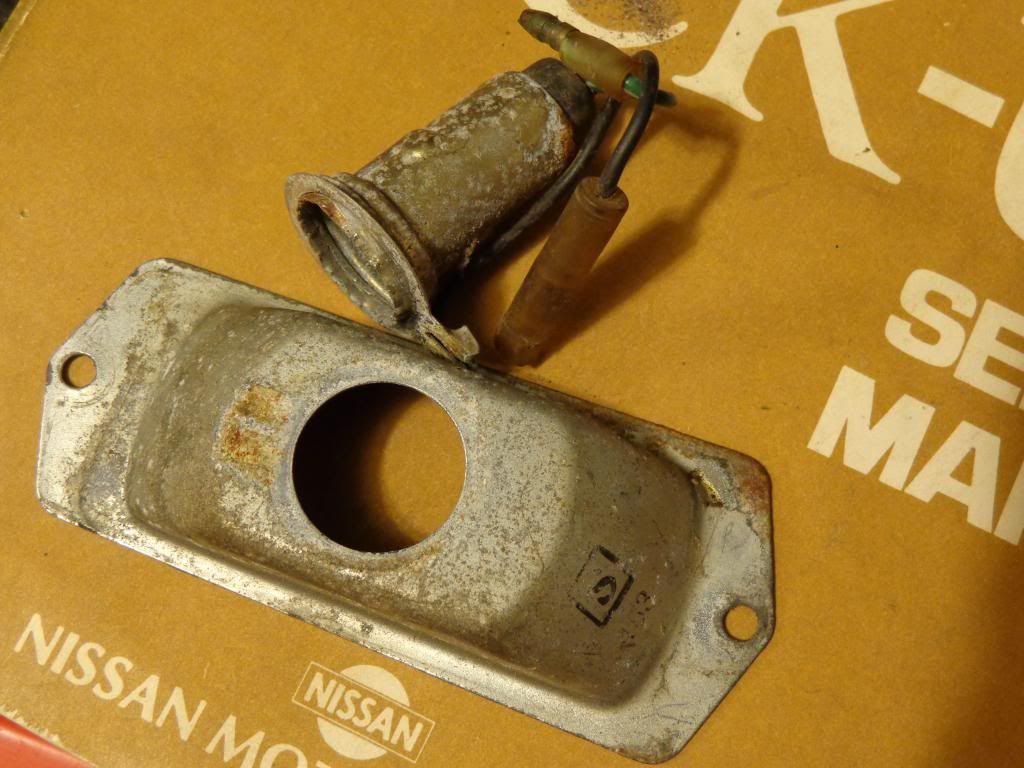
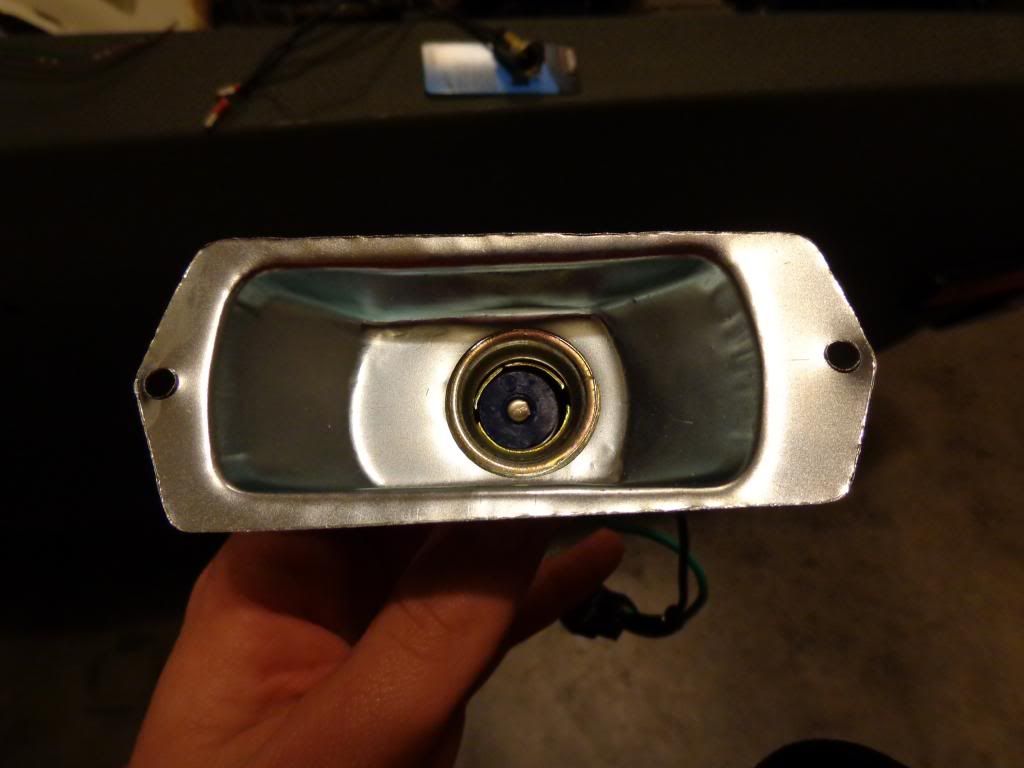
Next I put the new socket up to the housing. It's a little small, but it will work just fine:
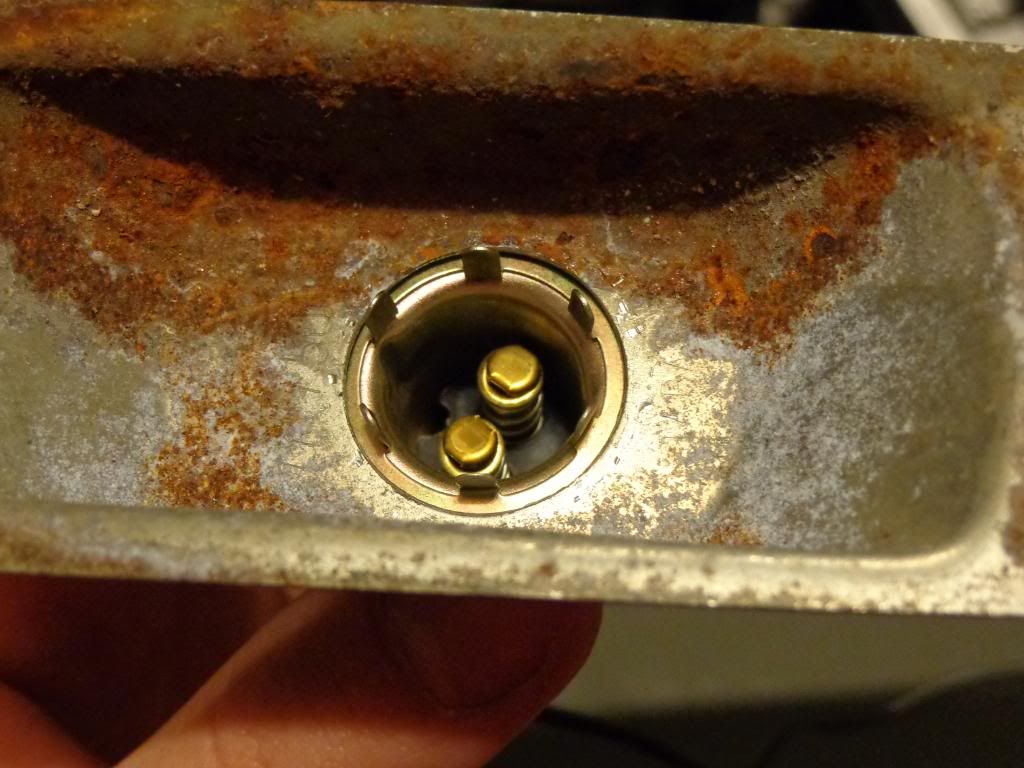
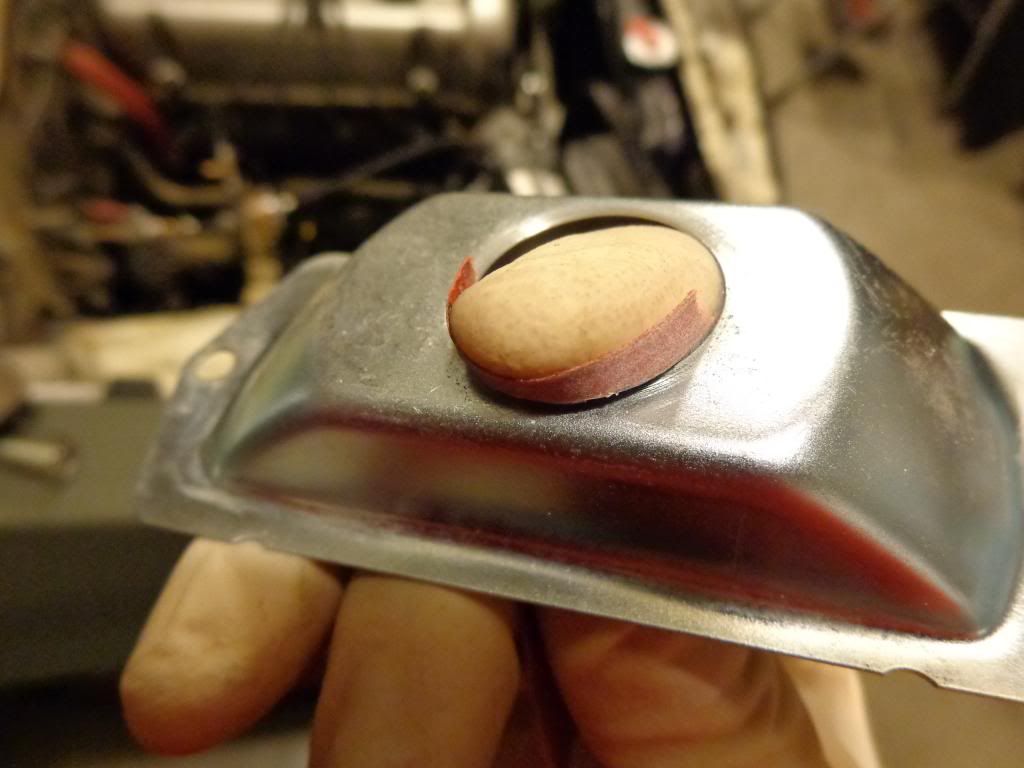
I'm going to solder these two pieces together to ensure a lasting bond and to seal out any moisture. So before joining them, first I pulled the wires out of the socket. Then I sanded around the opening on the outside of the housing and the edge of the socket down with some 400 grit. Then I cleaned them with some fast dissipating electronics cleaner:
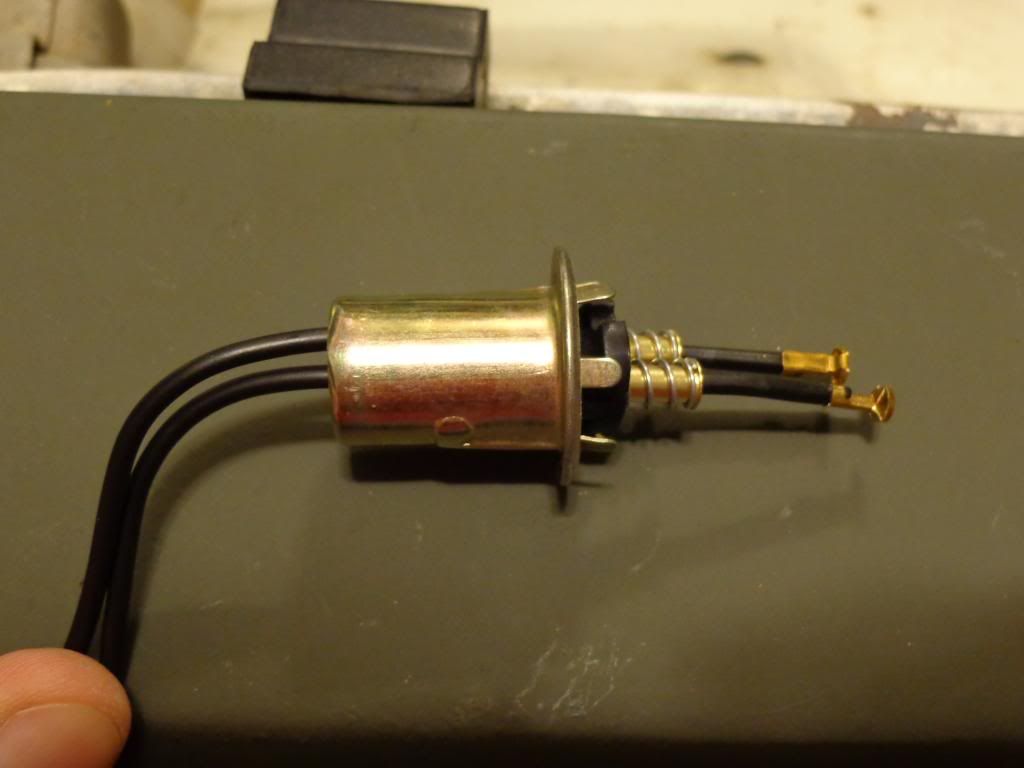
To get the tabs bent down easier during installation, I slightly bent all of them before installing it. The top tab, I bent more than the others, to help hold it in place:
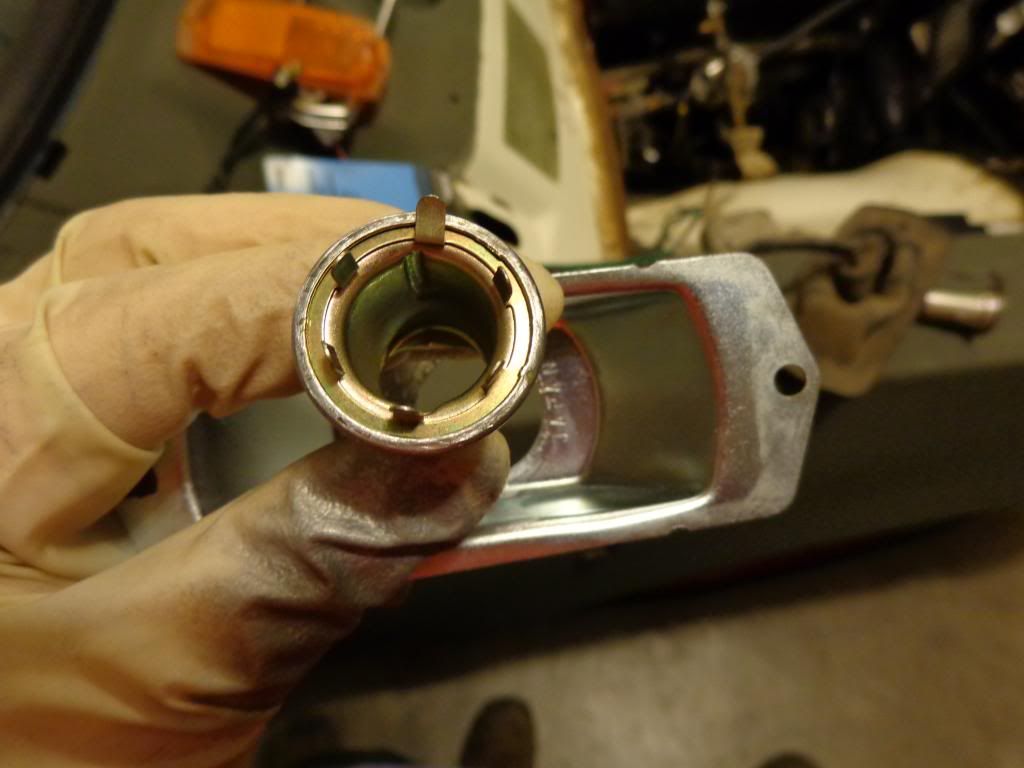
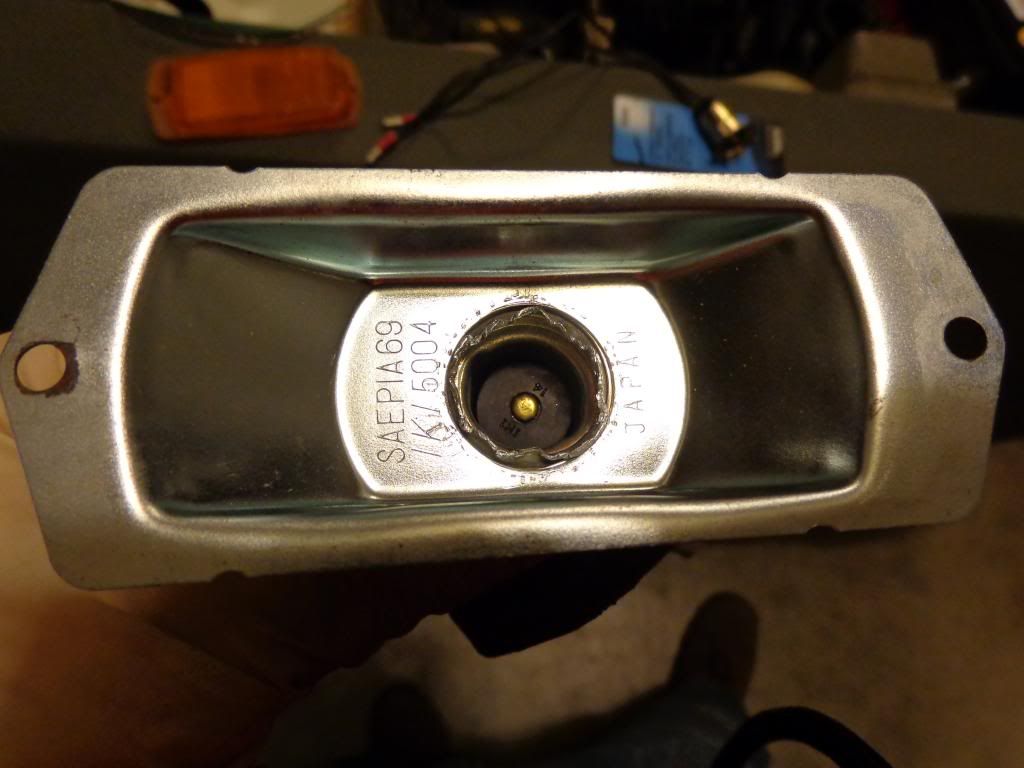
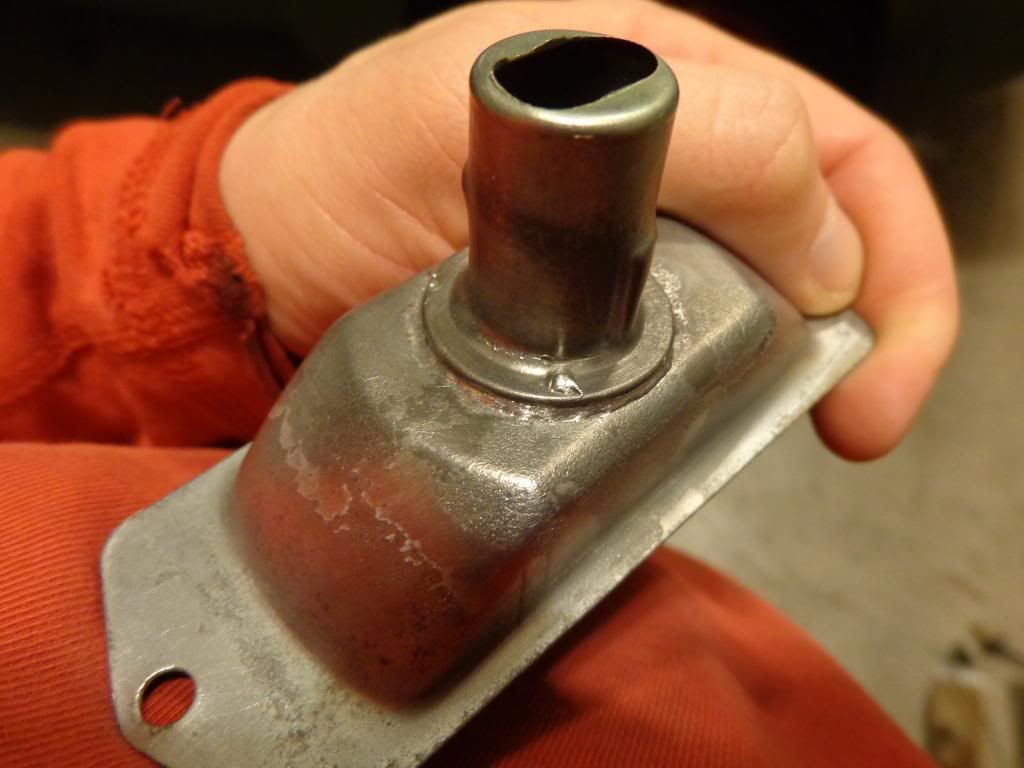
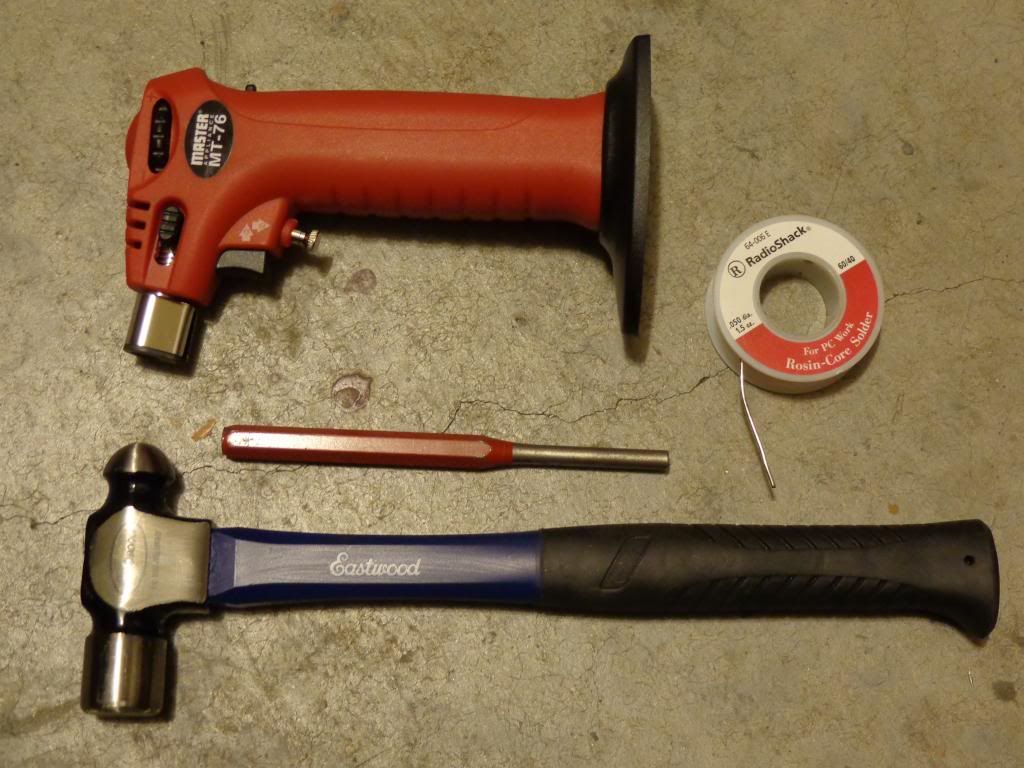
I used a vice to help hold the unit in place while I used a hammer and a punch to gently push the tabs over and in place. Then I soldered the joint. I used a mini-torch and some 40/60 rosin core solder. I soldered both sides:
Next, I wire brushed the housing and painted it with some chrome spray paint:
(Don't forget to mask off, or stuff part of a paper towel down into the socket to keep the paint out of it)
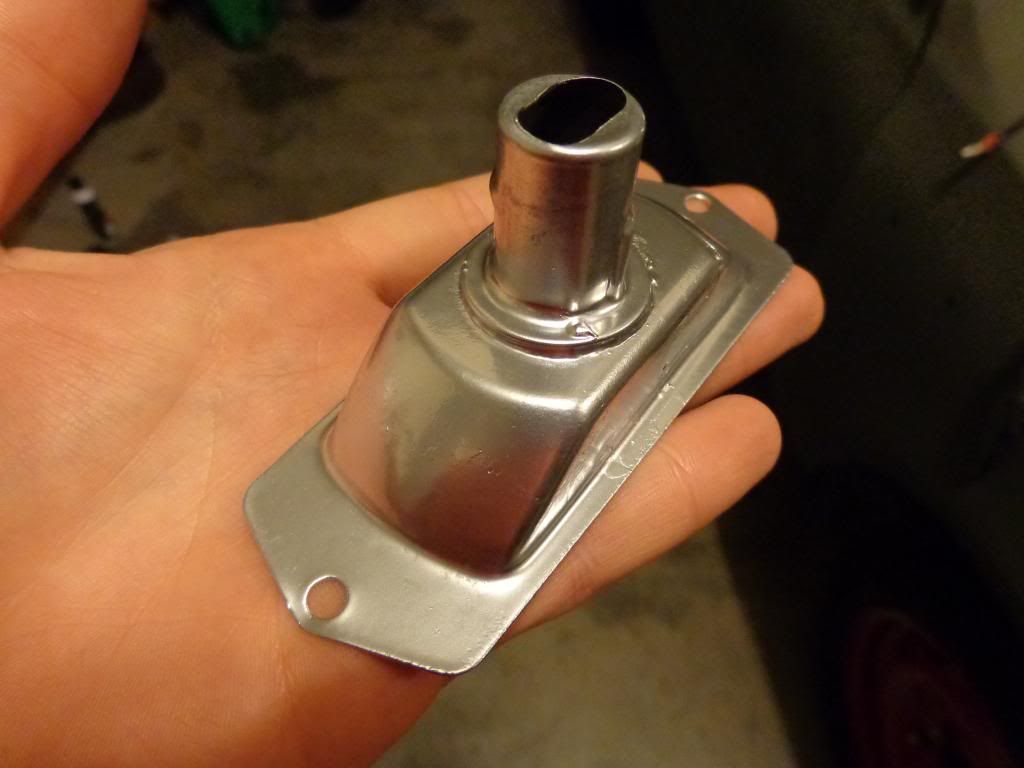
Now with that complete, I'm confident the conversion is safe.
I tested the circuit, and it works great. I am out of the connectors I want to use for the jumper wires, so once they arrive; I will solder them up and post pictures. I will basically be using the diagram given in the DQ article.
Side Marker Light Conversion
Forum rules
All advice given here is advice from persons using these forums,these opinions are not of the websites owners,and must be used at own discretion.
nwdatsuns does not verify the accuracy of given advice
This section is for informational How to's
Including, how to on datsuns, general technical, fabrication, electrical etc. Not limited to those, but for real information.
The how to make eggs and sammiches should go under General Discussion, as those topics aren't indexed for searches.
- KlassicMotion
- Posts: 39
- Joined: Fri Sep 06, 2013 10:00 pm
Side Marker Light Conversion
Last edited by KlassicMotion on Sun Nov 10, 2013 10:19 pm, edited 2 times in total.
- KlassicMotion
- Posts: 39
- Joined: Fri Sep 06, 2013 10:00 pm
Re: Side Marker Light Conversion
Thank you.
It just blew me away to think about how many people might have read that DQ article and hooked their lights up that way without taking a second consideration of what's actually going on.
- Laecaon
- Site Admin
- Posts: 4793
- Joined: Wed Jun 26, 2013 7:21 pm
- Cars: '71 510 Wagon, 02 BMW 325i Wagon
- Location: PDX, West side.
- Has thanked: 288 times
- Been thanked: 329 times
Re: Side Marker Light Conversion
I never saw that article, but there was another one where they made it blink alternately to the fronts, GM style. It made me cringe to think about. I am thinking of going custom LED though...
- KlassicMotion
- Posts: 39
- Joined: Fri Sep 06, 2013 10:00 pm
Re: Side Marker Light Conversion
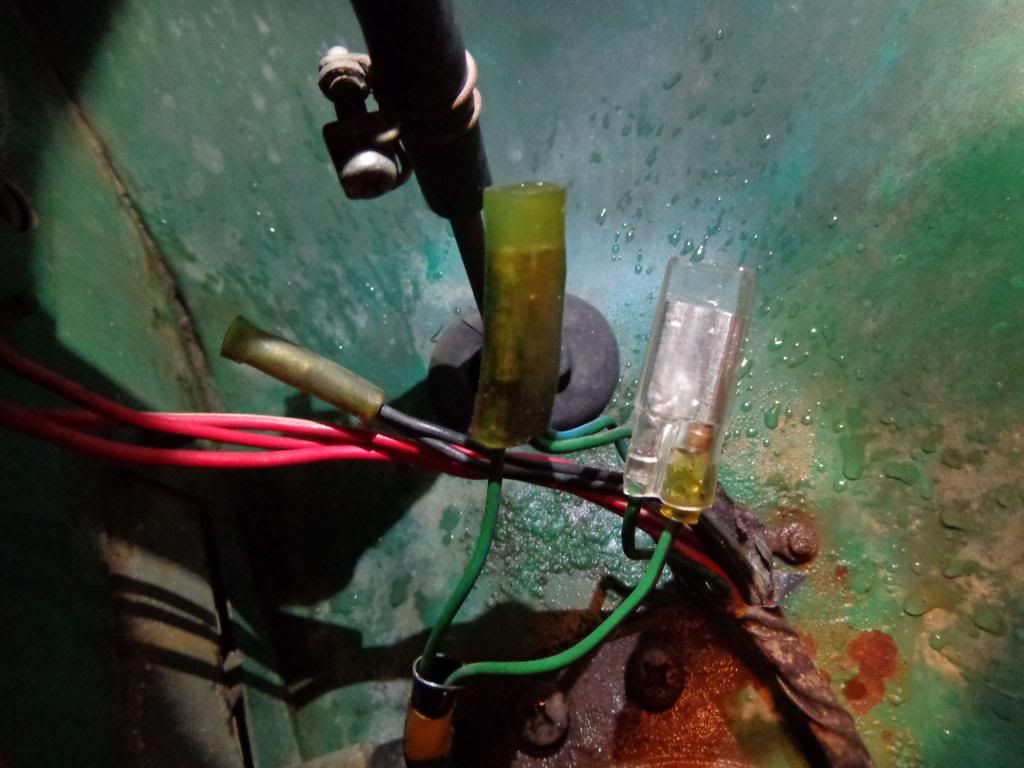
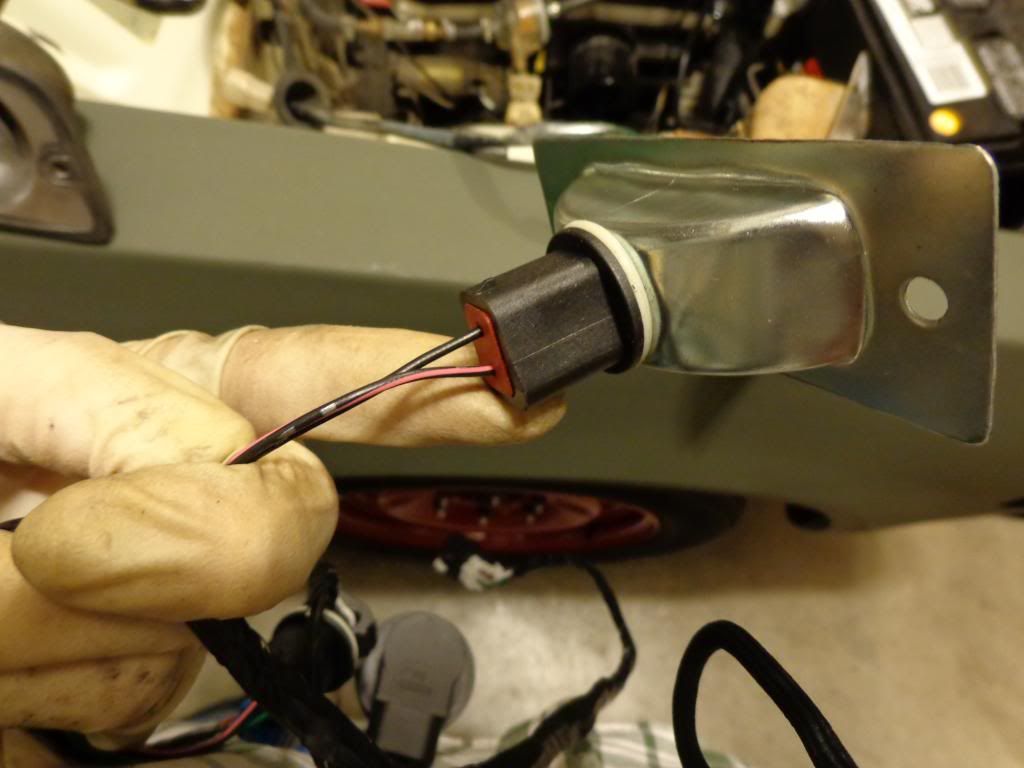
I finished wiring these into the 510 tonight. I wanted the job to look as original as possible. Here is how it turned out:
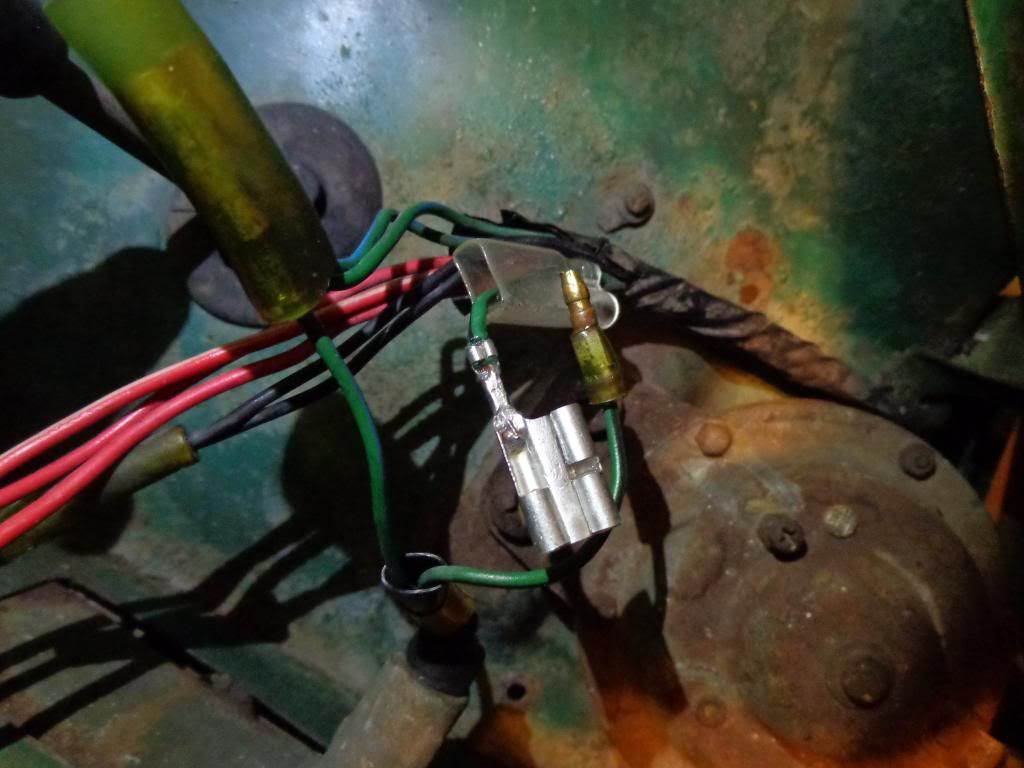
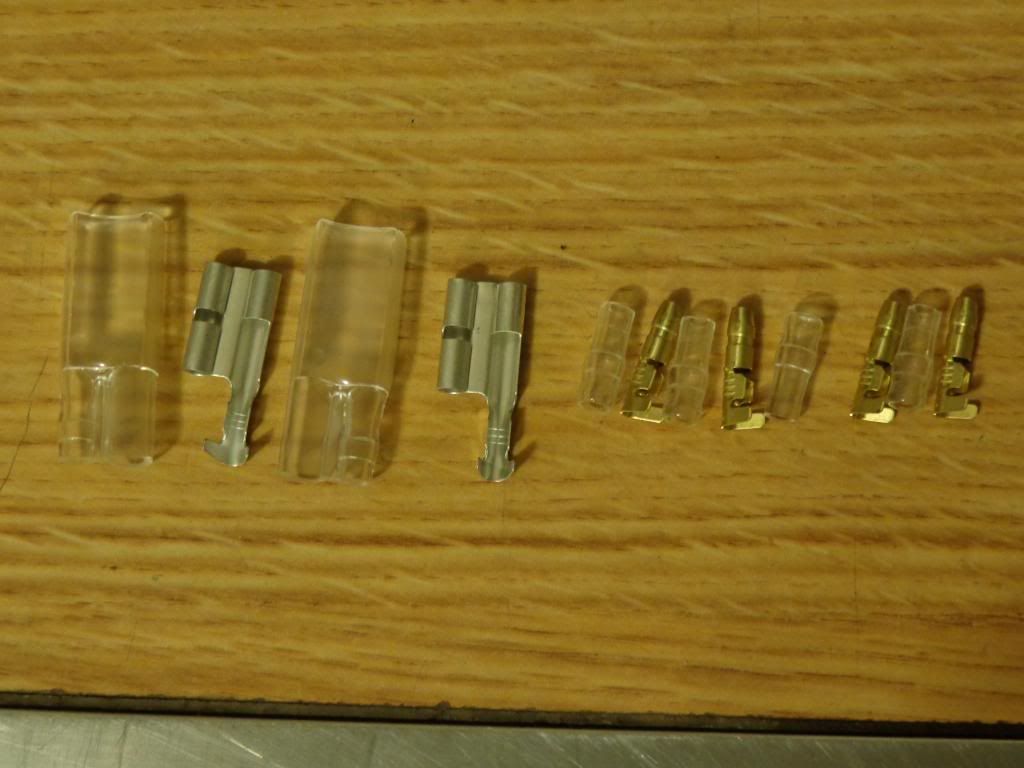
To start, my shipment came in from http://vintageconnections.com/ I used these connectors to wire up the lights:
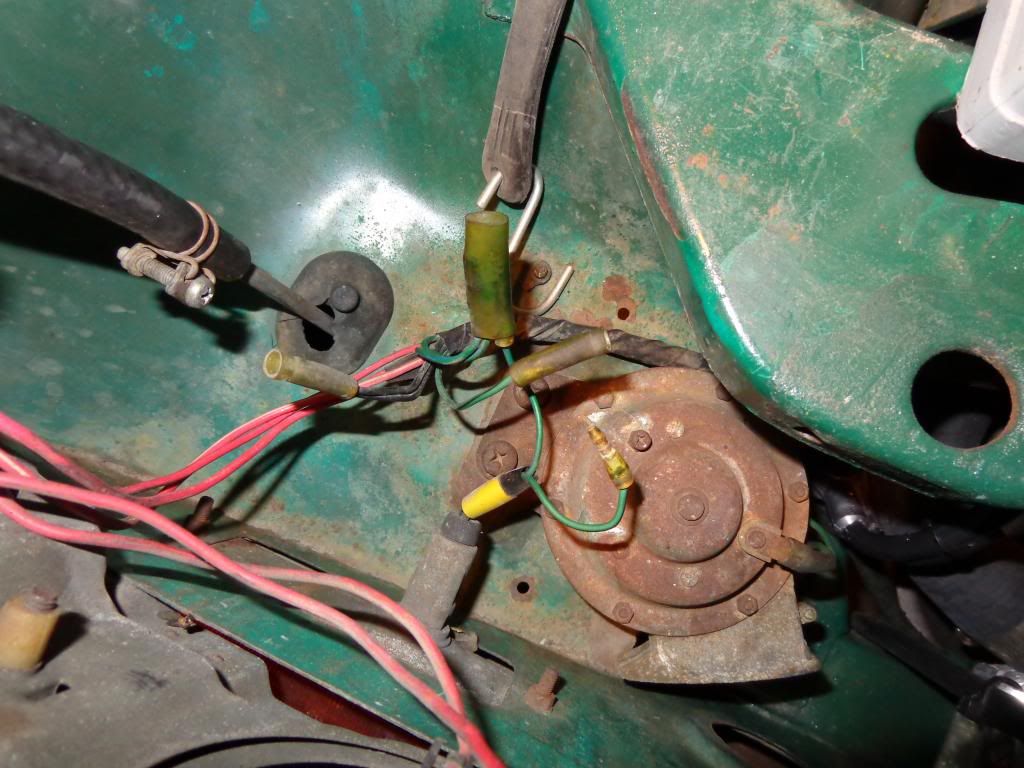
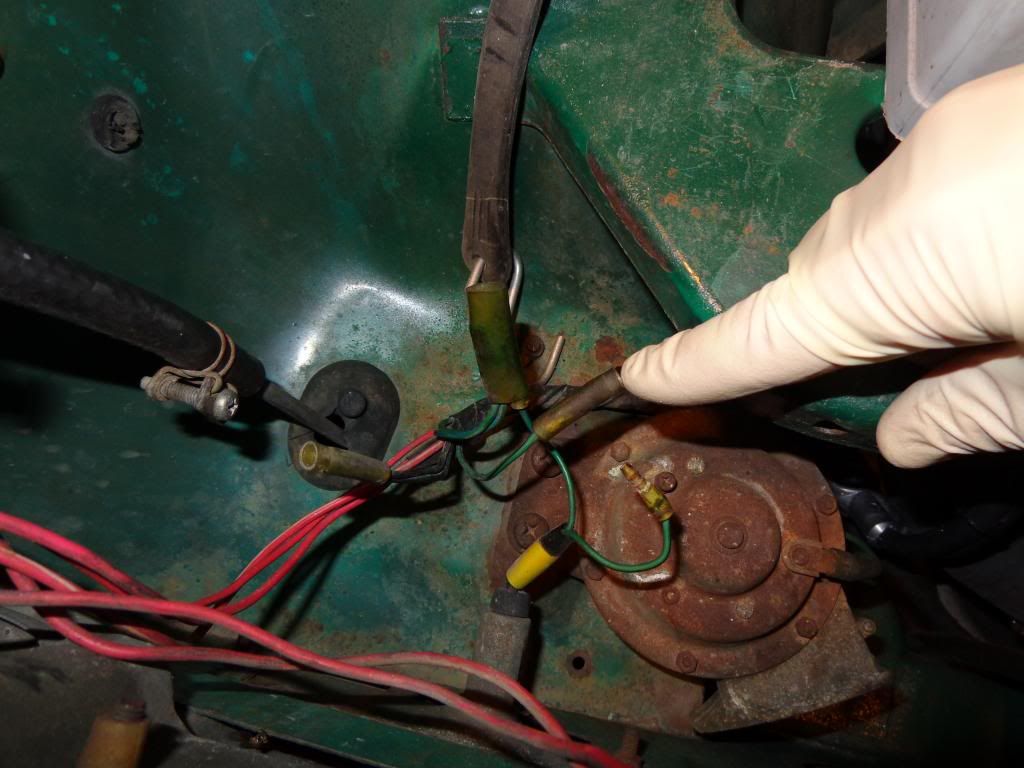
Here are the connections we are working with:
And this is the wire we need to modify: On my car, it's the green with black stripe wire. It is for the turn signal circuit. The black ground wires are now no longer used.
I cut the old connector off, and first crimped, then soldered the new connector on. **Don't forget to put the plastic cover on first. I had to cut the harness tape back a bit to have enough room to work with** Then I covered the connector, and connections in DI-electric grease. And that was it, it's now ready to plug the side marker light into it.
For anyone that doesn't care about using the same connectors I used, you can just as easily make a "piggy-back" connector like the one in the DQ article.
A few notes:
1. It doesn't matter which connectors you hook the side marker wires up to.
2. The side markers now flash opposite of the front turn signal.
3. And just an observation; the second filament in the 1157 is not used...
- Laecaon
- Site Admin
- Posts: 4793
- Joined: Wed Jun 26, 2013 7:21 pm
- Cars: '71 510 Wagon, 02 BMW 325i Wagon
- Location: PDX, West side.
- Has thanked: 288 times
- Been thanked: 329 times
Re: Side Marker Light Conversion
Note number 2 bothers me so much(personal thing). I would have sooner just tied the bright filament of the 1157 into the front turn signal. Basically just paralleling the to the front marker/turnsignal.
- KlassicMotion
- Posts: 39
- Joined: Fri Sep 06, 2013 10:00 pm
Re: Side Marker Light Conversion
I will look into it, but I think the alternating flash gets more peoples attention... Plus, it's not like I have to look at it!
Re: Side Marker Light Conversion
Ive been wanting to do this to my 521. Thanks for doing this write up. Now I have motivation to make my side markers work lol