Waynos work truck.

User avatar
wayno
Posts: 5309
Joined: Thu Jun 27, 2013 8:44 pm
Location: Vancouver WA
Has thanked: 430 times
Been thanked: 1295 times

Re: Waynos work truck.

#221

Post by wayno »

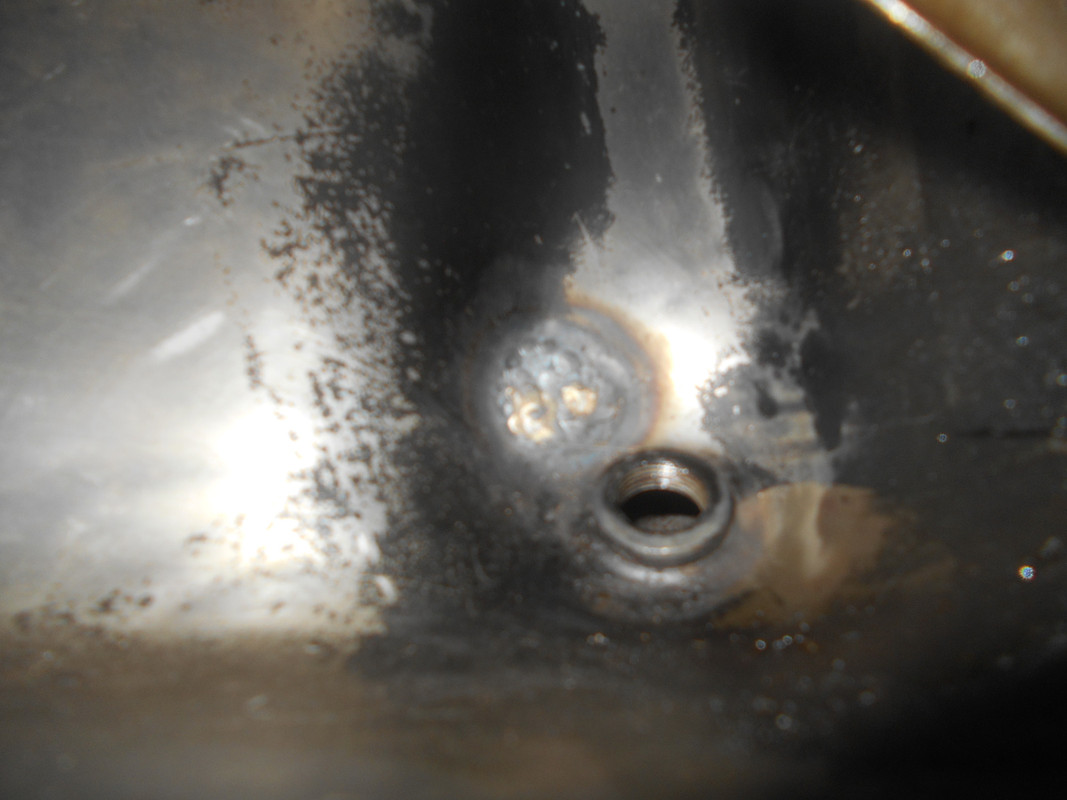
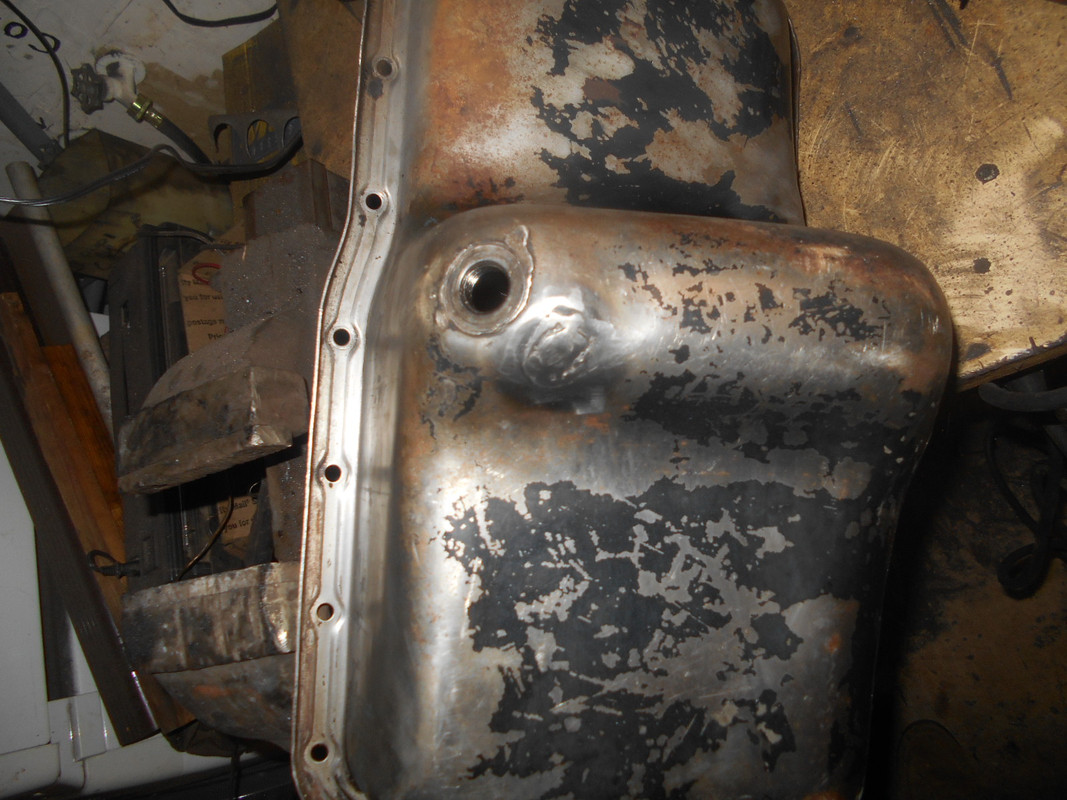
It would have been a problem if I didn't know how to weld, but I have a couple mig welders, I used the HF one to fix this hole.
I should say I really don't know how to weld, my welds don't look anything like people that know how to weld, but I over compensate for my lack of skill buy over doing what I weld, I make sure whatever I am welding is not going to come apart, it helps a lot to have good metal to start with though.
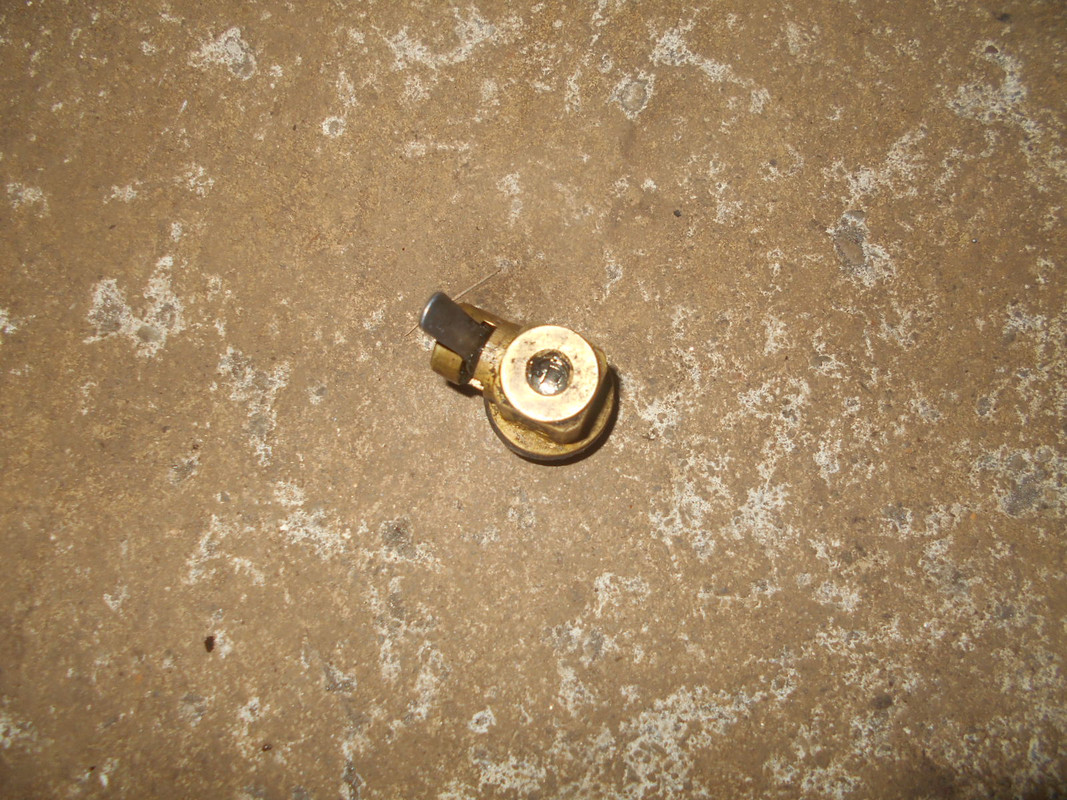
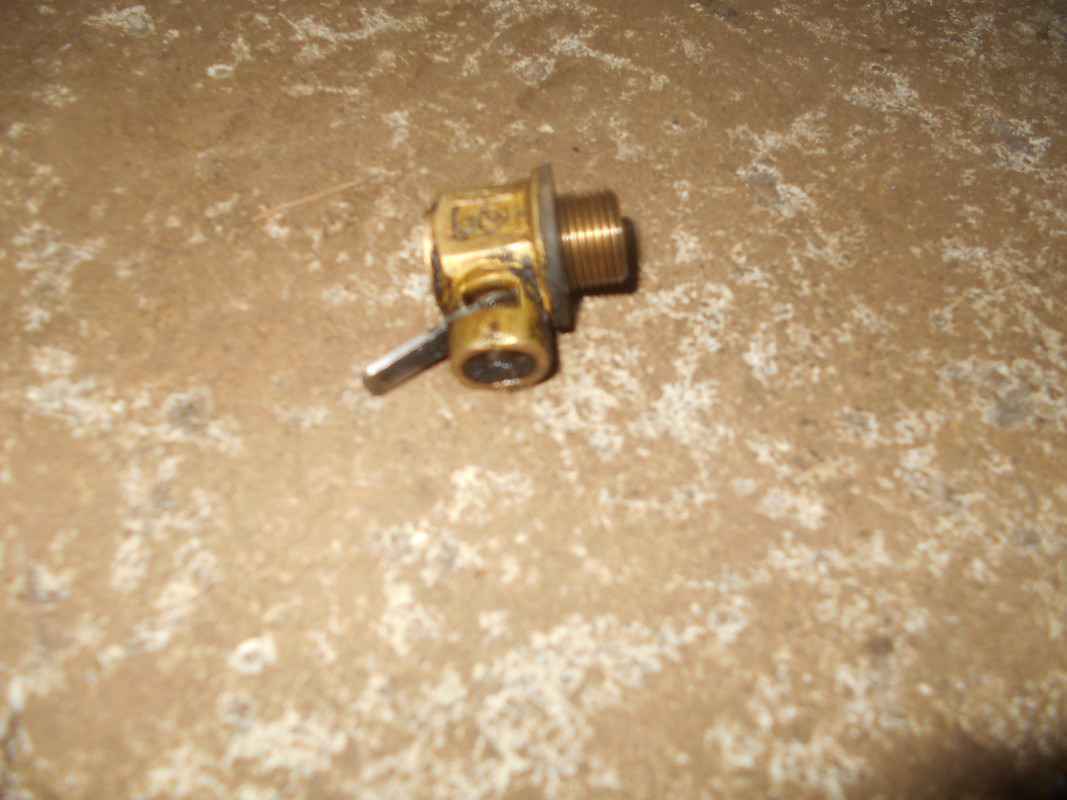
It was not that hard to get that drain thing they had in the plug hole loose, I still have not been able to get it to open though, maybe it is broken.
Here is what was in the drain hole.
Image

Image
Here is the welded up hole inside and outside.
Image

Image
“The difference between genius and stupidly is that genius has its limits” Albert Einstein
User avatar
Laecaon
Site Admin
Posts: 4793
Joined: Wed Jun 26, 2013 7:21 pm
Cars: '71 510 Wagon, 02 BMW 325i Wagon
Location: PDX, West side.
Has thanked: 288 times
Been thanked: 329 times

Re: Waynos work truck.

#222

Post by Laecaon »

That isnt too bad at all.

I got the Front sump L20b pan from a HL510 from the junkyard, with a hole in it, for Keith. Those dont show up too often.
User avatar
wayno
Posts: 5309
Joined: Thu Jun 27, 2013 8:44 pm
Location: Vancouver WA
Has thanked: 430 times
Been thanked: 1295 times

Re: Waynos work truck.

#223

Post by wayno »

I also have a front sump oil pan from this Z20 block I built, it was from a 1981 510, is that the oil pan your talking about?
“The difference between genius and stupidly is that genius has its limits” Albert Einstein
User avatar
Laecaon
Site Admin
Posts: 4793
Joined: Wed Jun 26, 2013 7:21 pm
Cars: '71 510 Wagon, 02 BMW 325i Wagon
Location: PDX, West side.
Has thanked: 288 times
Been thanked: 329 times

Re: Waynos work truck.

#224

Post by Laecaon »

No the 1 year only L20b front sump. HL510 and the S110 had them in 1979.
User avatar
wayno
Posts: 5309
Joined: Thu Jun 27, 2013 8:44 pm
Location: Vancouver WA
Has thanked: 430 times
Been thanked: 1295 times

Re: Waynos work truck.

#225

Post by wayno »

I removed everything work related from the truck today, it is all in the 720 now, also when I connected the trailer plug to the 720 plug I wired in everything worked great, no rewiring of the trailer which is awesome.
I removed the bench seat and then the floor covering, I threw that in the washing machine, I just put it in the drier, it looked pretty good.
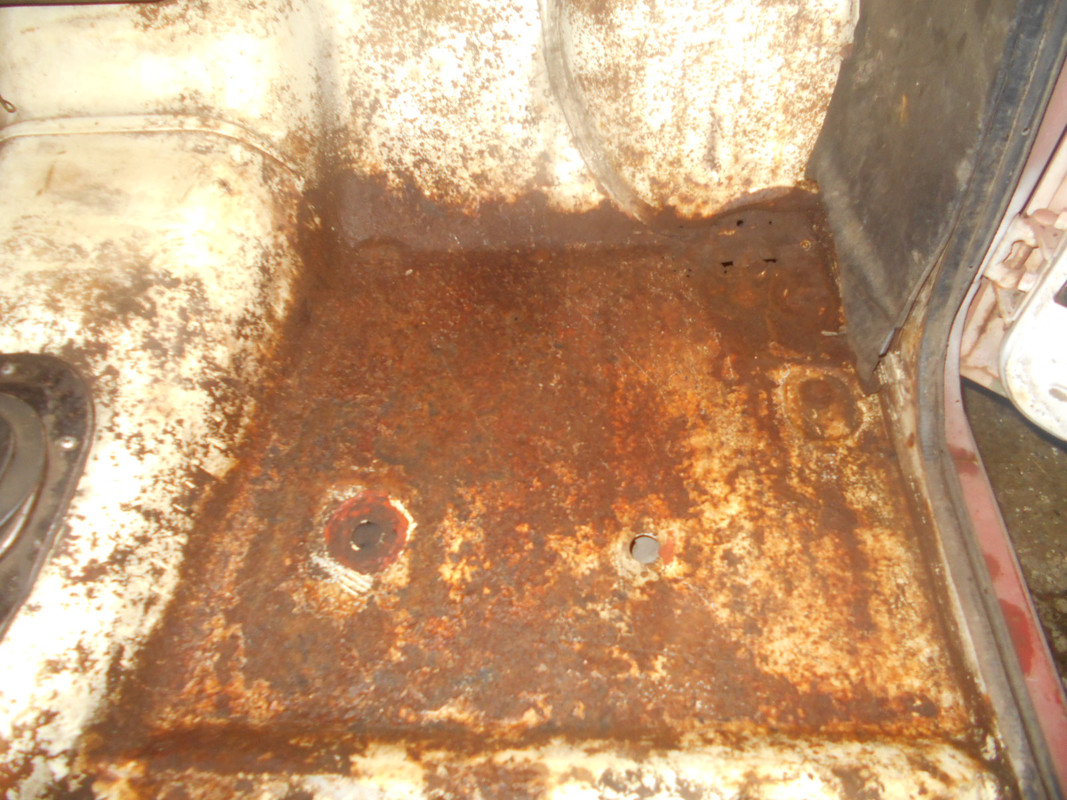
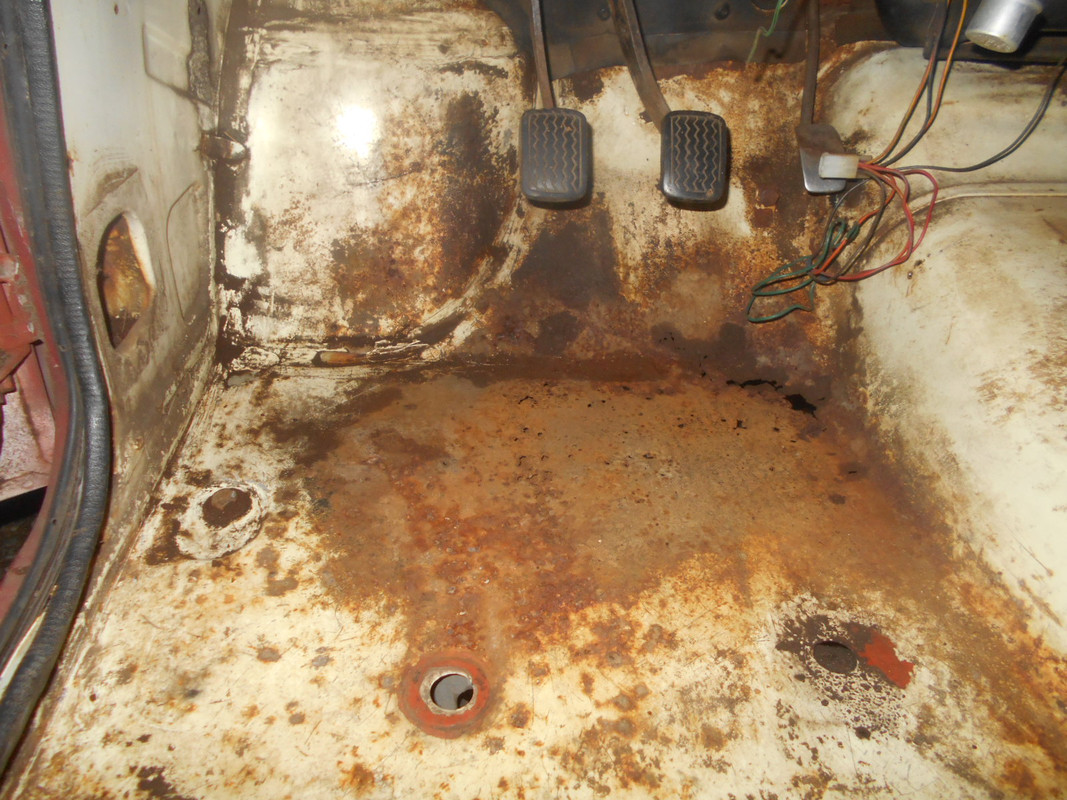
I then looked at the floor boards, I have seen better. :(
Passenger side
Image
Driverside
Image
I have some holes, the passenger side had a re-tread let loose several years ago and it beat the floor board so bad I had to pound it back down to the way it was before, there are some holes there, I also have holes on the driver side radiating from the gas pedal location outward, the cab mount areas are still solid, so I believe I will just weld in some metal over the holes and treat everything with POR15 and call that good, I believe I will lift the cab off the frame before I do any metal work/welding, I really would like to add maybe 4 inches to this cab but it's too much work, I felt cramped after moving the other rigs around and then hopping in this one.
“The difference between genius and stupidly is that genius has its limits” Albert Einstein
User avatar
wayno
Posts: 5309
Joined: Thu Jun 27, 2013 8:44 pm
Location: Vancouver WA
Has thanked: 430 times
Been thanked: 1295 times

Re: Waynos work truck.

#226

Post by wayno »

I lifted the cab off the frame/chassis today and started the floor board repairs.

Image

Image

Image

Image
Welding on that crappy metal is not fun, I gave up for today, tomorrow is another day, I should finish both of them.
“The difference between genius and stupidly is that genius has its limits” Albert Einstein
User avatar
DRIVEN
Posts: 7696
Joined: Thu Jun 27, 2013 7:05 pm
Location: I've been everywhere
Has thanked: 1204 times
Been thanked: 1180 times

Re: Waynos work truck.

#227

Post by DRIVEN »

Those jacks sure are handy.
When the only tool you have is a hammer every problem starts to look like a hippy.
User avatar
wayno
Posts: 5309
Joined: Thu Jun 27, 2013 8:44 pm
Location: Vancouver WA
Has thanked: 430 times
Been thanked: 1295 times

Re: Waynos work truck.

#228

Post by wayno »

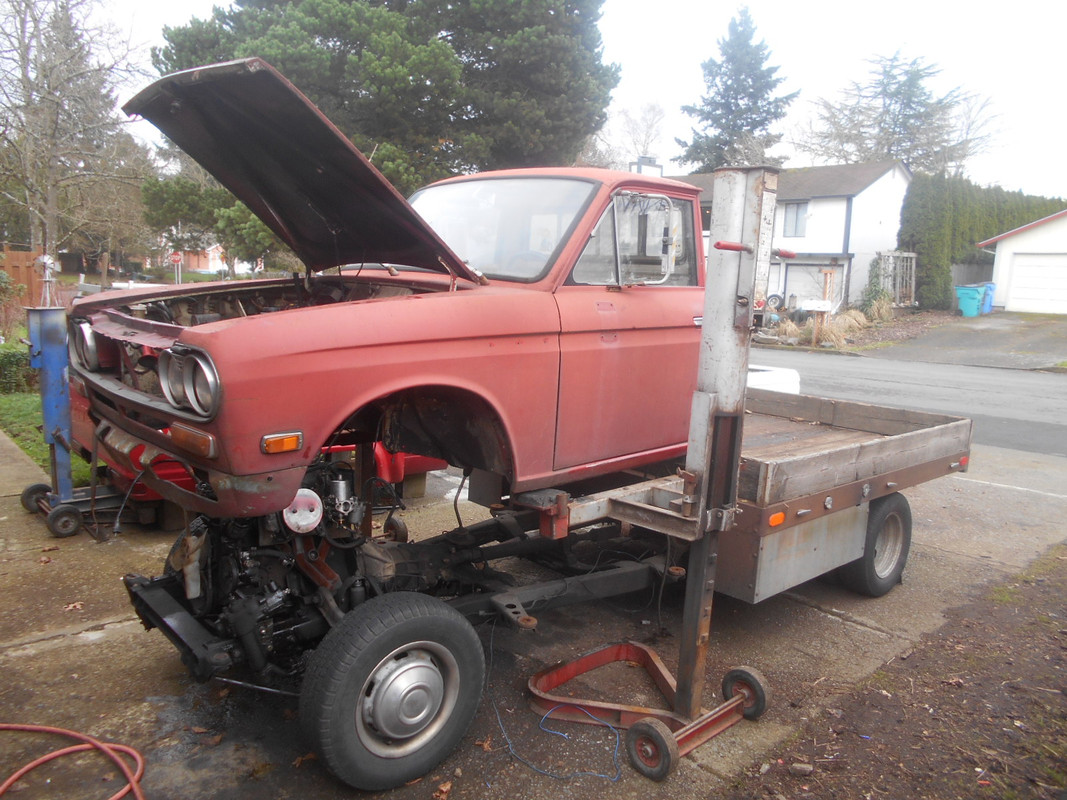
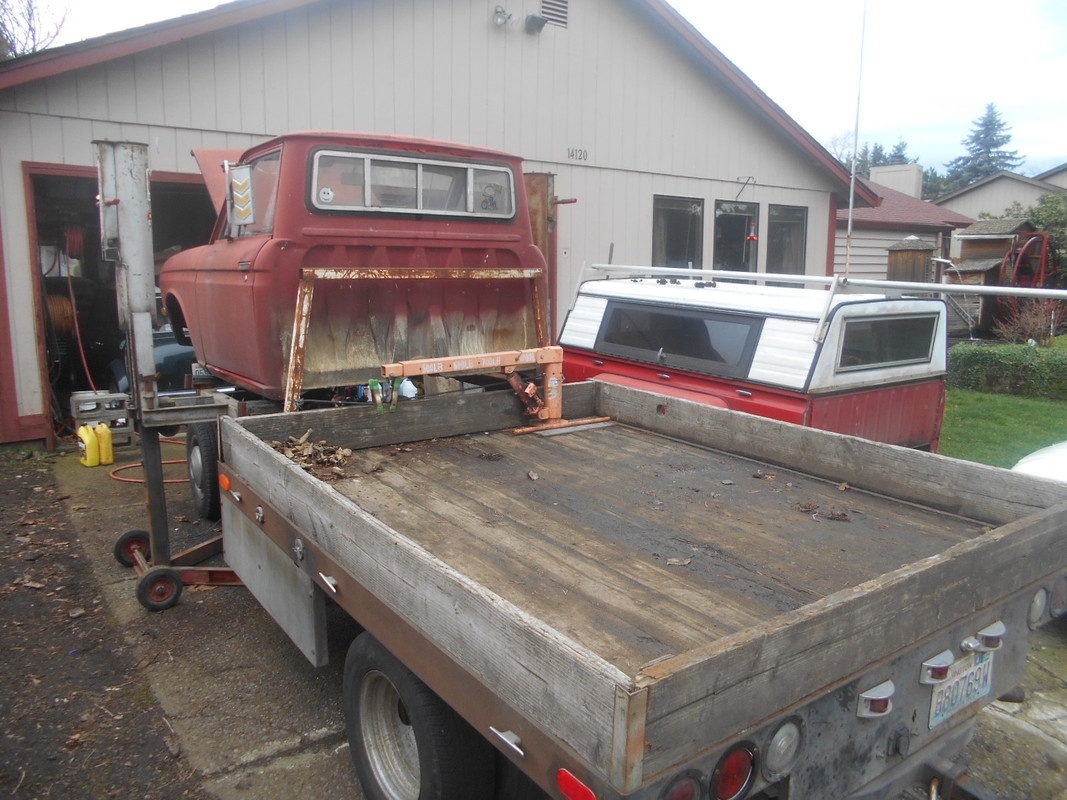
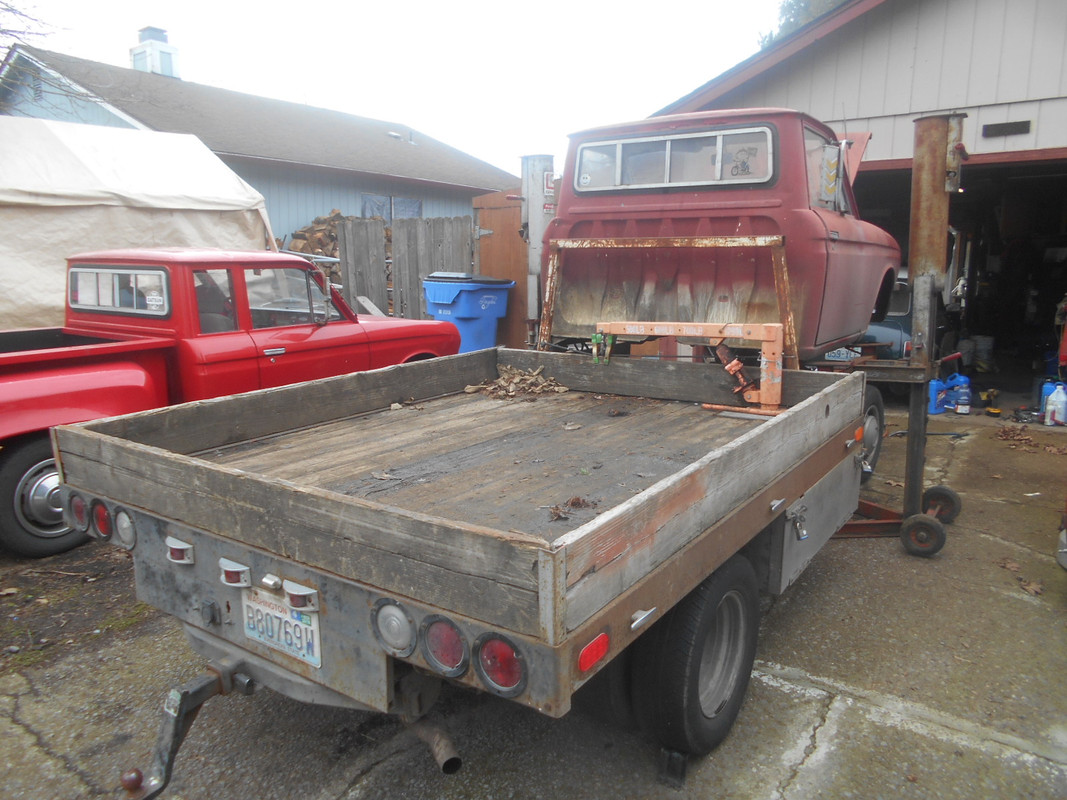
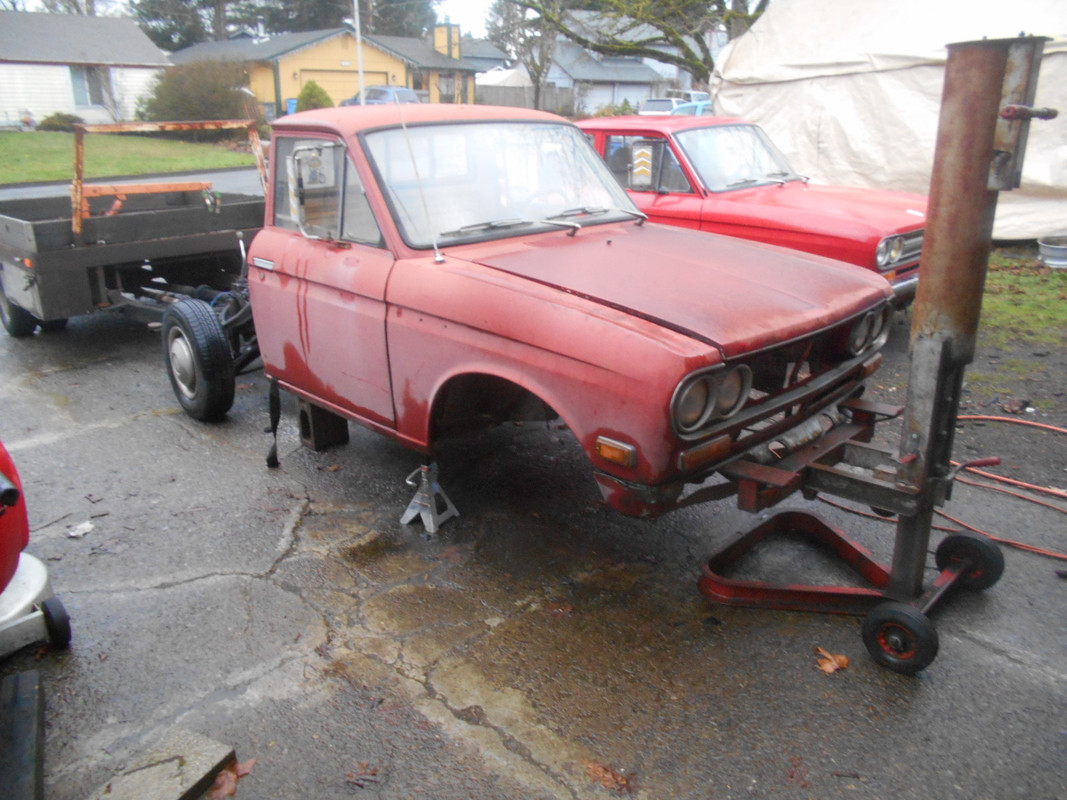
I had to let the air out of the front tires to get the chassis/frame with engine out from under the cab, the SUs and Valve cover kept hitting the bottom of the cab.
I have been doing cab conversions for several years, but this is the second time now I have used the air jacks to remove a cab this way(first one was the 86 cab I cut up), wish I had thought of it sooner as it is way easier and less damage is caused, but it is harder to get into the cab with them in the way like they are, but it doesn't take near the time to remove the cab.
It really helps that two of them are exactly the same and have no issues, I have a 3rd one like these 2 but it has a valve issue and is either rising or falling, I can use it but I have to be there and watch it like a hawk, it works well if I lock it at a certain level and disconnect the air, I would never use it on the side like I did today.
“The difference between genius and stupidly is that genius has its limits” Albert Einstein
User avatar
wayno
Posts: 5309
Joined: Thu Jun 27, 2013 8:44 pm
Location: Vancouver WA
Has thanked: 430 times
Been thanked: 1295 times

Re: Waynos work truck.

#229

Post by wayno »

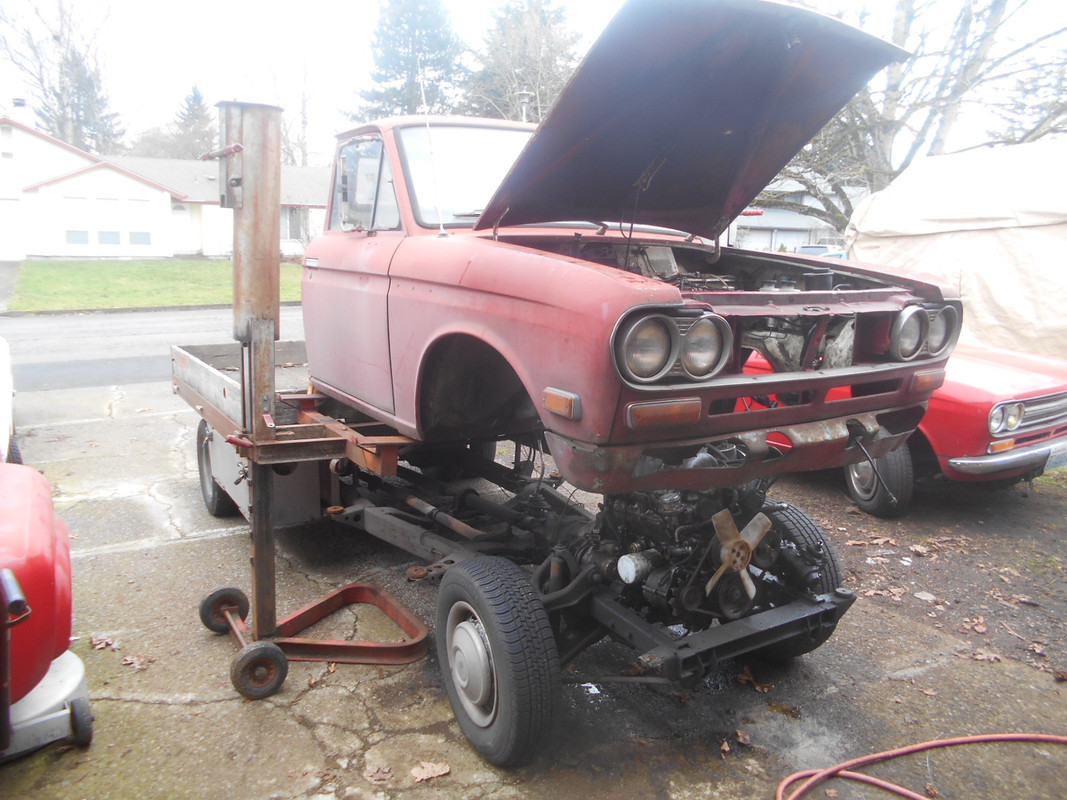
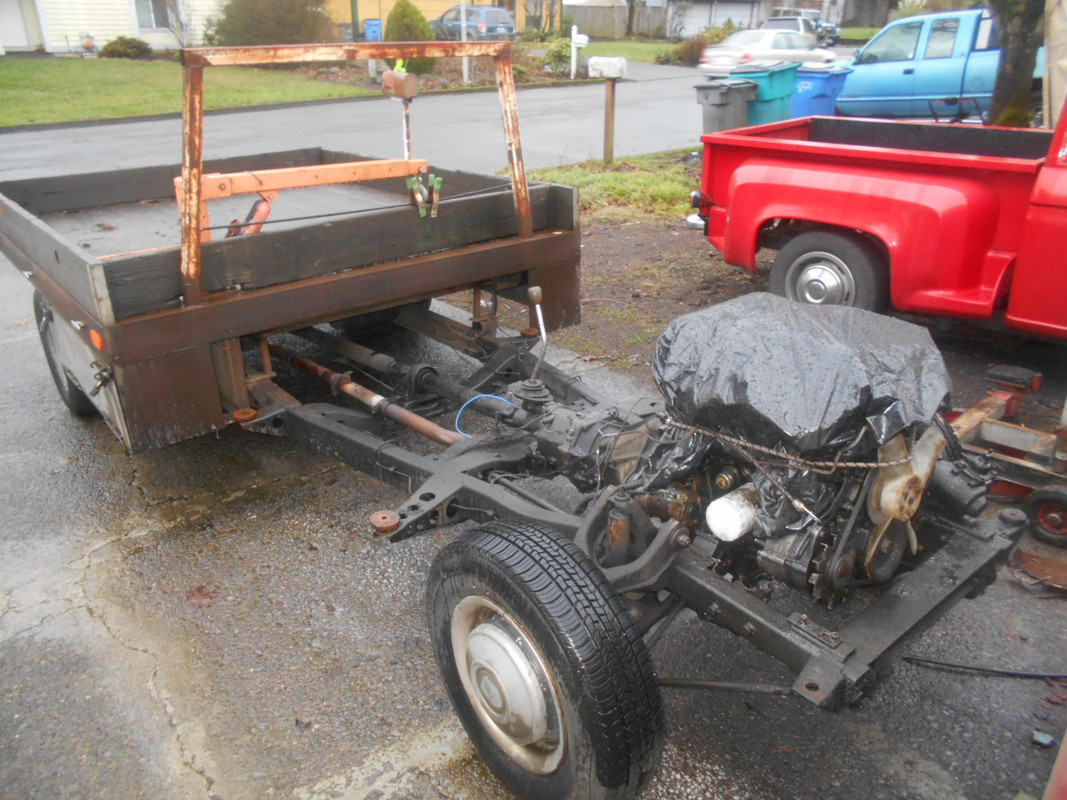
It is sitting in the driveway like this right now, the front air jack is just to keep it from possibly tilting forward.
Image
Here is the chassis with engine, it is raining out right now.
Image
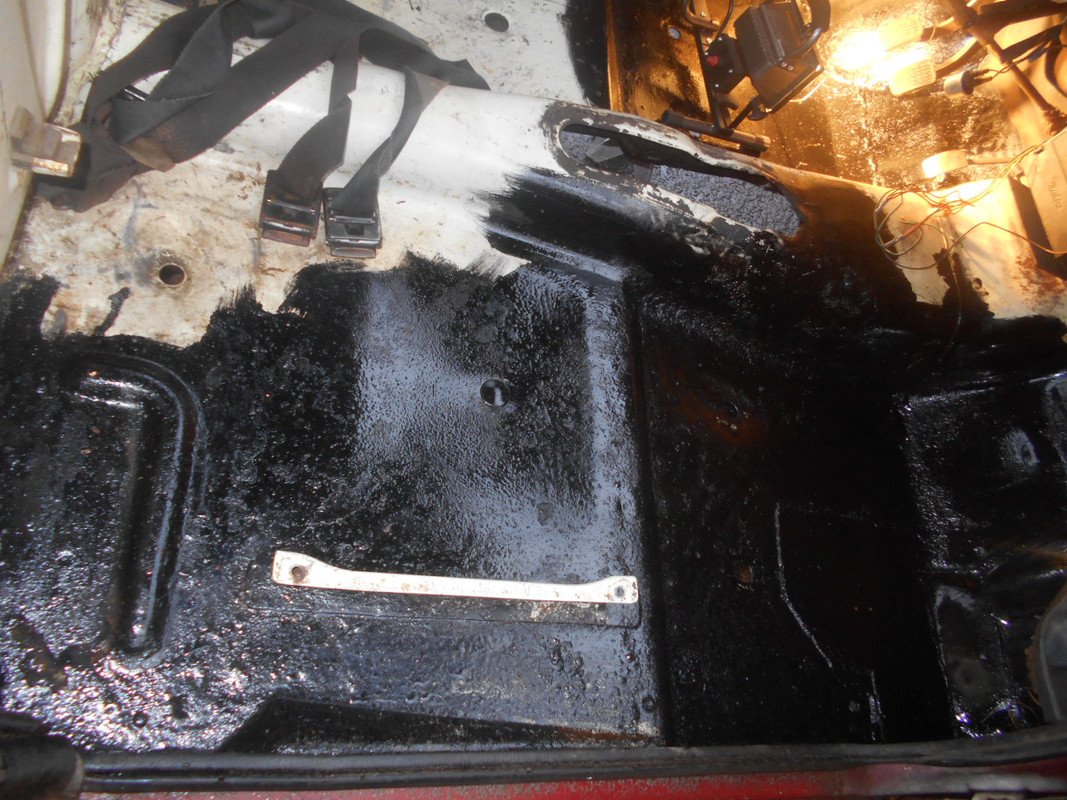
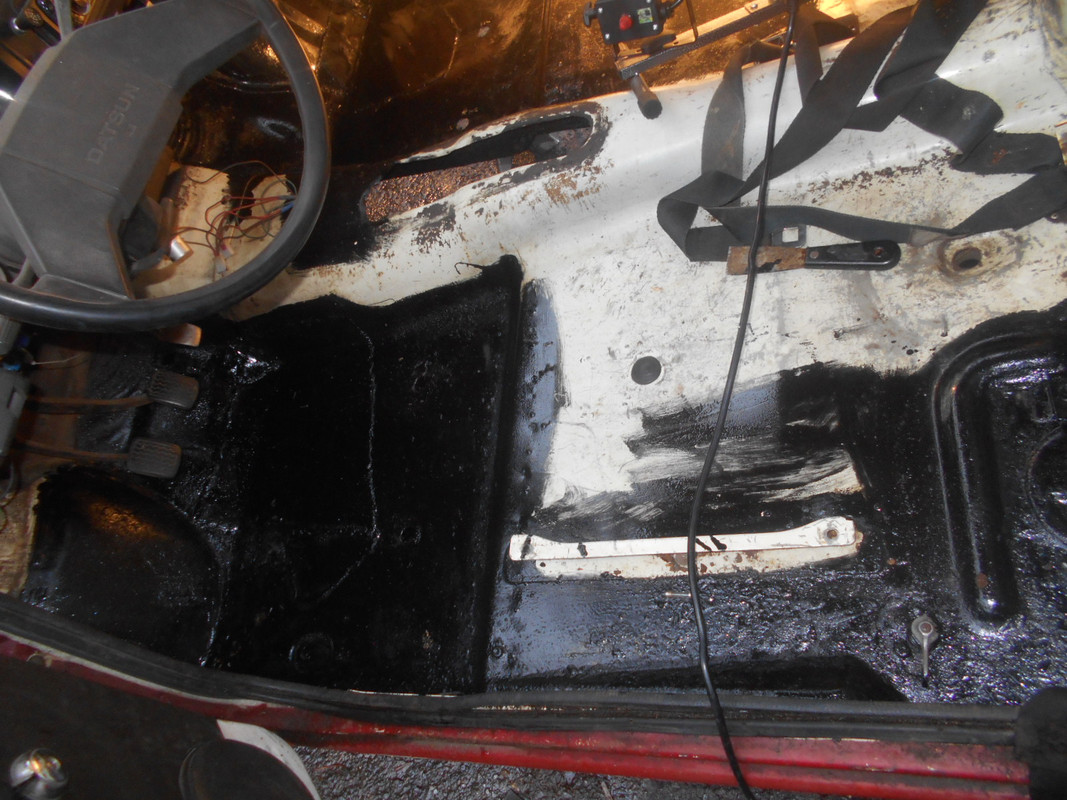
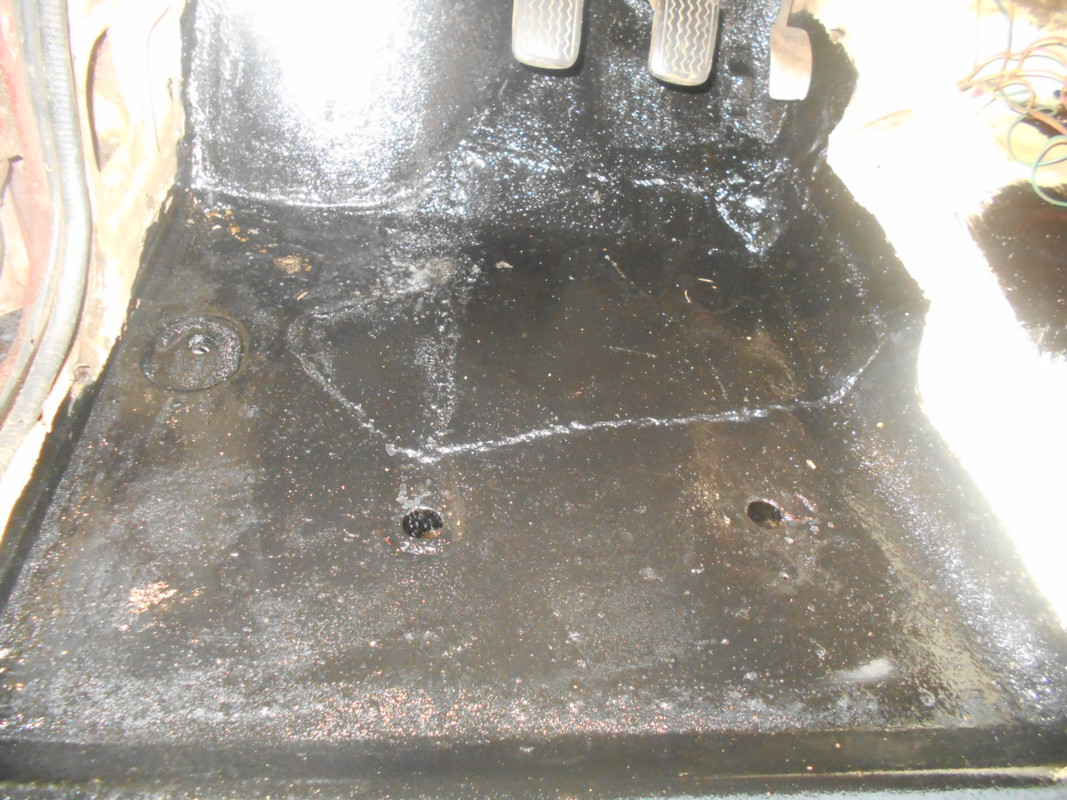
I finished welding up the floor boards and painted them with POR15.
Passenger side
Image
Driver side
Image
Driver side foot well
Image
“The difference between genius and stupidly is that genius has its limits” Albert Einstein
User avatar
wayno
Posts: 5309
Joined: Thu Jun 27, 2013 8:44 pm
Location: Vancouver WA
Has thanked: 430 times
Been thanked: 1295 times

Re: Waynos work truck.

#230

Post by wayno »

I went to the Sherwood wrecking yard again today, it said there was 2 1980 Datsun 720s, well it was there and had the oil pan I needed so I will not have to remove the oil pan from the LZ20 I put together which makes me happy.
so today I bought the 1980 oil pan(had to weld the hole up in that one also), I bought the starter which appears to work(new looking), I bought the steering wheel because it looked better than mine, and I also got the transmission plate off the other truck I raided the last time I was there, I had to stick the cross member from under the oil pan into the crank as the bolt I stuck in the cam gear bent and broke the cam gear, it was not easy to get them flywheel bolts loose, I brought my large breaker bar and a impact socket this time, the total was under $75.00 out the door and I think he gave me the tranny plate.
While I was there I always check all 720s and hardbodies with H190s in them for 3.30 gears and LSDs, the first 92 D21 I came to both wheels turned the same direction, so I pulled the axles and dropped the pumpkin thinking I found another LSD(3.50 gears), it hit the ground and I seen it was welded up and not an LSD, that was a waste of time, the truck looked like it had spun out and hit a power pole dead center in the rear, I never seen a rear end accident where it got damaged like that, sorry did not have the camera with me.
“The difference between genius and stupidly is that genius has its limits” Albert Einstein
User avatar
DRIVEN
Posts: 7696
Joined: Thu Jun 27, 2013 7:05 pm
Location: I've been everywhere
Has thanked: 1204 times
Been thanked: 1180 times

Re: Waynos work truck.

#231

Post by DRIVEN »

Good haul. I wouldn't mind a 3.30 or 3.50 for my wagon.
When the only tool you have is a hammer every problem starts to look like a hippy.
User avatar
wayno
Posts: 5309
Joined: Thu Jun 27, 2013 8:44 pm
Location: Vancouver WA
Has thanked: 430 times
Been thanked: 1295 times

Re: Waynos work truck.

#232

Post by wayno »

I see H190 3.50 gearsets all the time in hardbodies with an H190, seen one today with welded up spider gears, the 3.30 gears are rare.
“The difference between genius and stupidly is that genius has its limits” Albert Einstein
User avatar
DRIVEN
Posts: 7696
Joined: Thu Jun 27, 2013 7:05 pm
Location: I've been everywhere
Has thanked: 1204 times
Been thanked: 1180 times

Re: Waynos work truck.

#233

Post by DRIVEN »

I never even think to look under hardbodies. I guess I just focus too much on Datsuns.
When the only tool you have is a hammer every problem starts to look like a hippy.
User avatar
Laecaon
Site Admin
Posts: 4793
Joined: Wed Jun 26, 2013 7:21 pm
Cars: '71 510 Wagon, 02 BMW 325i Wagon
Location: PDX, West side.
Has thanked: 288 times
Been thanked: 329 times

Re: Waynos work truck.

#234

Post by Laecaon »

2wd Hardbodies only.

Sherwood PnP is actually a nice place. Ive never really had any bad dealings there, and have gotten plenty of stuff for free.
User avatar
wayno
Posts: 5309
Joined: Thu Jun 27, 2013 8:44 pm
Location: Vancouver WA
Has thanked: 430 times
Been thanked: 1295 times

Re: Waynos work truck.

#235

Post by wayno »

Yea, it is the best place of the 3 places left, but it is a long ways away from my house, close to 40 miles each way for me.
First thing I did was remove the LZ20 from the 86 Chassis and put it back into the engine stand, then I did some moving stuff around, both chassis/frames are out front now, and I actually put the cab on the 86 chassis/frame this evening for a test fit, the 2 front body mounts under the radiator are done but not tightened down yet, tomorrow if it is not pouring rain I will figure out the other 4 mounts, it appears I will have to do some minor trimming around the upper control arms and around the front brake line connections.
I believe I will lift the cab off the chassis/frame to install the engine, but plans can change.
“The difference between genius and stupidly is that genius has its limits” Albert Einstein
User avatar
wayno
Posts: 5309
Joined: Thu Jun 27, 2013 8:44 pm
Location: Vancouver WA
Has thanked: 430 times
Been thanked: 1295 times

Re: Waynos work truck.

#236

Post by wayno »

Today it was lightly raining quite a bit of the day so I didn't lay on the ground at all today, I removed the LZ23 from the 521 chassis/frame after I pressure washed it, I then removed the transmission, exhaust and dual SUs.
Next I removed the 521 oil pan/oil pick up tube and installed the 720 L20b oil pan/pick up tube, next I reworked the power steering pump mount bracket and adjustment bracket, the latter adjustment bracket had cracked and needed welding, the mount bracket was not aligning the pulleys properly, also when I removed the mount bracket one of the mount bolts had sheared off in the block, I had to drill and easy out that one, and there was nothing easy about getting that one out, but all is good now.
Next I removed the alternator mount bracket and prepared to drill the 3rd mount bolt that had sheared off a few years ago, that one spun out with a screw driver without any issues, that is done now also.
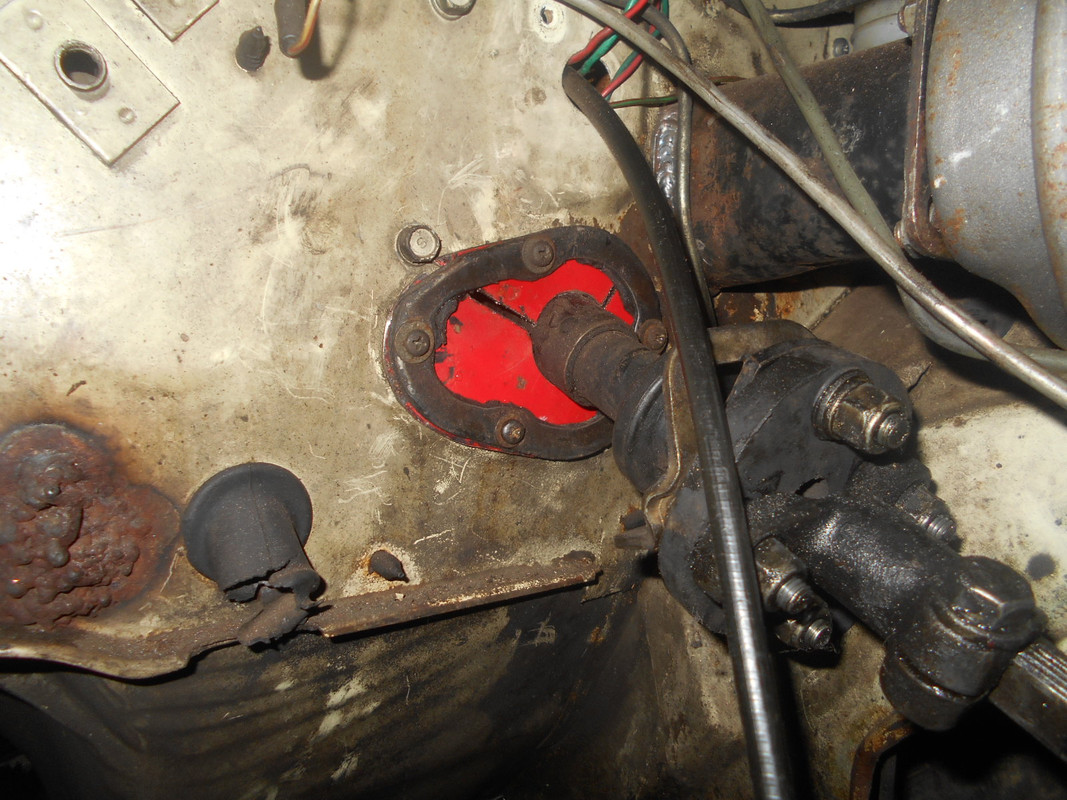
Next I looked at the steering column and the giant hole it went thru in the firewall, I decided to try something easy, so I removed the rubber gasket holder ring from the firewall, made a piece of sheet metal the same size as the ring with the holes, then I drilled a hole the size of the column in the proper spot, I then cut a piece of it out so I could get it on the column, I then mounted it on the firewall, I am planning to put some silicone on the slits I made to get the plate on the column, I am hoping it don't rattle and now the column will not move around like it did before, it moved up and down a lot.
Image
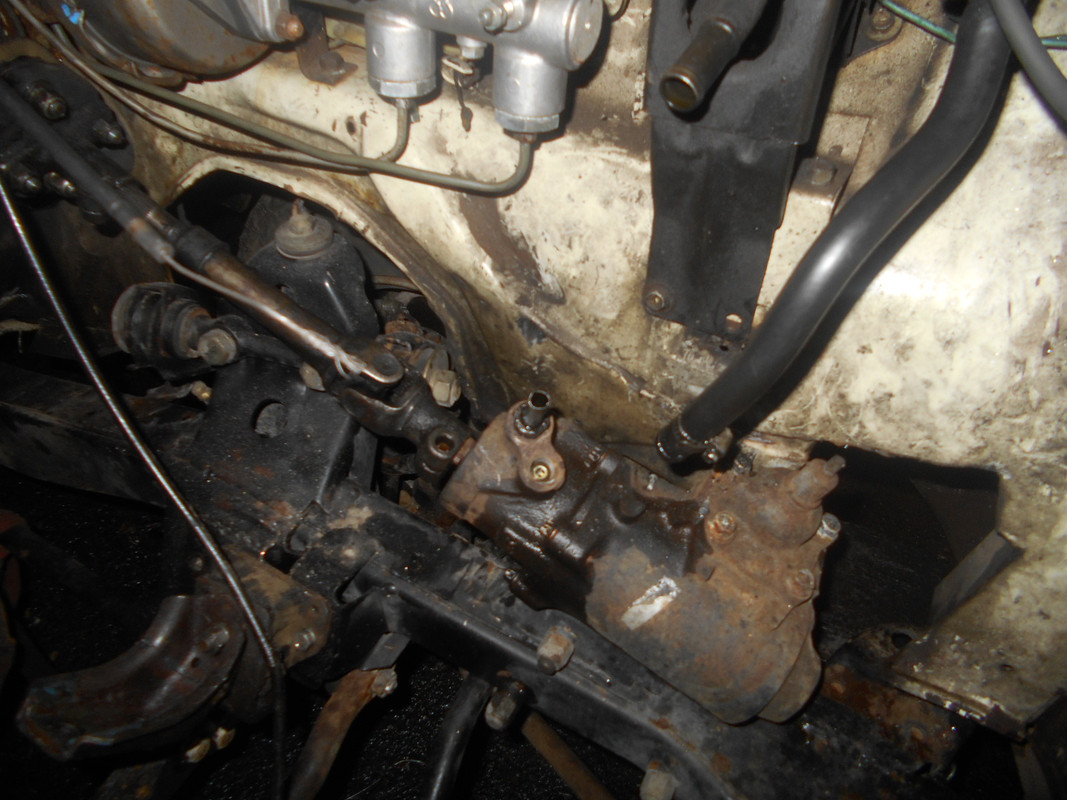
I also compressed the column so it would mount onto the steering gear, the steering gear is closer to the firewall in it stock location on this frame than is was where I mounted it on the 521 chassis/frame.
Image
I am hoping it is drier tomorrow so I can finish up the cab mounts.
“The difference between genius and stupidly is that genius has its limits” Albert Einstein
User avatar
wayno
Posts: 5309
Joined: Thu Jun 27, 2013 8:44 pm
Location: Vancouver WA
Has thanked: 430 times
Been thanked: 1295 times

Re: Waynos work truck.

#237

Post by wayno »

I worked on this again today, first I did the rest of the body mounts, the cab is now mounted to the chassis/frame, I think it is a little higher than I want, but to get it lower on the chassis/frame I will have to re-route the brake and fuel/vent lines going to the rear, it's not going to happen.
I then piped all the hydraulics(brake and clutch lines), I had to bend the front brake hose mounts to connect the brake lines the 521 way instead of the 720 way, I also used my 521 brake lines/hoses going to the calipers as they were SAE, I have not bled anything yet, but it is all together.
I then cut away all the sheet metal around the upper control arms and power steering gear that was touching or could touch, I really didn't have to cut much, then I bent everything back to close to the way it was stock(inner fenders).
Next I installed the LZ23, I decided to try installing it without lifting the cab off the chassis/frame, it took a while to get the engine mated to the transmission as it was twisted but I eventually got it, then I installed the engine mount brackets and dropped it onto the motor mounts, that went easier than I thought it was going to, the engine is in, now I will have to install the exhaust, I am going to try to install an L16 exhaust manifold with the head pipe on it, if it will not clear the frame/torsion bars way it is I will have to use a header again, the last thing I did was re-install the idler arm as I dropped it down to install the engine.
I keep finding water on the front floor boards, I have a leak somewhere on both sides.
I may get this thing running with the existing 521 wiring harness before I install the 720 wiring harness, power steering piping needs to be next I think then the intake/exhaust.
“The difference between genius and stupidly is that genius has its limits” Albert Einstein
User avatar
DRIVEN
Posts: 7696
Joined: Thu Jun 27, 2013 7:05 pm
Location: I've been everywhere
Has thanked: 1204 times
Been thanked: 1180 times

Re: Waynos work truck.

#238

Post by DRIVEN »

Been busy.
When the only tool you have is a hammer every problem starts to look like a hippy.
User avatar
wayno
Posts: 5309
Joined: Thu Jun 27, 2013 8:44 pm
Location: Vancouver WA
Has thanked: 430 times
Been thanked: 1295 times

Re: Waynos work truck.

#239

Post by wayno »

I don't like it when a vehicle will not move under it's own power, so I work a little harder.
“The difference between genius and stupidly is that genius has its limits” Albert Einstein
User avatar
wayno
Posts: 5309
Joined: Thu Jun 27, 2013 8:44 pm
Location: Vancouver WA
Has thanked: 430 times
Been thanked: 1295 times

Re: Waynos work truck.

#240

Post by wayno »

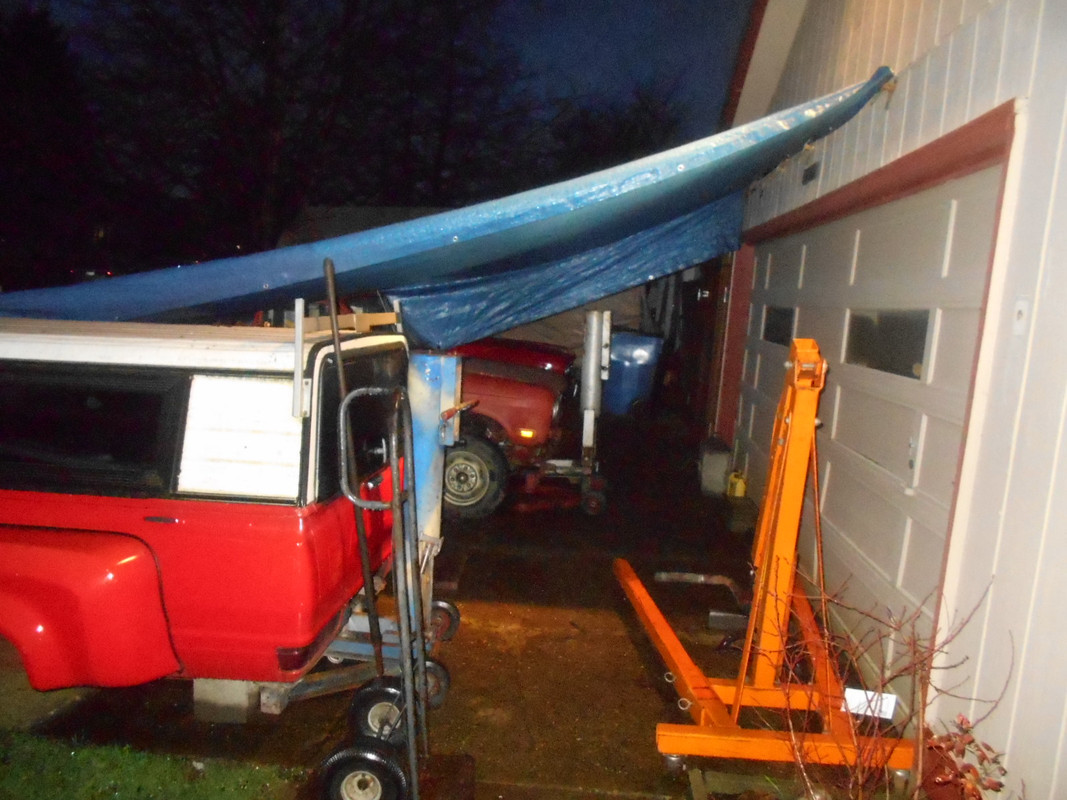
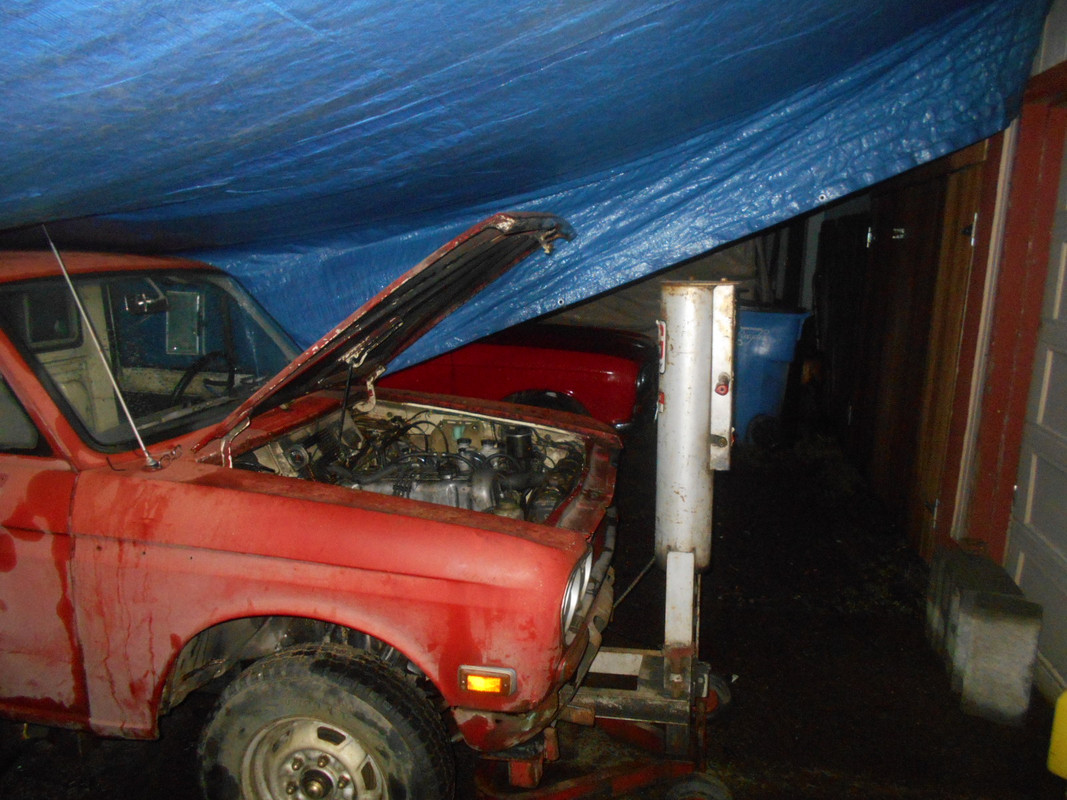
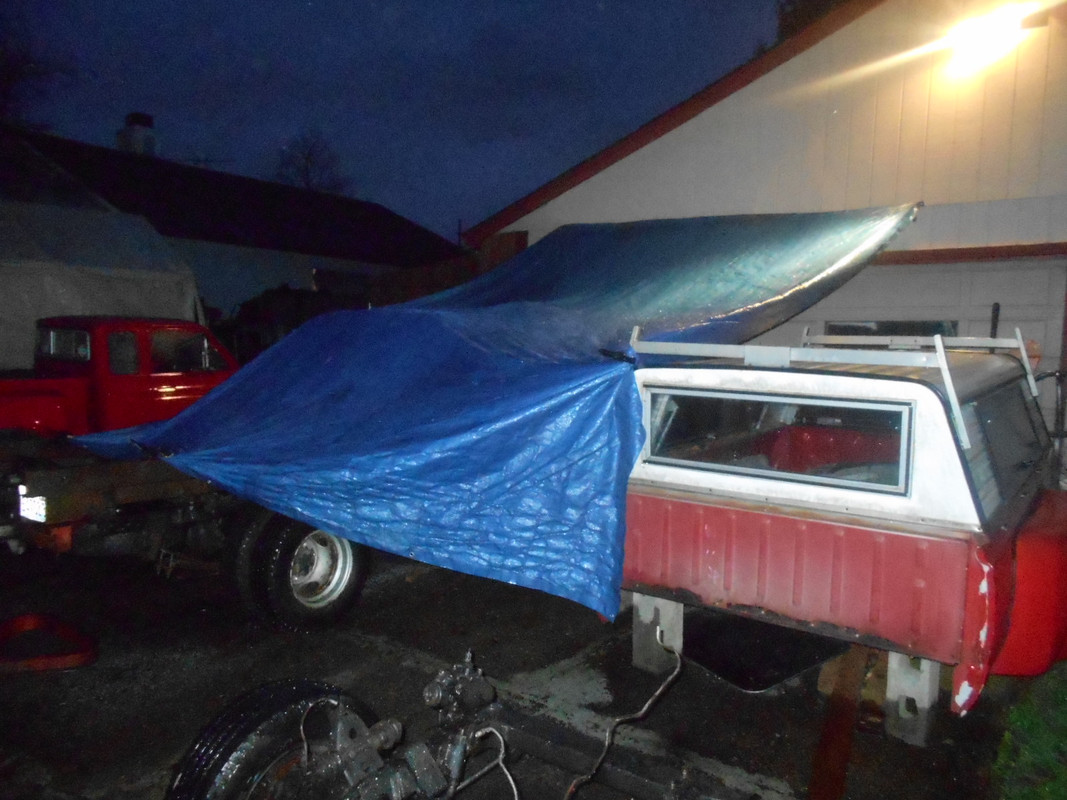
Well today I used a tarp for shelter from the rain.
Image

Image

Image
Next I piped the power steering hoses, all that is left is to fill it with fluid.
Next I figured out the exhaust, I have all this stuff I have collected over the years, I could not find an L16 exhaust manifold without smog shit on it, so I went into the attic and started looking at what I have in headers, I have a lot of L block headers, the really nice thick one pointed right at the torsion bar, another one did the same thing, I suspect they are 510 headers, I have another couple like the one that was on the work truck which is old and I am afraid if I used it that it would start leaking right away, but before committing to that type I went up and looked at what else I had, I have 2 Datsun 620 headers and one long tube header that definitely would not fit, the 2nd one I could not get past the frame/torsion bars, the 3rd one I actually fit and I was able to get it in there even though it exits all the way under the truck, I could hardly believe it, and another plus is that it also is made out of thick metal unlike the Top End headers which are very light.
Next I installed the intake system(dual SUs), that side if the engine is all together now except for the distributor wires, I moved to the other side and installed the starter and wired it, then wired the alternator and the oil pressure wiring.
I then bled the clutch master and the brakes, the driver side rear doesn't seem to work but I was planning to move the original rear axle to this truck as it has 4.37 gears and the one under this one has 4.625 gears, but I don't plan on doing that till this truck moves under it own power, I am not sure about the front brakes, I can't get anymore air out of them but i have power brakes now and they feel spongy like all power brake rigs feel when they are not running, I will have to get it moving to see how the brakes feel, I may just transfer the calipers off the original work truck as I know they are good, this truck sat for several years.
All the engine needs is the fuel system piped, fuel and oil/filter, I will do all that tomorrow, I have not decided how to wire the 720 fuel pump, put it on a keyed circuit, or on a keyed circuit with a toggle switch, normally I like mechanical fuel pumps, but i am not sure I have a good one anymore, but this chassis already has an electric fuel pump that works so i am going to go with that right now.
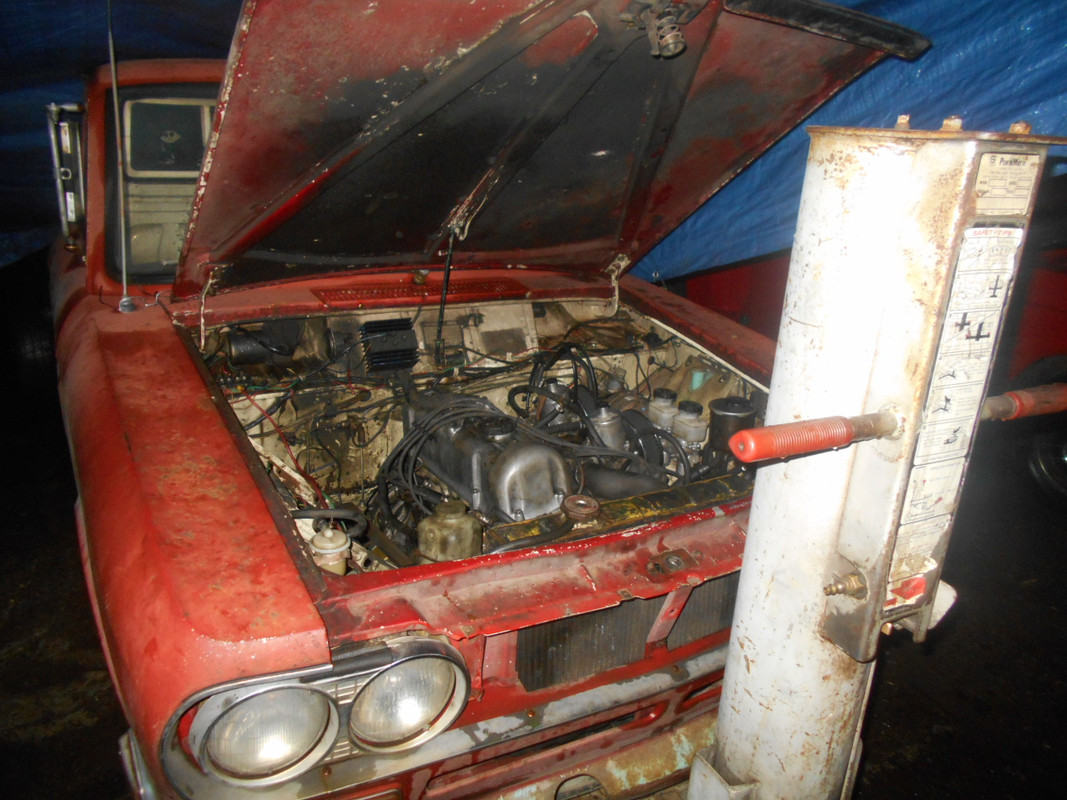
Engine in
Image
Dual SUs are even tighter in this chassis
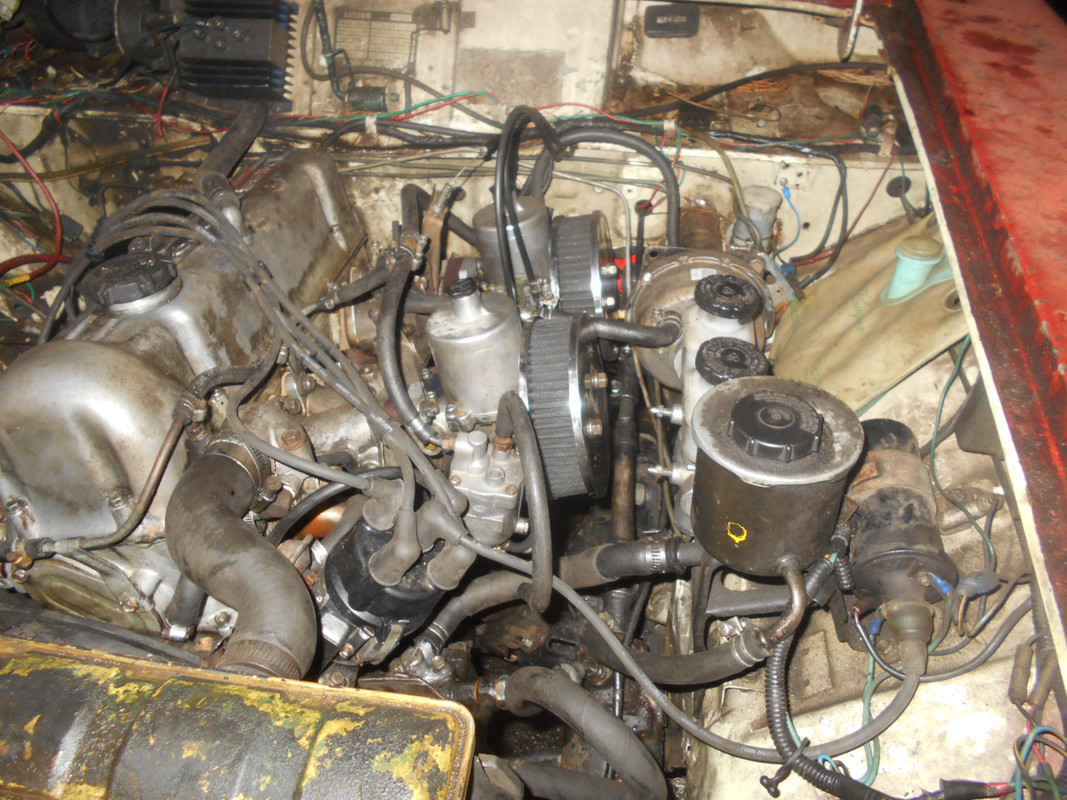
Image
I was able to use the stock 521 radiator cowl, that is a big plus.
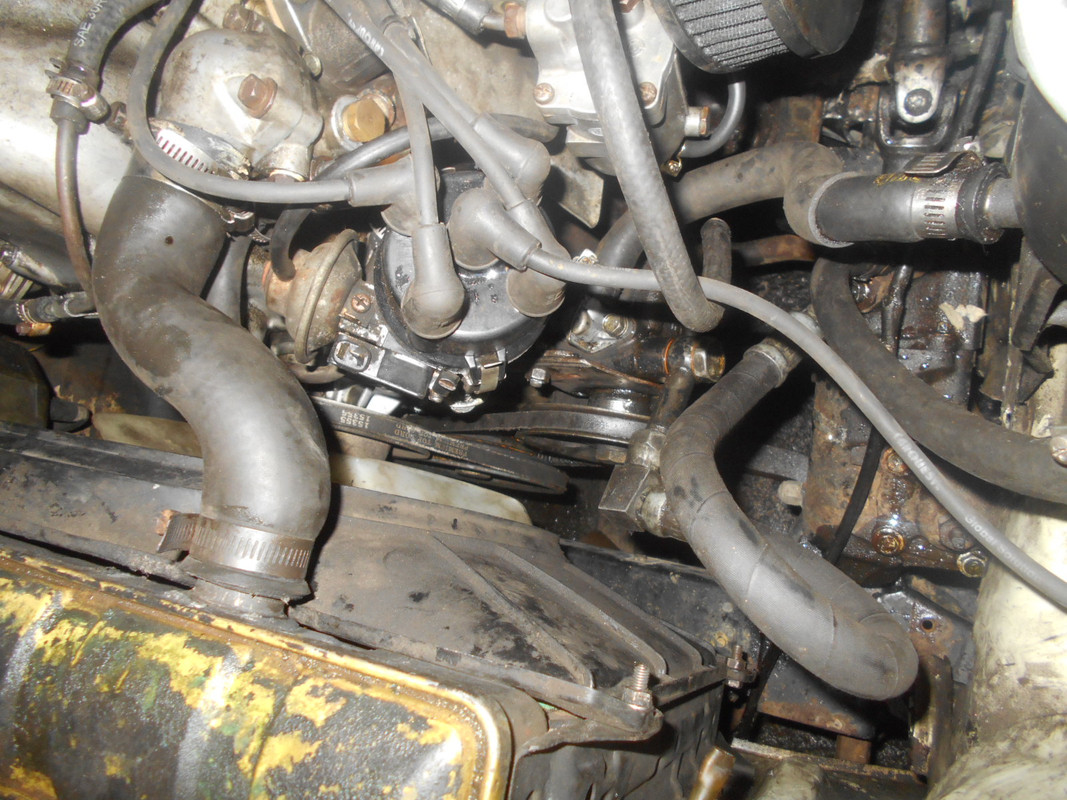
Image
Starter looks newer, all the wiring is done on this side.
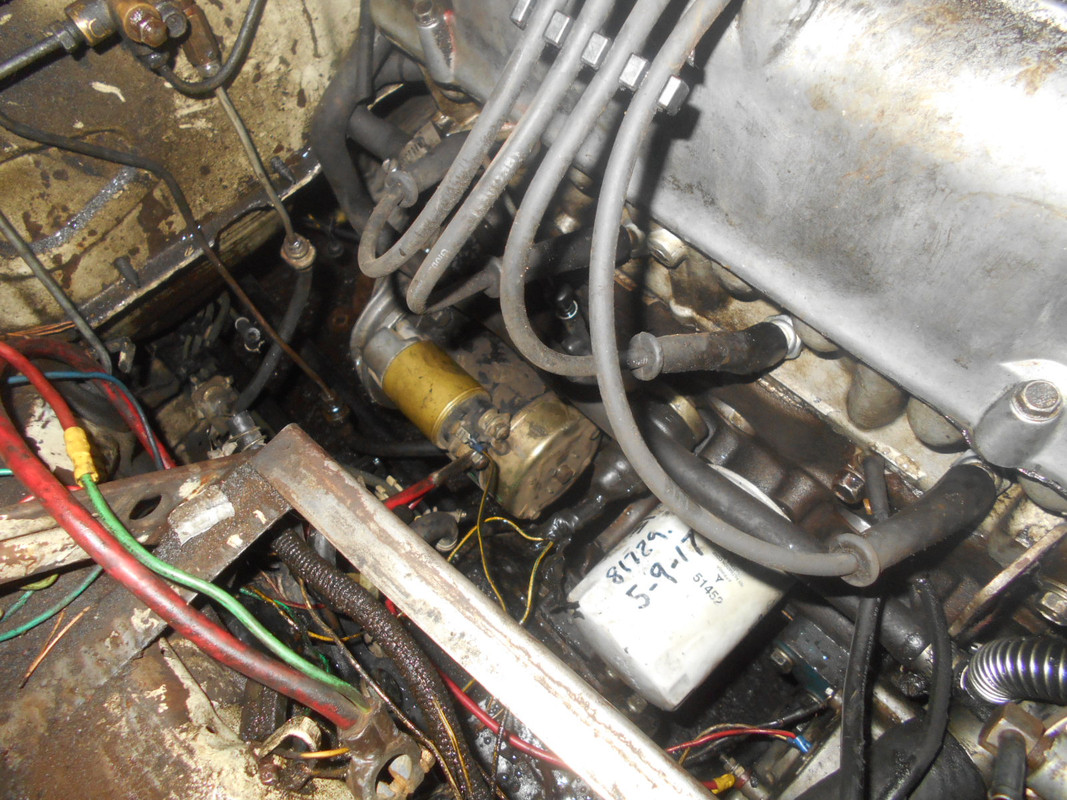
Image
“The difference between genius and stupidly is that genius has its limits” Albert Einstein
Post Reply