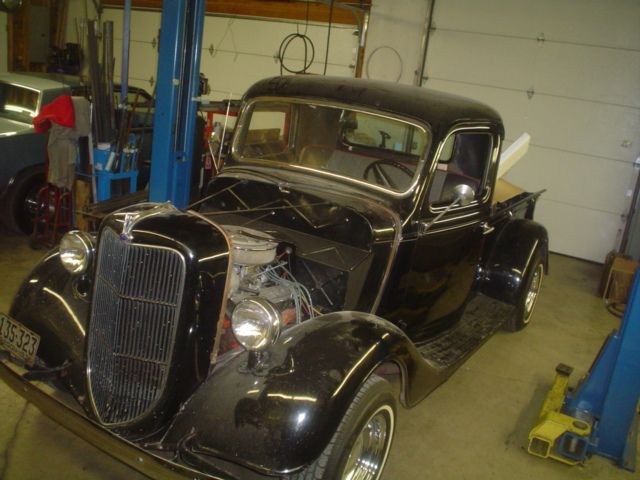
'36 Ford Pickup long deserved upgrades
- DRIVEN
- Posts: 7696
- Joined: Thu Jun 27, 2013 7:05 pm
- Location: I've been everywhere
- Has thanked: 1204 times
- Been thanked: 1180 times
'36 Ford Pickup long deserved upgrades
Since I expect this to be an ongoing ordeal, this is kind of a sub-thread from the "Projects From The Compound" for the sake of continuity.
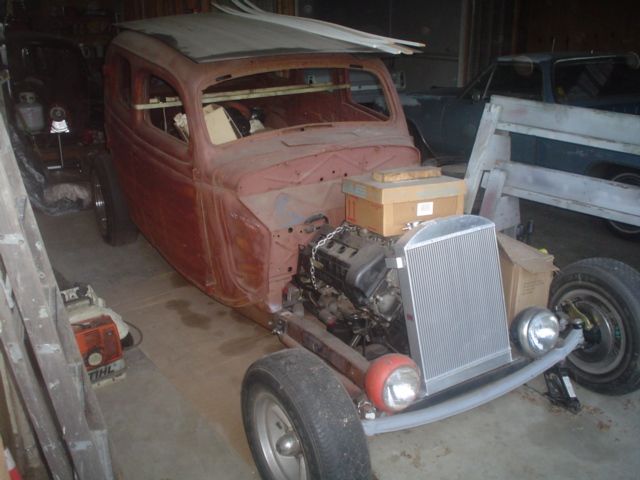
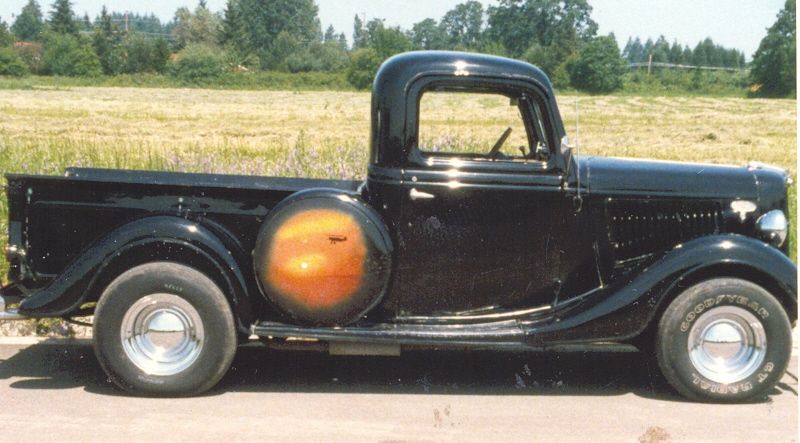
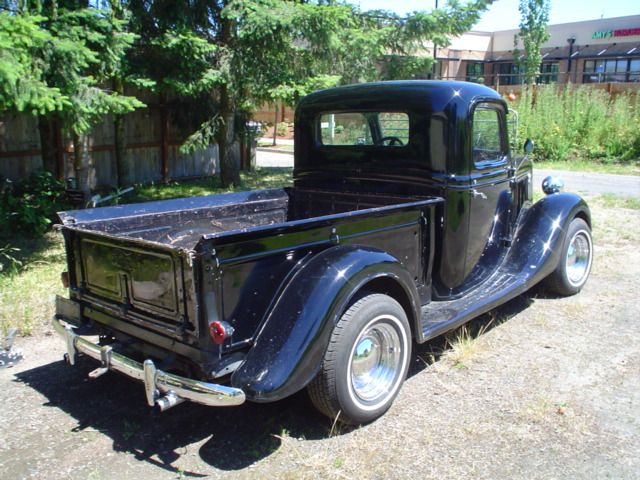
Preface, First some history; In 1956 my grandfather bought a mildly customized 1935 Ford pickup. Hot flathead, juice brakes, chopped top, bobbed '40 rear fenders (that I still have ), heavily louvered custom hood, Olds flipper hubcaps, dual chrome exhaust stacks, etc. It was his driver until my dad and uncle graduated high school. My uncle got the '35 (still has it), my dad got a '62 Impala. A few years later in the early '70s, after getting married, buying a house and settling into a good job, my dad went on the hunt for a '35/'36 pickup of his own. My grandpa was actually the one who located it as a relative stocker with a bad flathead. Once he got it home, my dad replaced it with a 283 and ran it for a few years until an axle failure prompted him to do an upgrade. At that point it received a 350hp 327, TH350, 9" rearend and front disc brakes. This was taken in 1985:
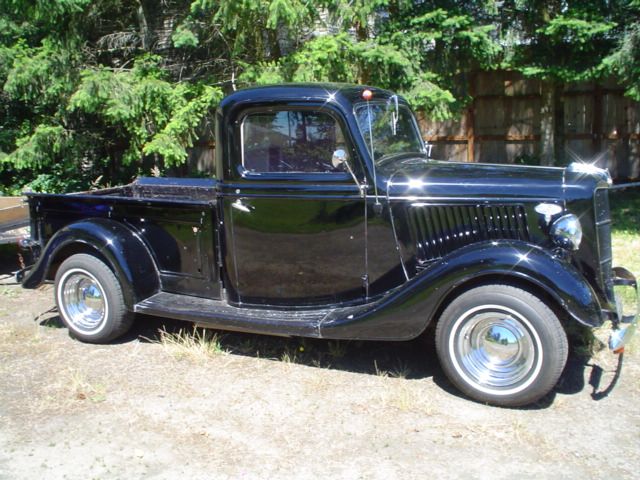
It remained much the same for almost 20 years and was rotated in and out of daily driver status. In 1996 my brother received it as a graduation present. It's been driven occasionally during summer months but over the last 3 decades has just plain mechanically worn out and has become a bit untrustworthy. Through a semi-complicated three-way labor/cash/parts trade involving my brother, our dad and myself, I'll be performing a mechanical refresh. My brother will be doing the body and paint work on my '35 pickup. These were taken in 2005 but it looks exactly the same today -- just has a thick layer of dust from sitting in the garage.
Chapter 1, Teardown:
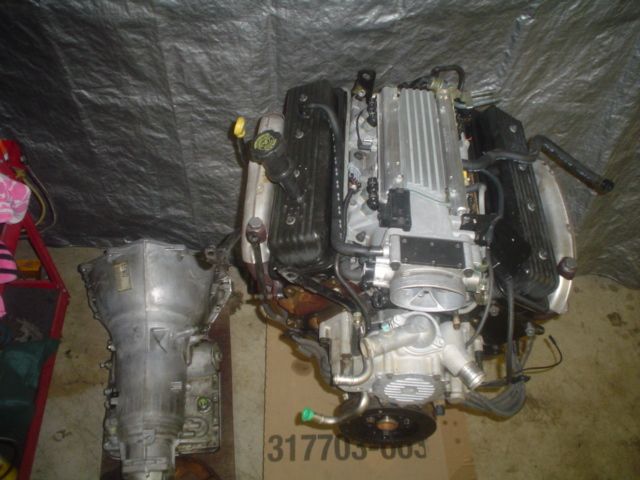
The engine is a '96 LT1 pulled from a Fleetwood that was wrecked in 1997 with 5000miles on the clock. I originally swapped the engine/trans into my dad's '64 El Camino in '98. A couple years later he added a Paxton supercharger. He quickly found out that boost+cheap gas+high compression+a shitty Street & Performance tune = piston failure. I swapped in dished pistons as insurance and got a better tune. Found out that S&P adds tons of timing but reverts to speed density. With no MAF, the pistons never stood a chance. He ran it for several more years and had no additional problems and racked up close to 50k miles. He got a deal on another low miler and decided to do a build in another direction so this engine was pulled. I tore it down yesterday with the intention of getting some stock flat tops put back in and maybe having the rotating assembly balanced. Found a few surprises along the way.
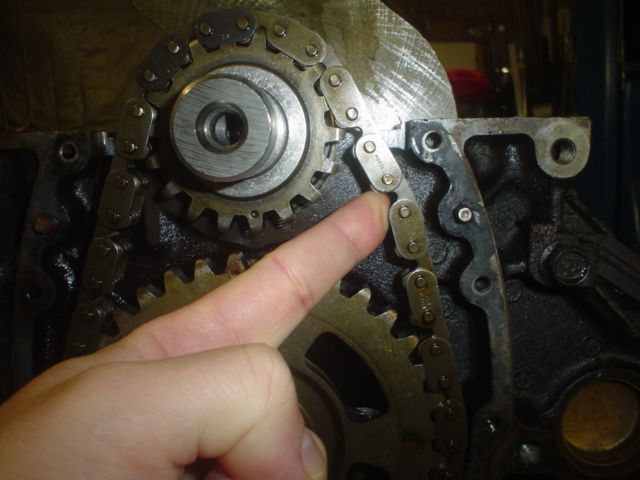
More chain stretch than I expected:
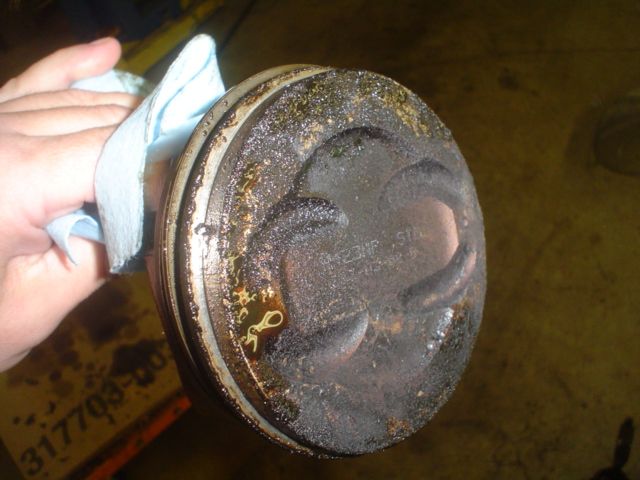
Dished pistons to be replaced:
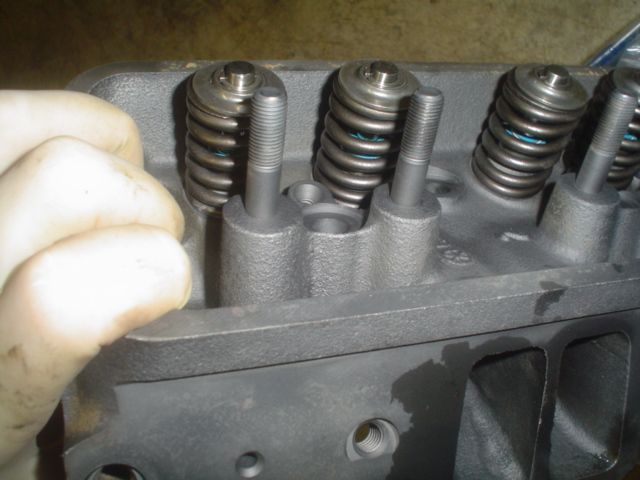
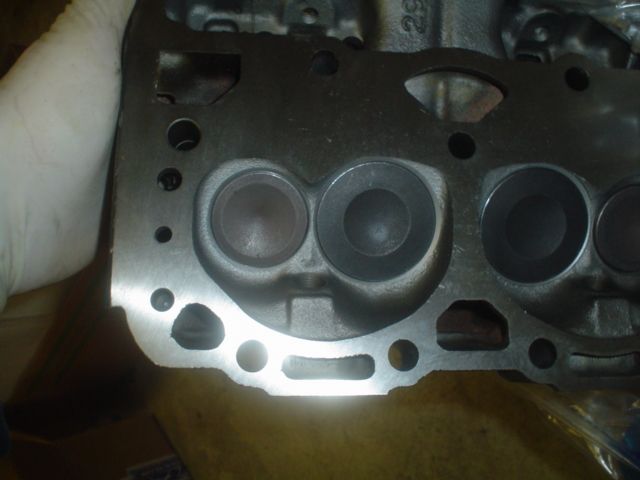
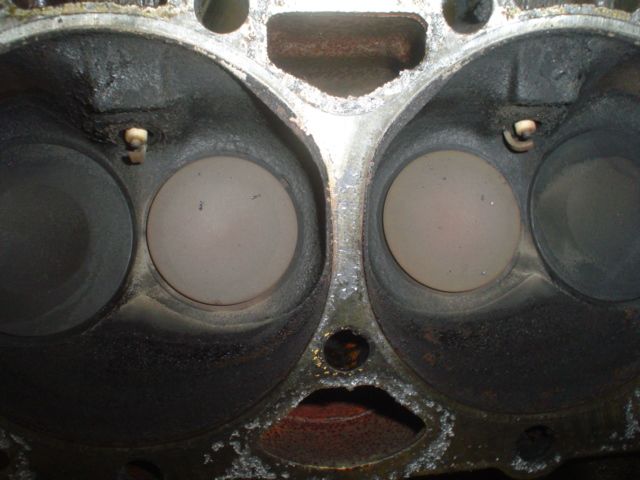
Some suspicious discolorations around several exhaust valves. Looks like it'll probably need a touch-up grind:
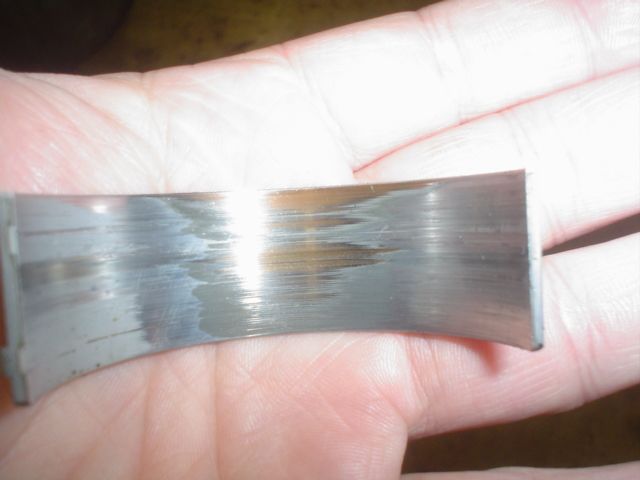
Some ugliness in the bearings:
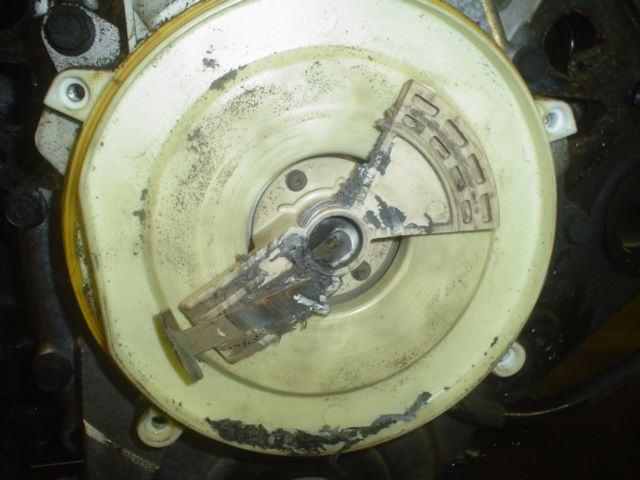
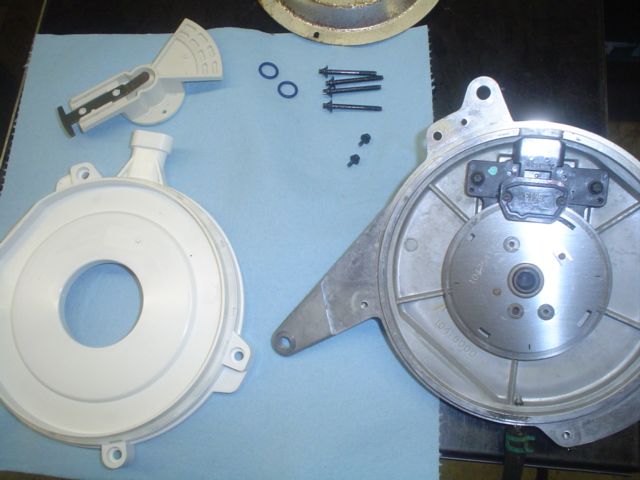
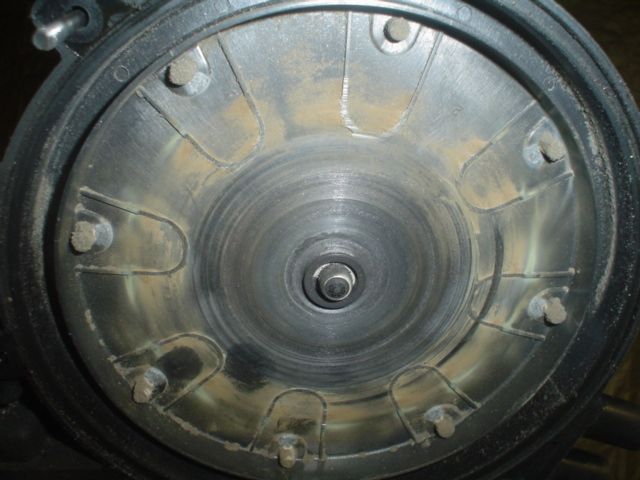
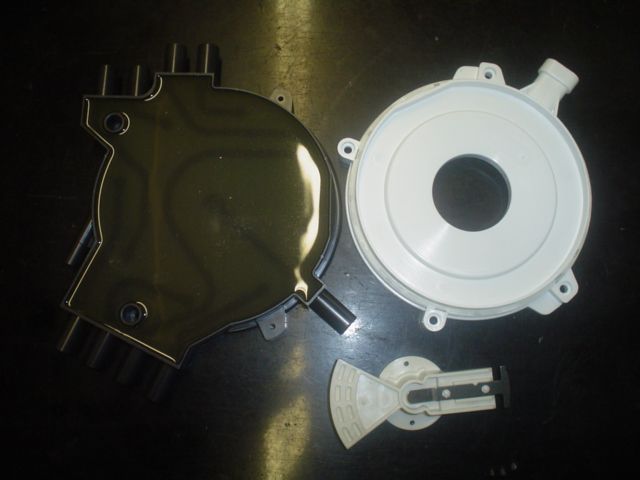
Here's the craziest thing. The cap had become deformed and pushed against the rotor so hard that they were rubbing. Usually an LT1 cap is pretty flat in the epoxied area. This thing was seriously dished. Surprisingly enough it made no noise and ran well. I wonder how much the timing was effected by that twisted rotor?
We're in decision mode right now. I'm leaning toward slapping new bearings in it, pistons and rings, new chain, cap and rotor, quick valve grind and run it. Since I'm just doing the labor they may decide to go deeper. More to come...
Preface, First some history; In 1956 my grandfather bought a mildly customized 1935 Ford pickup. Hot flathead, juice brakes, chopped top, bobbed '40 rear fenders (that I still have ), heavily louvered custom hood, Olds flipper hubcaps, dual chrome exhaust stacks, etc. It was his driver until my dad and uncle graduated high school. My uncle got the '35 (still has it), my dad got a '62 Impala. A few years later in the early '70s, after getting married, buying a house and settling into a good job, my dad went on the hunt for a '35/'36 pickup of his own. My grandpa was actually the one who located it as a relative stocker with a bad flathead. Once he got it home, my dad replaced it with a 283 and ran it for a few years until an axle failure prompted him to do an upgrade. At that point it received a 350hp 327, TH350, 9" rearend and front disc brakes. This was taken in 1985:
It remained much the same for almost 20 years and was rotated in and out of daily driver status. In 1996 my brother received it as a graduation present. It's been driven occasionally during summer months but over the last 3 decades has just plain mechanically worn out and has become a bit untrustworthy. Through a semi-complicated three-way labor/cash/parts trade involving my brother, our dad and myself, I'll be performing a mechanical refresh. My brother will be doing the body and paint work on my '35 pickup. These were taken in 2005 but it looks exactly the same today -- just has a thick layer of dust from sitting in the garage.
Chapter 1, Teardown:
The engine is a '96 LT1 pulled from a Fleetwood that was wrecked in 1997 with 5000miles on the clock. I originally swapped the engine/trans into my dad's '64 El Camino in '98. A couple years later he added a Paxton supercharger. He quickly found out that boost+cheap gas+high compression+a shitty Street & Performance tune = piston failure. I swapped in dished pistons as insurance and got a better tune. Found out that S&P adds tons of timing but reverts to speed density. With no MAF, the pistons never stood a chance. He ran it for several more years and had no additional problems and racked up close to 50k miles. He got a deal on another low miler and decided to do a build in another direction so this engine was pulled. I tore it down yesterday with the intention of getting some stock flat tops put back in and maybe having the rotating assembly balanced. Found a few surprises along the way.
More chain stretch than I expected:
Dished pistons to be replaced:
Some suspicious discolorations around several exhaust valves. Looks like it'll probably need a touch-up grind:
Some ugliness in the bearings:
Here's the craziest thing. The cap had become deformed and pushed against the rotor so hard that they were rubbing. Usually an LT1 cap is pretty flat in the epoxied area. This thing was seriously dished. Surprisingly enough it made no noise and ran well. I wonder how much the timing was effected by that twisted rotor?
We're in decision mode right now. I'm leaning toward slapping new bearings in it, pistons and rings, new chain, cap and rotor, quick valve grind and run it. Since I'm just doing the labor they may decide to go deeper. More to come...
When the only tool you have is a hammer every problem starts to look like a hippy.
- DRIVEN
- Posts: 7696
- Joined: Thu Jun 27, 2013 7:05 pm
- Location: I've been everywhere
- Has thanked: 1204 times
- Been thanked: 1180 times
Re: '36 Ford Pickup long deserved upgrades
Chapter 2, Reassembly:
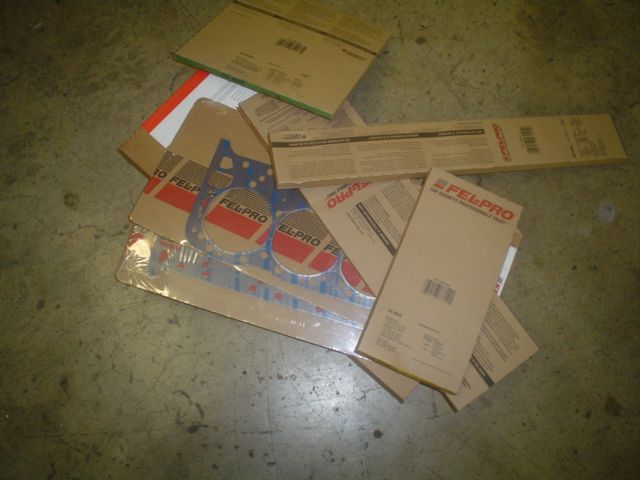
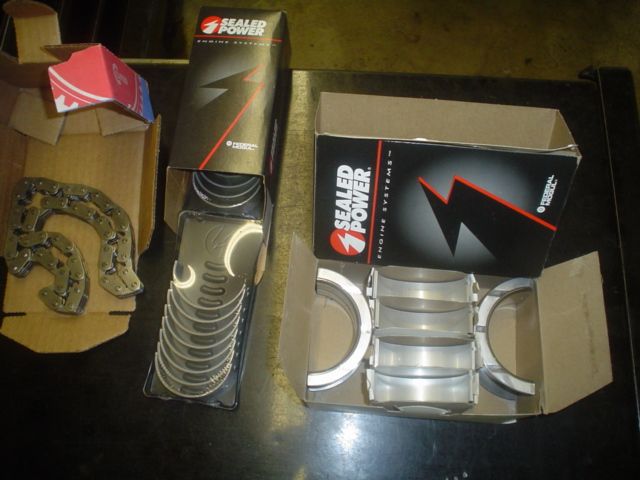
Well, all my goodies showed up. Rockauto provided gaskets, timing parts, and bearings.
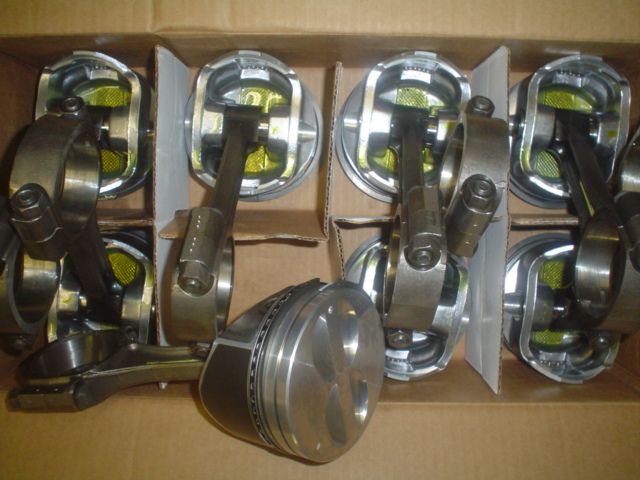
Mahle hypereutectic pistons (same as OE) and rings from ebay. Fresh from the machine shop along with the heads.
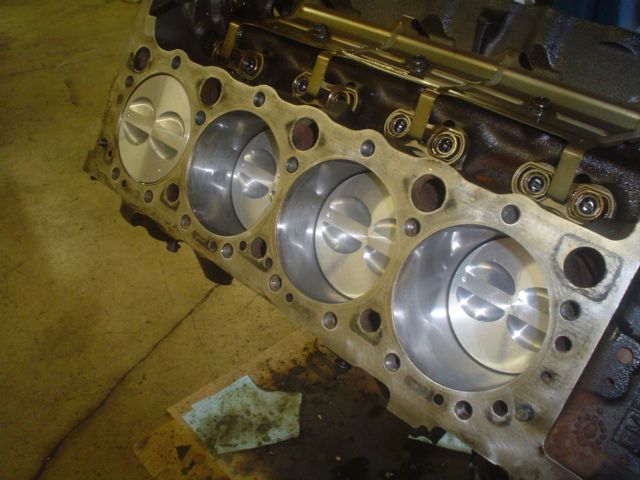
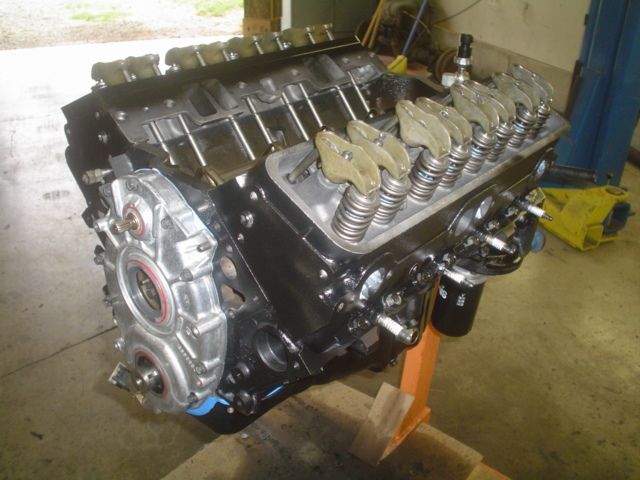
Ball hone in the cylinders and assemble the shortblock:
Replace the cap and rotor:
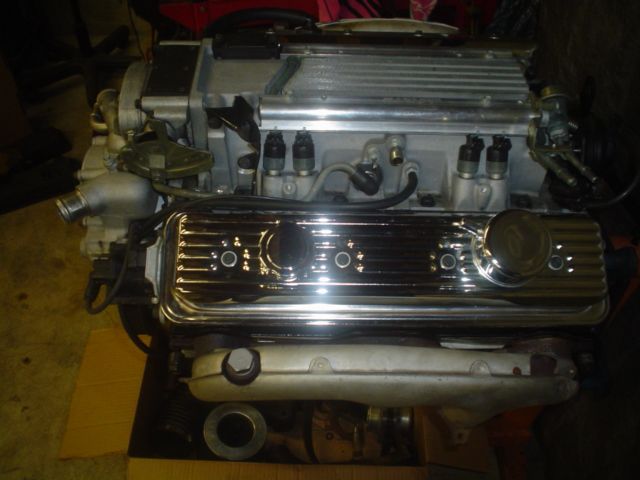
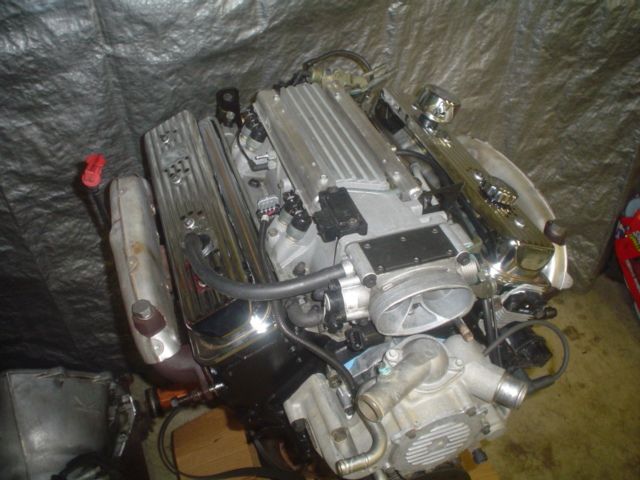
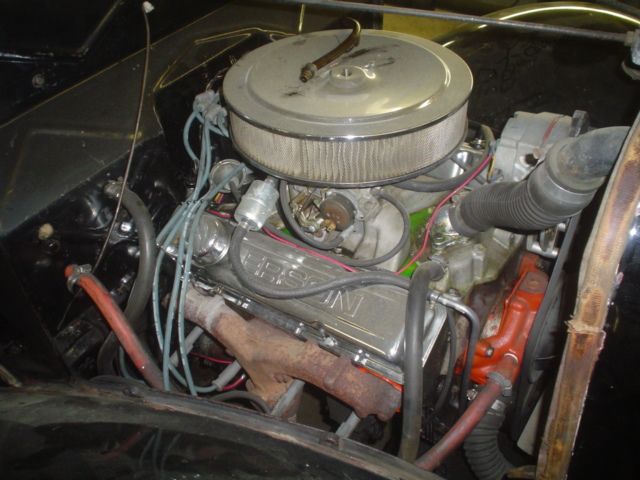
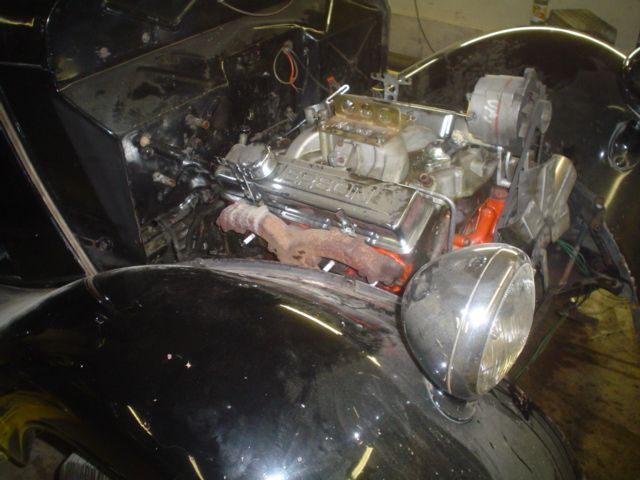
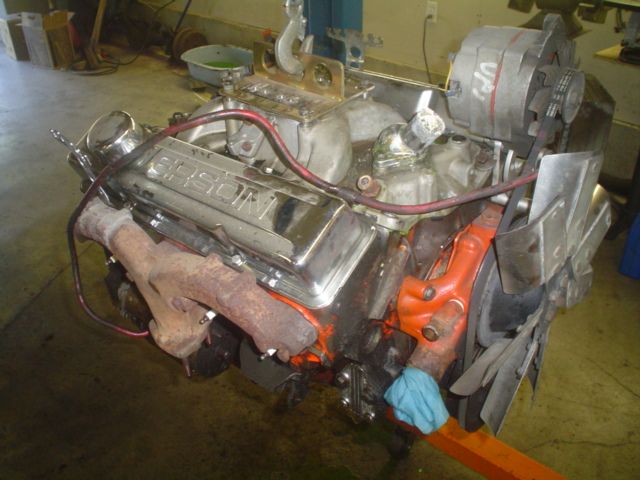
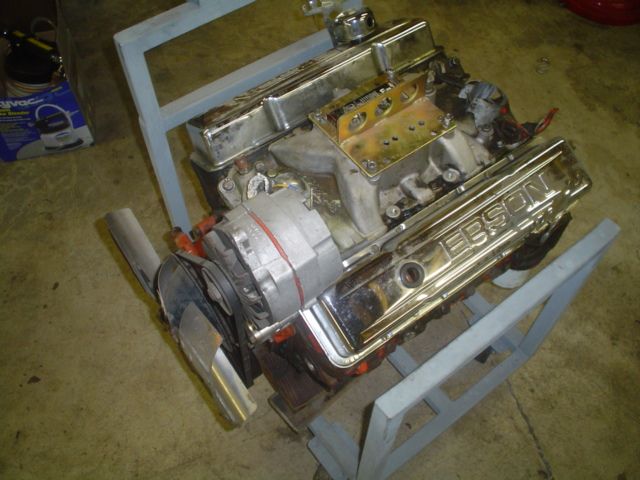
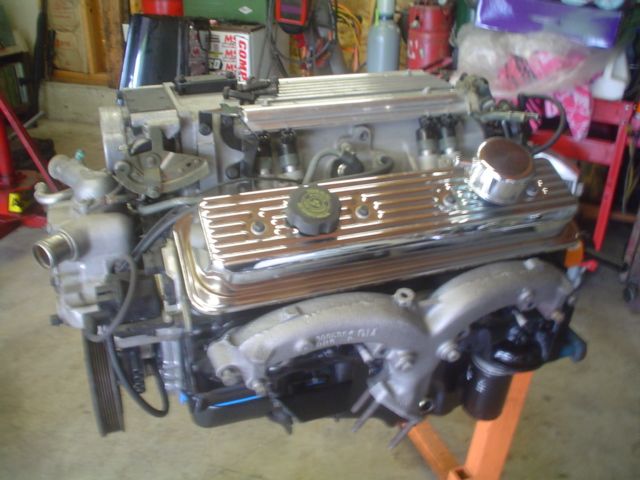
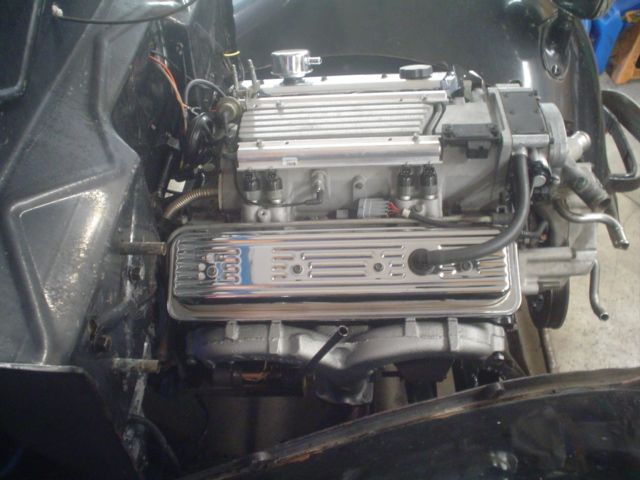
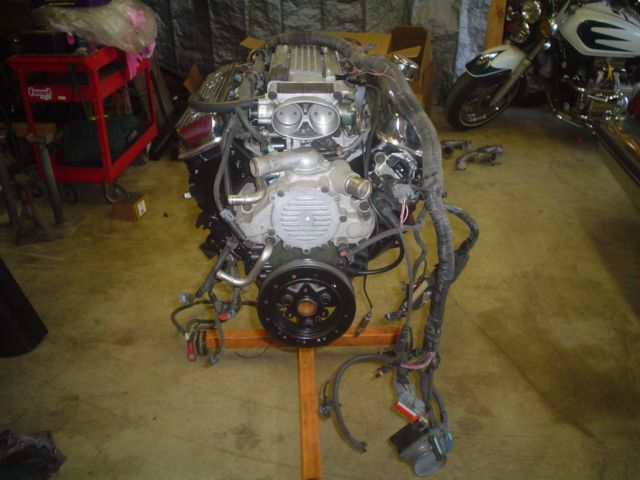
All buttoned up with sweet swapmeet chrome valve covers. The exhaust manifolds are just sitting there to keep dust out. It'll get the rams horns from the 327 when it goes in. Back in the corner until my brother can get a broken tractor out of the way of his pickup. Maybe by next weekend I'll have it at my shop.
When the only tool you have is a hammer every problem starts to look like a hippy.
- DRIVEN
- Posts: 7696
- Joined: Thu Jun 27, 2013 7:05 pm
- Location: I've been everywhere
- Has thanked: 1204 times
- Been thanked: 1180 times
Re: '36 Ford Pickup long deserved upgrades
Chapter 3, Engine removal:
Finally got it dug out to tow it to my house. So it begins...
The mega tired 327:
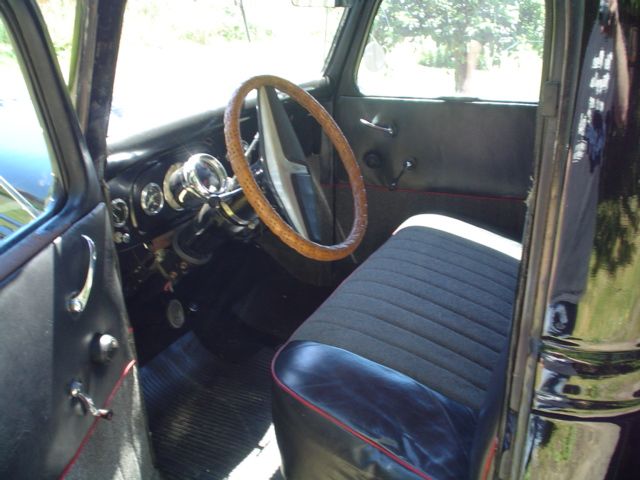
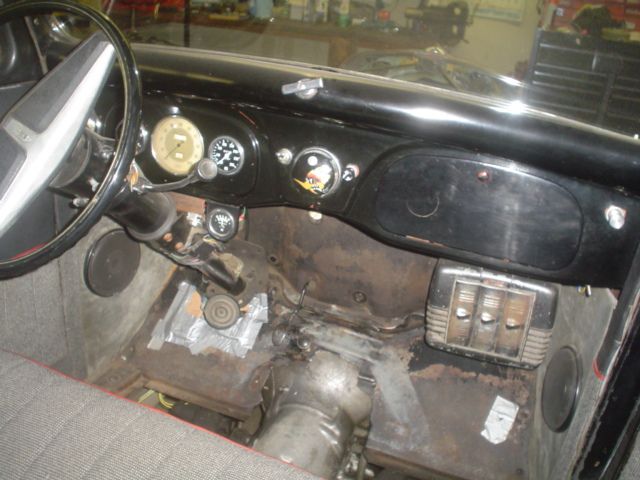
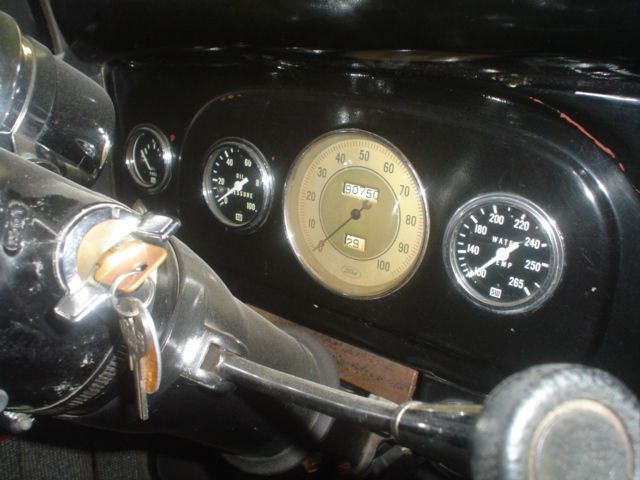
Some interior shots:
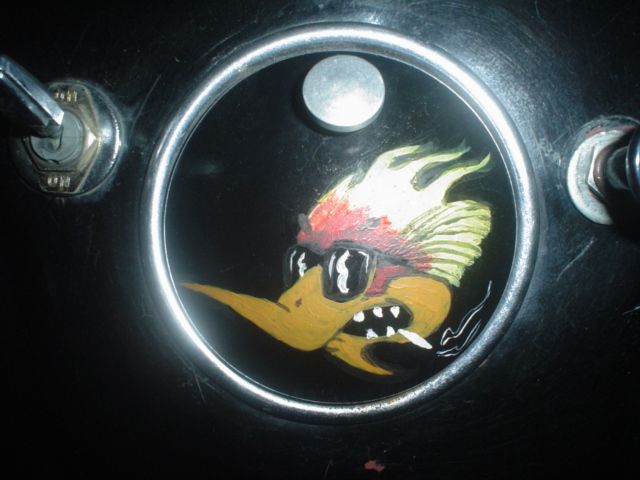
Mr. Horsepower approved!
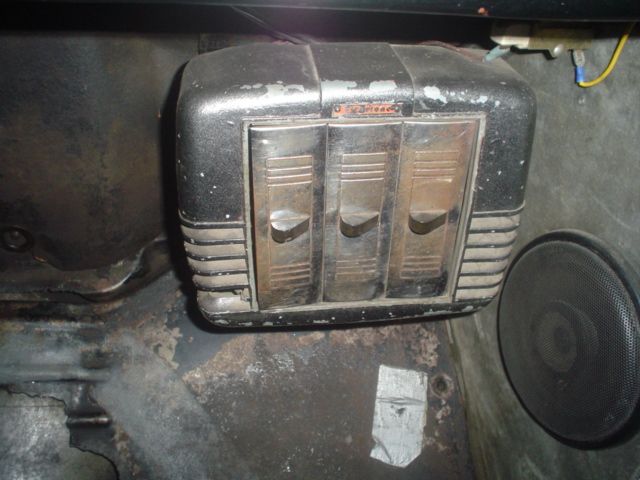
Old Firestone heater:
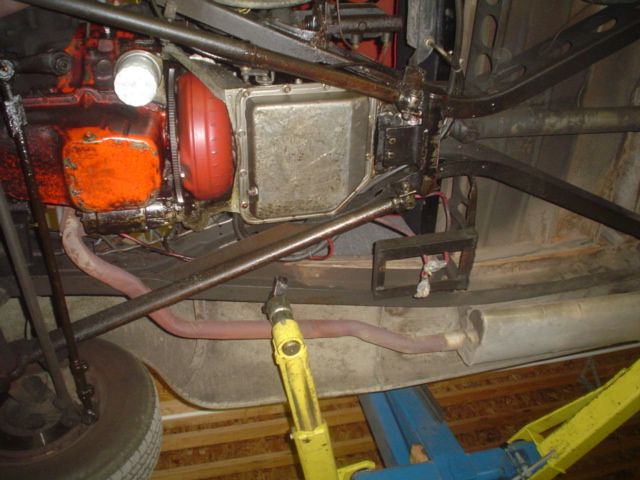
Upskirt action:
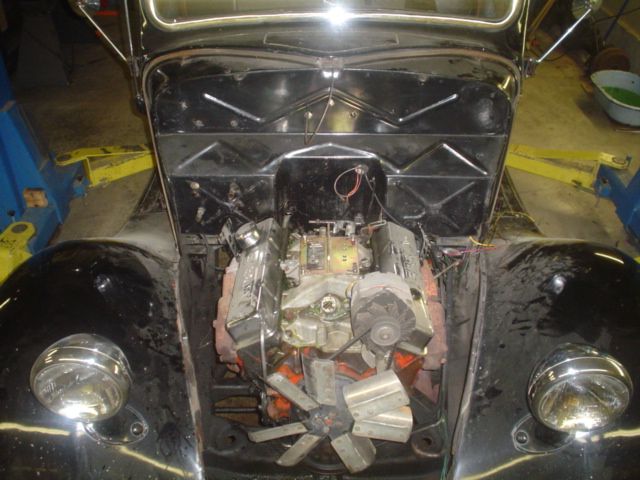
Stripped down and ready to pull...
...but the transmission comes out first.
Out to pull the rest of the parts and do a compression test, Just for curiosity's sake. All over the board between 60-175psi. Found coolant on 2 plugs too. I think it's time to retire it.
All ready to put away in the corner:
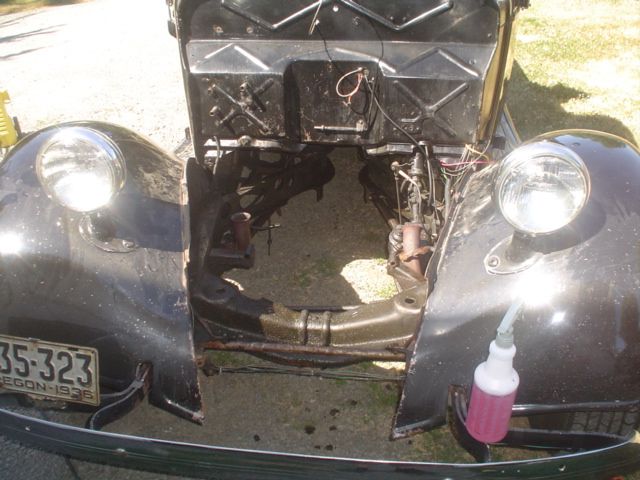
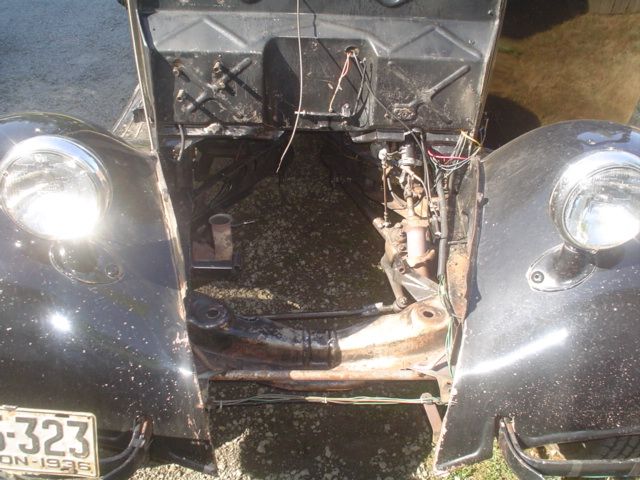
Super grimey...
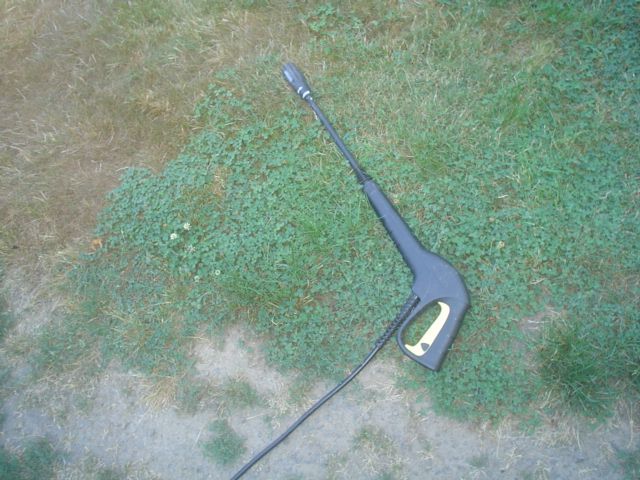
...so it gets some of this...
...to end up with this:
So next step is to set the LT1 in and get ready to notch out the frame for the transmission. The firewall is gonna get cleaned up too. Stay tuned.
When the only tool you have is a hammer every problem starts to look like a hippy.
- DRIVEN
- Posts: 7696
- Joined: Thu Jun 27, 2013 7:05 pm
- Location: I've been everywhere
- Has thanked: 1204 times
- Been thanked: 1180 times
Re: '36 Ford Pickup long deserved upgrades
Chapter 4, Trial fit:
Made some time to fit the engine an transmission in today. Started by checking the fit of the freshly blasted and painted manifolds. Found that there are 4 nubs in the casting on the passenger side that need to be ground a bit to make room at the valve cover rail. No big deal:
Installed new motor mounts and set it in place:
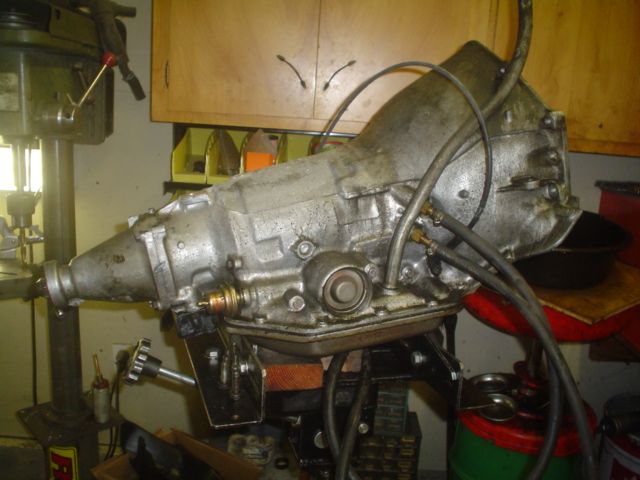
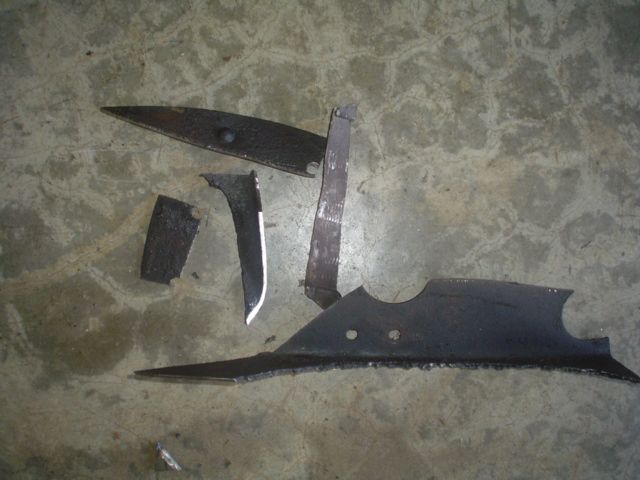
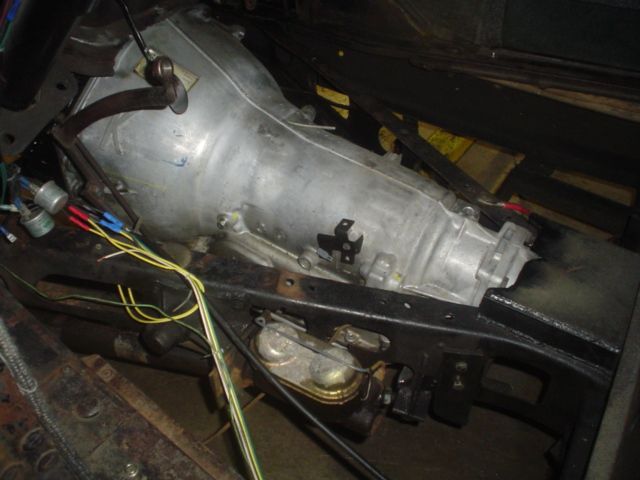
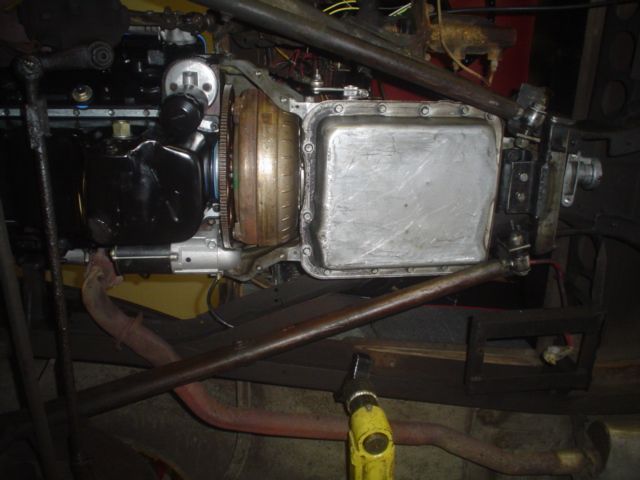
Since the 4L60E that is replacing the old TH350 is a little bulkier, I needed to trim out the X rails in a couple spots.
-Raise the transmission.
-Mark the frame where it interferes.
-Drop transmission.
-Trim.
-Repeat, repeat, repeat.
It actually fit way easier than I expected. Most of the portions I trimmed out has been torch cut decades ago so I was really making it prettier at the same time. Win-win!
Finally got it fit in place. The shift linkage was even really close and required very little massaging.
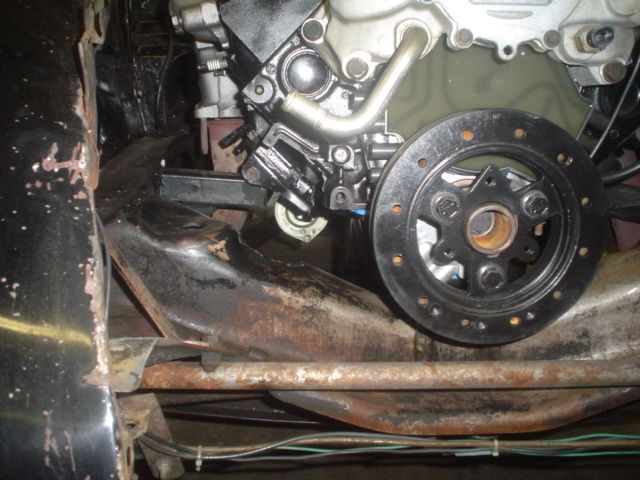
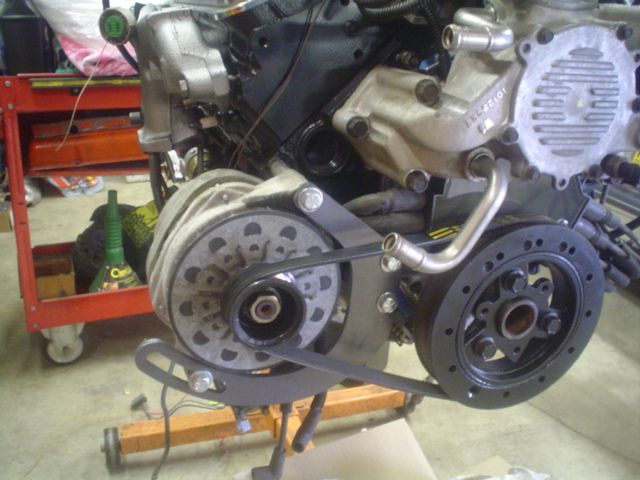
Took some measurements for the alternator relocation to a spot low on the passenger side. Looks like there's more trimming and welding to do:
The next step is to pull the engine so my brother can fill some unnecessary holes and give it a fresh coat of shiny. In the meantime I'll order up some parts.
When the only tool you have is a hammer every problem starts to look like a hippy.
- DRIVEN
- Posts: 7696
- Joined: Thu Jun 27, 2013 7:05 pm
- Location: I've been everywhere
- Has thanked: 1204 times
- Been thanked: 1180 times
Re: '36 Ford Pickup long deserved upgrades
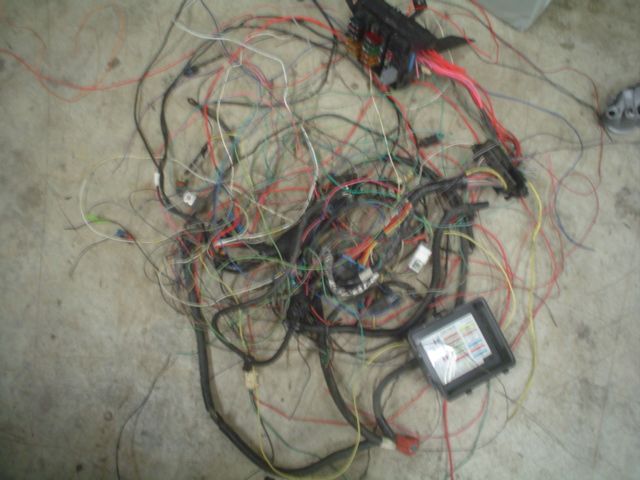
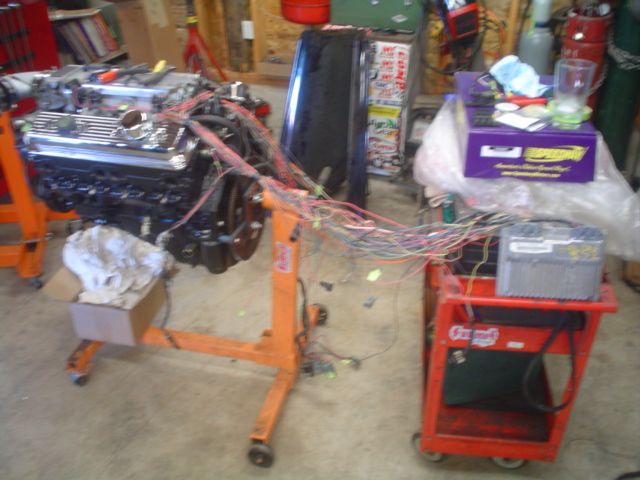
Chapter 5, Wiring harness rehab:
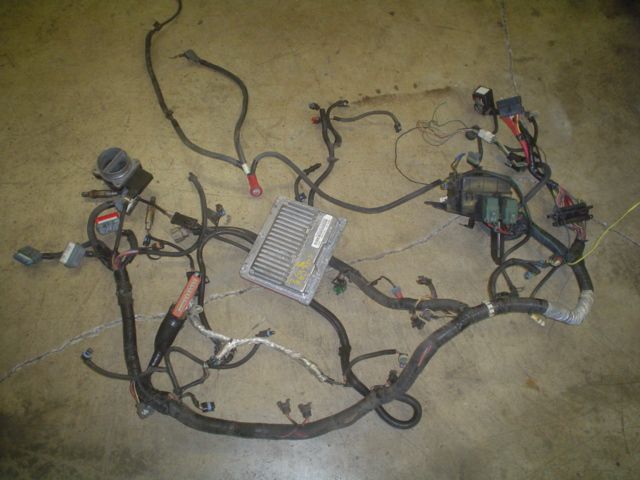
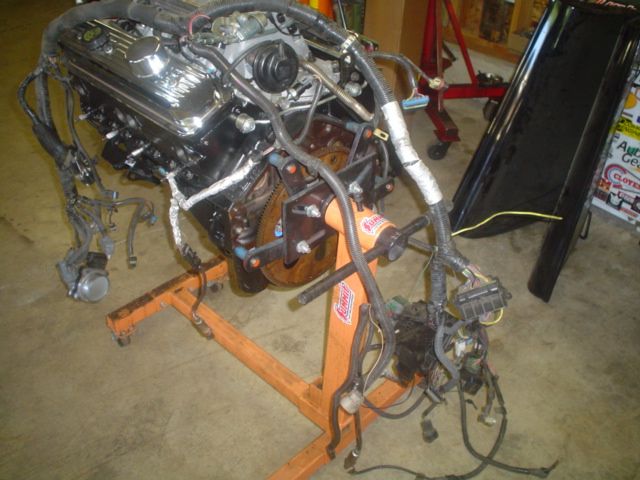
The engine is back on the stand. Starting with a factory ('95 Caprice?) engine harness.
Lay it on the engine:
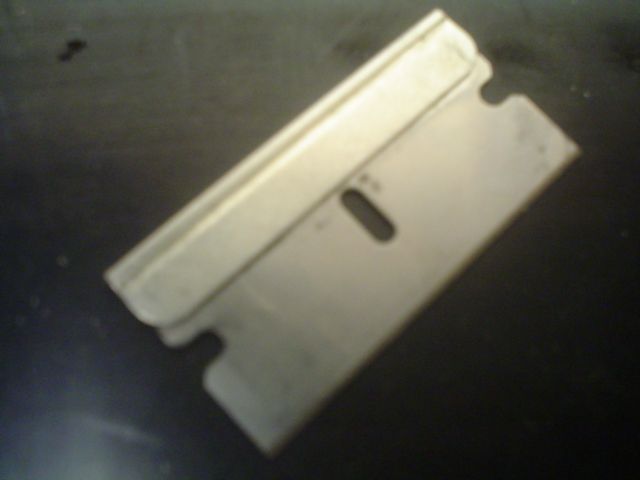
Start with one of these...
...and 3 pages of this...
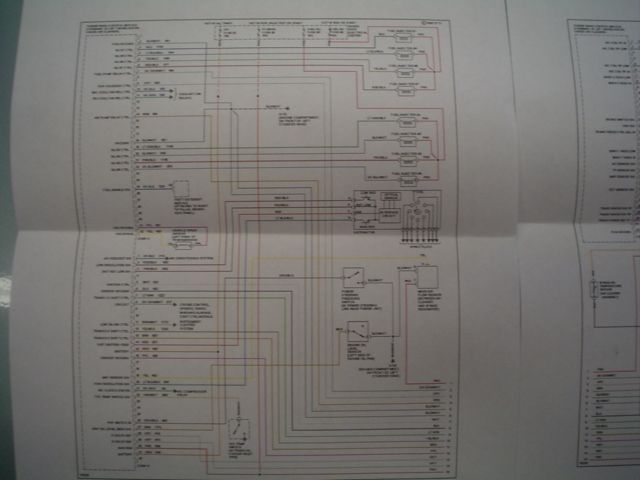
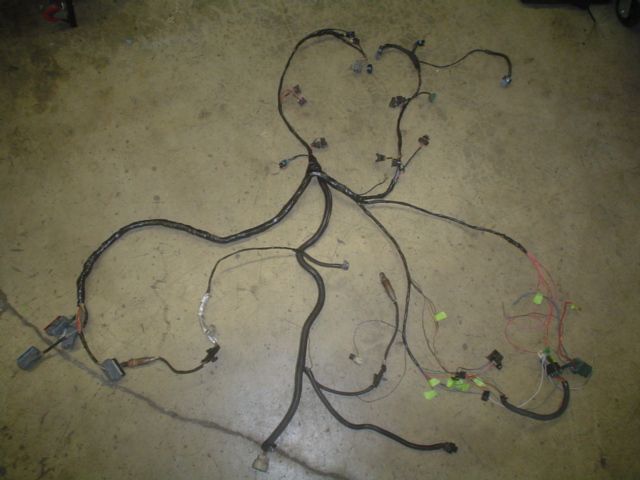
...and start removing any irrelevant circuits. The ECM plugs are hanging from the hook on the far left.
At this point I'm about 4 hours into it. I've extracted all the ABS, AIR, AC, PS, EVAP, etc. from the main harness and isolated all my B+ and ignition power feeds and grounds along with the ALDL wires. I'm going to utilize the OE fuel pump and cooling fan relays. All those wires will be run through the firewall just behind the EGR. The one thing I don't like is the location of the ECM. It would be behind the driver's side headlight in the donor car. I'm going to have to extend/shorten various wires to change the orientation of that portion of the harness. That should keep the top of the engine from being obscured by a wrist-sized bundle of wires. I plan to run it into the cab near the steering column and locate the ECM on the inside. More to come.
The engine is back on the stand. Starting with a factory ('95 Caprice?) engine harness.
Lay it on the engine:
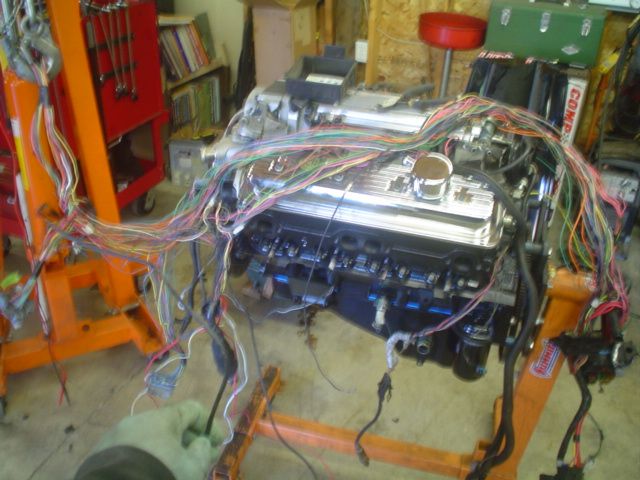
Start with one of these...
...and 3 pages of this...
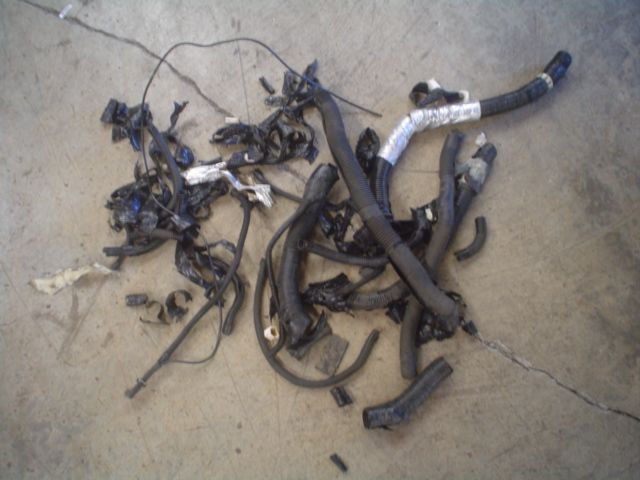
...and start removing any irrelevant circuits. The ECM plugs are hanging from the hook on the far left.
At this point I'm about 4 hours into it. I've extracted all the ABS, AIR, AC, PS, EVAP, etc. from the main harness and isolated all my B+ and ignition power feeds and grounds along with the ALDL wires. I'm going to utilize the OE fuel pump and cooling fan relays. All those wires will be run through the firewall just behind the EGR. The one thing I don't like is the location of the ECM. It would be behind the driver's side headlight in the donor car. I'm going to have to extend/shorten various wires to change the orientation of that portion of the harness. That should keep the top of the engine from being obscured by a wrist-sized bundle of wires. I plan to run it into the cab near the steering column and locate the ECM on the inside. More to come.
When the only tool you have is a hammer every problem starts to look like a hippy.
- DRIVEN
- Posts: 7696
- Joined: Thu Jun 27, 2013 7:05 pm
- Location: I've been everywhere
- Has thanked: 1204 times
- Been thanked: 1180 times
Re: '36 Ford Pickup long deserved upgrades
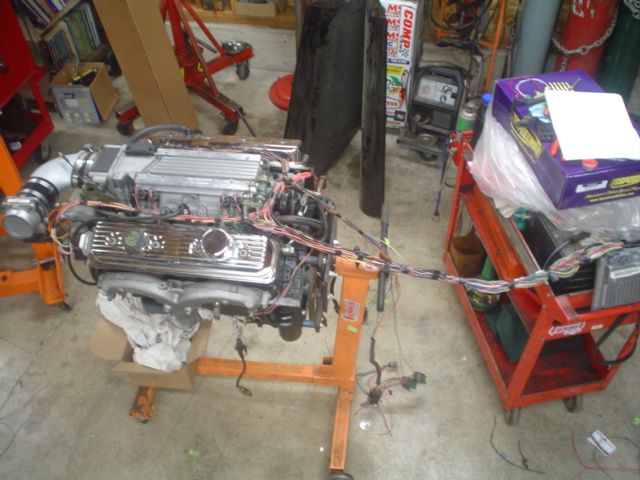
More wiring. Pile of heat wrap and tape:
Unused wires:
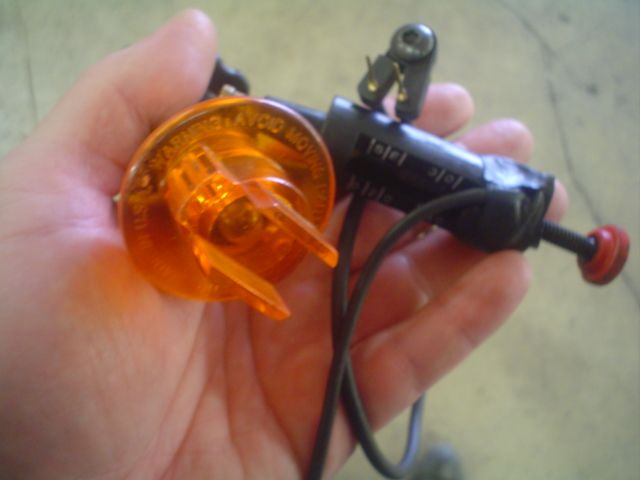
VATS simulator. I actually bought this for my Quad4 wagon but it didn't work. Should be fine for this though:
ECM rerouted to the rear. Still in the midst of lengthening and shortening circuits. In fact, I cannibalized another harness I had so I could keep the proper wire color coding on the wires I needed to make longer. All connections are soldered and shrink-wrapped. It just takes time but the end product is cleaner and more reliable:
This is my current stopping point. Next I'll be putting power to it and cranking it over. That should let me check for spark, injector pulse, DTCs, etc. before I finish taping the harness up. Total harness time is between 8 and 10 hours.
I gotta get a new camera. My pics really suck.
When the only tool you have is a hammer every problem starts to look like a hippy.
- DRIVEN
- Posts: 7696
- Joined: Thu Jun 27, 2013 7:05 pm
- Location: I've been everywhere
- Has thanked: 1204 times
- Been thanked: 1180 times
Re: '36 Ford Pickup long deserved upgrades
Chapter 5, Getting ready:
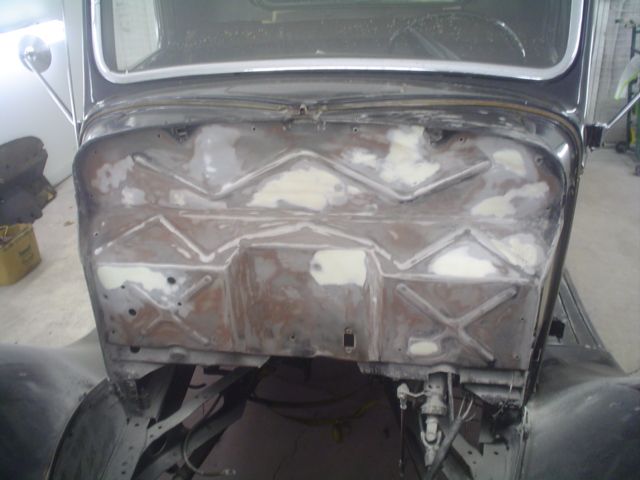
My brother slipped in while I wasn't looking and started the firewall. He said he welded up 31 holes before starting the body work. Probably about 3 hours into it:
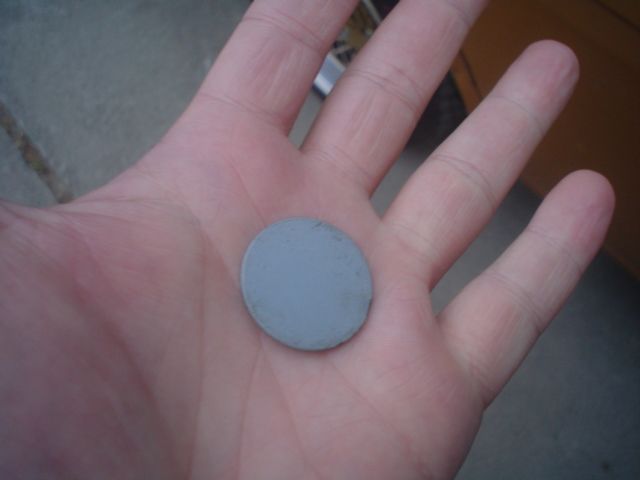
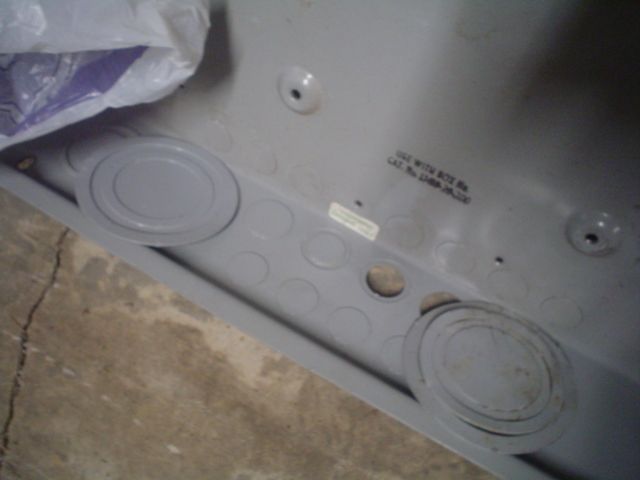
Here's a little tip/trick you guys may or may not have seen before. We use the knock-outs from breaker panels to weld up larger holes. They come in various sizes and are similar gauge as factory firewall sheet metal. My buddy's dad is a county electrical inspector so I occasionally come home to a hand full of presents he's left on my doorstep.
Still not 100% decided on what the finished product will look like. We discussed all the typical firewall treatments like white, black with pinstriping, checkered flag look, and even some non-traditional twists like lace or large airbrushed engine turning. At this point he's leaning toward a dark red. Officially, it's TBD.
When the only tool you have is a hammer every problem starts to look like a hippy.
- DRIVEN
- Posts: 7696
- Joined: Thu Jun 27, 2013 7:05 pm
- Location: I've been everywhere
- Has thanked: 1204 times
- Been thanked: 1180 times
Re: '36 Ford Pickup long deserved upgrades
Did a test fit the low-mount alternator kit and took some measurments. Looks like I'll be notching the front crossmember just as anticipated. Might even be into the framerail a bit.
Also hooked up the spark tester, noid light and scanner to see if I could verify spark and fuel. Looks good on the stand. Hopefully I can just hook up the dozen or so wires when I drop the engine in and be good to go. We shall see.
When the only tool you have is a hammer every problem starts to look like a hippy.
- DRIVEN
- Posts: 7696
- Joined: Thu Jun 27, 2013 7:05 pm
- Location: I've been everywhere
- Has thanked: 1204 times
- Been thanked: 1180 times
Re: '36 Ford Pickup long deserved upgrades
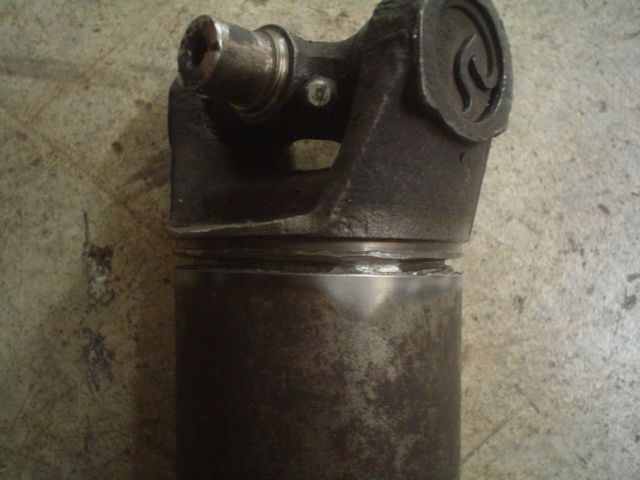
Shortened the driveline. I didn't really take any other pics. Just this one after I had shortened the tube and hammered the end back into the tube before being welded.
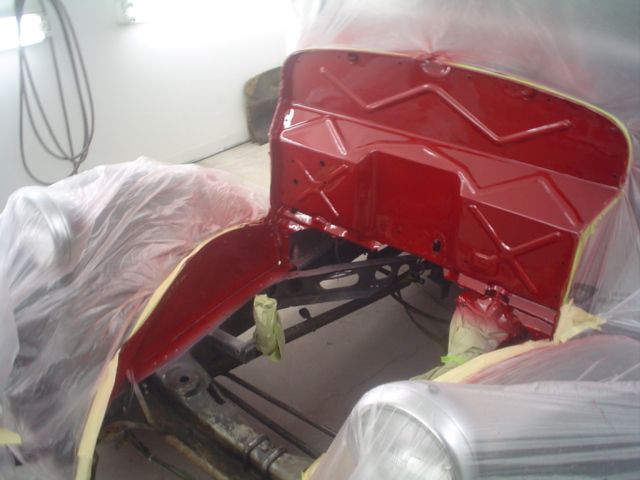
My brother came by last night and shot the firewall and inner fenders. My camera really sucks but it's kind of a blood red shade in person.
Hope to do the crossmember notch and get the engine in this weekend.
My brother came by last night and shot the firewall and inner fenders. My camera really sucks but it's kind of a blood red shade in person.
Hope to do the crossmember notch and get the engine in this weekend.
When the only tool you have is a hammer every problem starts to look like a hippy.
- 510freak
- Global Moderator
- Posts: 9706
- Joined: Wed Jun 26, 2013 6:44 pm
- Title: DJ Jazzy Lou
- Cars: Boo no 510 lol
- Location: Van Isle
- Has thanked: 6 times
- Been thanked: 7 times
- Contact:
Re: '36 Ford Pickup long deserved upgrades
I like this ,will read further,have to head out
Taterhead » Tue Dec 08, 2015 6:35 am wrote:[quote="Taterhead » Mon Dec 07, 2015 2:41 pm
Sorry, I was channeling my inner flatcat.
- DRIVEN
- Posts: 7696
- Joined: Thu Jun 27, 2013 7:05 pm
- Location: I've been everywhere
- Has thanked: 1204 times
- Been thanked: 1180 times
Re: '36 Ford Pickup long deserved upgrades
Chapter 6, Dropping it in and hooking it up:
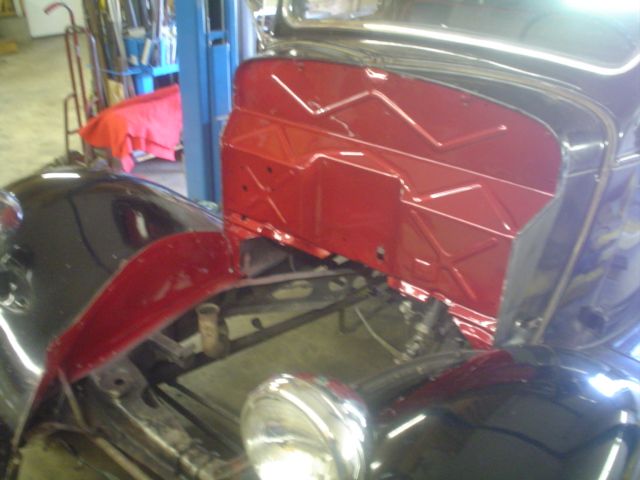
Firewall and inner fenders painted. Frame pre-surgery:
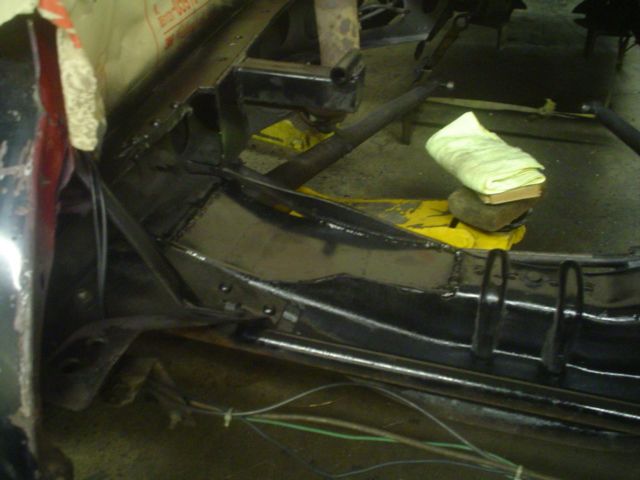
After making room for the alternator and reinforcing the crossmember:
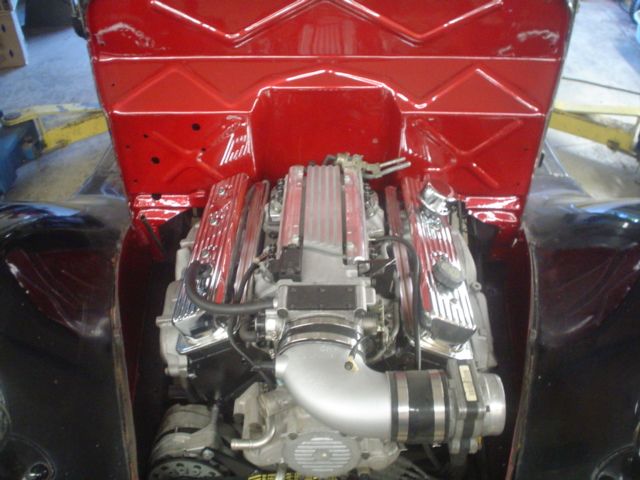
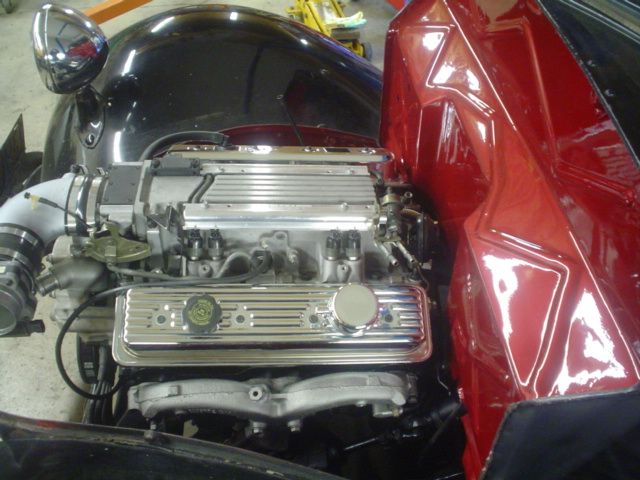
Engine back in it's home:
Still need to get the transmission reinstalled then begin the real time consuming stuff. My feet and back are tired so I'm calling it a day. I've set a deadline of September 26th. Seem like a lot of work to do in 10 days. Wish me luck.
When the only tool you have is a hammer every problem starts to look like a hippy.
- DRIVEN
- Posts: 7696
- Joined: Thu Jun 27, 2013 7:05 pm
- Location: I've been everywhere
- Has thanked: 1204 times
- Been thanked: 1180 times
Re: '36 Ford Pickup long deserved upgrades
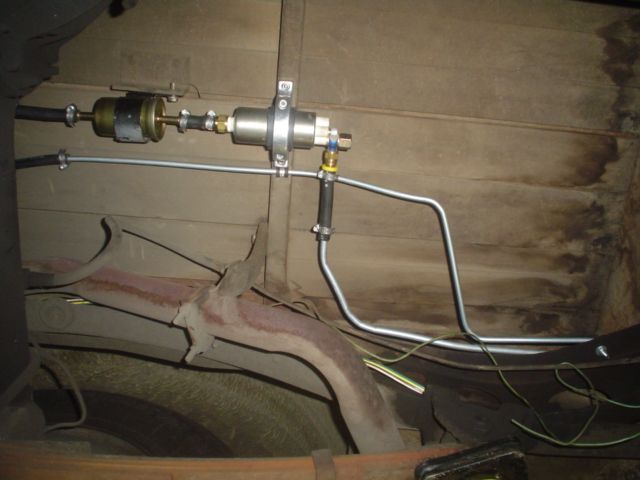
Not a ton of progress here. Just finished up the fuel system is all.
Planning to focus on wiring tomorrow. Got a call late Friday that they need me to fill in at one of my shops on Monday and Tuesday. That's going to mess with my Wednesday pm deadline. Still have a good chance but it'll make my evenings less relaxing.
When the only tool you have is a hammer every problem starts to look like a hippy.
- DRIVEN
- Posts: 7696
- Joined: Thu Jun 27, 2013 7:05 pm
- Location: I've been everywhere
- Has thanked: 1204 times
- Been thanked: 1180 times
Re: '36 Ford Pickup long deserved upgrades
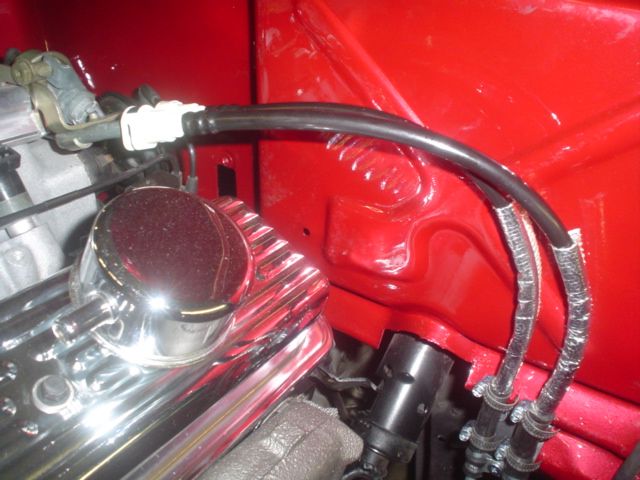
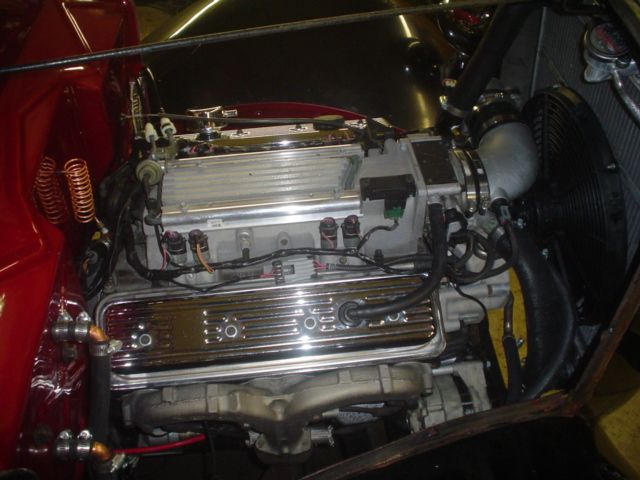
So here's the skinny on the last week. There was a couple projects on the truck that my brother wanted to handle. The major one was the radiator and fan mounts. He got busy with work. I got busy with work. There was an impromptu camping trip. Anyway, we decided that we wouldn't have it done for the show without working late nights and taking shortcuts. The decision was made to just take our time and do it right. Here's where it's at now. The engine harness is installed on the engine.
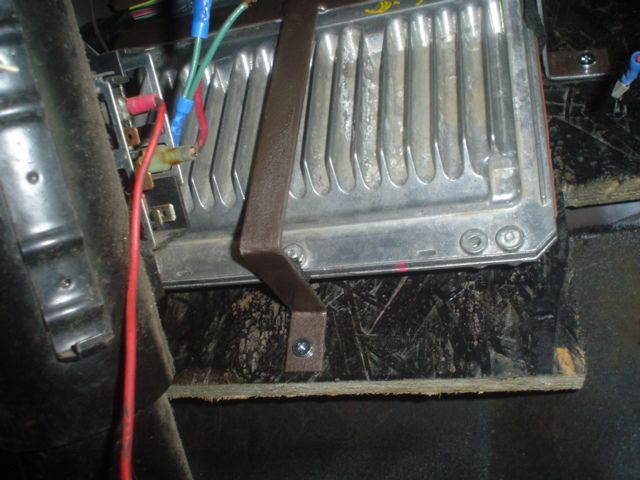
The PCM and fuse panels are mounted on the inside of the firewall. I glued an piece of 3/4" OSB to the upper LH side directly behind the gauges using Automix. That gave me a solid surface to screw them too without making holes in the newly painted and filled firewall. Please ignore the old wiring at the ignition switch. That's the reason for the complete rewiring job.
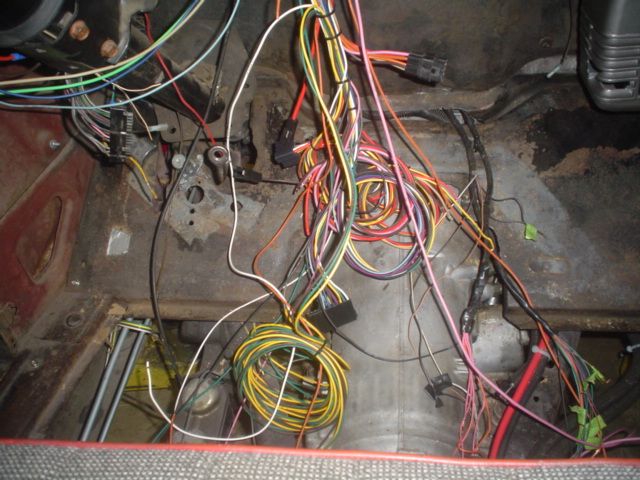
Started the chassis wiring. Anyone else hungry for spaghetti?
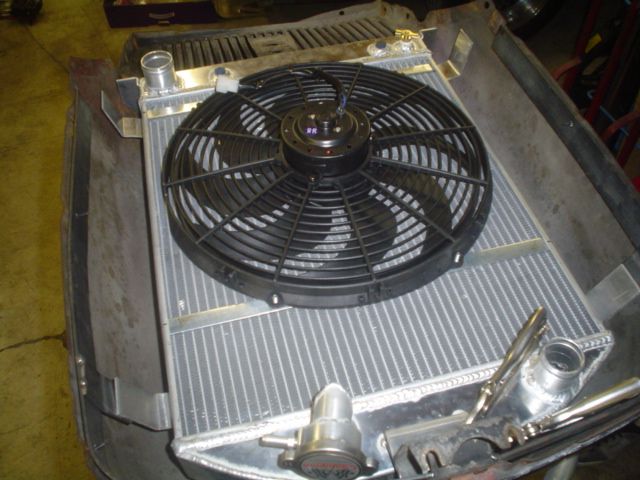
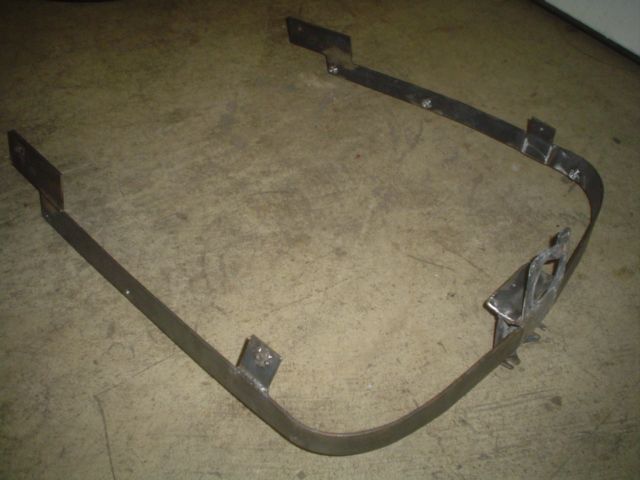
The mock-up of the radiator and fan mounts:
And after finish welding...
As of last night the wiring is 75% done and the radiator assy is ready for installation. Hoping to dedicate a couple hours today. I have job on Saturday but if I get a chance to get back to it I hope to have it fired by Sunday night.
When the only tool you have is a hammer every problem starts to look like a hippy.
- DRIVEN
- Posts: 7696
- Joined: Thu Jun 27, 2013 7:05 pm
- Location: I've been everywhere
- Has thanked: 1204 times
- Been thanked: 1180 times
Re: '36 Ford Pickup long deserved upgrades
Chapter 7, The fire-up.
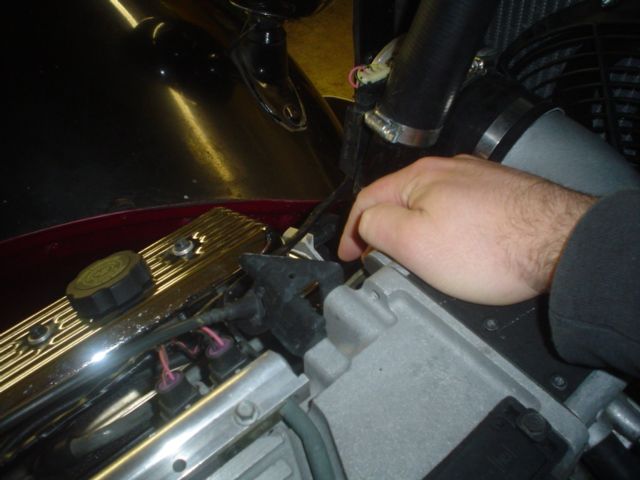
So we finished the plumbing yesterday and fired it up so we could shake it down. Topped off the ATF and let it run for a while to make sure that the thermostat was opening. It sounded great and had perfect oil pressure. I wanted to get it hot enough to verify the fan operation. I was using a temp probe at various locations to check it against the gauge. The PCM should turn the fan on at 225*. The temp was up to 222* at the ECT sensor (245* on the temp gauge) so I decided to run the rpms up to get it a little hotter and force it on. I reached over the passenger fender to grab the throttle body like this:
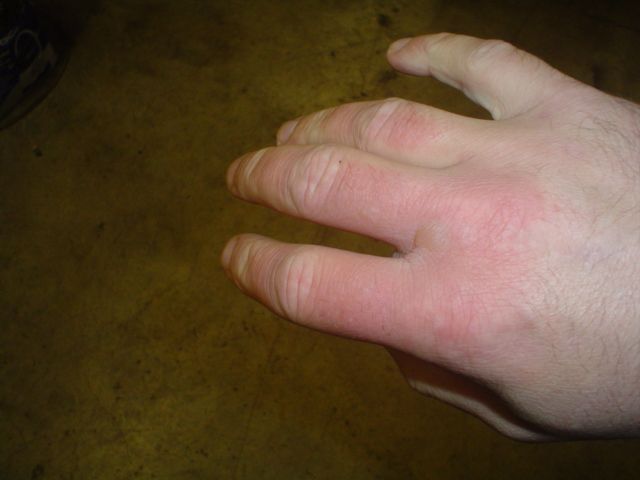
After about 5 seconds at 2500rpms the hose blew off at the coupler right next to my knuckles and scalded the shit out of my hand along with spraying 3 gallons of coolant and steam all over the shop including the 18' ceiling and my Cutlass. Oh well, the shop floor and cars needed to be washed anyway.
Hurt pretty bad last night but much better this morning. It's still swollen and there are 8-10 small blisters but it feels waaay better.
When the only tool you have is a hammer every problem starts to look like a hippy.
- DRIVEN
- Posts: 7696
- Joined: Thu Jun 27, 2013 7:05 pm
- Location: I've been everywhere
- Has thanked: 1204 times
- Been thanked: 1180 times
Re: '36 Ford Pickup long deserved upgrades
Chapter 8, Shakedown.
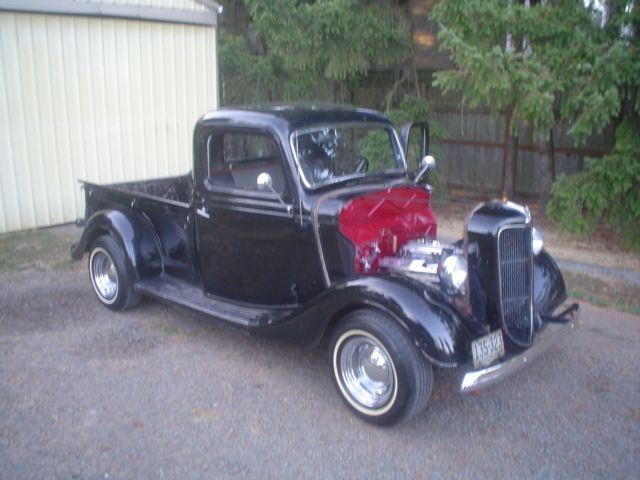
I was working at my buddy's shop all last week and my brother was slaving on the Nova. We had to put in a few late nights to tie up some loose ends. Got it done Wednesday night so he could drive it to work Thursday (the last forecast dry day of the summer). Here's how it looked after it's first real trip. Note the high-end Burnett's gin bottle overflow and lack of air filter. We're still trying to agree on acceptable solutions for those two details.
The official report is that it ran really strong and stayed cool. It still needs a permanent PCM that's flashed specifically for his combination but at least it's mobile for now. Even as it is "traction is an issue". He stopped by my house to borrow my lawn mower. This thing actually does get used as a truck hauling wood, gravel and dirt bikes on a regular basis along with occasionally pulling trailers. We were standing around talking about how much more ridiculously fun it is to drive now when he asked when I wanted to start in on my sedan. Maybe a hint of things to come? Get in line.
When the only tool you have is a hammer every problem starts to look like a hippy.
- DRIVEN
- Posts: 7696
- Joined: Thu Jun 27, 2013 7:05 pm
- Location: I've been everywhere
- Has thanked: 1204 times
- Been thanked: 1180 times
Re: '36 Ford Pickup long deserved upgrades
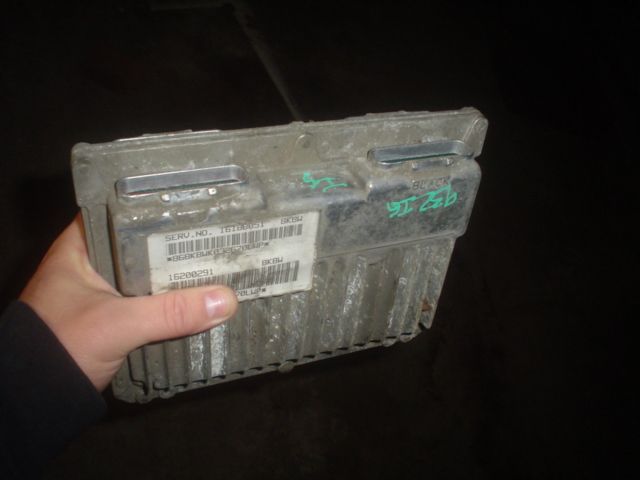
Picked up a crusty PCM yesterday. I'll plug it in to make sure it works before cleaning it up and sending it out for a custom reflash.
I hooked it up to my dad's El Camino yesterday while he was here working on the bus. Fired right up and ran fine so it's off to the tuner for a custom flash. It'll be calibrated for the rearend ratio, firm up the shifts, tweak the fuel and timing along with deleting some of the emissions and other accessories that are no longer present. Probably won't get it back for about a month but it's rainy season anyway. No big rush for the next 6 months.
When the only tool you have is a hammer every problem starts to look like a hippy.
- DRIVEN
- Posts: 7696
- Joined: Thu Jun 27, 2013 7:05 pm
- Location: I've been everywhere
- Has thanked: 1204 times
- Been thanked: 1180 times
Re: '36 Ford Pickup long deserved upgrades
Wow, I totally neglected to update this thread.
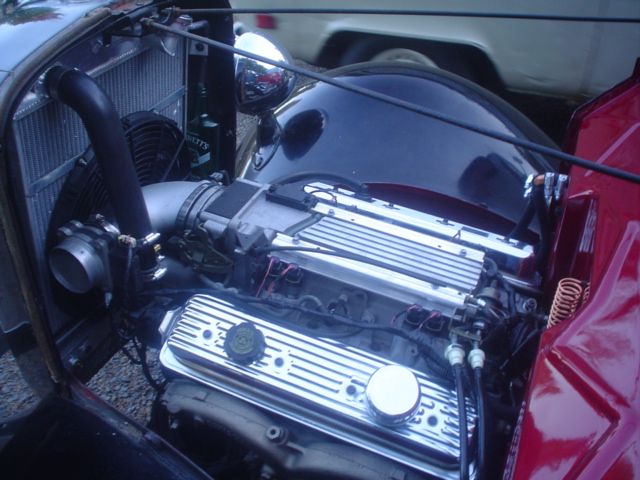
The new computer is in and it runs great. We had a short stretch of dry weather so my brother drove it around for a few days. He LOVES the new power. Burnouts for days! There's still some loose ends like mounting the horn and coming up with a speedo cable and hooking up the tach.
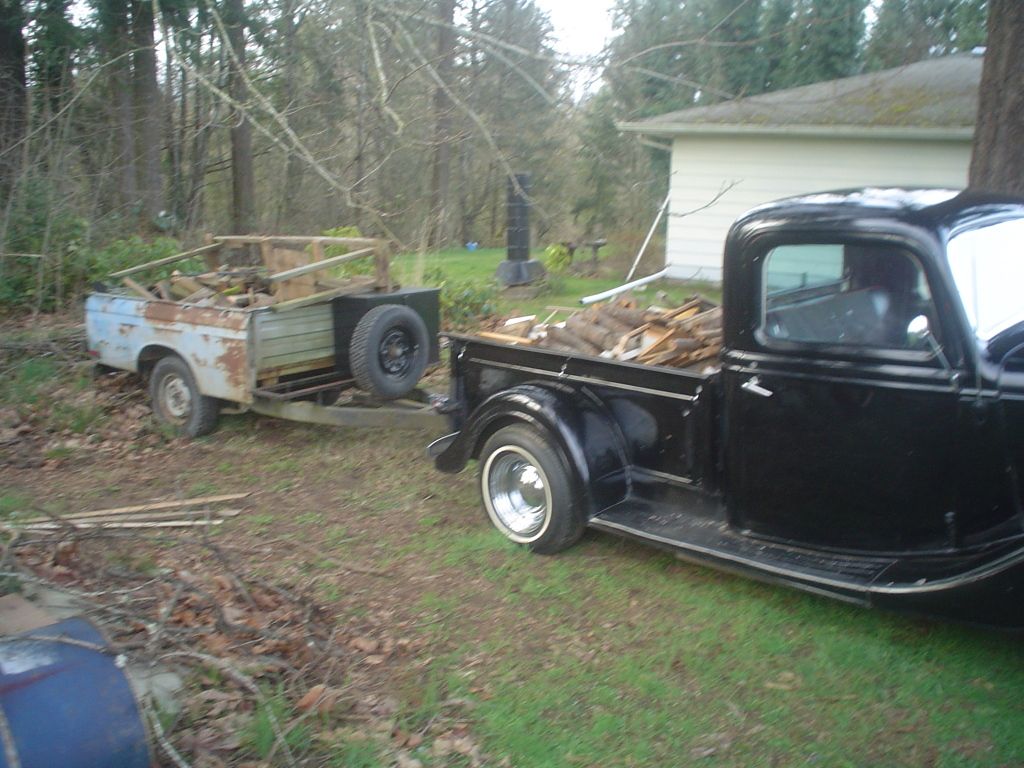
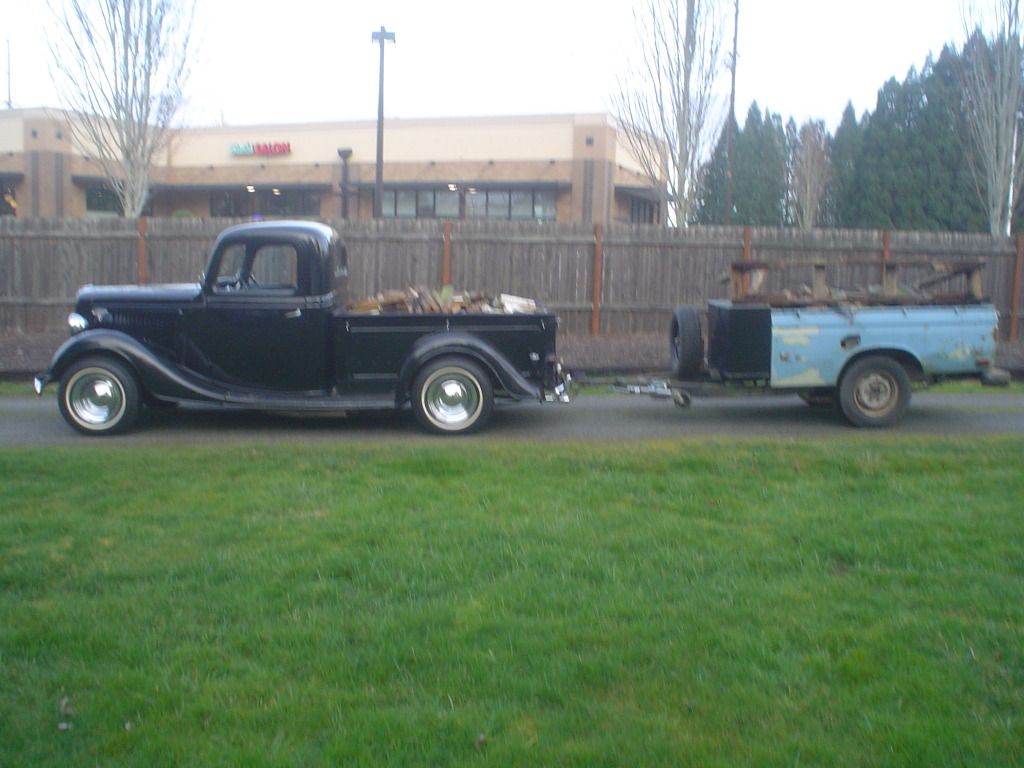
I cut up some firewood for him this afternoon. Just to prove she can still do some work:
Seems like old times. I can't even count how many loads of wood that thing hauled when I was a kid. We got really good at stacking but probably grumbled the whole time.
When the only tool you have is a hammer every problem starts to look like a hippy.
- 510freak
- Global Moderator
- Posts: 9706
- Joined: Wed Jun 26, 2013 6:44 pm
- Title: DJ Jazzy Lou
- Cars: Boo no 510 lol
- Location: Van Isle
- Has thanked: 6 times
- Been thanked: 7 times
- Contact:
Re: '36 Ford Pickup long deserved upgrades
Great read here, Man you have/had some sweet vehicles
Taterhead » Tue Dec 08, 2015 6:35 am wrote:[quote="Taterhead » Mon Dec 07, 2015 2:41 pm
Sorry, I was channeling my inner flatcat.
- DRIVEN
- Posts: 7696
- Joined: Thu Jun 27, 2013 7:05 pm
- Location: I've been everywhere
- Has thanked: 1204 times
- Been thanked: 1180 times
Re: '36 Ford Pickup long deserved upgrades
That's the fun thing about the compound. I get to play with fun stuff but when they belong to someone else, I don't have to pay for the parts. Lots of labor trading goes on between my Dad, my brother and myself. Plus, we keep each other motivated.
When the only tool you have is a hammer every problem starts to look like a hippy.
- 510freak
- Global Moderator
- Posts: 9706
- Joined: Wed Jun 26, 2013 6:44 pm
- Title: DJ Jazzy Lou
- Cars: Boo no 510 lol
- Location: Van Isle
- Has thanked: 6 times
- Been thanked: 7 times
- Contact:
Re: '36 Ford Pickup long deserved upgrades
I bet it is, And thats the way to get things done,not alot out of pocket expenses per say
Taterhead » Tue Dec 08, 2015 6:35 am wrote:[quote="Taterhead » Mon Dec 07, 2015 2:41 pm
Sorry, I was channeling my inner flatcat.