The eternal project - my shop v3

slodat
Posts: 22
Joined: Sat Jul 06, 2013 7:41 pm

The eternal project - my shop v3

#1

Post by slodat »

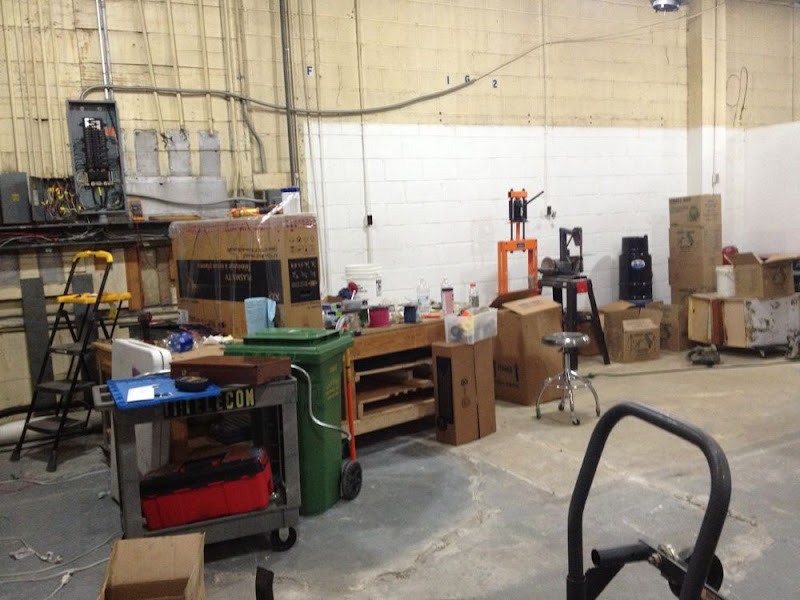
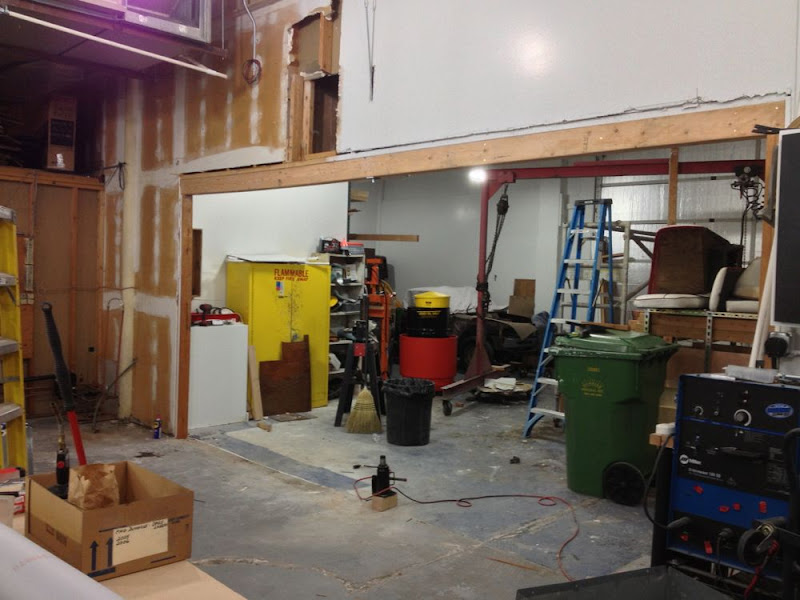
I moved out to central WA a year ago to take my dream job. I'm in a really small community. About 3000 people. Nearest stop light is about 60 miles away. You get the idea. Part of my plan when I moved here was to pursue my upholstery business in my off time. I need something to do or I'll hate it here. So, I rented a commercial space. It's the back half of two retail spaces. The roll up door had been walled over..

Image

Image

Image

Two moving trucks, my 620 and my sentra were full to the gills on moving day.

Image


Image


This is what it looked like the day I moved in.. emptied two moving trucks is more like it.

Image

Image

Image

Image

Image

Image

Image

Image

Image

Image

Image

Image
slodat
Posts: 22
Joined: Sat Jul 06, 2013 7:41 pm

Re: The eternal project - my shop v3

#2

Post by slodat »

I went back to Portland to tie up some loose ends and pick up few things the next weekend..

Image

The little truck made many trips loaded to the gills hauling stuff to the shop. It was a good friend in many ways.

It took a while to even begin on setting up shop in the space. It was really rough when I moved in.
Image

Once I finally decided where to begin, I started building a work bench. I call this thread v3 because this is the third "shop" I have had. I've learned a lot about what I do and don't want in each iteration.

The bench is 14' long, tied to the wall and crazy solid.
Image
Image

Image

Image

Image

Image

Image

Image

Image

Image

Image

Image
slodat
Posts: 22
Joined: Sat Jul 06, 2013 7:41 pm

Re: The eternal project - my shop v3

#3

Post by slodat »

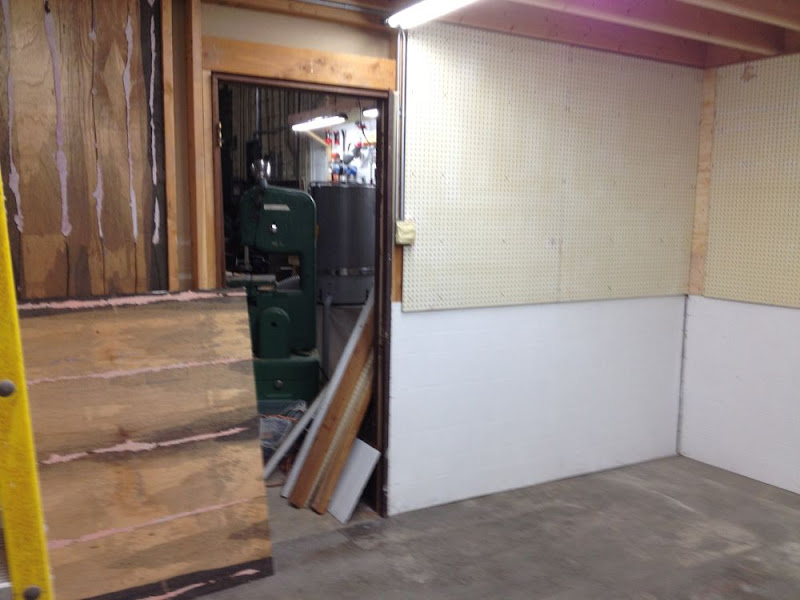
It took a while to sort out what to do next. When I moved in there was a room that I planned to put my woodworking tools in. I want a separate room to control the dust, etc. This is what I started with. The room is 12' wide x 20' deep. The hallway is 4' wide.
Image


After being in the space a while working on other parts of the shop I decided the hall way was of little real use. So, I did this.
Image


Image


Image


Cool side-by-side before and after:
Image


Image


Image


Joists tied the existing wall into place.
Image


Image
(the electric heater is no longer in use)


Image


Image


Image


Image

The ceiling joists are 2x8 with reused 3/4 plywood for the deck. I plan to store some stuff up there. The height to ceiling is only 54" so no standing.

I'm happy with the results thus far. I have a Unisaw and Powermatic bandsaw as seen in the photos. Plan is to get a jointer and planer. I have 6" S&D pipe to run my dust collection through. Thinking the 6" will run across the top of and down through the deck down to the tools. Still trying to sort out where to place the dust collector. Plan is to buy a ClearVue cyclone when I have the funds.

Final size is 20' deep, 15.5' wide and 8' to bottom of ceiling joists.

I already had a bunch of T-8 4' shop lights and 6500k bulbs. I ran a row of quad outlets down the center of the shop with switches by the door. One for the lights the other for the JDS air filter. All of the electrical is ran through EMT.

Image

Image

Image

I bought these old upper kitchen cabinets at a reutilization type store. Got them hung on the far wall. A bit of a challenge doing this alone, but I got it! The wall to the left will have the pegboard the full length. Still deciding what I'll use below it to finish off the wall.


Image


Image

Image[/QUOTE]

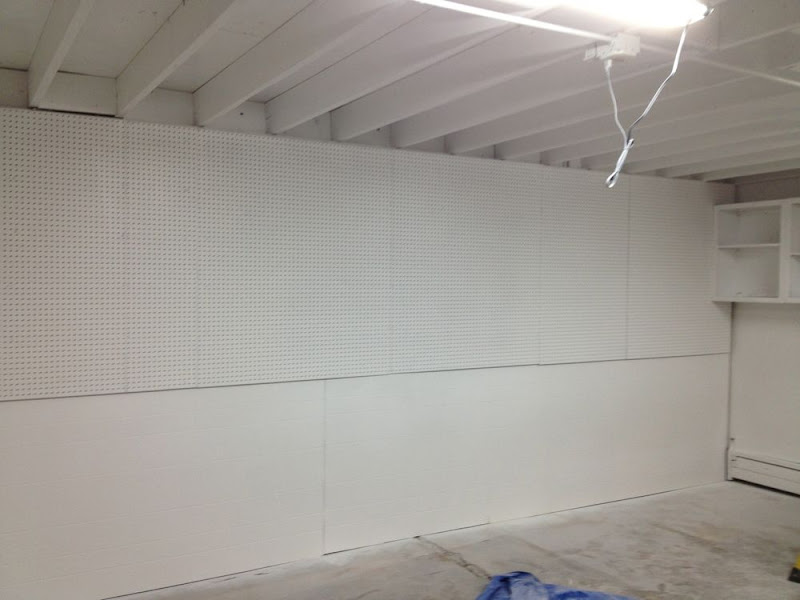
I used materials I had on hand, which in this case was old wood paneling for the lower portion of these two walls.

Image

Image

I picked up a Ridgid variable speed ROS and sanded all of the walls in preparation for primer.

Image

Got a screaming deal on on this guy used on CL.

Image

Got to priming the ceiling and walls tonight.
Image

Image

Image

Walls and ceiling will get white. The cabinet doors, other doors and whatever trim I sort out will get black. Lots of work. I'm really enjoying it.

This is the first time I've done most of this sort of work. In cases like this, I accept my results and move forward chalking it up as a learning experience. I sprayed the white top coat today after work. It went on quickly. Thus far it looks great. Now, I can move my stuff in, run conduit on the long wall, hang lights and so on.

For anyone on the fence about painting their shop ceiling, do it! The difference is something you have to see to believe.

Image

Image


Image

Got the floor scrubbed, swept and mopped. I'll sort out the remaining 1.5 walls after I get moved into the room and figure out what I need from them. Long road ahead..

Image

I got all of the lights up - twelve 4' T-8 fixtures. It is nice and bright in there. I started on the cabinet doors. Sanded them down, primed and then painted them black. I'm doing three doors at a time. I really like the way it is coming together.

Image

Running my 110v and 220v outlets around the room in EMT.

Image
slodat
Posts: 22
Joined: Sat Jul 06, 2013 7:41 pm

Re: The eternal project - my shop v3

#4

Post by slodat »

Along the way I decided I wanted to have very little, if any, unifinished building materials in the shop. It looks much more professional when things are painted vs. exposed OSB or drywall.

Image

It is a rare occasion I have help doing stuff in the shop. So, I've figured out how to do things by myself. This guy really helps:
Image

Next up was getting things organized, up off the floor. Pallet racking for storage, organization and work surfaces. I need a lot of storage for interior components while working on a full interior.
Image

Image

At this point the wood shop was partially up and running.
Image

The building owner was supposed to remove this useless, very well built ramp before I moved in. The jerk left it for me. It was a lot of work to get it out.
Image

Image

Image

There was a wall paper thing that had to go:
Image

Got this removed, prepped the area, painted and put in more pallet racking for material storage. Also insulated the roll up door.
Image

Then came the work shop side electrical cleanup. I removed 20 unused vertical conduit drops, 3 boxes and a ton of other unused stuff that was retired in place along the way. This was in preparation for painting this part of the shop floor to ceiling.
From this, which is a TON better than what I started with:
Image

To this:
Image

Image

Image
User avatar
DRIVEN
Posts: 7696
Joined: Thu Jun 27, 2013 7:05 pm
Location: I've been everywhere
Has thanked: 1204 times
Been thanked: 1180 times

Re: The eternal project - my shop v3

#5

Post by DRIVEN »

Wow! Very inspiring. There's tons of pics (which we all love) but I had a hard time getting a feel for the actual layout. What's the overall square footage?
When the only tool you have is a hammer every problem starts to look like a hippy.
User avatar
flatcat19
Posts: 5233
Joined: Thu Jun 27, 2013 11:53 am
Title: AKA Smoke
Cars: Smaller. Better. Slower. Lower.
Location: Where you aren't.
Has thanked: 12 times
Been thanked: 32 times

Re: The eternal project - my shop v3

#6

Post by flatcat19 »

That's rad.

How long did it take you to do all that?

You say Central Washington---where?
I'm in Tri-Cities.
slodat
Posts: 22
Joined: Sat Jul 06, 2013 7:41 pm

Re: The eternal project - my shop v3

#7

Post by slodat »

This is a sketch I just drew to help make sense of it all.

Image

The space is 50' x 50' split down the middle. Part of one side belongs to the adjacent business and is walled off. I have about 2200 sq ft. I have heat and a/c, 3 phase power, 13' ceilings, zero insulation.

I have done all of this since first week of June last year. I have been doing work on customer projects for the past few months. The shop is starting to look like something. I want to do hot rod work. The shop needs to be clean, organized and squared away. I want the shop to be representative of me and my work. AND, I spent a TON of time here, so I want it to be a place I enjoy being in.
User avatar
DRIVEN
Posts: 7696
Joined: Thu Jun 27, 2013 7:05 pm
Location: I've been everywhere
Has thanked: 1204 times
Been thanked: 1180 times

Re: The eternal project - my shop v3

#8

Post by DRIVEN »

The sketch helps. I imagined it about like that but the hallway you removed was throwing me off. Looks like a really useable layout. And great tip about painting the ceiling.
When the only tool you have is a hammer every problem starts to look like a hippy.
slodat
Posts: 22
Joined: Sat Jul 06, 2013 7:41 pm

Re: The eternal project - my shop v3

#9

Post by slodat »

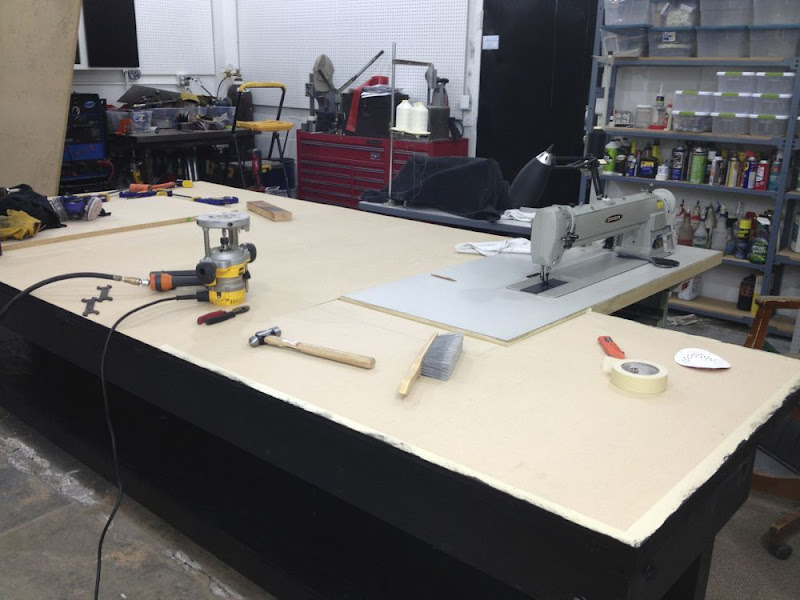
After the electrical was sorted out and the painting project was complete, I started setting up to do upholstery. This is my upholstery/sewing table.
Image

I have always wanted to fill my shop will old machines. This was the first new addition to the shop. It is worth noting I **REALLY** like bandsaws. This one needed restored.
Image

Shortly thereafter I scored this metal working bandsaw.
Image

Bandshop row:
Image

Breakfast nook booth I reupholstered for a coworker. Before:
Image

After:
Image

More bandsaws I've picked up here and there:
Image
slodat
Posts: 22
Joined: Sat Jul 06, 2013 7:41 pm

Re: The eternal project - my shop v3

#10

Post by slodat »

DRIVEN wrote:The sketch helps. I imagined it about like that but the hallway you removed was throwing me off. Looks like a really useable layout. And great tip about painting the ceiling.
I am not finished with the remodel/painting project. The center wall needs to be covered and painted. I also need to put a stub wall above the wood shop to the ceiling and paint that. I've painted everything (walls and ceiling) white. I really like the way the black trim is looking.
User avatar
DRIVEN
Posts: 7696
Joined: Thu Jun 27, 2013 7:05 pm
Location: I've been everywhere
Has thanked: 1204 times
Been thanked: 1180 times

Re: The eternal project - my shop v3

#11

Post by DRIVEN »

Bandsaws? I guess that's not the oddest fetish I've ever heard of :oops: .

I'll be needing a complete interior for my '35 pickup within the year (hopefully). Just standard/traditional hotrod style. Think you might be interested?
When the only tool you have is a hammer every problem starts to look like a hippy.
slodat
Posts: 22
Joined: Sat Jul 06, 2013 7:41 pm

Re: The eternal project - my shop v3

#12

Post by slodat »

Proud to be the first buyer of Klotz's belt grinder. I use it all the time!
Image

Image

The wall between the two sides of the shop had an 8' opening in it. The opening didn't line up with the roll up door. This meant when I pull something straight in the door I am right up against the wall. This is especially true with my quad cab long bed super duty or nearly any boat. So, I opened the wall up. I wanted to keep the upper portion. At the same time I put the water heater up on a stand next to the deep sink to conserve floor space. This was a ton of work. The result was worth all of the effort.

This photo shows the section removed. Make note of the off-white vertical post in the drywall.
Image

Some of this..
Image

And that..
Image

Holding the wall up during construction..
Image

Beam in place. Beam is two 2x6x20 sandwiched with 3/4 ply between them.
Image

End result of the beam. You can see the turnbuckle to beam clamp that actually supports the weight of the upper wall in this photo.
Image

Hot water heater stand.
Image

End result. We cleaned up the a/c condensate drain, fixed some janky plumbing and all in all it's much better than what I started with. Not a ton in materials. Just a lot of work.
Image
slodat
Posts: 22
Joined: Sat Jul 06, 2013 7:41 pm

Re: The eternal project - my shop v3

#13

Post by slodat »

DRIVEN wrote:Bandsaws? I guess that's not the oddest fetish I've ever heard of :oops: .

I'll be needing a complete interior for my '35 pickup within the year (hopefully). Just standard/traditional hotrod style. Think you might be interested?
Ahh man. I did a headliner/back wall in a '34 truck last year. Customer loved it. I am VERY interested. This was right before I moved out here. I didn't get to do the seat, carpet, etc.

Image

Image

Image

Image

Image
slodat
Posts: 22
Joined: Sat Jul 06, 2013 7:41 pm

Re: The eternal project - my shop v3

#14

Post by slodat »

flatcat19 wrote:You say Central Washington---where?
I'm in Tri-Cities.
I'm in Grand Coulee. Been wanting to have a small bbq/get together at my shop. I'm just a bit apprehensive having a bunch of strangers in the shop..
User avatar
DRIVEN
Posts: 7696
Joined: Thu Jun 27, 2013 7:05 pm
Location: I've been everywhere
Has thanked: 1204 times
Been thanked: 1180 times

Re: The eternal project - my shop v3

#15

Post by DRIVEN »

Headliner looks great. I'll definitely be in touch when the time gets close. I still have a lot of work to do before the interior is needed. Probably fall 2014.
When the only tool you have is a hammer every problem starts to look like a hippy.
User avatar
flatcat19
Posts: 5233
Joined: Thu Jun 27, 2013 11:53 am
Title: AKA Smoke
Cars: Smaller. Better. Slower. Lower.
Location: Where you aren't.
Has thanked: 12 times
Been thanked: 32 times

Re: The eternal project - my shop v3

#16

Post by flatcat19 »

slodat wrote:
flatcat19 wrote:You say Central Washington---where?
I'm in Tri-Cities.
I'm in Grand Coulee. Been wanting to have a small bbq/get together at my shop. I'm just a bit apprehensive having a bunch of strangers in the shop..
We're a shady batch.
I'd be leery as well.

Shop is looking great.
slodat
Posts: 22
Joined: Sat Jul 06, 2013 7:41 pm

Re: The eternal project - my shop v3

#17

Post by slodat »

I've always been a bit of a craigslist hound. I have a pretty good recipe for buying stuff used to stock the shop. In tooling up the wood shop I went to tri-citites to pick this guy up.
Image

One thing lead to another and the truck looked like this.
Image

Image

Restoration on the Delta 20" bandsaw is coming along.
Image

Picked this guy up around the new year for $125. 16" blade with 48" arm. 5 hp motor. It will crosscut 6" x 36".
Image

Last weekend I went to buy an old Delta drill press. Ended up with a stuffed truck load. The guy is retiring and getting rid of stuff. I got a rather legendary deal. I went back for a second load this weekend. He called yesterday and I'll be going again on Friday. There was a ton of high quality plywood, lots and lots of hardware, shop stuff and some great tools.

Image

I had to re-think my material storage rack. The closest place to buy lumber is over an hour drive. So, I keep stuff on hand. I also use a lot of sheet goods in upholstery. Before photo of my material rack.
Image

After making the top tier setup and moving all of the lumber up high.
Image
User avatar
datmo
Posts: 415
Joined: Wed Jul 03, 2013 9:11 pm
Cars: 1968 510 sedan. 1979 620 KC

Re: The eternal project - my shop v3

#18

Post by datmo »

That's some awesome shit.
you'll love the place when it's done.
Just a kid with a love for datsuns and no money.
4 doors riding slow and hangin loose.
User avatar
izzo
Site Admin
Posts: 5651
Joined: Wed Jun 26, 2013 6:32 pm
Title: Save a pimp, Rent a bitch.
Cars: Too many
Location: Astoria, OR
Contact:

Re: The eternal project - my shop v3

#19

Post by izzo »

Good lord man. You do awesome work. I am jealous of your space. Nice photos! Very well documented.

I met you once a few years back at Jeremy's old shop. What is it you do for work?
8========D ~~~ ( o Y o )
jayden71: titty ponk
devilsbullet wrote: 1400 obo. and best offer doesn't mean 300 bucks you cheap bastards
dislexicdime
Posts: 133
Joined: Sat Jun 29, 2013 9:44 pm
Location: tigard oregon

Re: The eternal project - my shop v3

#20

Post by dislexicdime »

he is a male escort for retirees
kittens and bj's
Post Reply