I just got done rebuilding my s30 front calipers , and decided to share.
My main goal was to re-freshen and clean the brake system in my 240z.
We all know that brake systems can work ... just what percentage or ability will they work when they are truly needed ?
I suspected mine to be slightly gummy (no hanging or pulling just a sneaky suspicion on my part)
Yes these calipers are cheap just to buy and replace regardless.
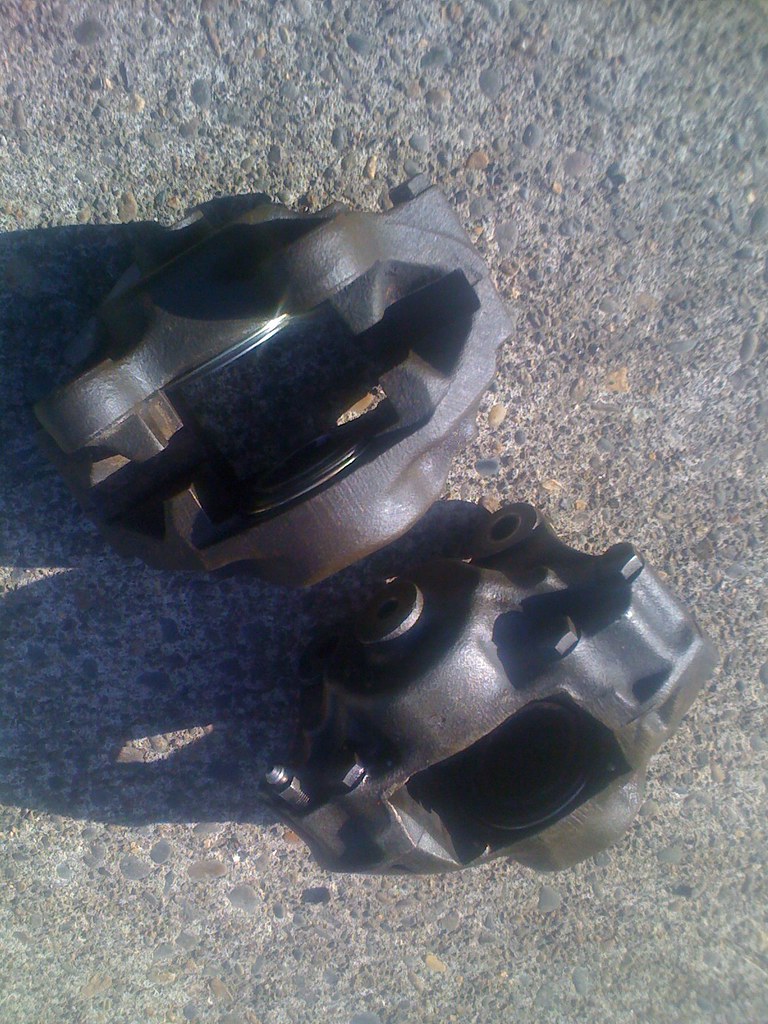
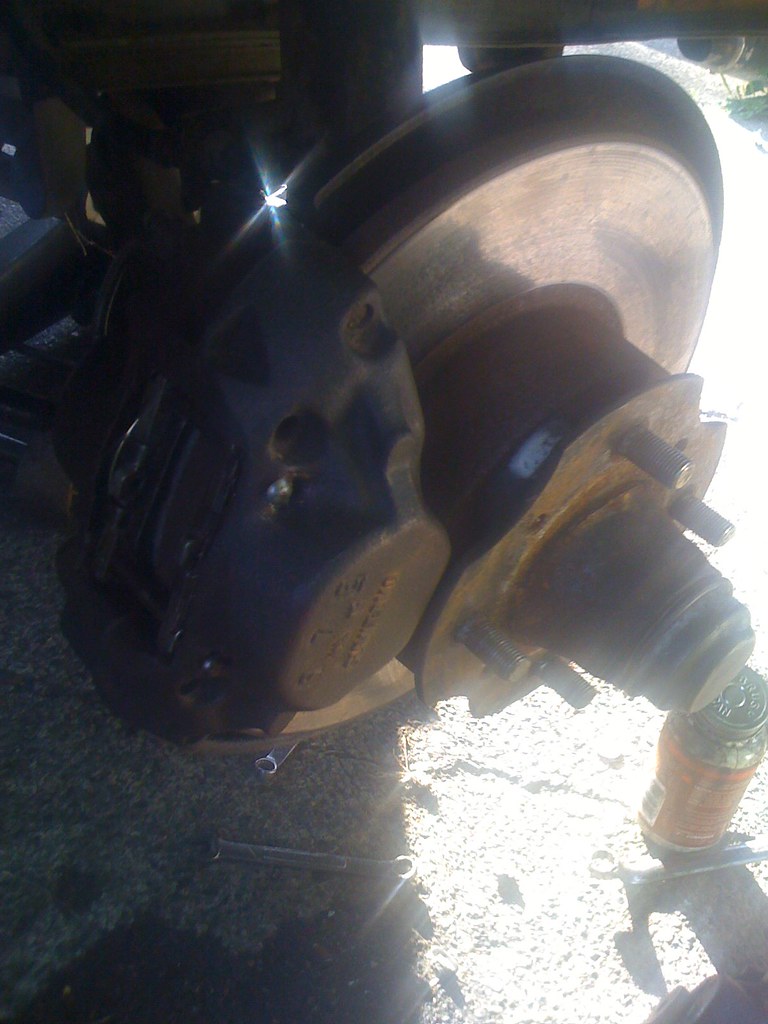
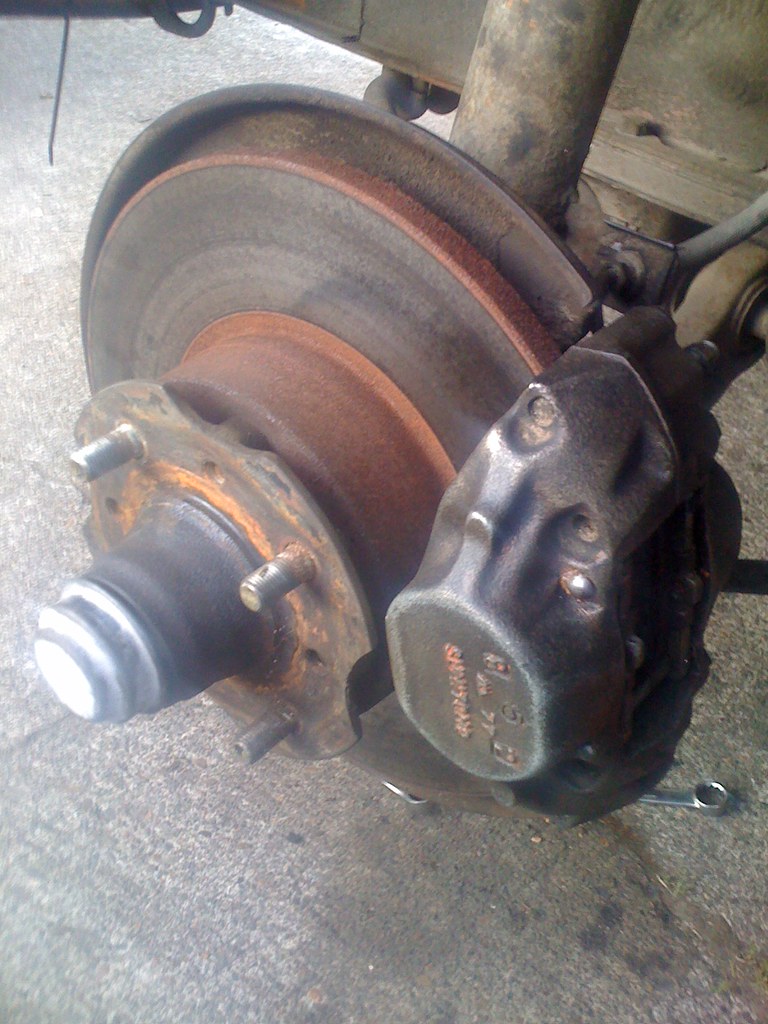
STEP 1: --- obtain a pair of donor calipers or prepare you current set.
I opted to pull a spare set off a pair of spare struts.
Blue Z-car front caliper brake rebuild 071413 001 by 71240z, on Flickr
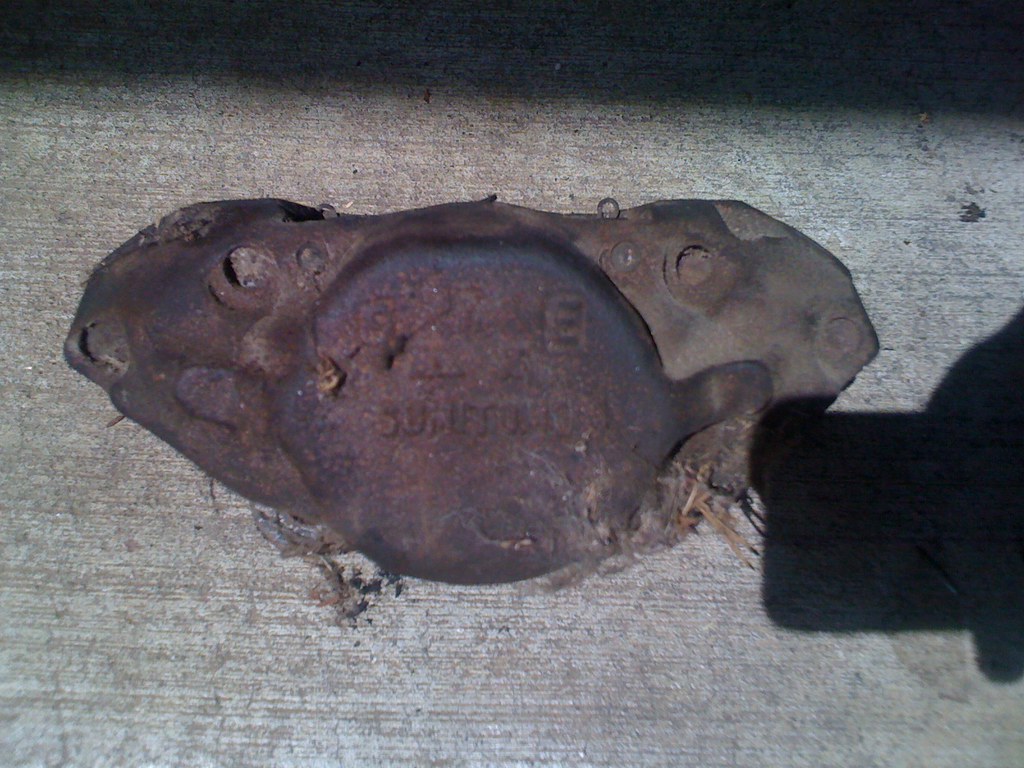
The wet part was from the hardline dripping down when disconnected.

Blue Z-car front caliper brake rebuild 071413 002 by 71240z, on Flickr
STEP 2: --- having equipment to push the pistons out.
You can either use hydraulics (like I'm doing) , air , or grease to push out the caliper pistons.
(Whatever you do BE CAREFUL ... Keep your eyes , hands , and body away from the pistons especially if using air or fighting a stuck piston.)
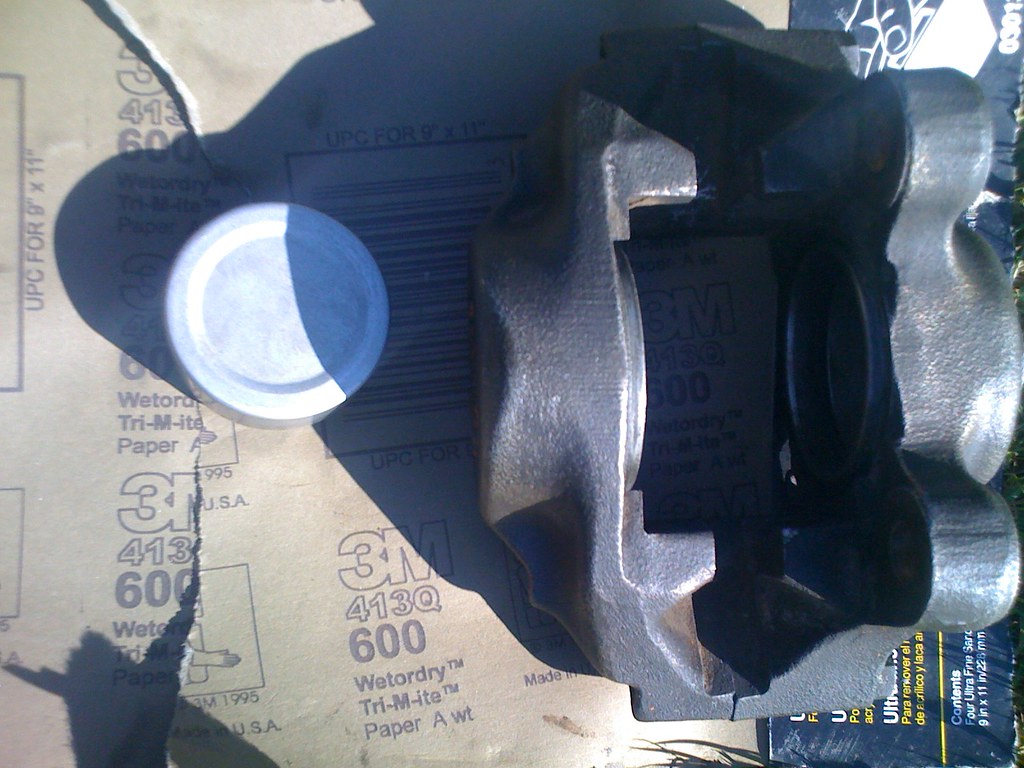
In S30 front calipers there are (2) pistons total.
This picture is my 12-ton press holding a 200sx clutch/brake pedal bracket with the 200sx clutch master hooked up directly to the donor s30 caliper via the hardline.

Blue Z-car front caliper brake rebuild 071413 003 by 71240z, on Flickr
Somebody could even use the brake line/brake master off their own s30 if they were sneaky enough about it... [:sneaky:]
At this point I went ahead and filled the Clutch master cylinder with DOT-3 brake fluid.

Blue Z-car front caliper brake rebuild 071413 004 by 71240z, on Flickr
STEP 3: --- Grab a 10mm flare nut wrench , and hooking up the clutch master hard line to caliper.
If using air... that will be self-explanatory as will a grease gun.

Blue Z-car front caliper brake rebuild 071413 005 by 71240z, on Flickr
STEP 4: --- Go ahead and carefully ,,,, and slowly pump the clutch pedal with your hand. (or air compression ... or grease gun if you're using those methods instead
You DON'T want (1) piston to pop out much farther and faster than the other.
The key is to wedge and get them both loose while still have a seal on the piston for each side.
I used wrenches in a pinch in the picture , but you'll want to use something softer like wood or even an even steel plate/brake pad will be fine.

Blue Z-car front caliper brake rebuild 071413 006 by 71240z, on Flickr
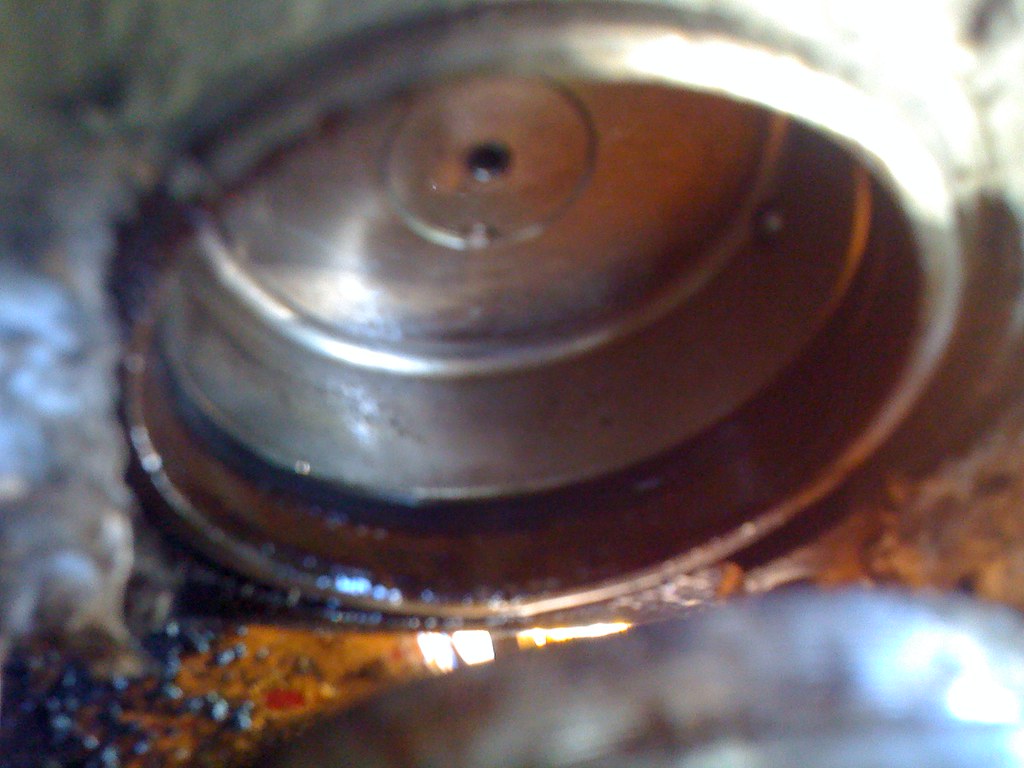
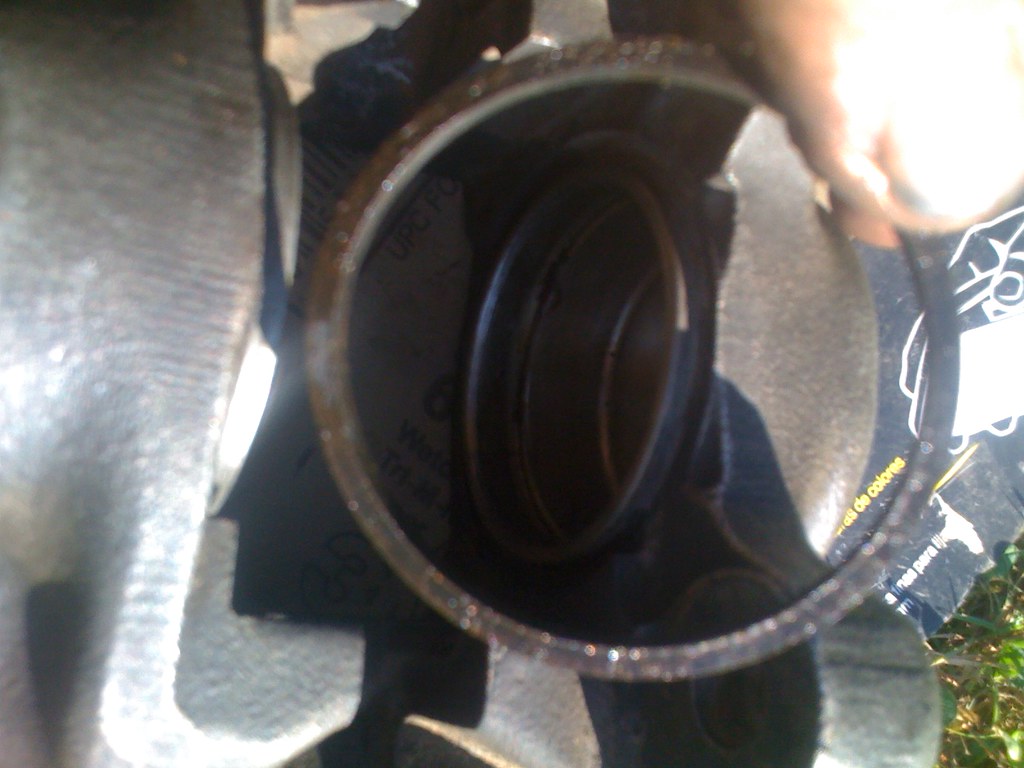
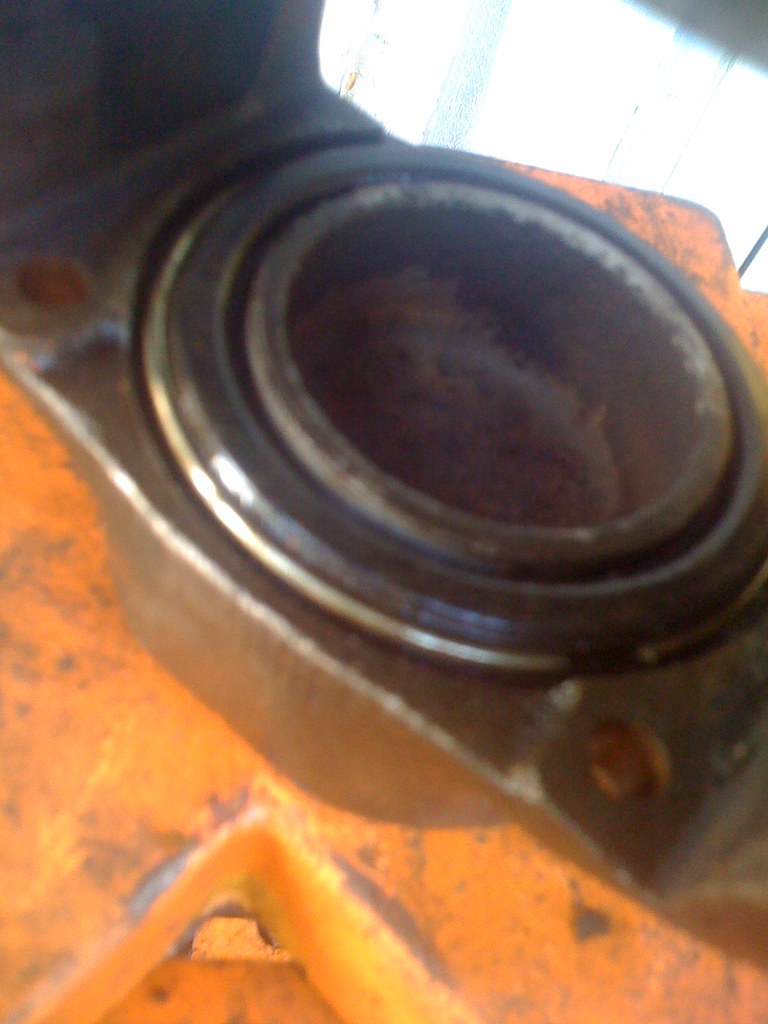
STEP 5: --- As soon as you believe both pistons are as far as they'll go EQUALLY (key term and goal here) without breaking their seal ... go ahead and pop out one piston then pull it out. (keep hands free and clear !)

Blue Z-car front caliper brake rebuild 071413 007 by 71240z, on Flickr
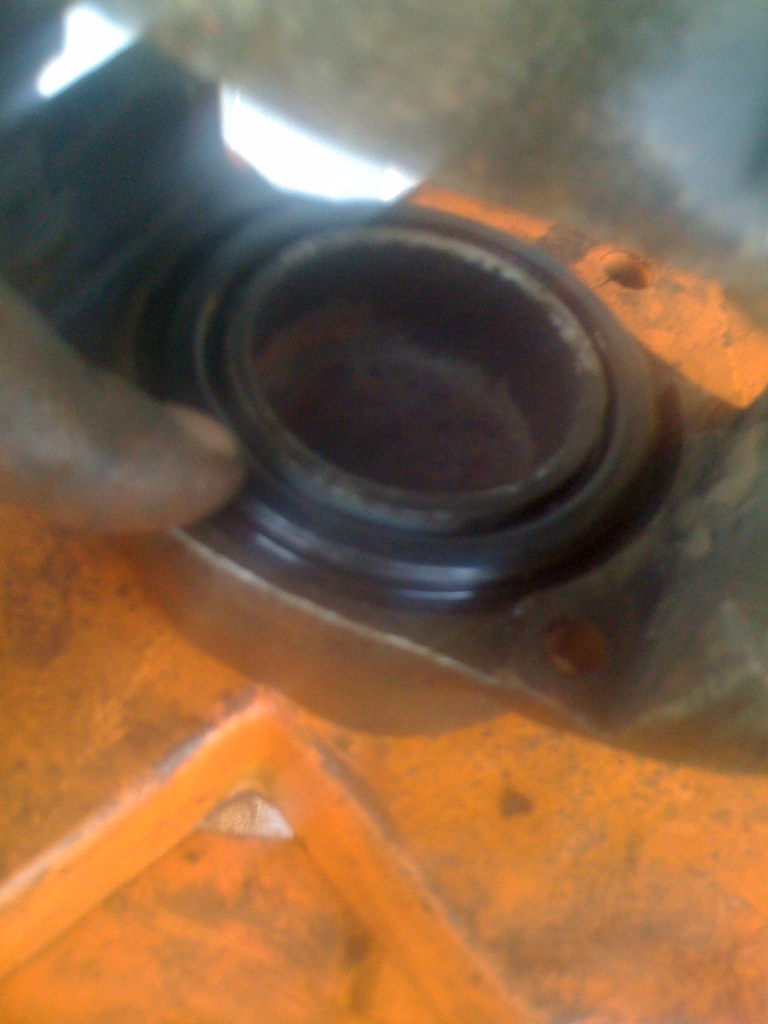
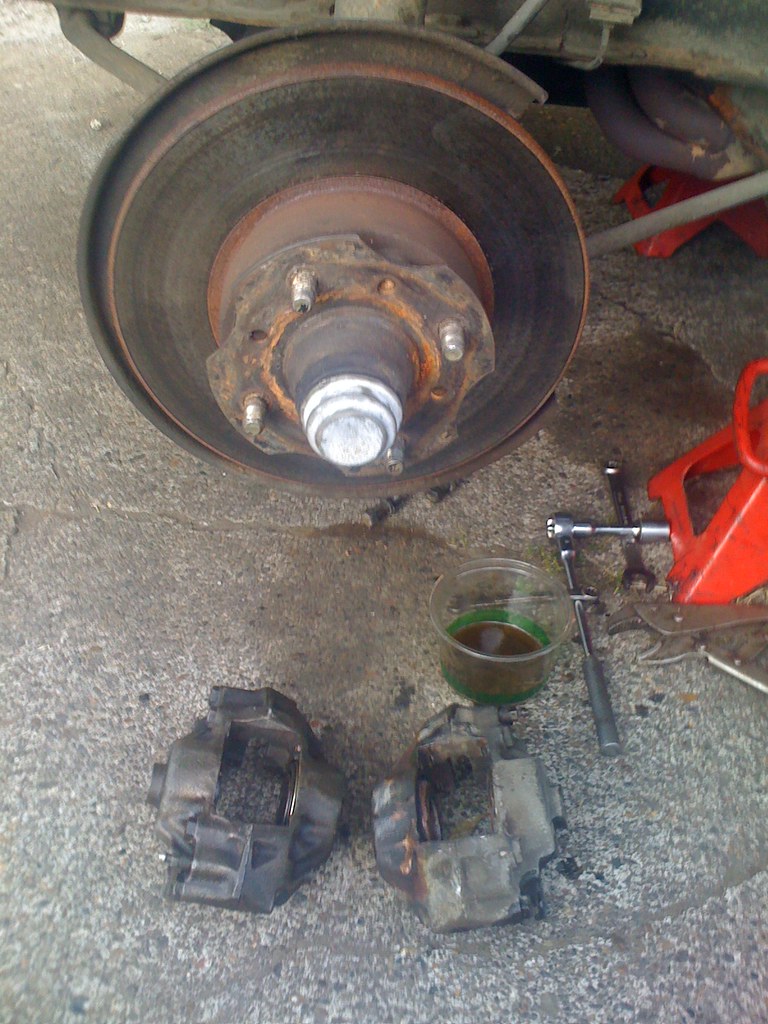
STEP 6: --- There will be a mess just remember that.

Blue Z-car front caliper brake rebuild 071413 011 by 71240z, on Flickr
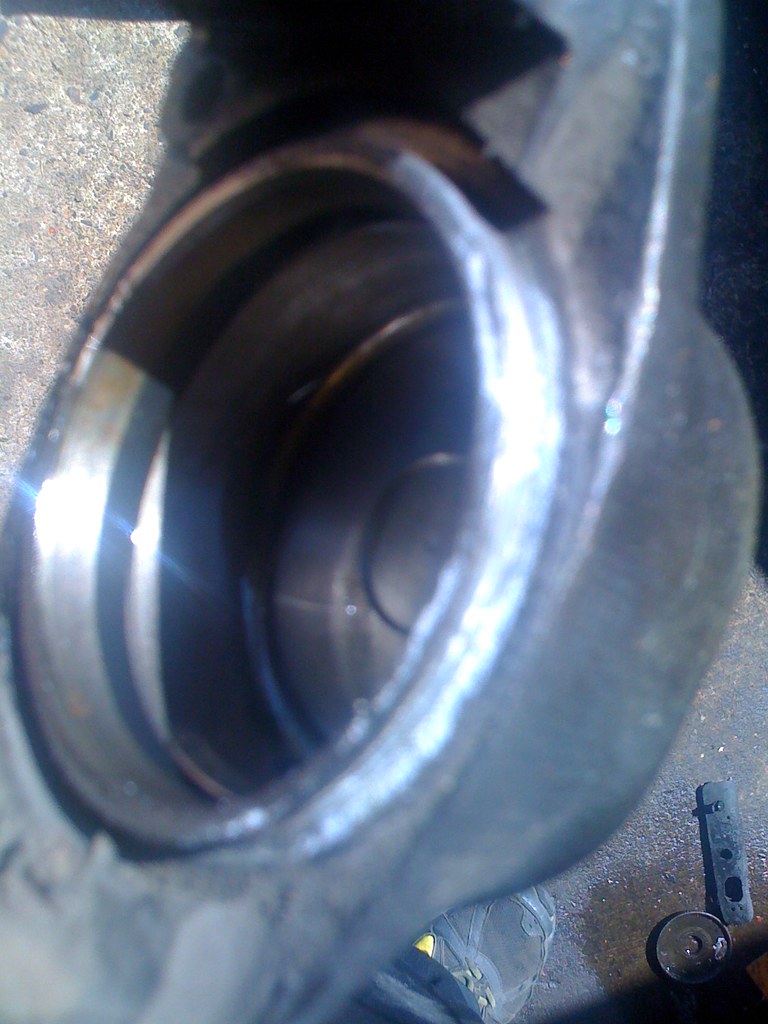
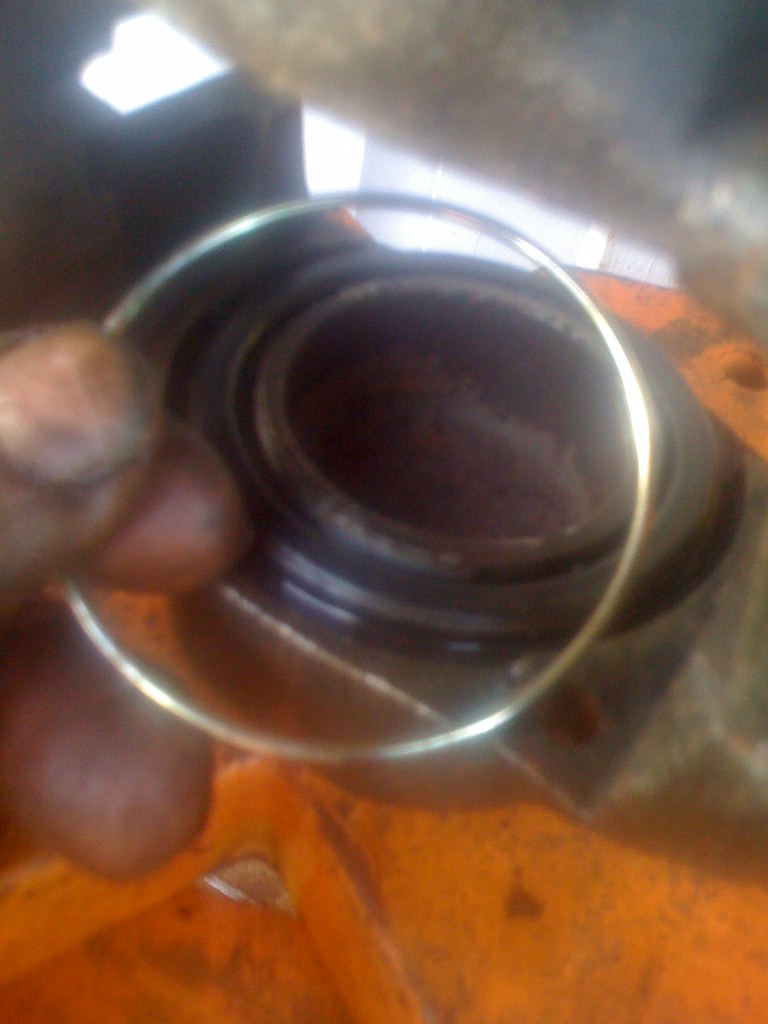
STEP 7: --- Go ahead and carefully pull out the other piston.
At this point you've lost your hydraulic pressure , and this would happen if you had used air pressure or the grease gun method as well. ( remember not suppose to use petroleum products on , in , or near brake systems even for cleaning !!! )

Blue Z-car front caliper brake rebuild 071413 012 by 71240z, on Flickr
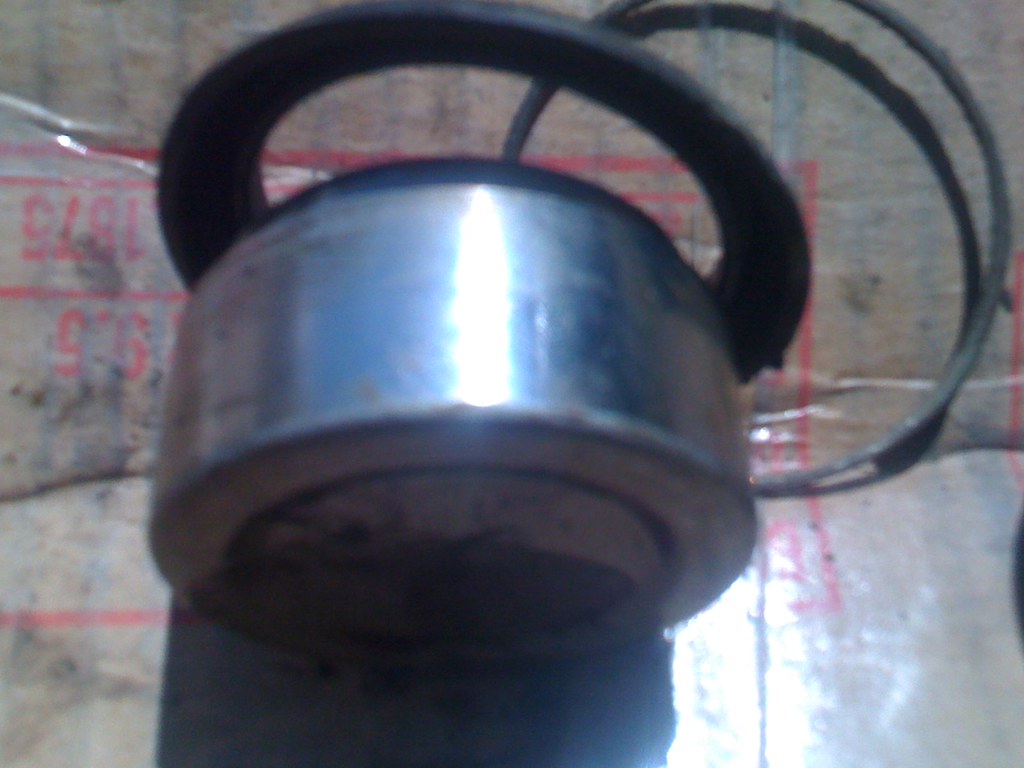
Set down both pistons on a soft surface. I'd recommend keeping the dust-boot retaining springs until you verify your new ones are BETTER than the old ones [;)]

Blue Z-car front caliper brake rebuild 071413 013 by 71240z, on Flickr
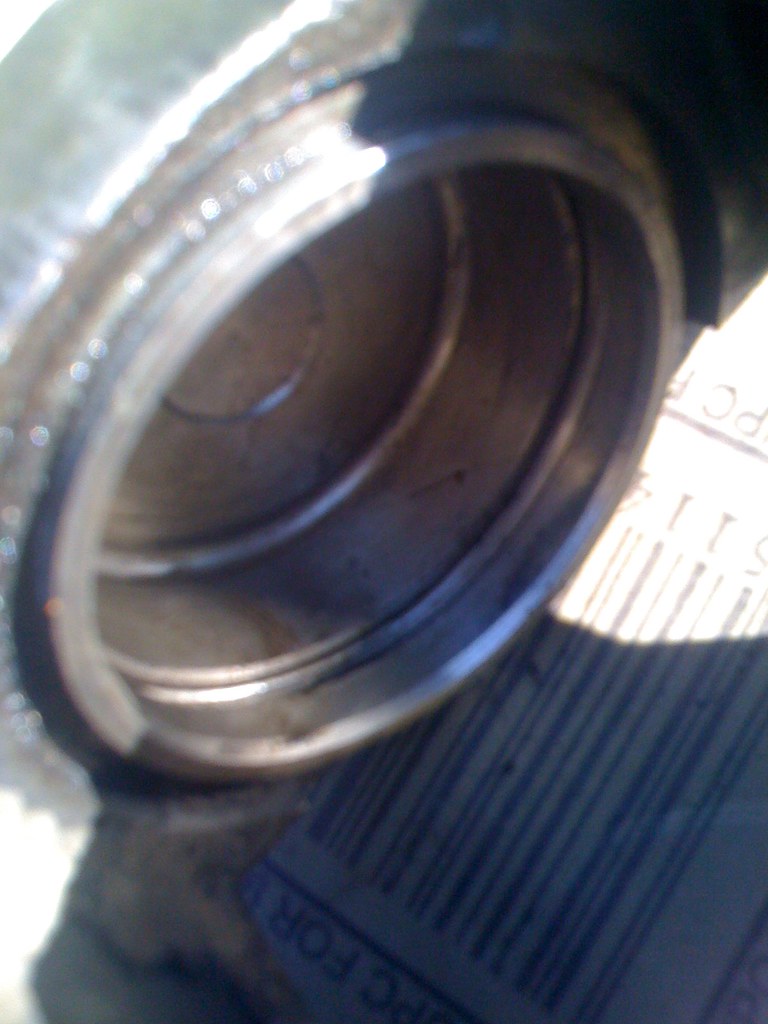
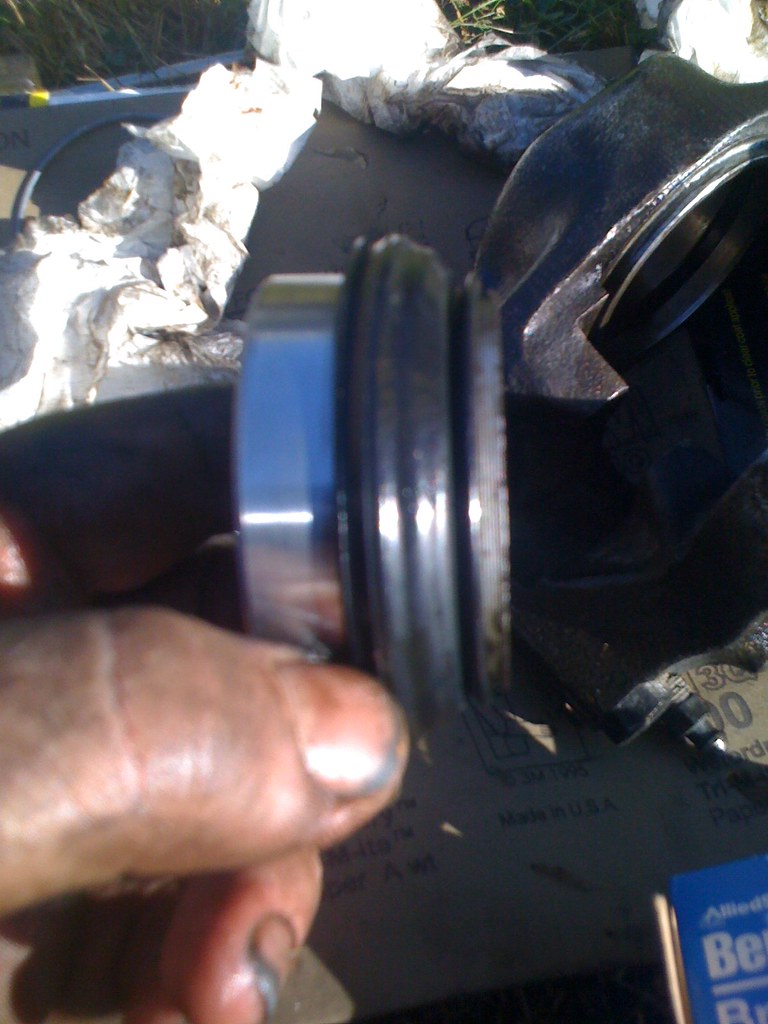
STEP 8: --- Inspect pistons.
Determine whether you believe the caliper pistons are re-usable or not.
In the pictures below (1) of my pistons just need to be cleaned up a touch in a couple areas and the other was near perfect (where it counts).
I decided to re-use them both.

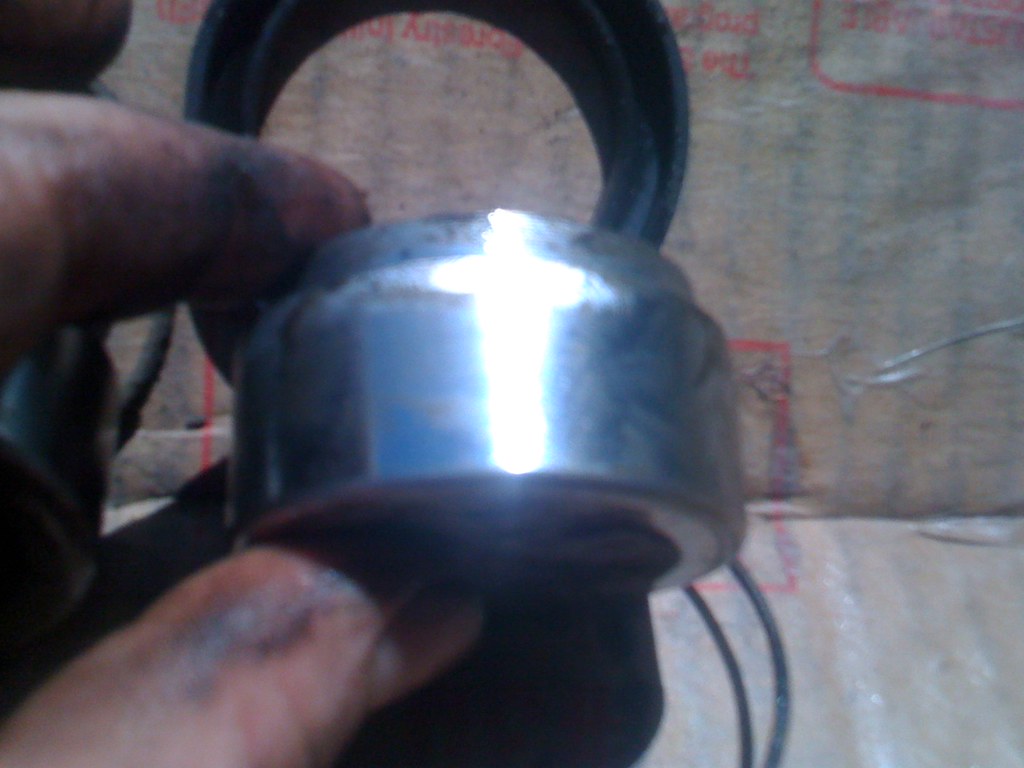
Blue Z-car front caliper brake rebuild 071413 014 by 71240z, on Flickr
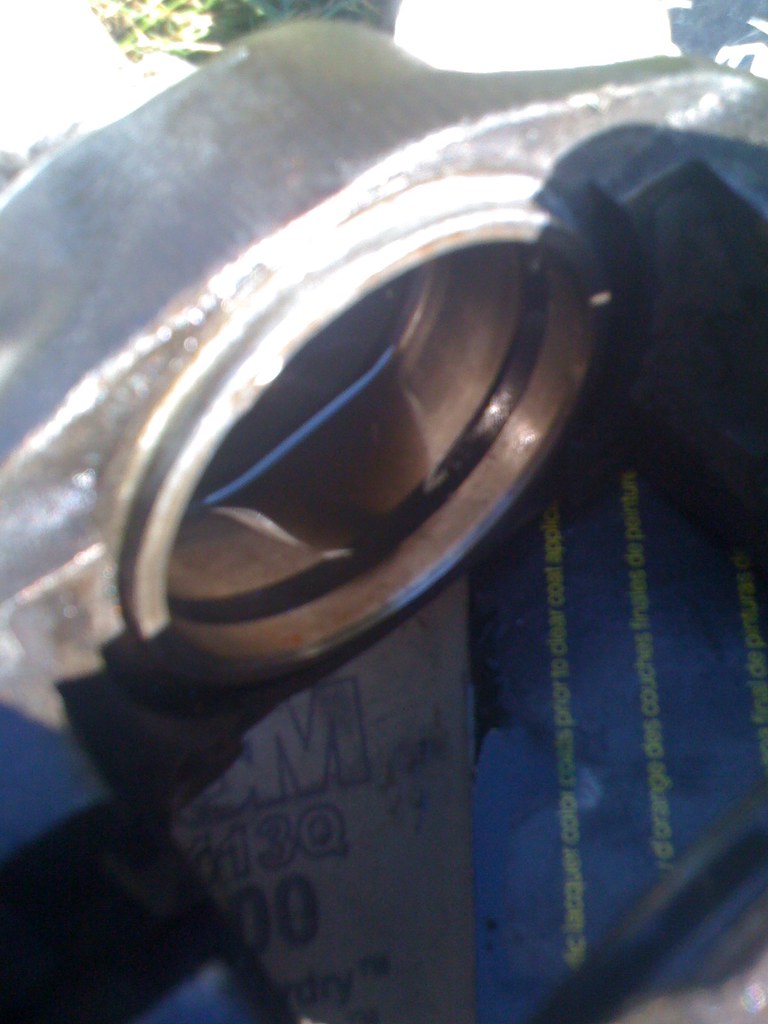
Don't let the picture deceive you ... this piston isn't bad really.

Blue Z-car front caliper brake rebuild 071413 015 by 71240z, on Flickr
(posting more)